
Text and shapes
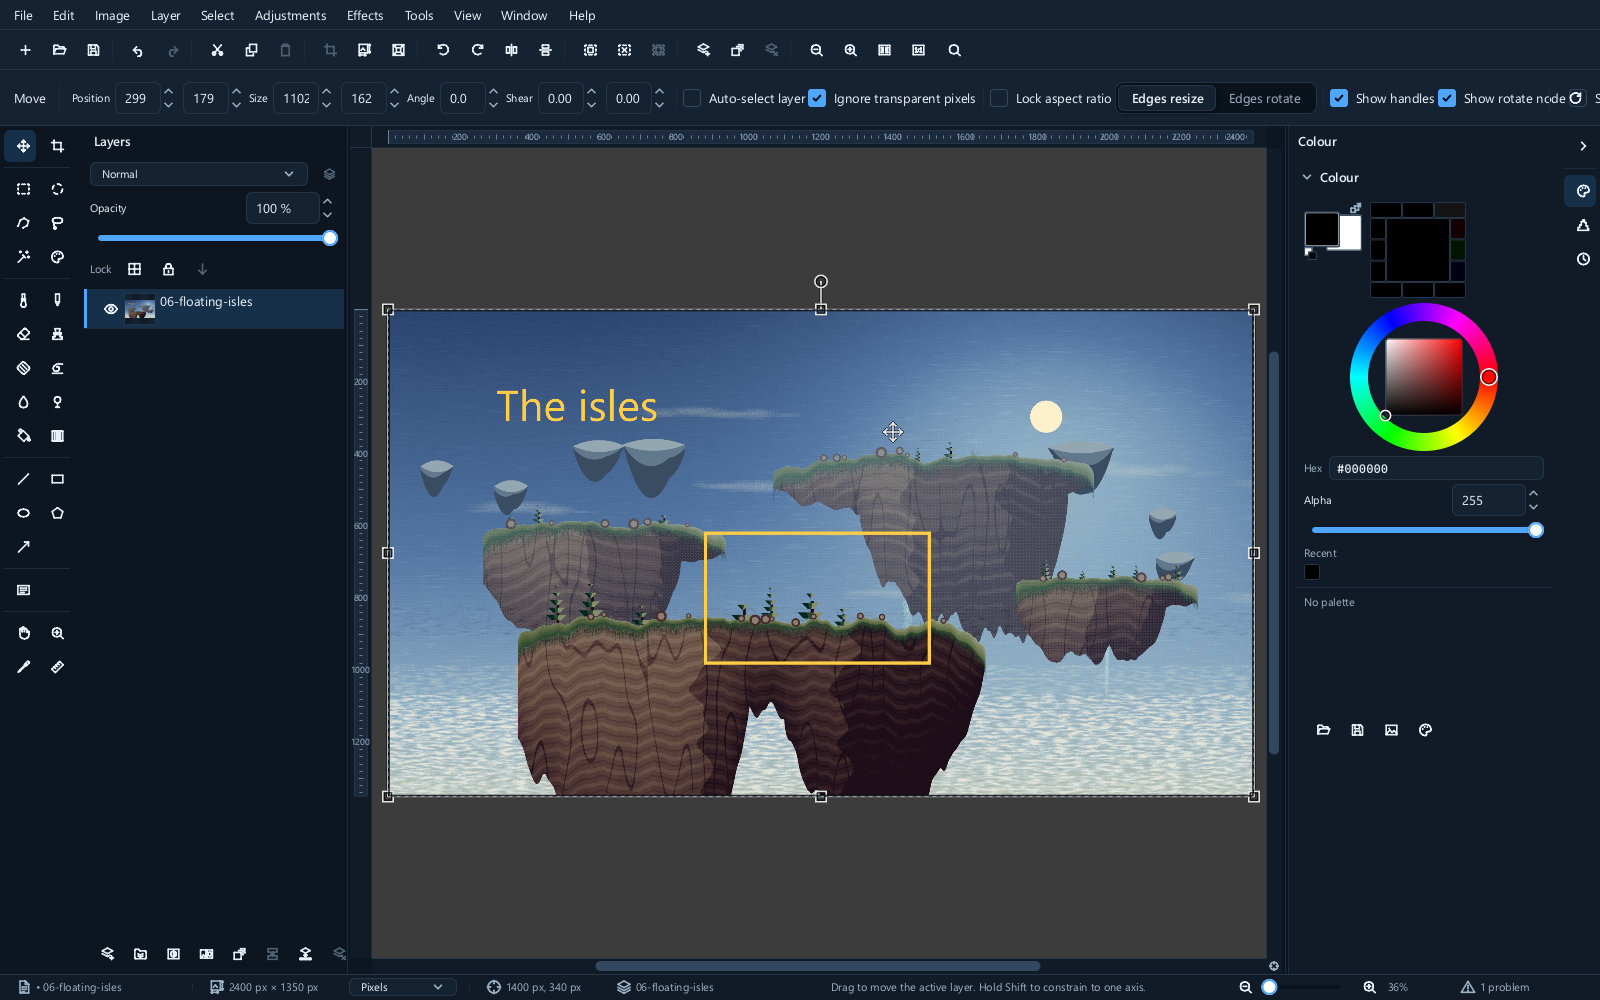
Most layers are made of pixels. Text and shape layers are not: they store what they are — these words, in this font, at this size; this rectangle, with these corners — and draw themselves fresh whenever the document is shown.
The practical consequence is that they stay editable. Change a word, change the font, resize a rectangle to four times its size, and it comes out crisp rather than blurred, because it is drawn again rather than stretched.
Text
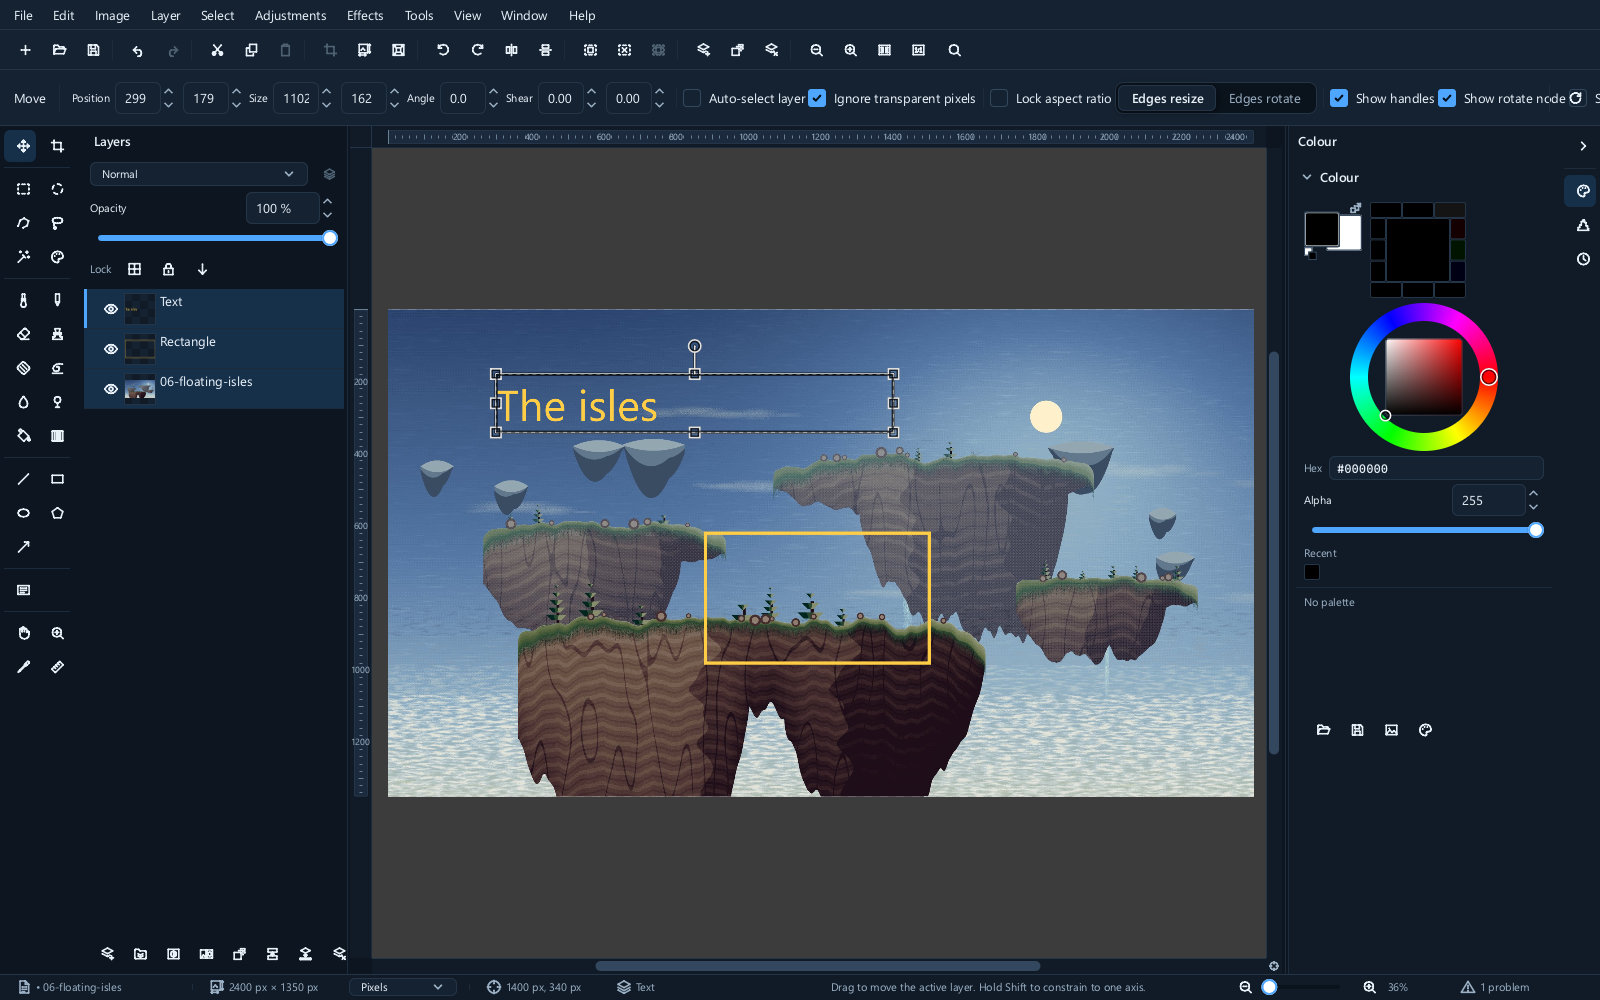
Press T and click on the canvas. A text layer is created and you can type into it.
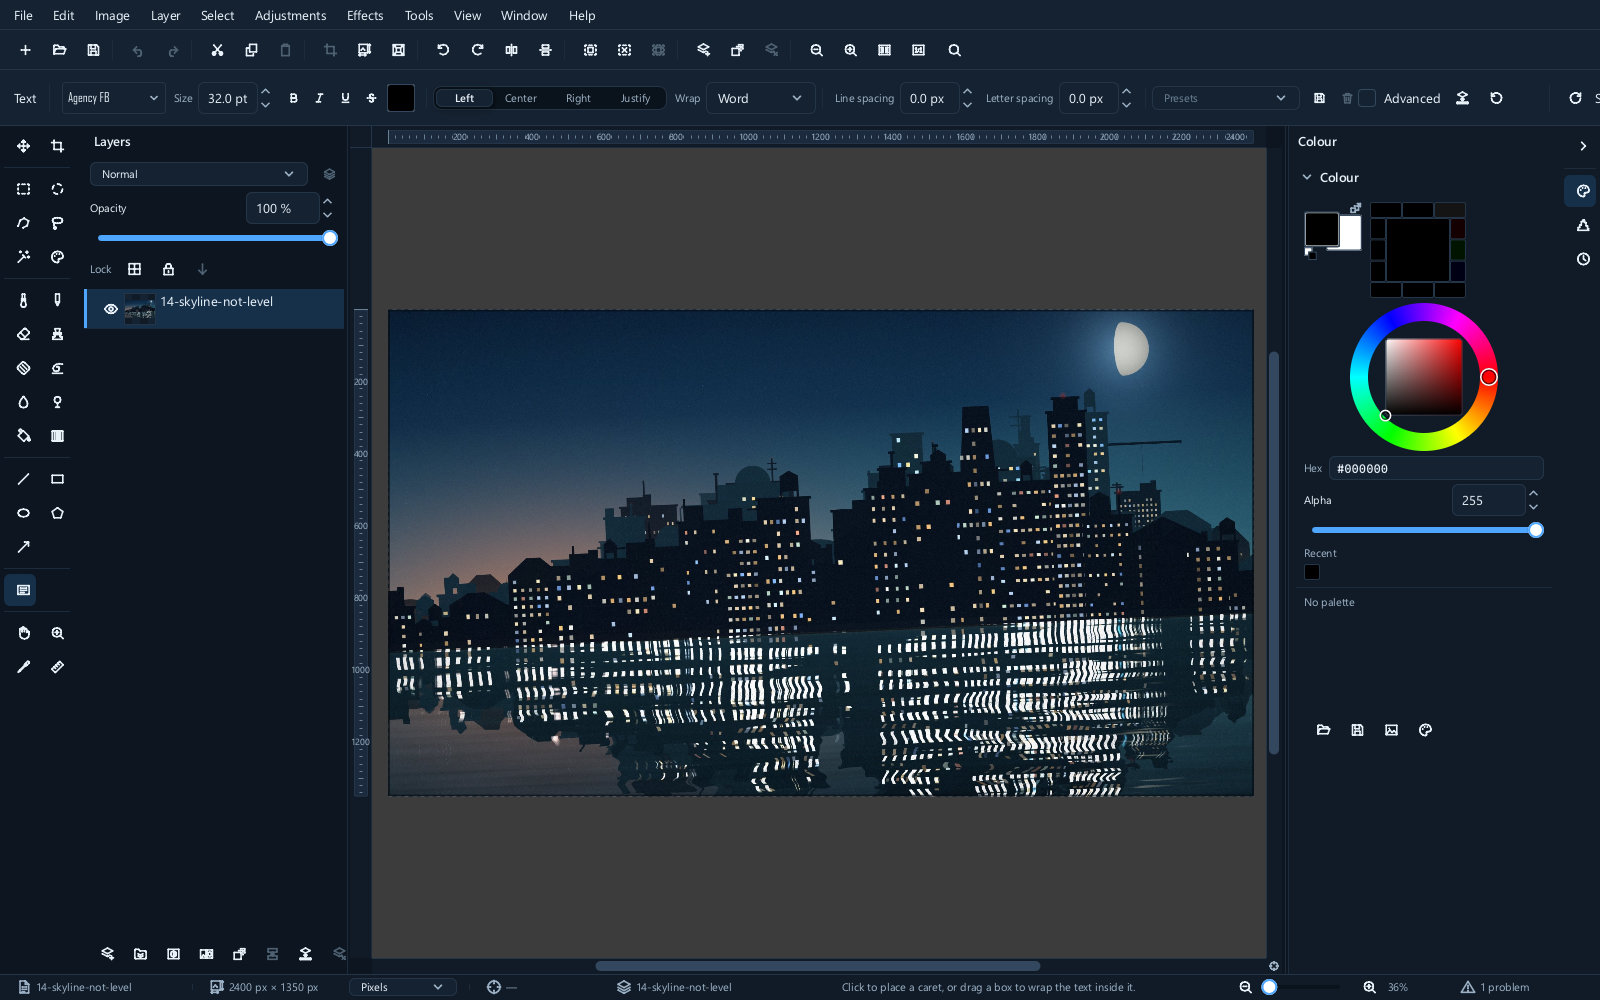
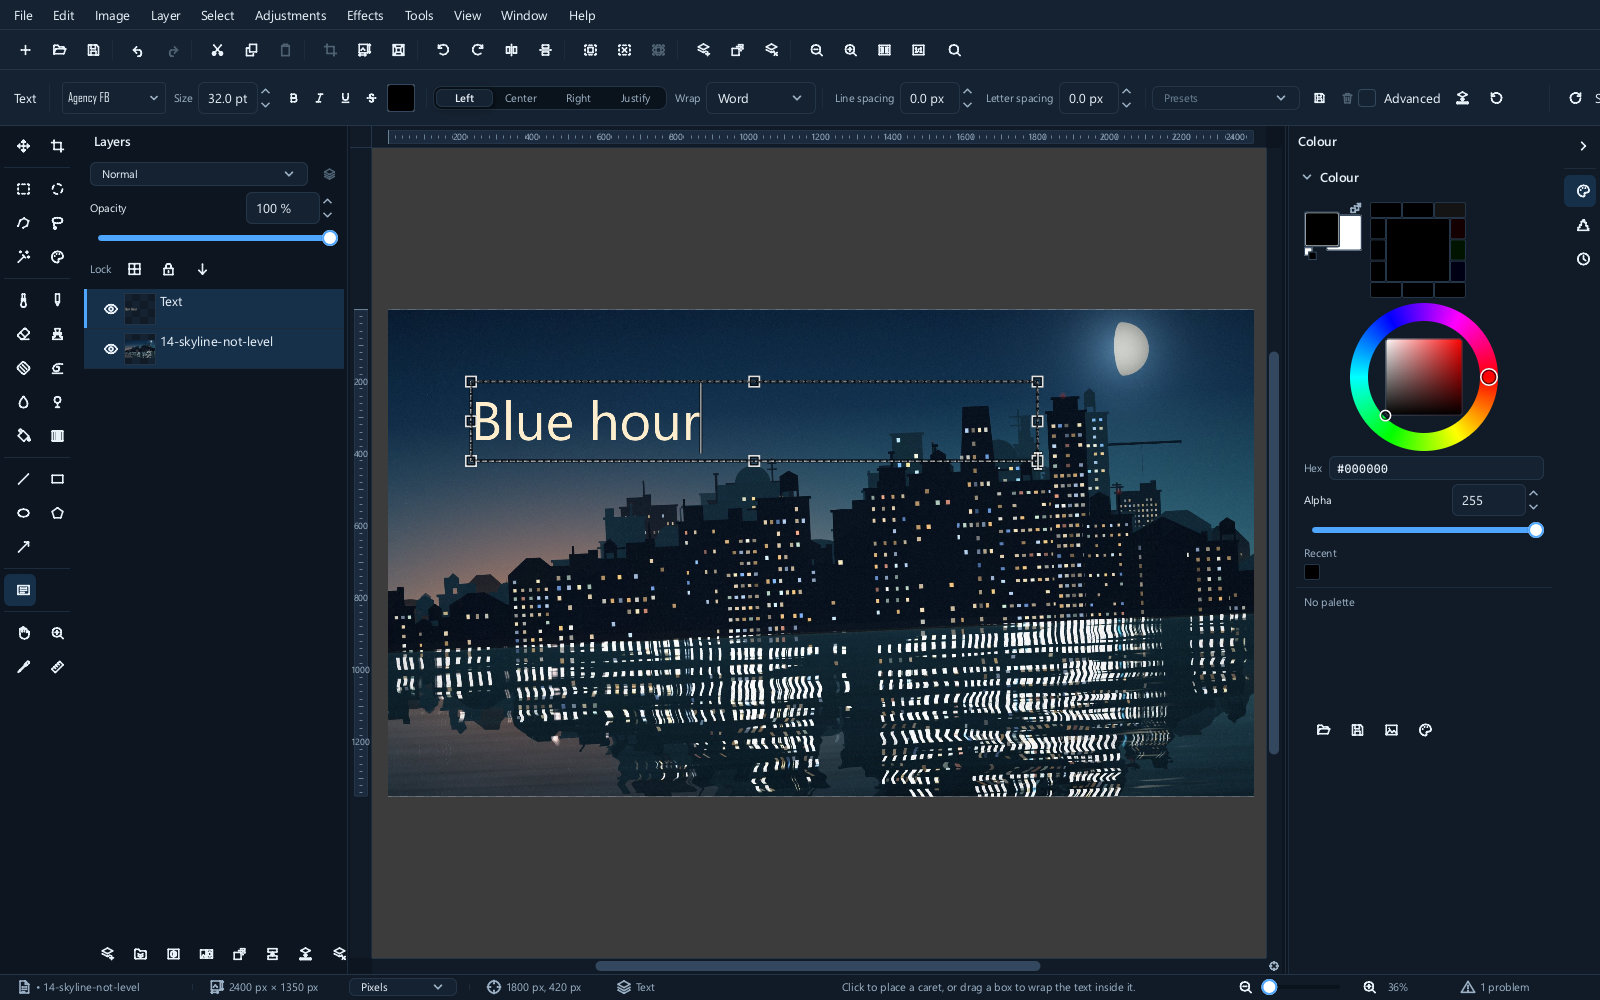
The options bar carries the font, its size, and the colour. Pick the tool again and click existing text to edit it — the words, the font and the size can all be changed afterwards, however long afterwards.
More typographic control
There is a second, fuller set of controls for when the basics are not enough.
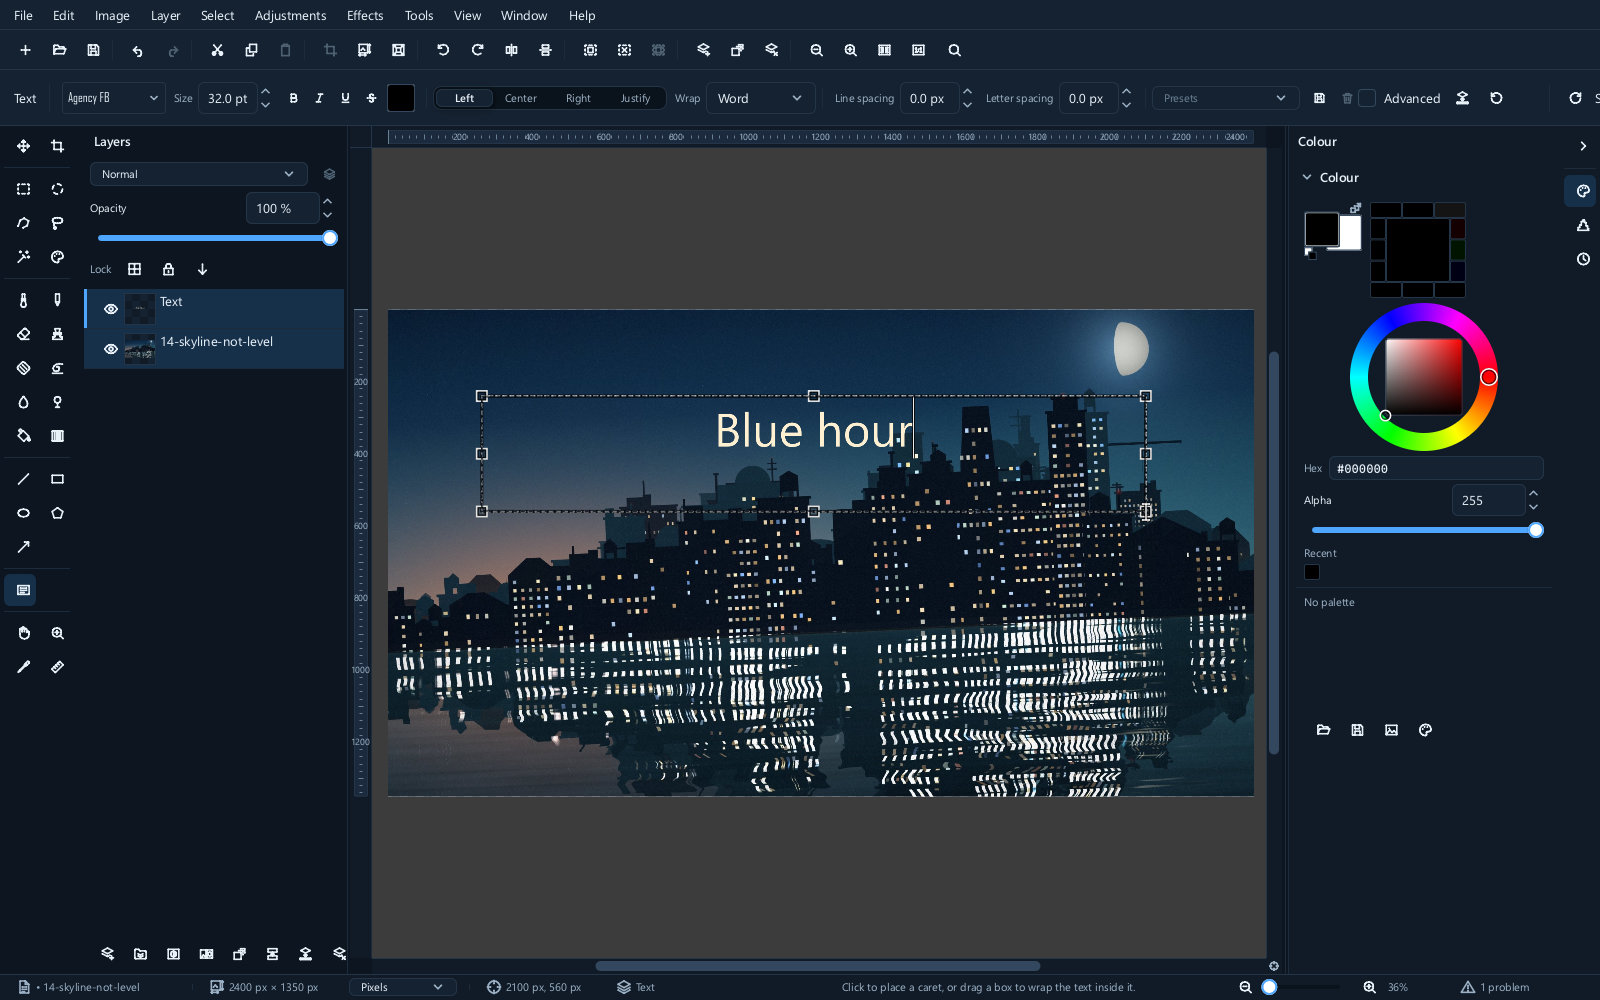
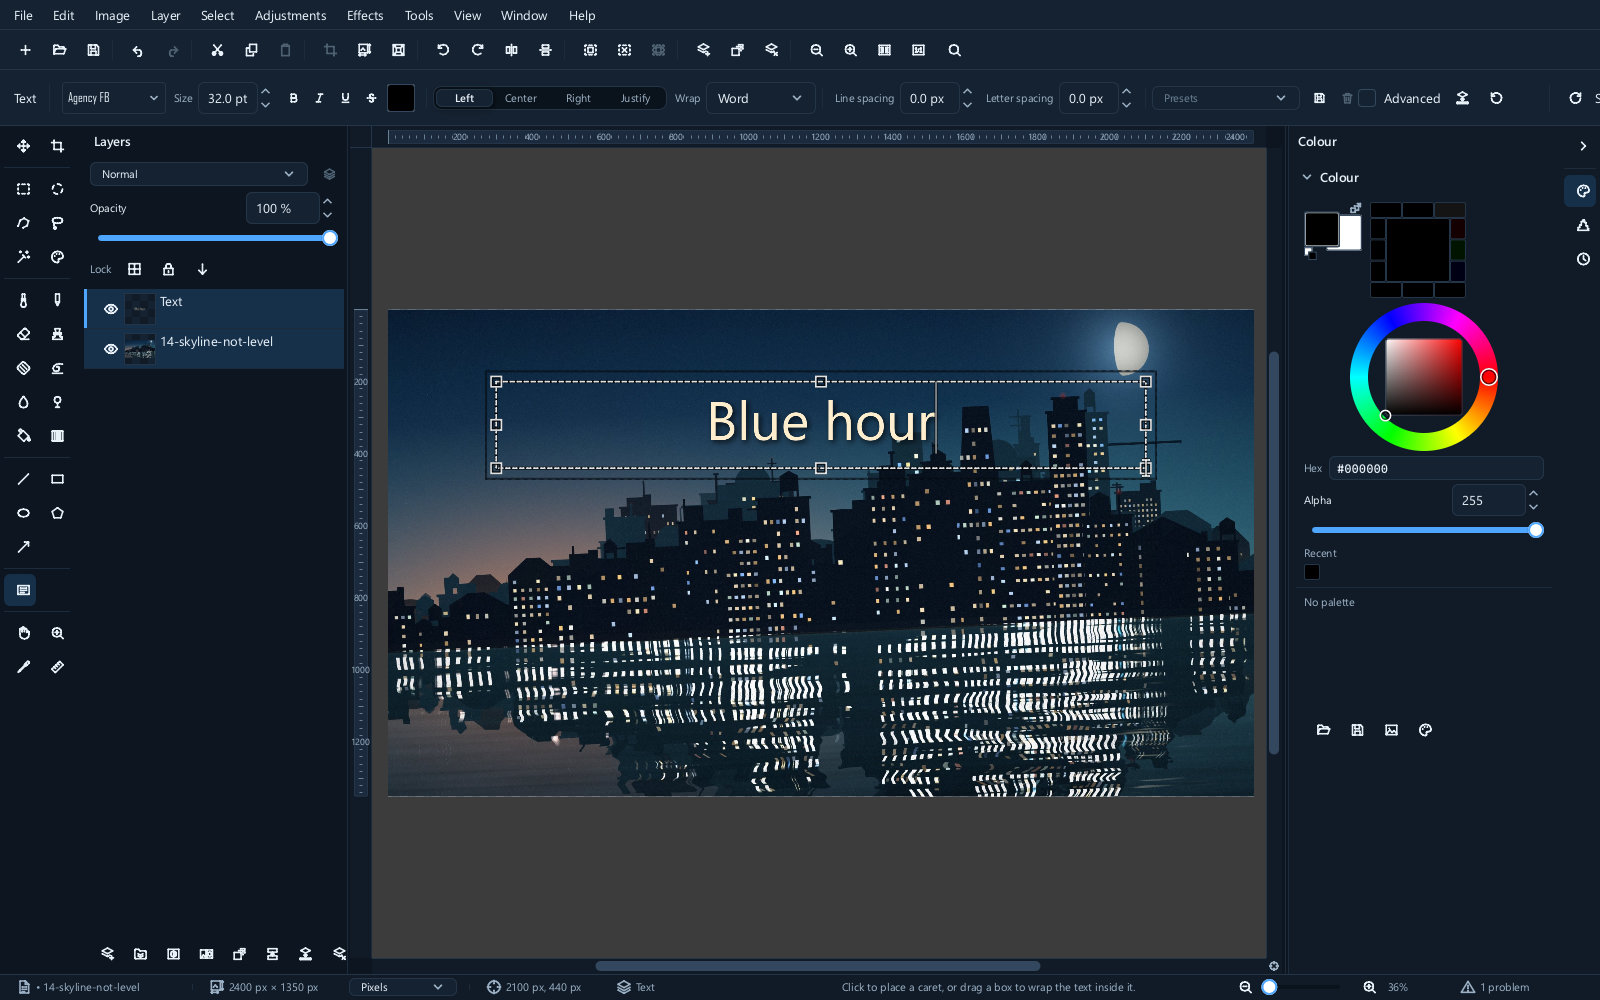
These cover alignment, the space between letters and between lines, and an outline round the glyphs. The last is what makes a caption readable over a busy photograph — white text with a thin dark outline stays legible against anything.
Making text readable over a picture
Three approaches, in the order worth trying them:
- An outline, thin and dark, from the advanced options.
- A shadow behind the text, which lifts it off the background without a hard edge.
- A soft dark shape on its own layer beneath the text at low opacity, which darkens the photograph just where the words are.
The third is the most controllable and the most work.
Shapes
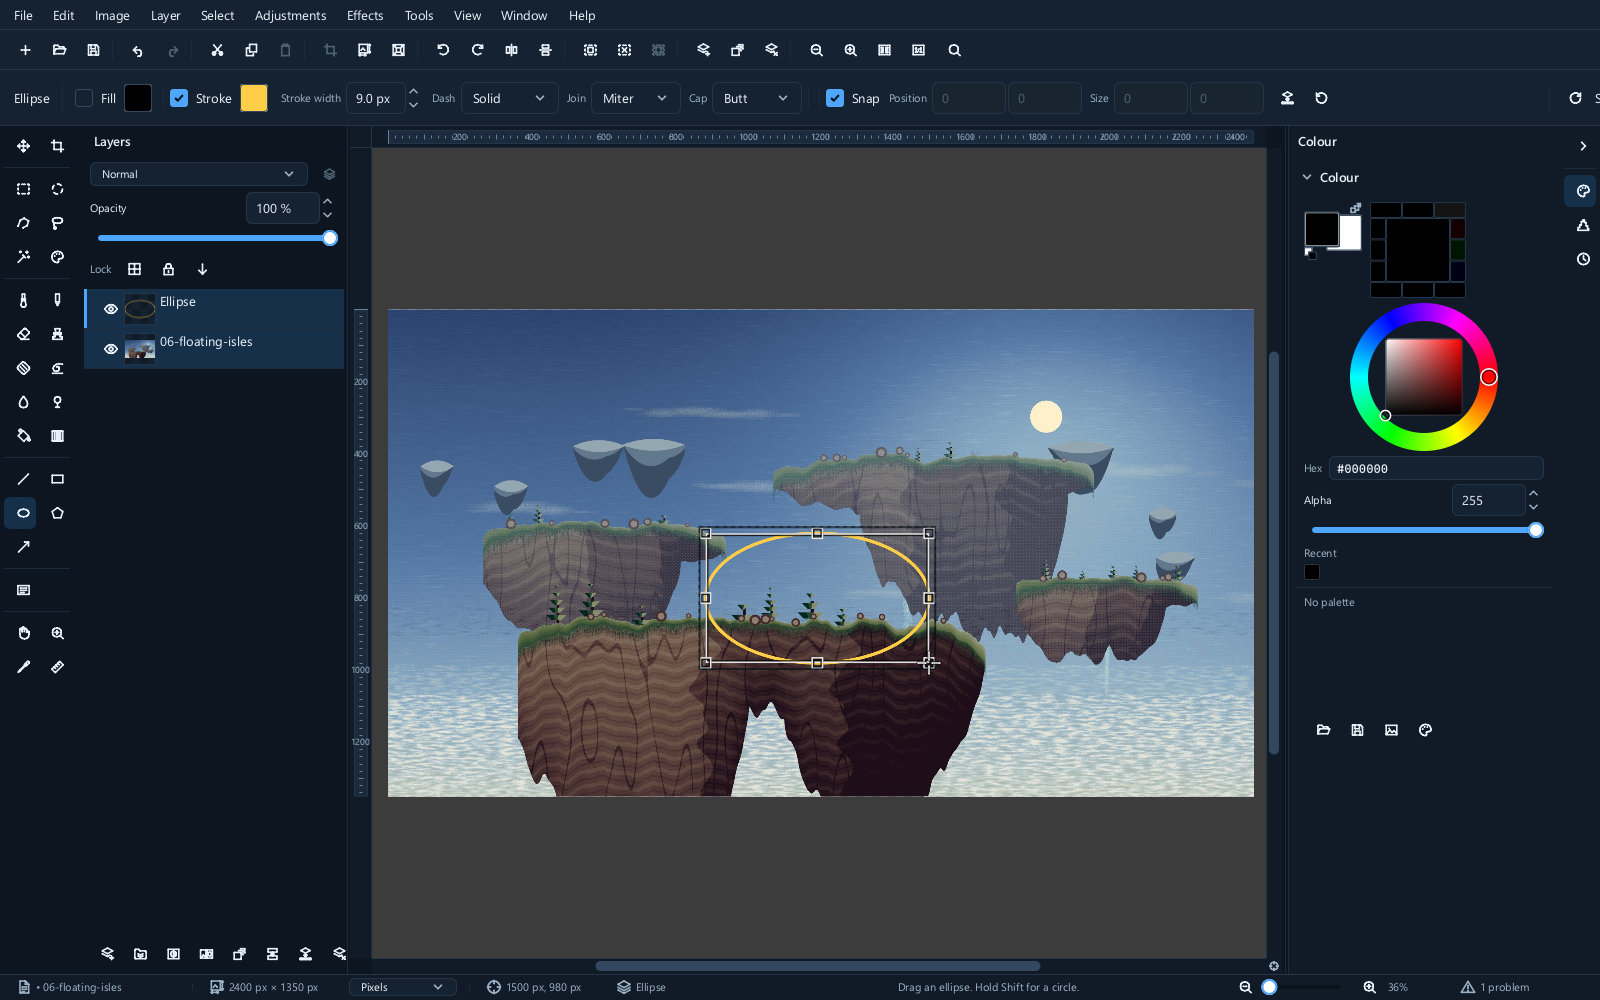
The shape tools draw rectangles, ellipses, polygons, lines and arrows.
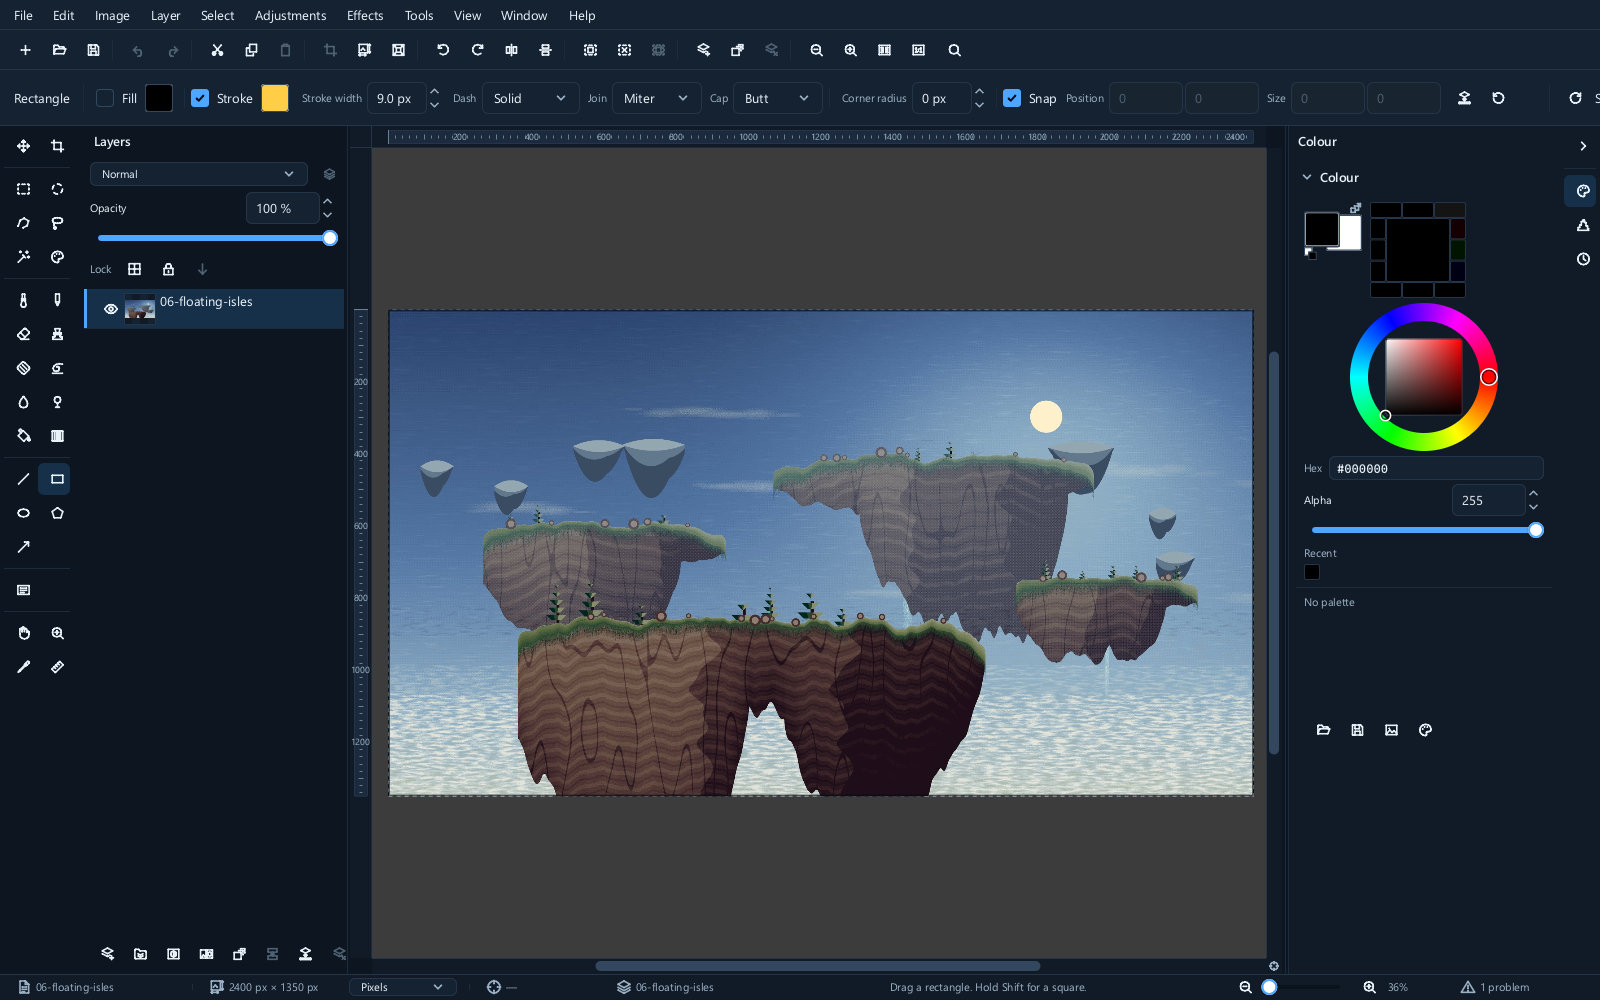
Drag to draw. Hold Shift while dragging to constrain a rectangle to a square, an ellipse to a circle, or a line to a sensible angle.
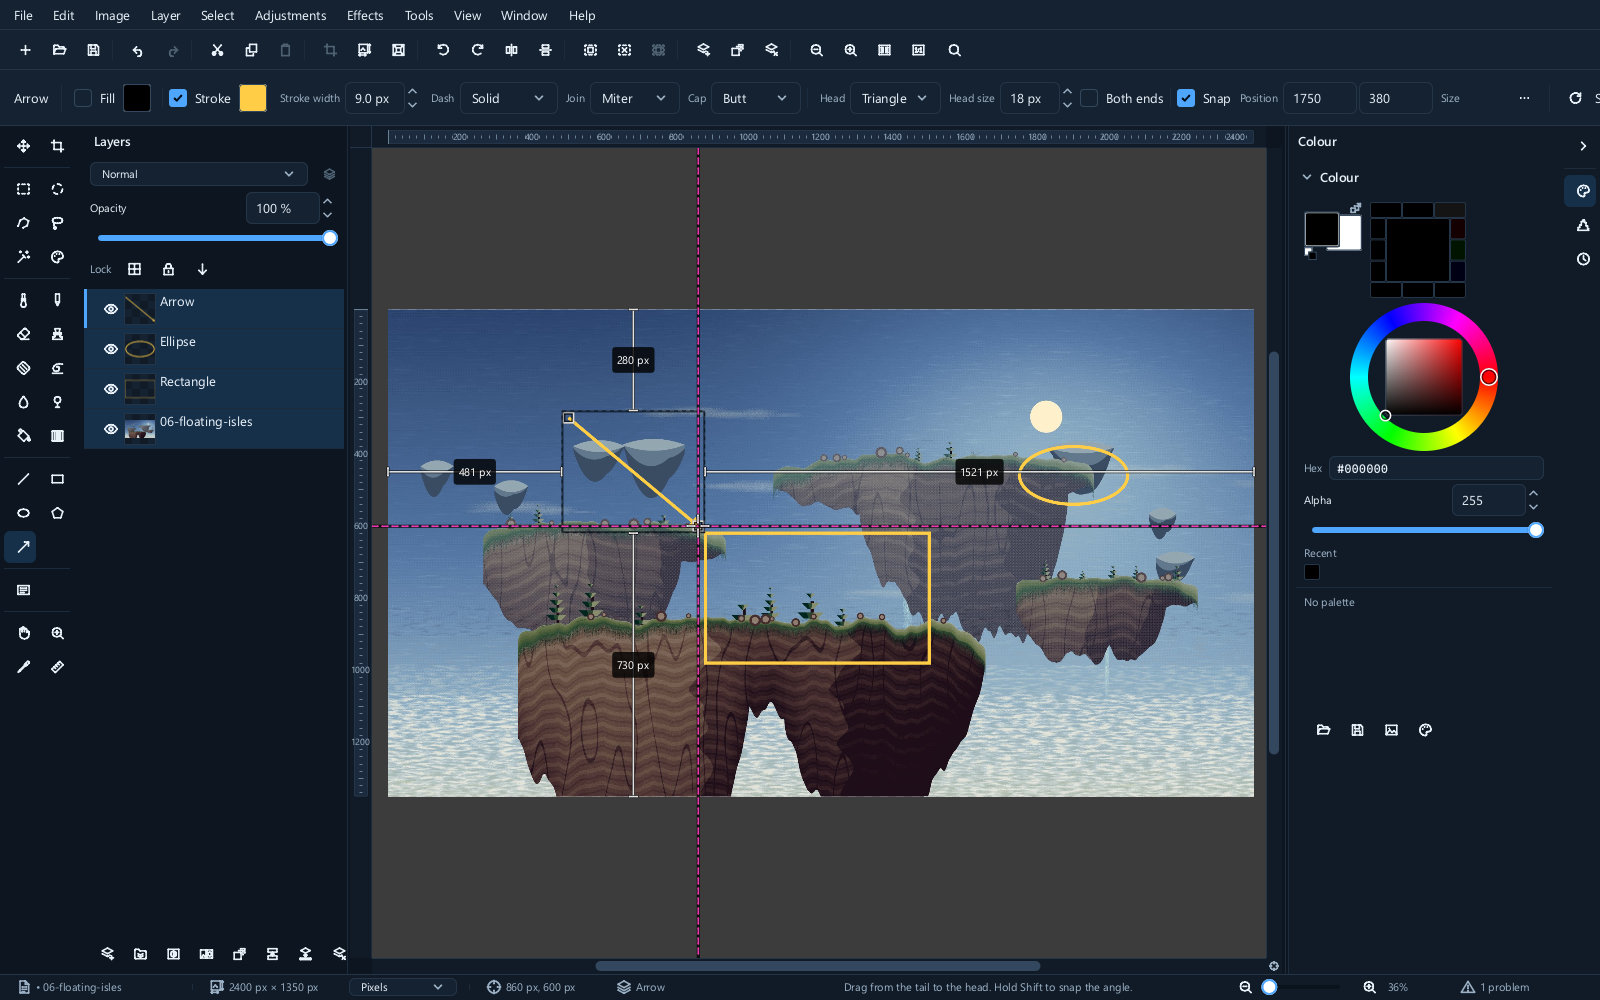
Each shape can have a fill, an outline, or both, and the outline has its own width and colour.
Every shape becomes its own layer, which is what makes them individually editable.
Resizing without losing quality
This is the point of a vector layer. Select it, drag its handles, and the shape is redrawn at the new size rather than scaled.
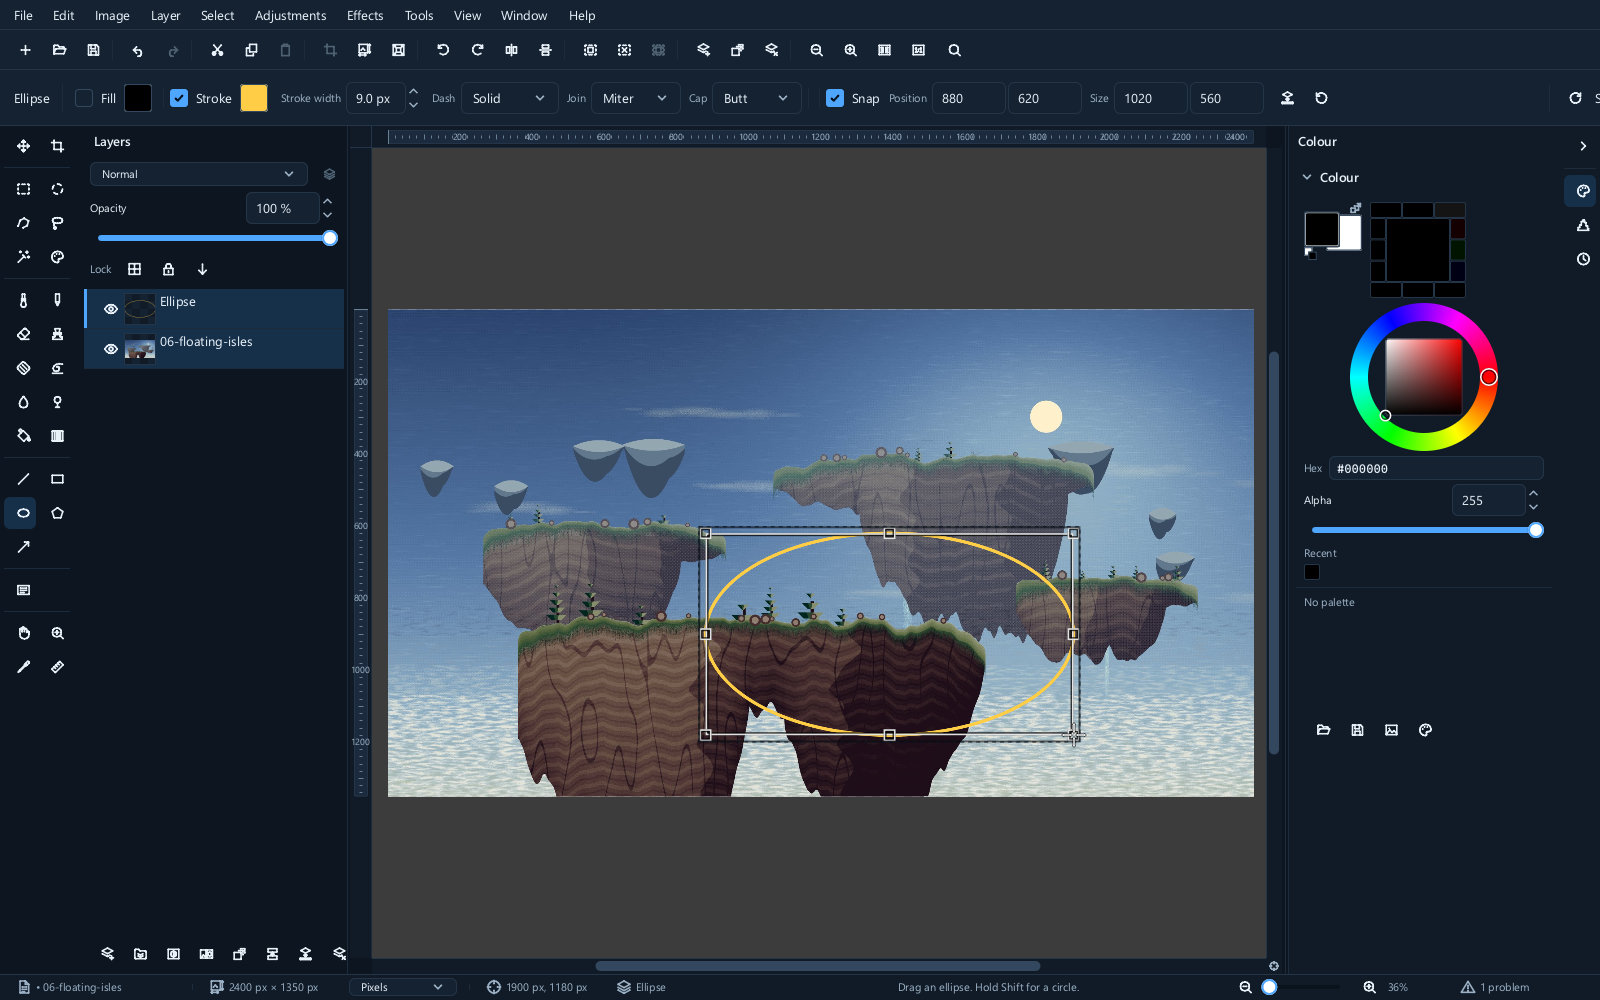
A pixel layer enlarged the same way would be soft and blocky. A shape layer will not be, however many times you change your mind.
Turning them into pixels
Both kinds of layer can be rasterized — converted to ordinary pixels — with Layer ▸ Rasterize ▸ Current layer. All layers converts every applicable layer.
Afterwards you can paint on it, erase it, run effects over it and blur it — none of which is possible while it is still a description of itself.
The trade is permanent: the text is no longer text, and cannot be re-typed or re-fonted.
Commit as late as you can. If you need a blurred shadow behind a shape, duplicate the shape layer, commit the copy, blur that, and keep the original editable above it.
Flattening the image commits everything.
Saving them
In this editor, .mie keeps text as text and shapes as shapes. Its other exports store the drawn result:
reopen a PSD and the words are a picture of words.
If a document has any text you might revise, keep the .mie. This is the single most common way
people lose work — the layered file they kept turns out to have frozen the type.
Opening and saving has the table of what each format holds.
Next
- Layers — blend modes and opacity, which work on these layers too
- Painting and retouching — working on a committed layer
- Transforming — moving and scaling in general