
Adjustment layers
An adjustment layer is a correction that lives in the layer stack instead of in the pixels. It sits above the picture, changes how everything beneath it looks, and changes nothing in the picture itself.
Many adjustments on the Adjustments menu can be applied either way. The Layer ▸ New adjustment layer picker lists the supported kinds; some whole-image or neighbour-dependent corrections are available only as pixel edits. Applied straight to a layer, it rewrites that layer's pixels and the only way back is undo. Applied as an adjustment layer, it stays adjustable for as long as the document exists.
There is very little reason to work the other way once you are used to it.
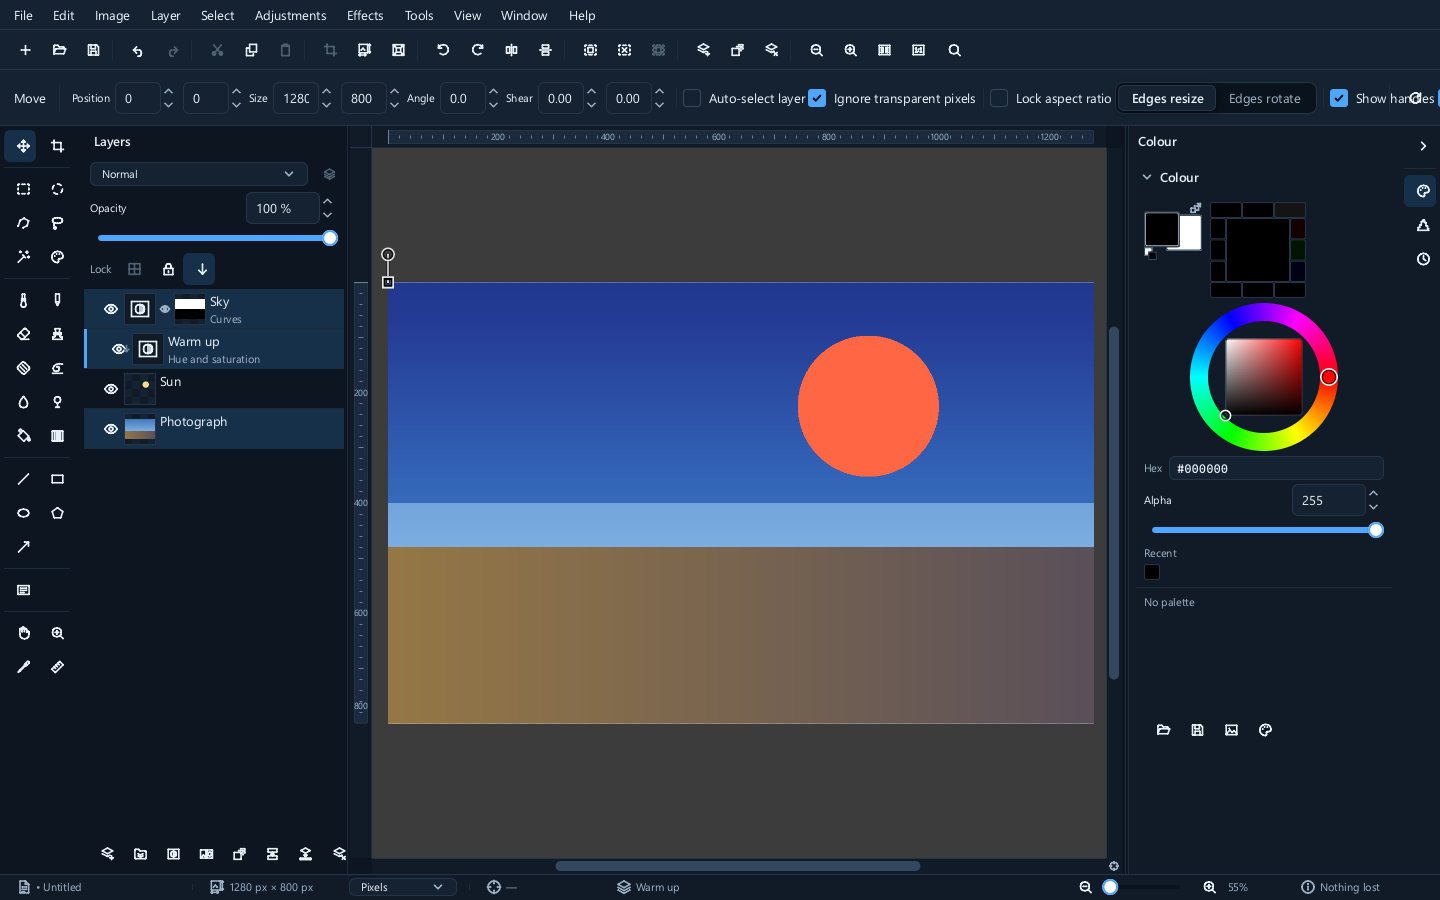
Adding one
Use Layer ▸ New adjustment layer and pick what kind. The picker lists the corrections available as live layers.
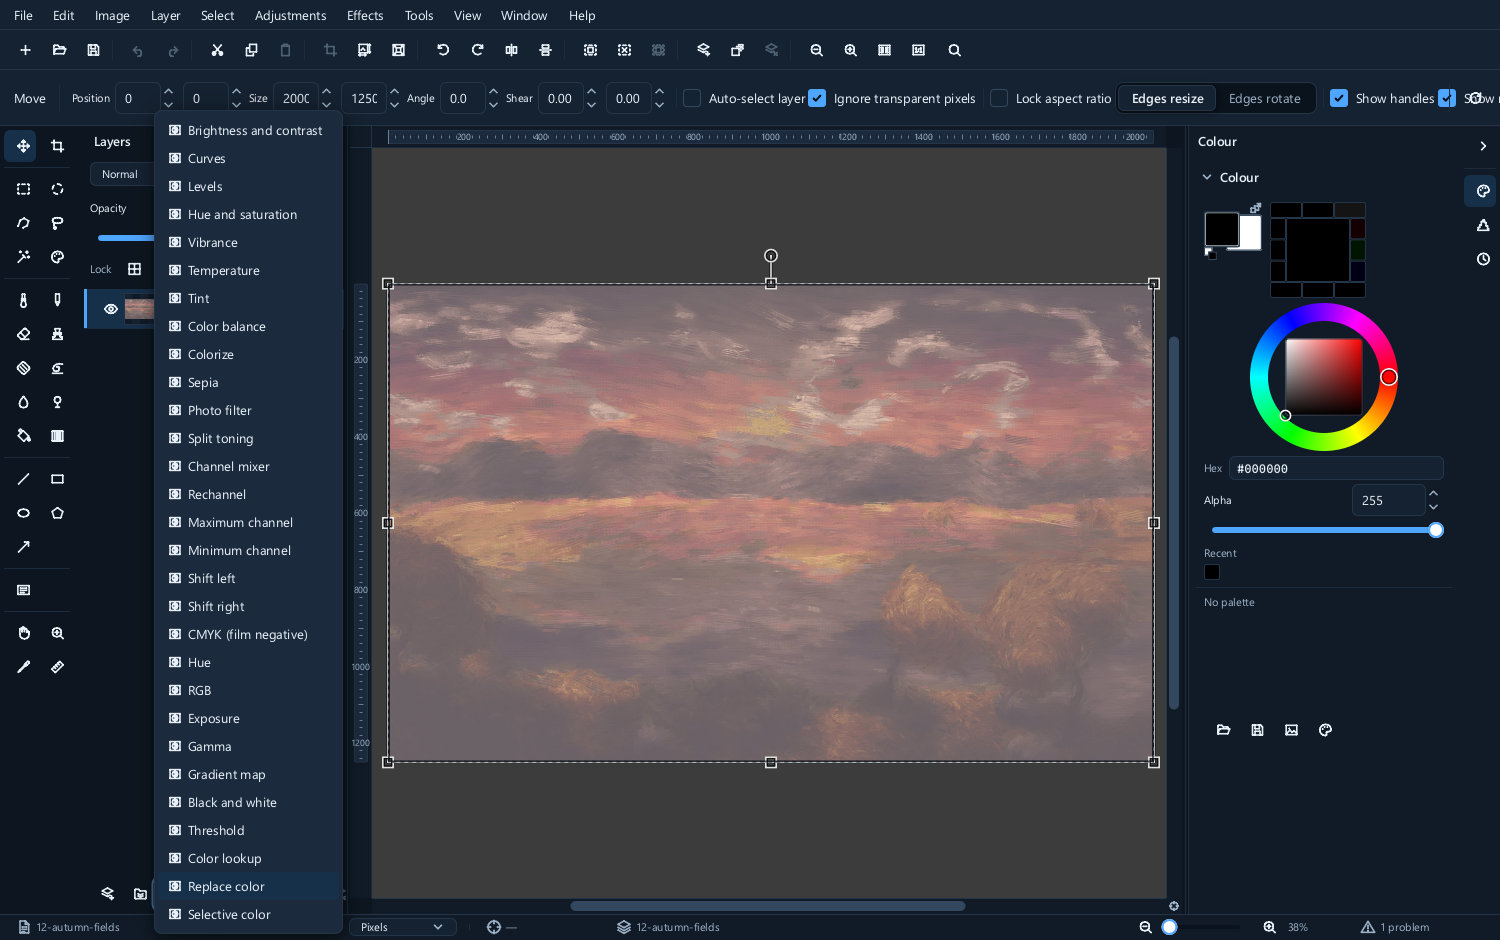
The ones you will use most:
| Kind | For |
|---|---|
| Levels | Setting the black and white points — the first thing most photographs want |
| Curves | Everything levels does, plus precise control of the mid-tones |
| Brightness and contrast | The quick version, when the picture only needs a nudge |
| Exposure | Correcting a picture taken too dark or too light |
| Hue and saturation | Changing or strengthening colour |
| Vibrance | Strengthening the muted colours while leaving the strong ones alone |
| Temperature, Tint | Warming, cooling, and removing a colour cast |
| Black and white | Converting to greyscale with control over how each colour contributes |
| Colour balance, Split toning | Shifting shadows and highlights towards different colours |
| Gradient map, Colour lookup | Mapping the whole tonal range onto a gradient or a lookup table |
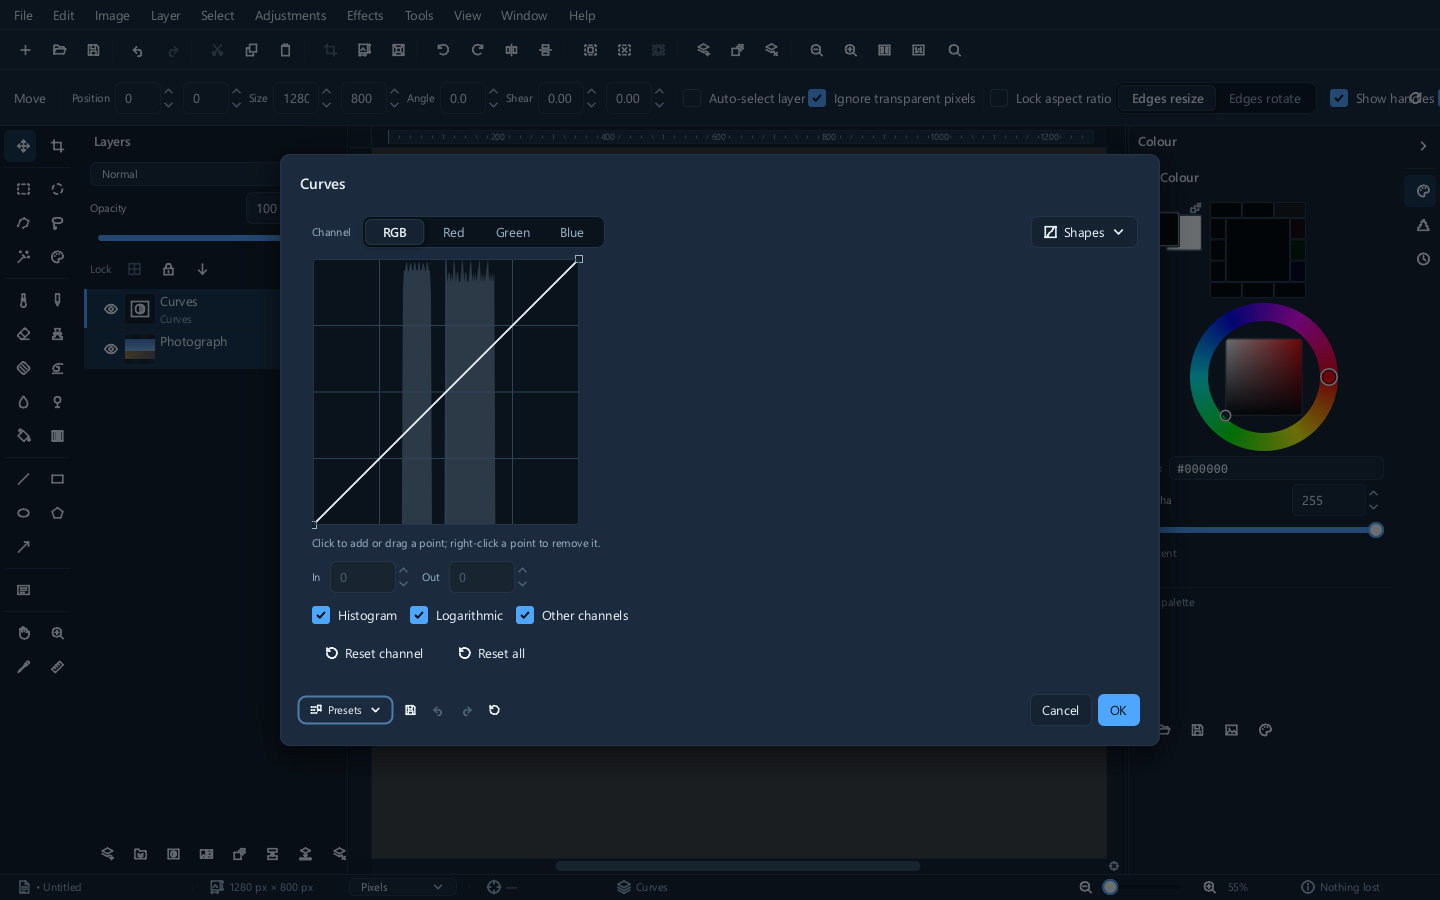
Select the adjustment and choose Layer ▸ Edit adjustment... to reopen its dialog. Double-clicking its adjustment thumbnail also opens it; double-clicking its name can rename it.
What you gain
Five things, and each of them is a thing you cannot do with a correction baked into the pixels.
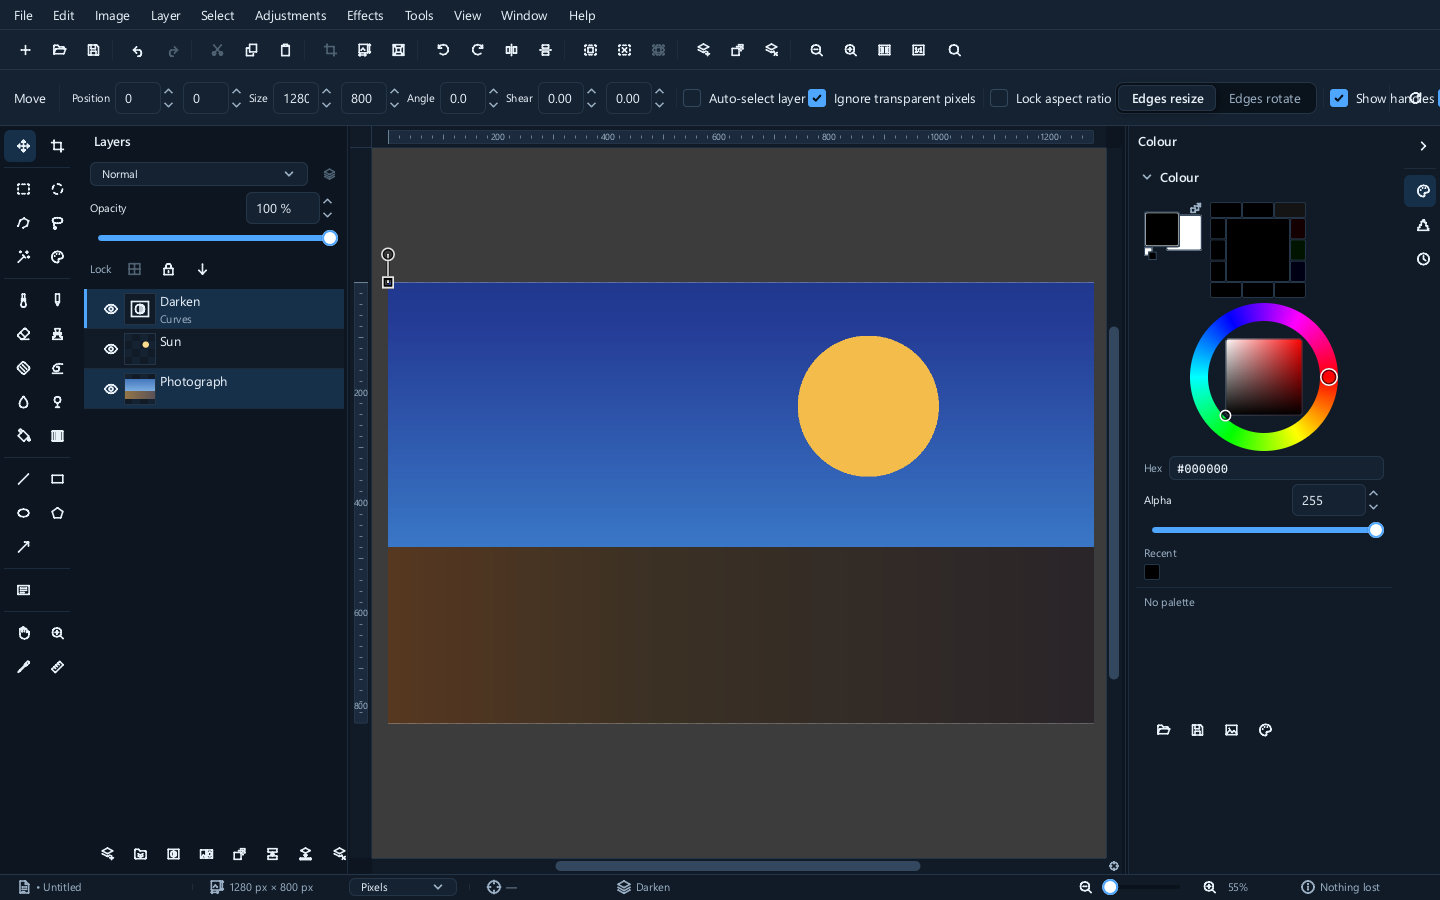
Switch it off
The eye beside the layer turns the correction off, which is how you compare against the original without undoing anything.
| Adjustment on | Adjustment off |
|---|---|
 |
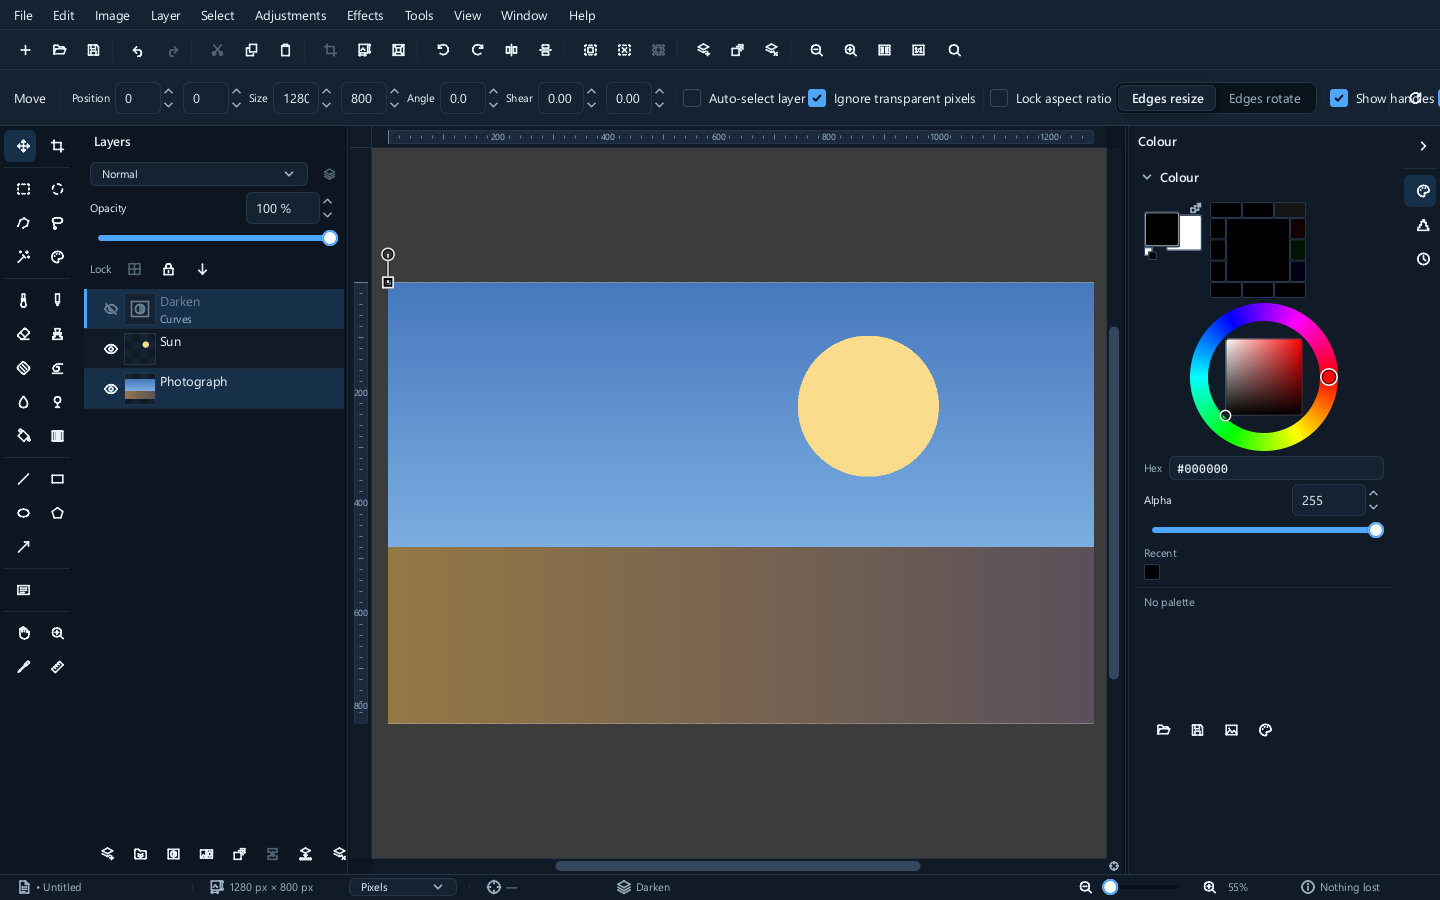 |
Toggling it repeatedly is the most reliable way to judge whether a correction actually helped.
Fade it
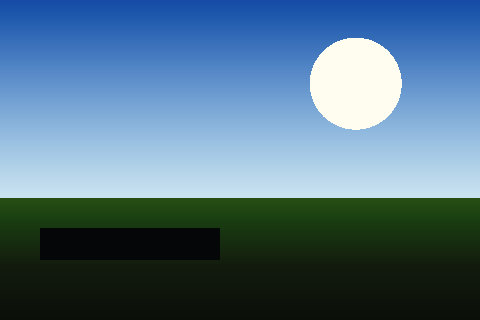
If the correction is right in kind but too strong, lower the adjustment layer's opacity instead of reopening the dialog and guessing at smaller numbers.
| Full strength | Half opacity |
|---|---|
 |
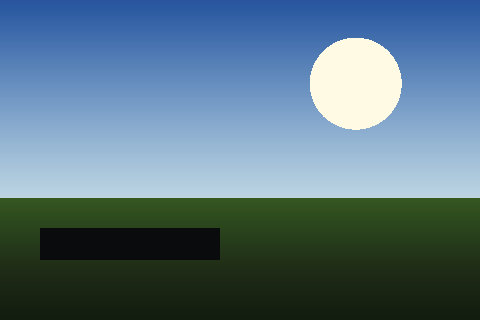 |
Apply the correction at the strength that looks obviously right, then dial the layer back until it looks natural. It is far easier than aiming for subtlety inside the dialog.
Confine it to part of the picture
Give the adjustment layer a mask and it applies only where the mask is white. This is how a sky gets darkened without the ground going with it.
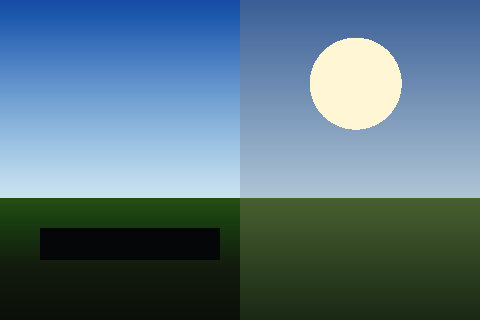
Both halves stay editable and stay independent: change the correction without touching the mask, or repaint the mask without touching the correction.
Change what it applies to
By default an adjustment layer affects everything beneath it in the stack.
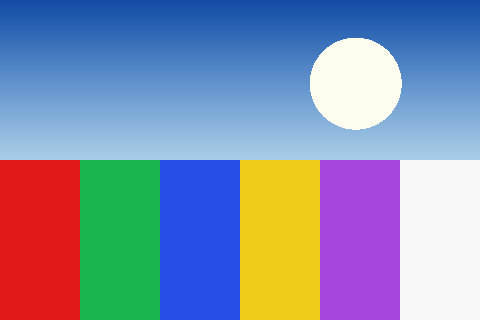
Choose Layer ▸ Clip to layer below to restrict the adjustment to the layer below.
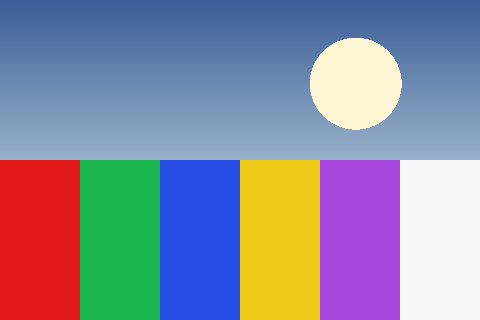
Clipping is what you want when a composite has several objects and only one of them needs correcting.
Putting the adjustment layer inside a group gives a third option: in an isolated group it reaches only the group's own contents; in a pass-through group it reaches out to the rest of the picture as though the group were not there.
| Inside an isolated group | Inside a pass-through group |
|---|---|
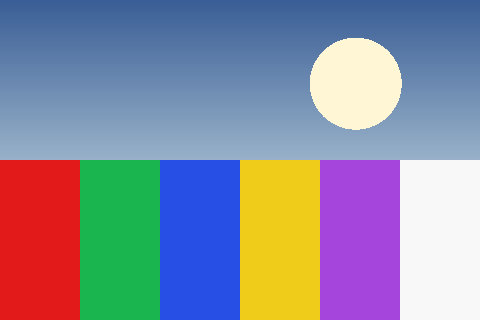 |
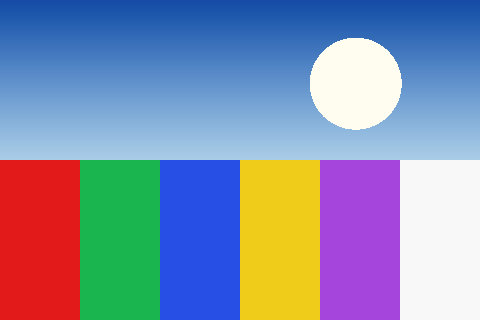 |
Blend it
An adjustment layer has a blend mode like any other layer. For example, setting a contrast or curves adjustment to Luminosity changes the tones without also strengthening the colours. Increasing contrast normally increases saturation as a side effect, which is the usual reason a corrected photograph starts to look garish.
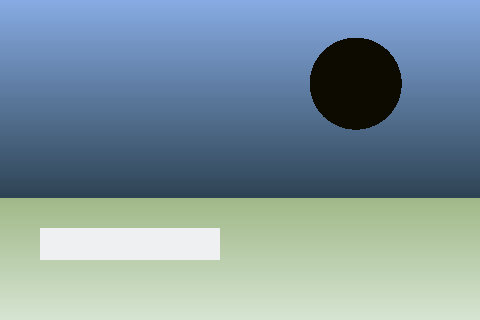
A worked example
A photograph that is flat, slightly cool, and has a sky brighter than the land.
- Curves adjustment layer, an S-curve, set to Luminosity — contrast without colour shift.
- Temperature adjustment layer, nudged warm — corrects the cast.
- A second Curves layer, pulled down, with a mask painted black over the land — darkens the sky alone.
- Look at it the next morning, decide the sky went too far, and drag that layer's opacity to 60%.
Step four is the point. None of the first three is committed to anything, and the photograph underneath is still the file that came out of the camera.
Transparency
An adjustment layer changes the colours it finds. Where there is nothing beneath it — a hole in the stack, an area no layer covers — there is nothing to change, and the adjustment has no effect there.
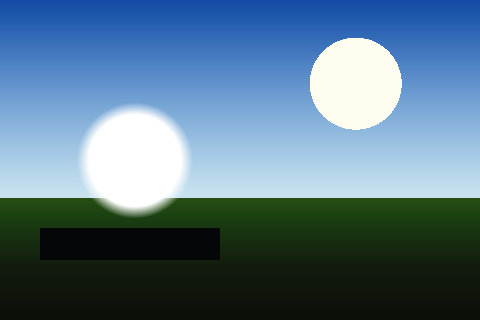
This is worth knowing because it looks like a bug the first time you meet it.
When they stop being adjustable
Flattening the working image or merging the adjustment down applies the correction to pixels and removes the separate adjustment. Exporting a JPEG or PNG bakes it into the exported copy; your open working document keeps its live adjustment.
Only .mie keeps adjustment layers adjustable. This editor’s other exports bake
the correction into pixels rather than translating it to another application’s live adjustment.
That is an interoperability limit here: PSD itself can represent Photoshop adjustment layers. So:
work in .mie, export a flattened JPEG or PNG when you are finished, and keep the .mie.
Opening and saving sets out which format keeps what.
Next
- Adjustments — what each correction actually does
- Masks — confining a correction to part of a picture
- Layers — opacity, blend modes, groups and clipping