
Customising
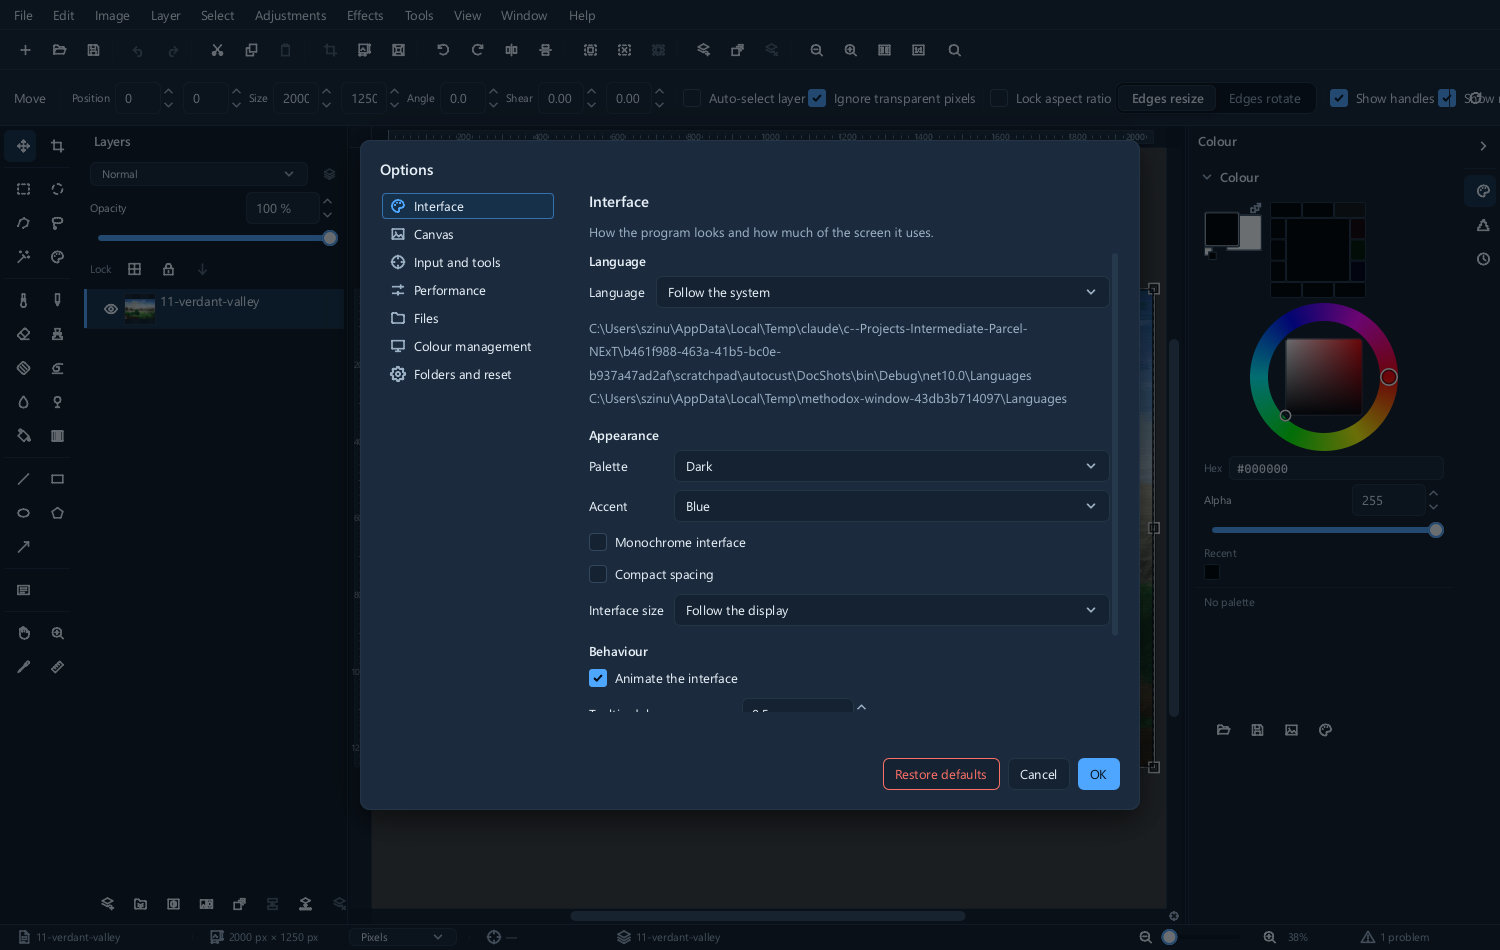
Most of this lives in Tools ▸ Options. Little of it is essential, and two or three of the settings will change how the program feels for you.
Themes
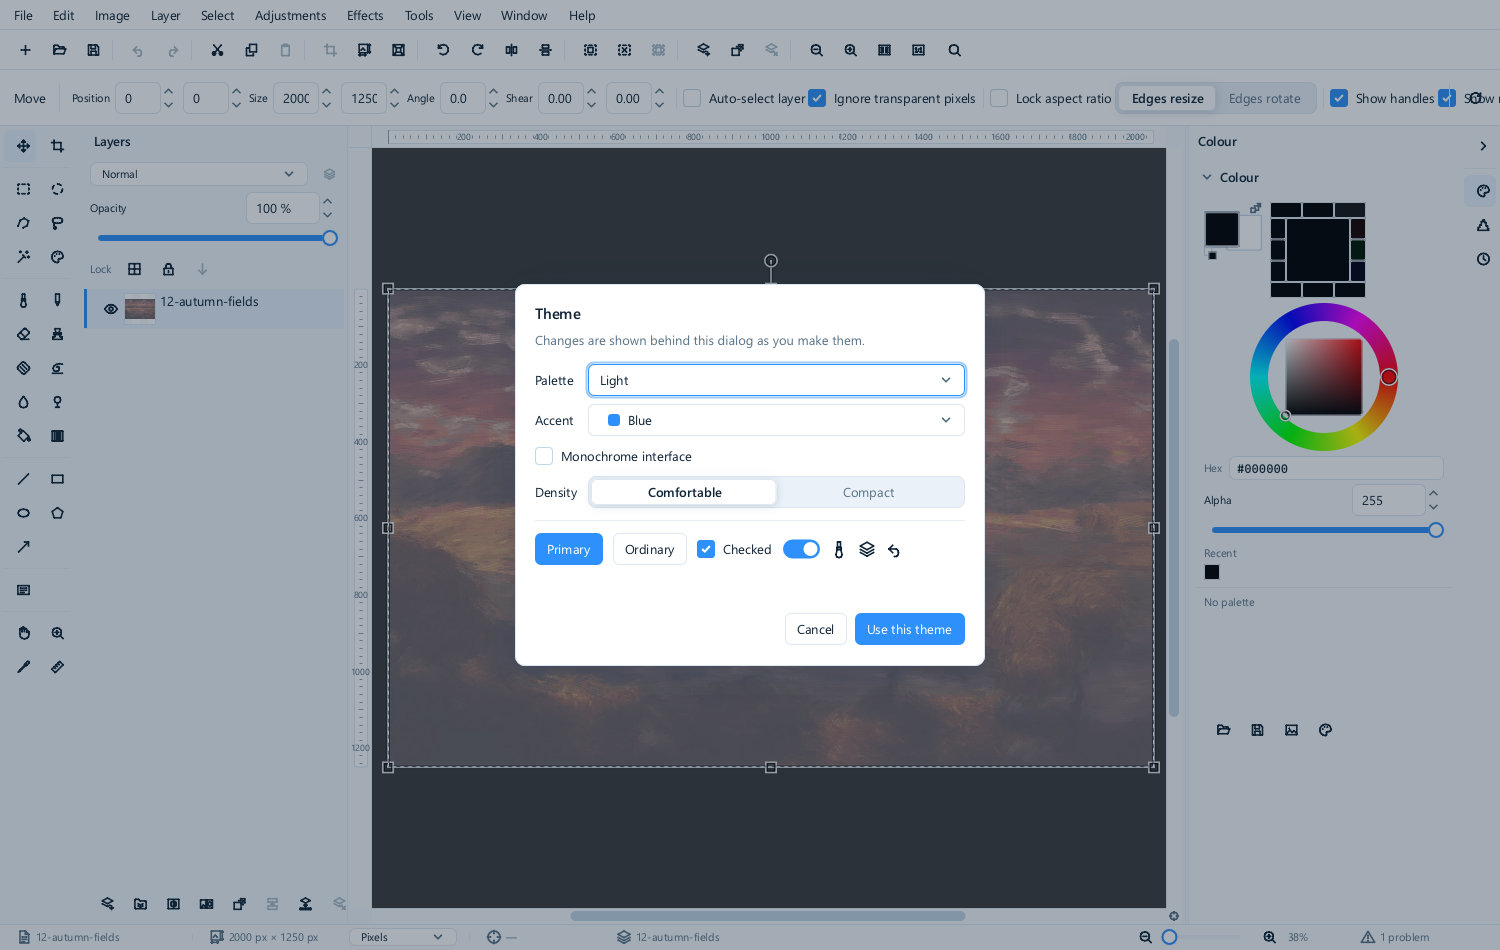
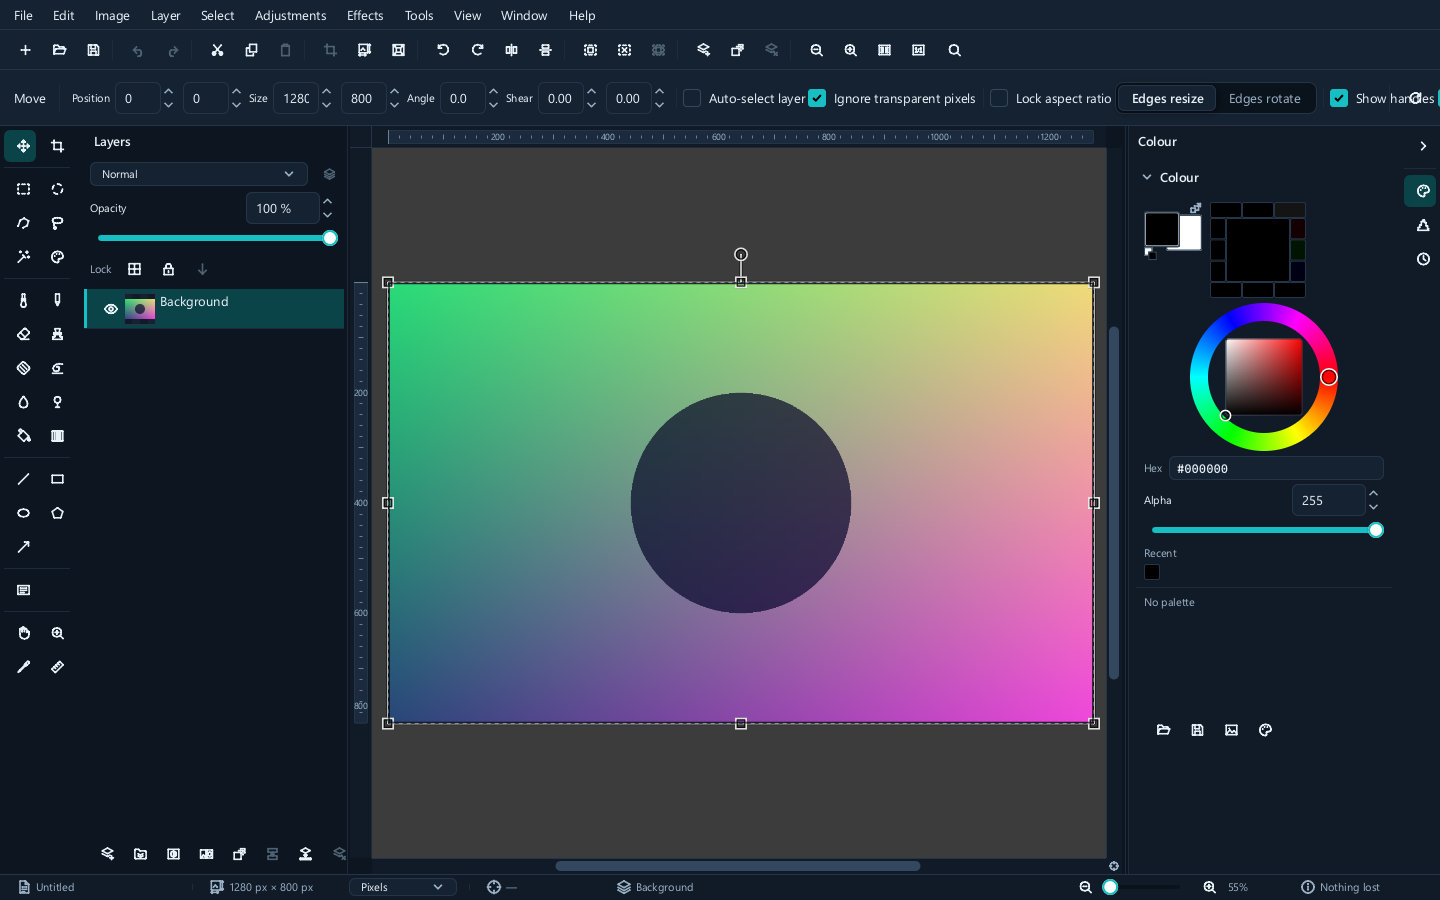
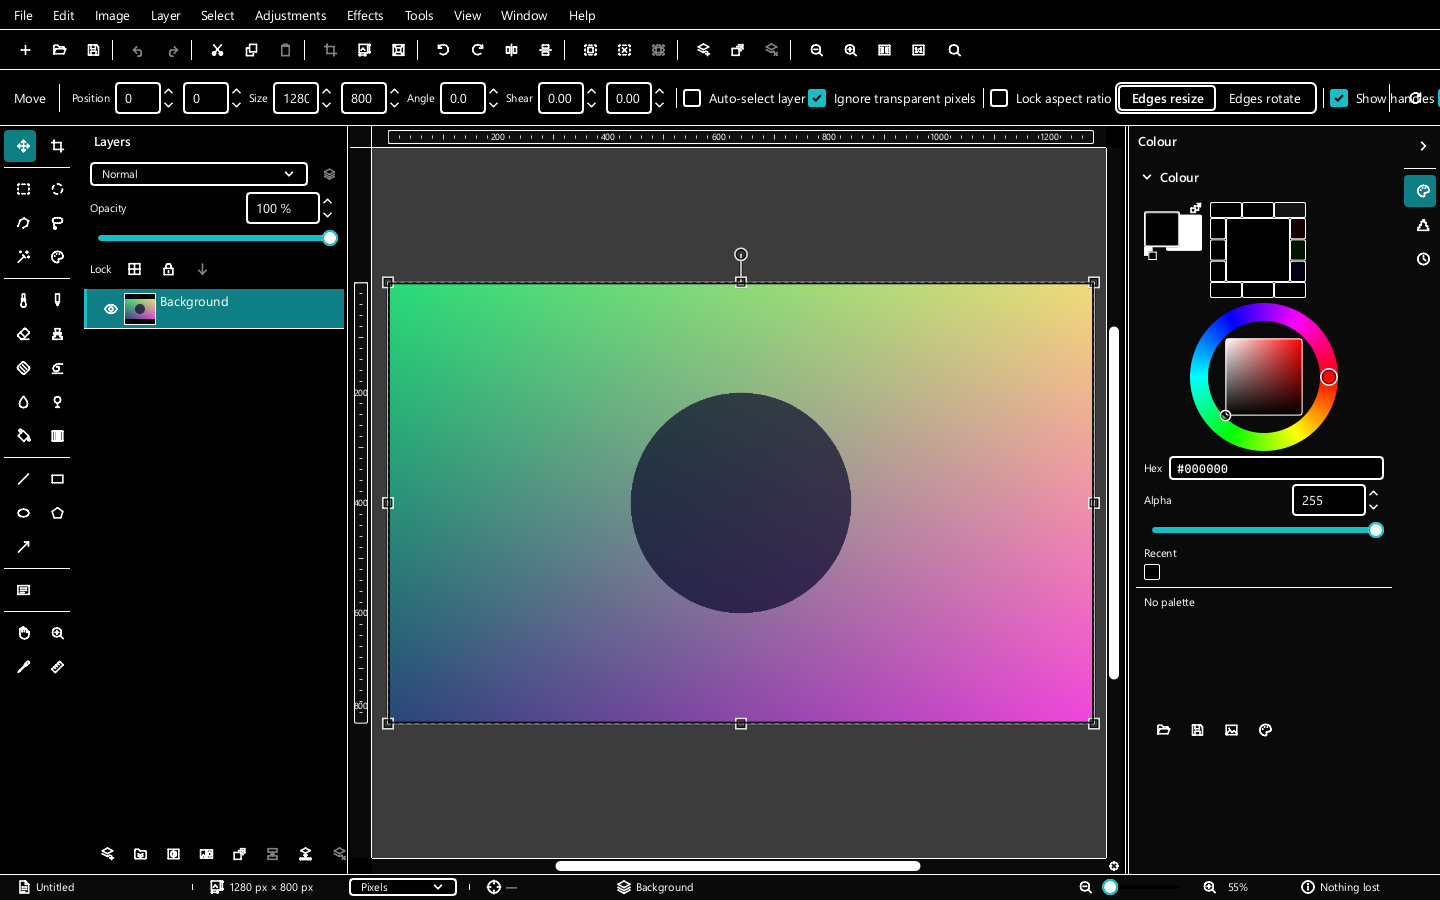
Light, dark and a high-contrast theme.
| Dark | High contrast |
|---|---|
 |
 |
Choose a comfortable theme and a neutral canvas surround. Very bright and very dark surrounds can both change perceived contrast. Consistent ambient light, a calibrated display and checking the intended output matter more than choosing dark mode alone.
The high-contrast theme is there for legibility rather than looks.
Accent colour
Eight accents change the highlight colour used for selections, focus rings and active controls.
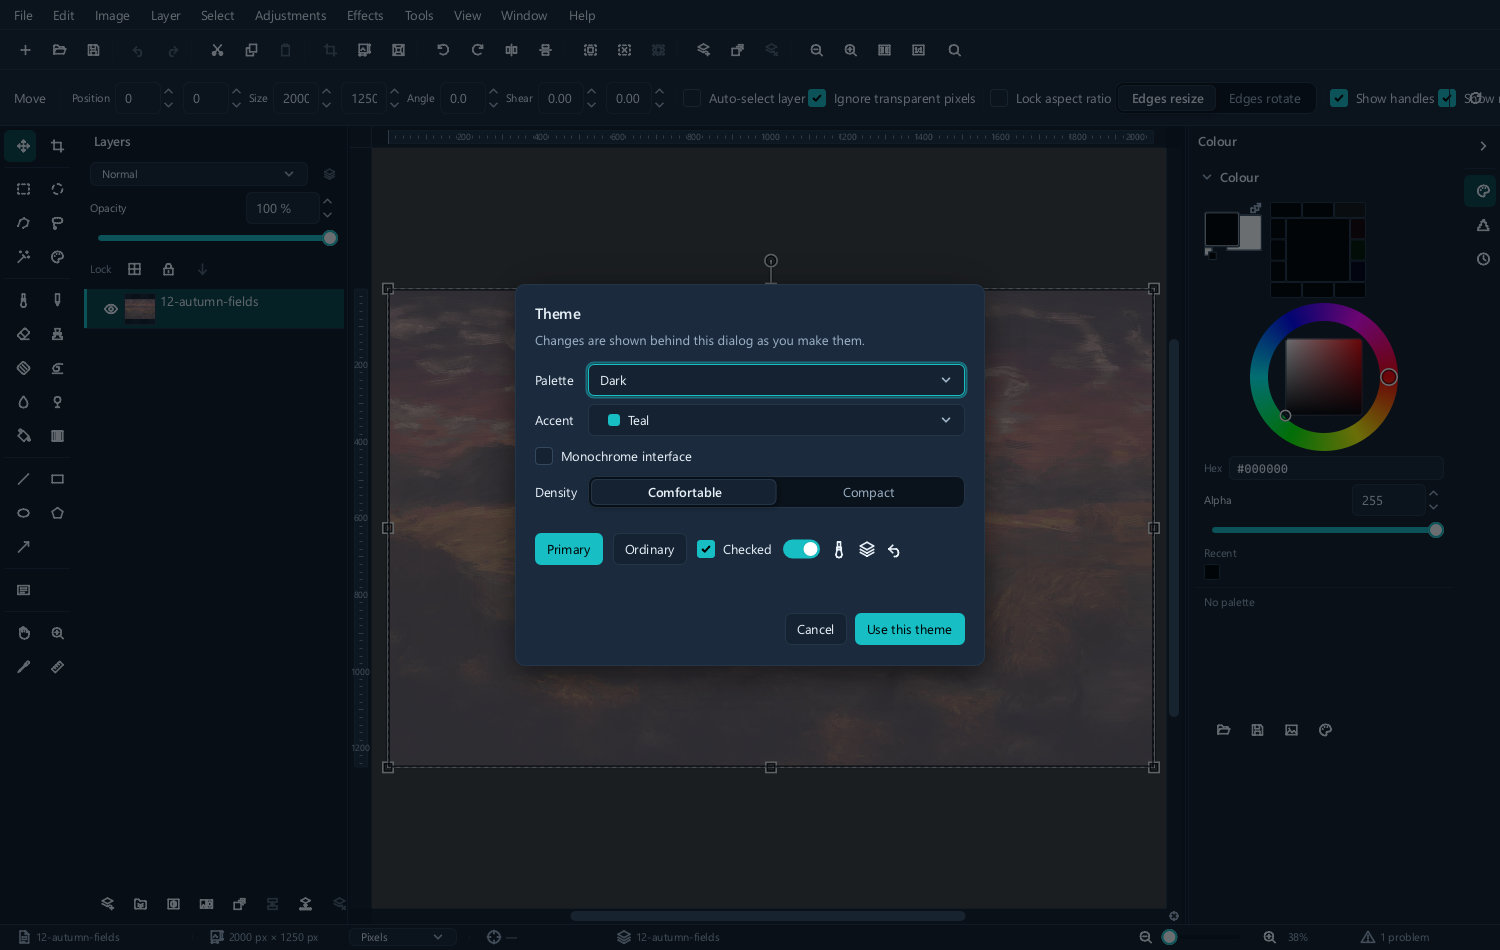
A monochrome option draws the interface entirely in neutral greys. It is the most useful option on this page for colour work: with no colour anywhere in the chrome, nothing competes with the picture, and your eye is not being biased by a blue toolbar while you judge a white balance.
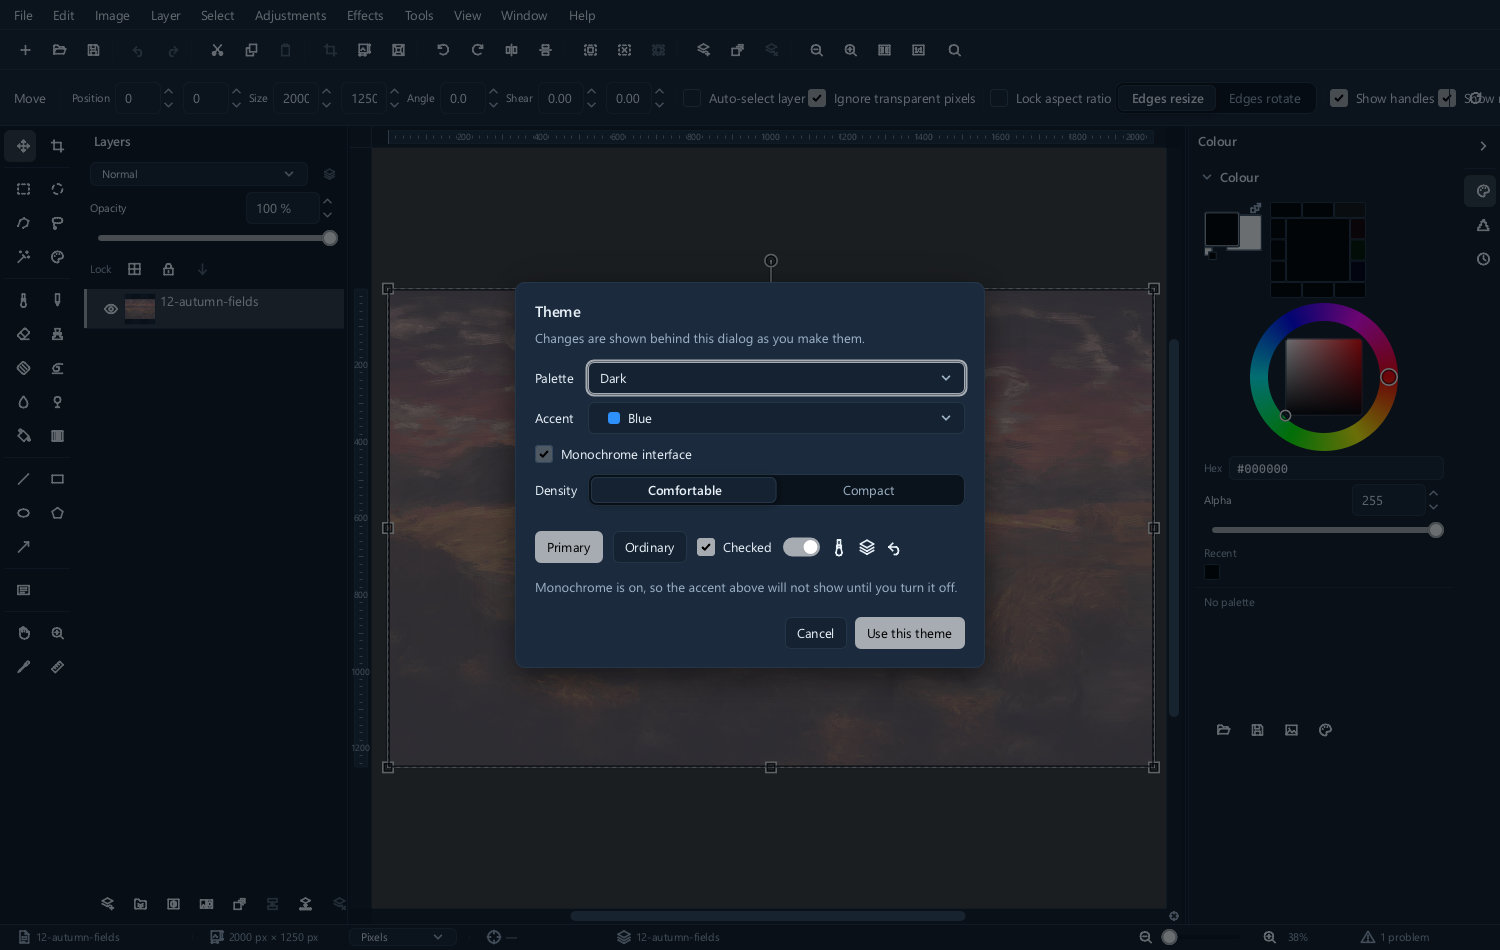
Density
A compact layout fits more on screen at the cost of smaller targets.
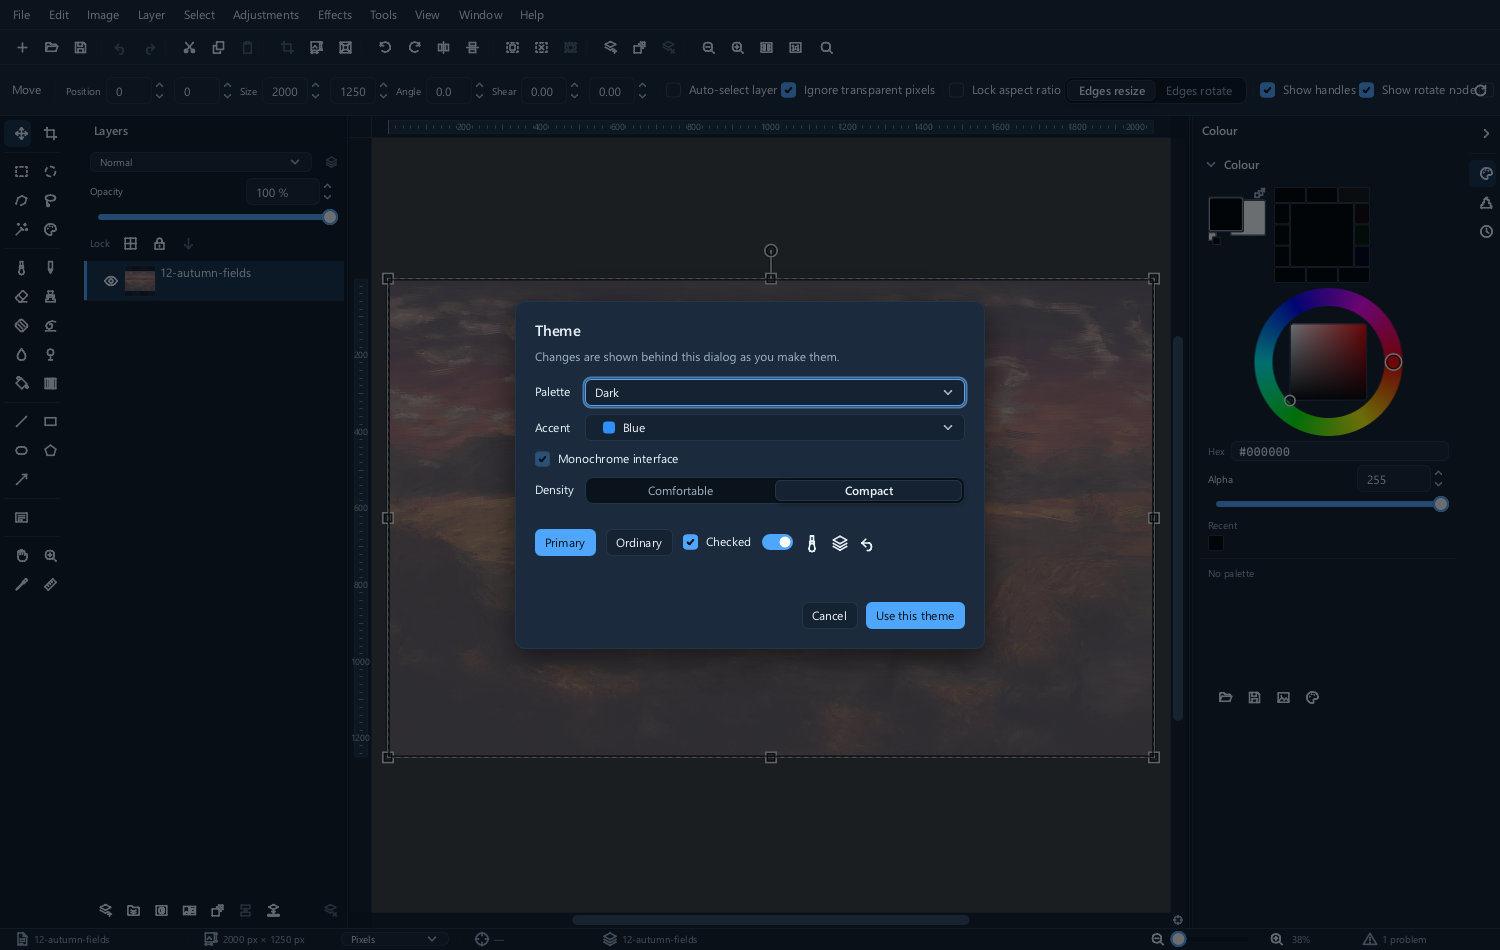
Worth it on a laptop, not worth it with a tablet and pen.
Languages
The interface comes in English, 简体中文 and 日本語, chosen in the interface preferences.
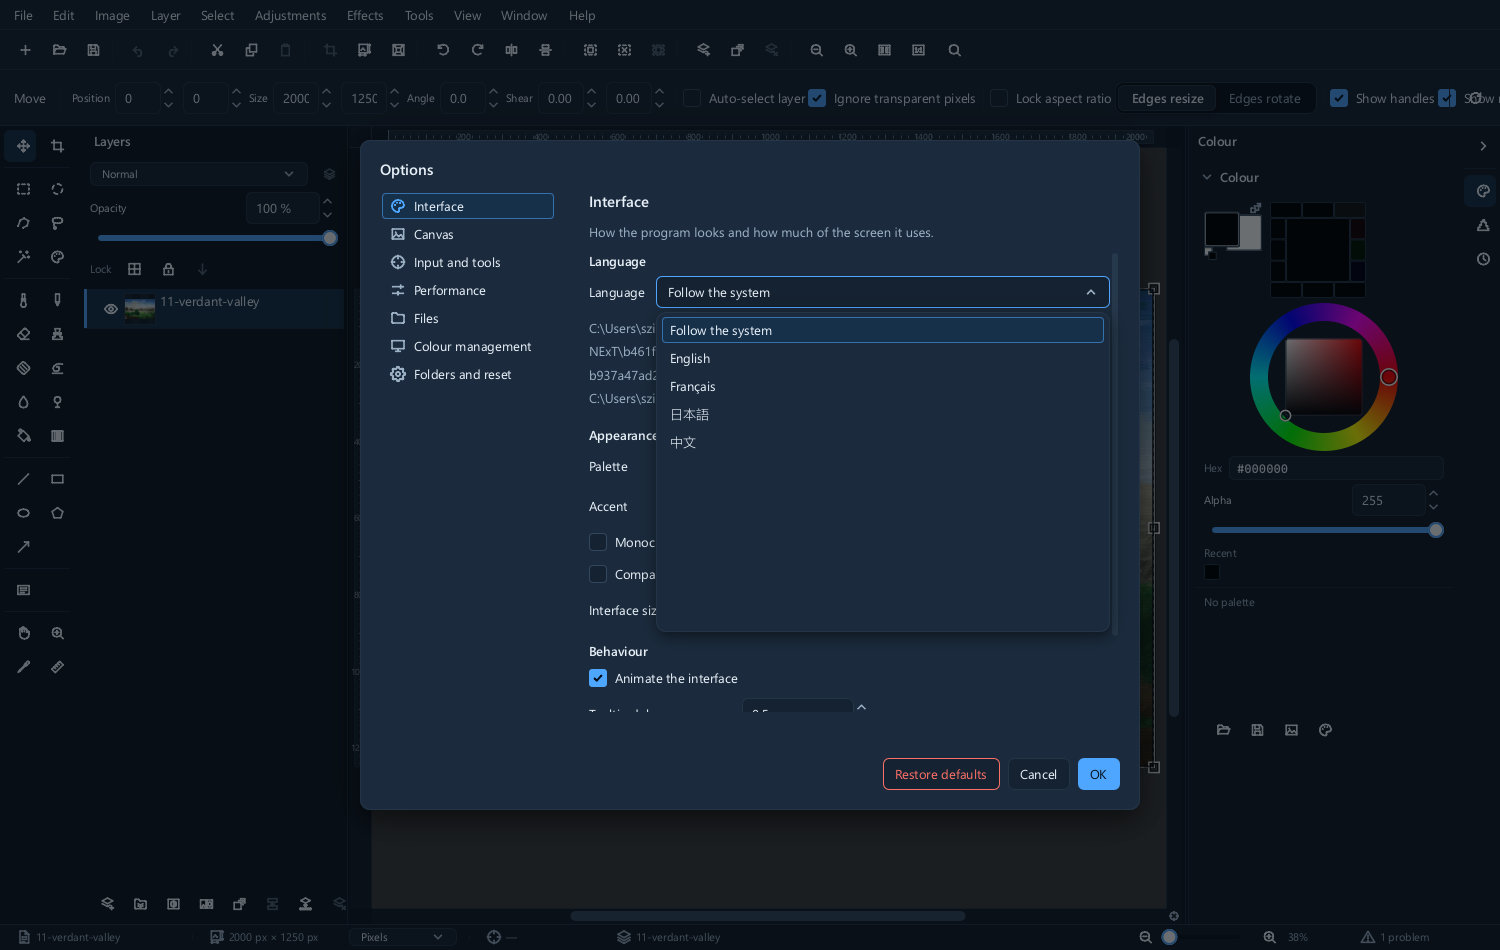
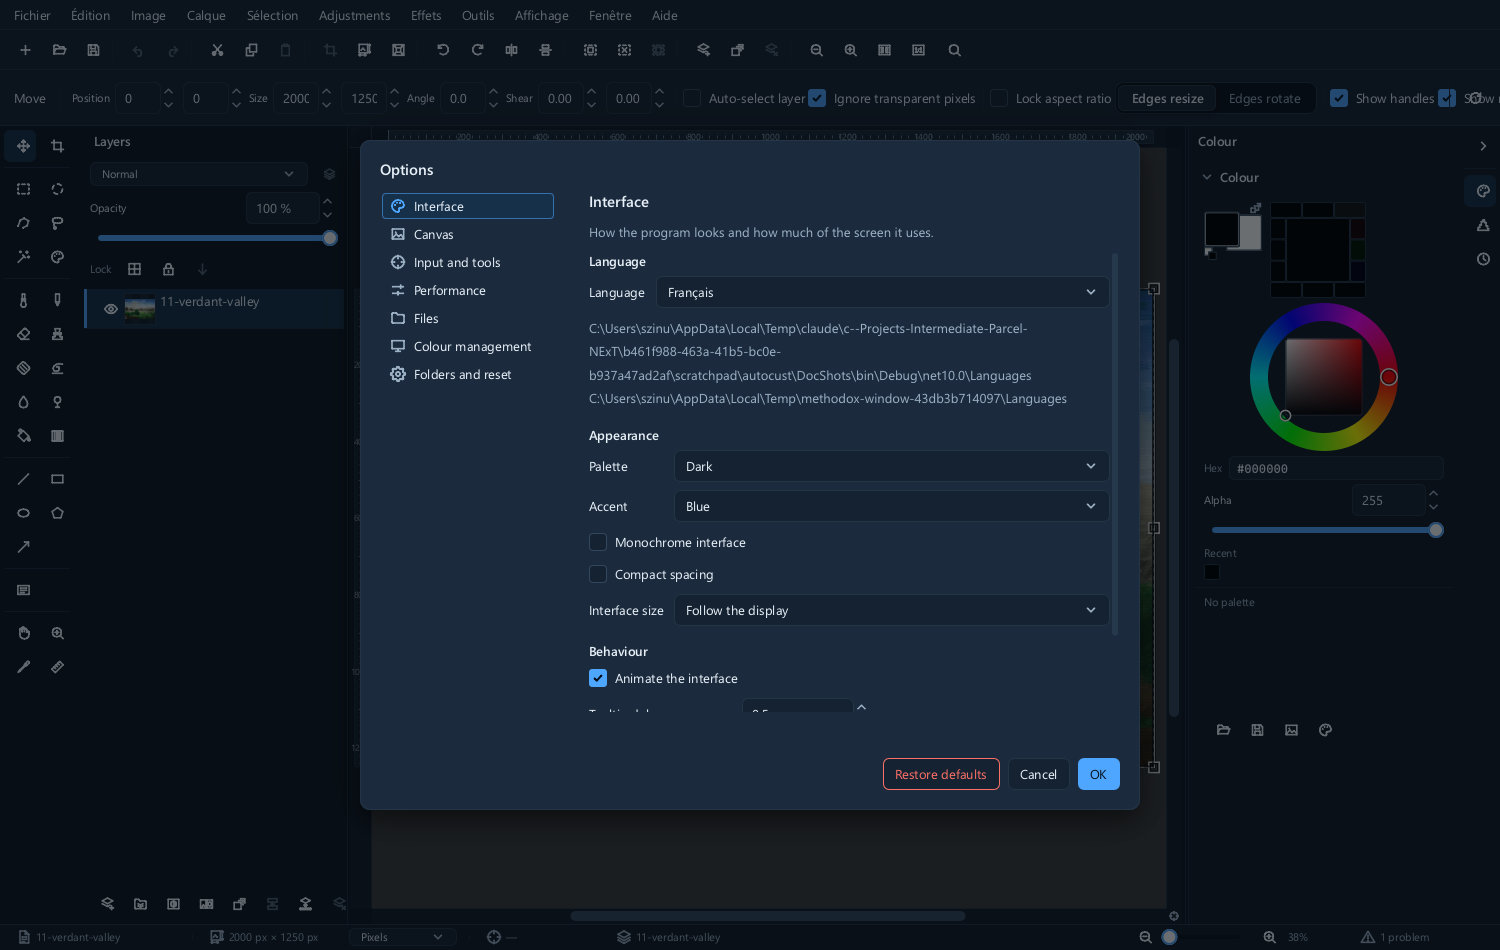
Adding a language
Languages are files, not part of the program. Every .json file in the Languages folder beside
the program — and in the Languages folder under your settings directory — is offered in the
picker.
To add one:
- Copy
en.jsonto a new file named for the language tag:fr.json,de.json,pt-BR.json. - Set
$languageto that tag and$nativeNameto the language's own name for itself. - Translate the values. Leave the keys alone.
There is nothing to rebuild and nothing to install. Put the file in place, restart, and the language is in the list.
You do not have to finish it before it is useful. Any key you leave out falls back to English on its own, key by key — so a file holding only the menu bar gives you a translated menu bar and an English everything-else, and the program runs perfectly well like that. Translate the menus first, then the tool options, then the dialogs, and use it at every stage.
The keys are stable between versions, so a translation you write today keeps working. When a new
version adds captions, the new keys simply fall back to English until somebody fills them in — you
can find them by comparing your file's keys against en.json.
A few rules if you translate one:
- Keep the placeholders.
{0}and its relatives must survive, in an order that reads correctly in your language. - Keep the trailing three dots. A caption ending
...promises a dialog, and that convention crosses languages. - Leave format names alone — JPEG, PNG, ICC, sRGB — and keep units symbolic: px, %, dpi.
- Mind the length. These are buttons. A translation three times the English will be clipped.
Any key you leave out falls back to English on its own, so a partial translation works and can be finished later.
Keyboard shortcuts
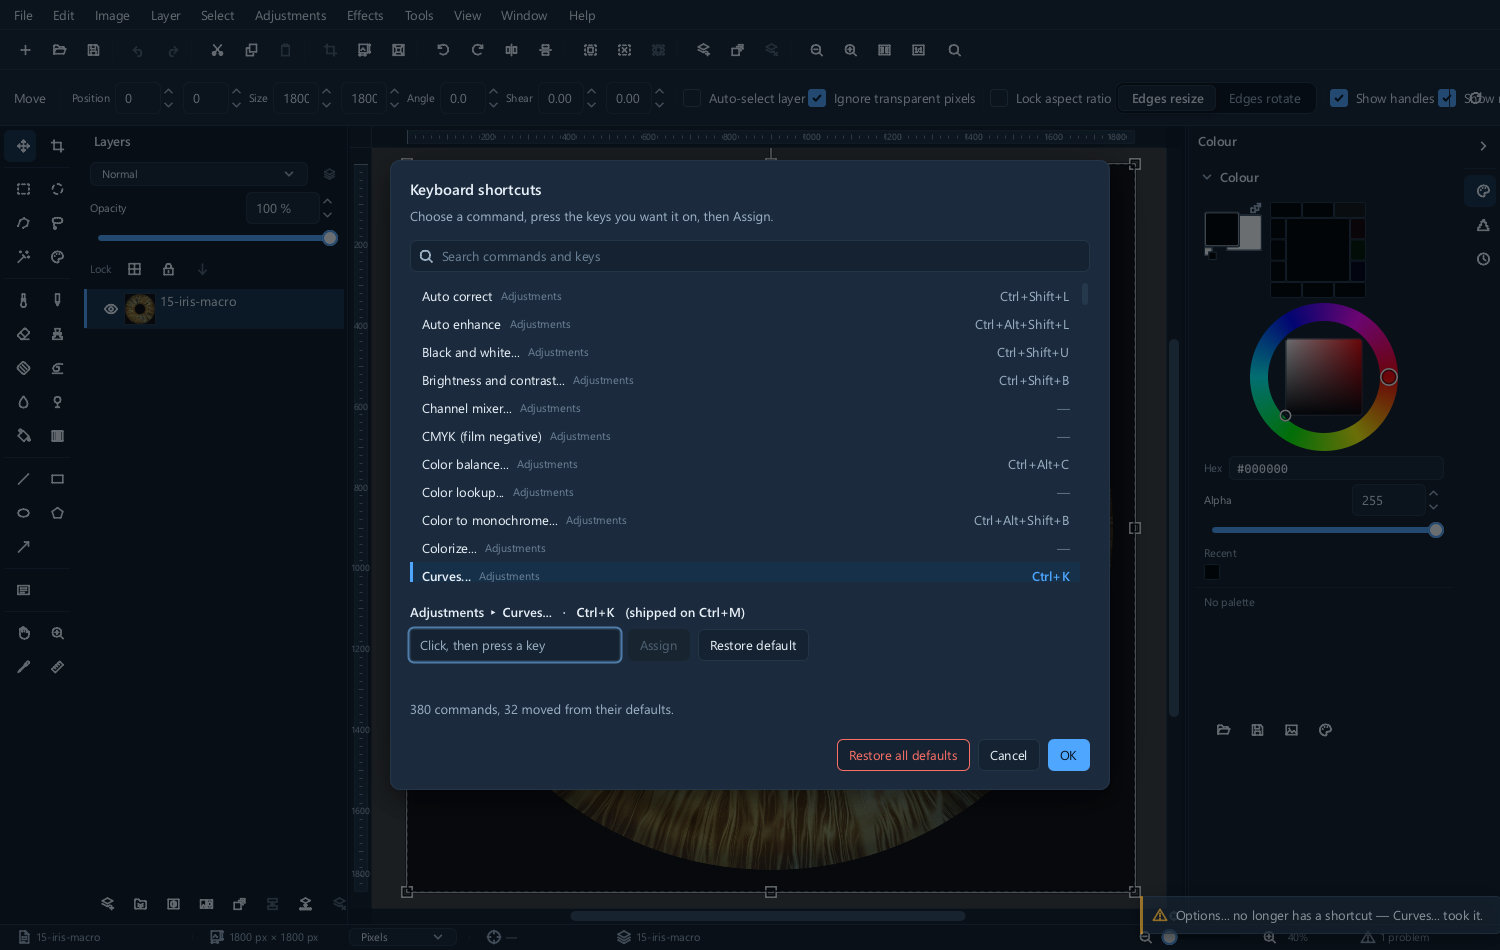
Every command can be given a shortcut, and the ones already assigned can be changed.
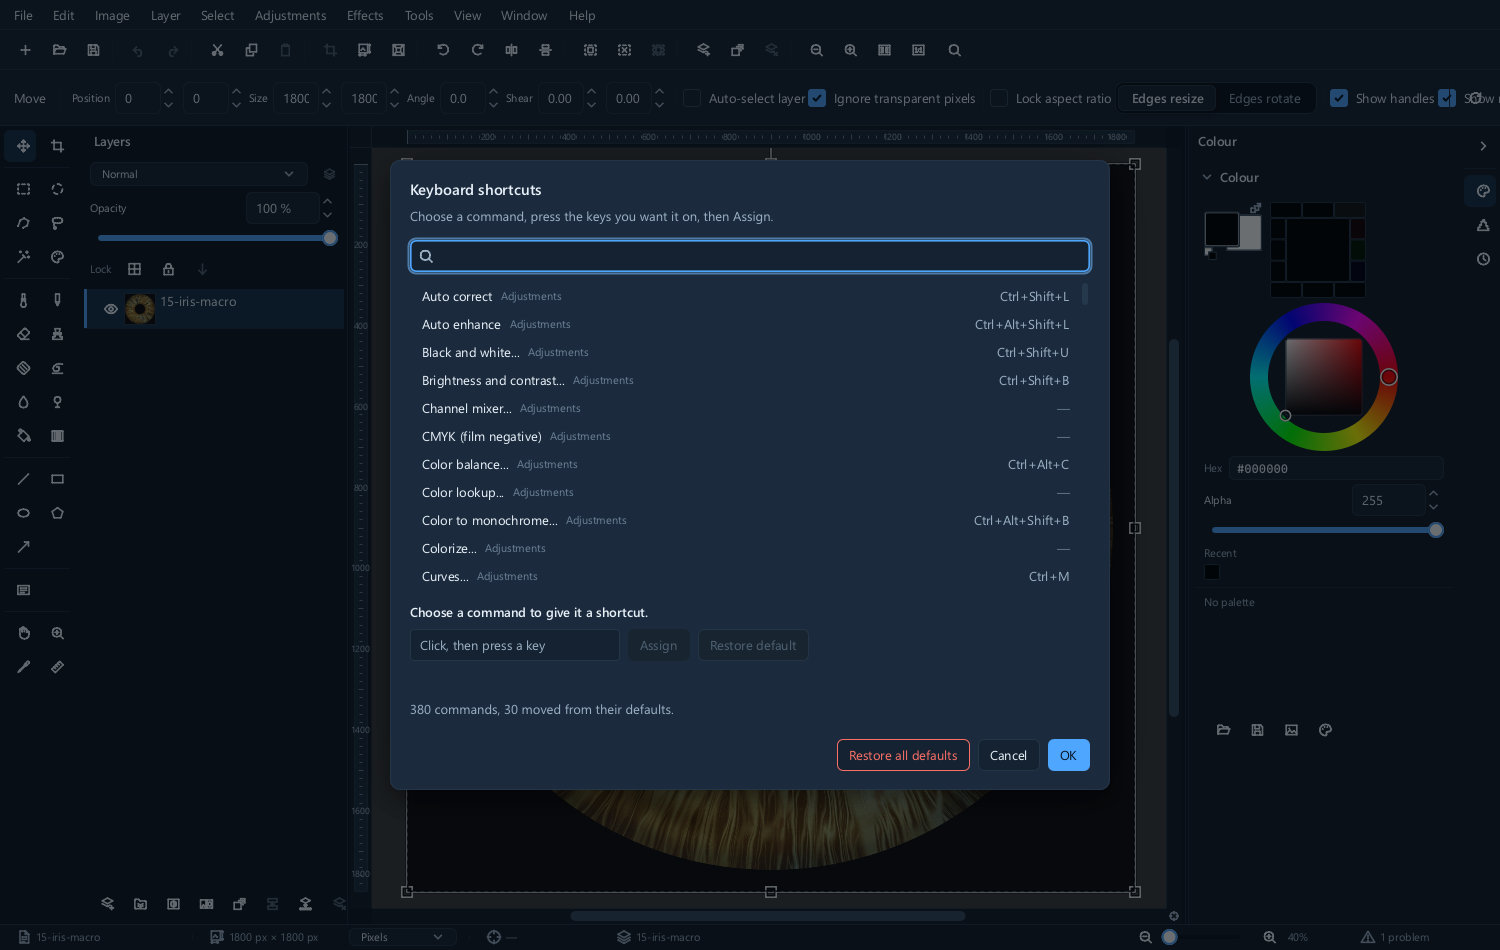
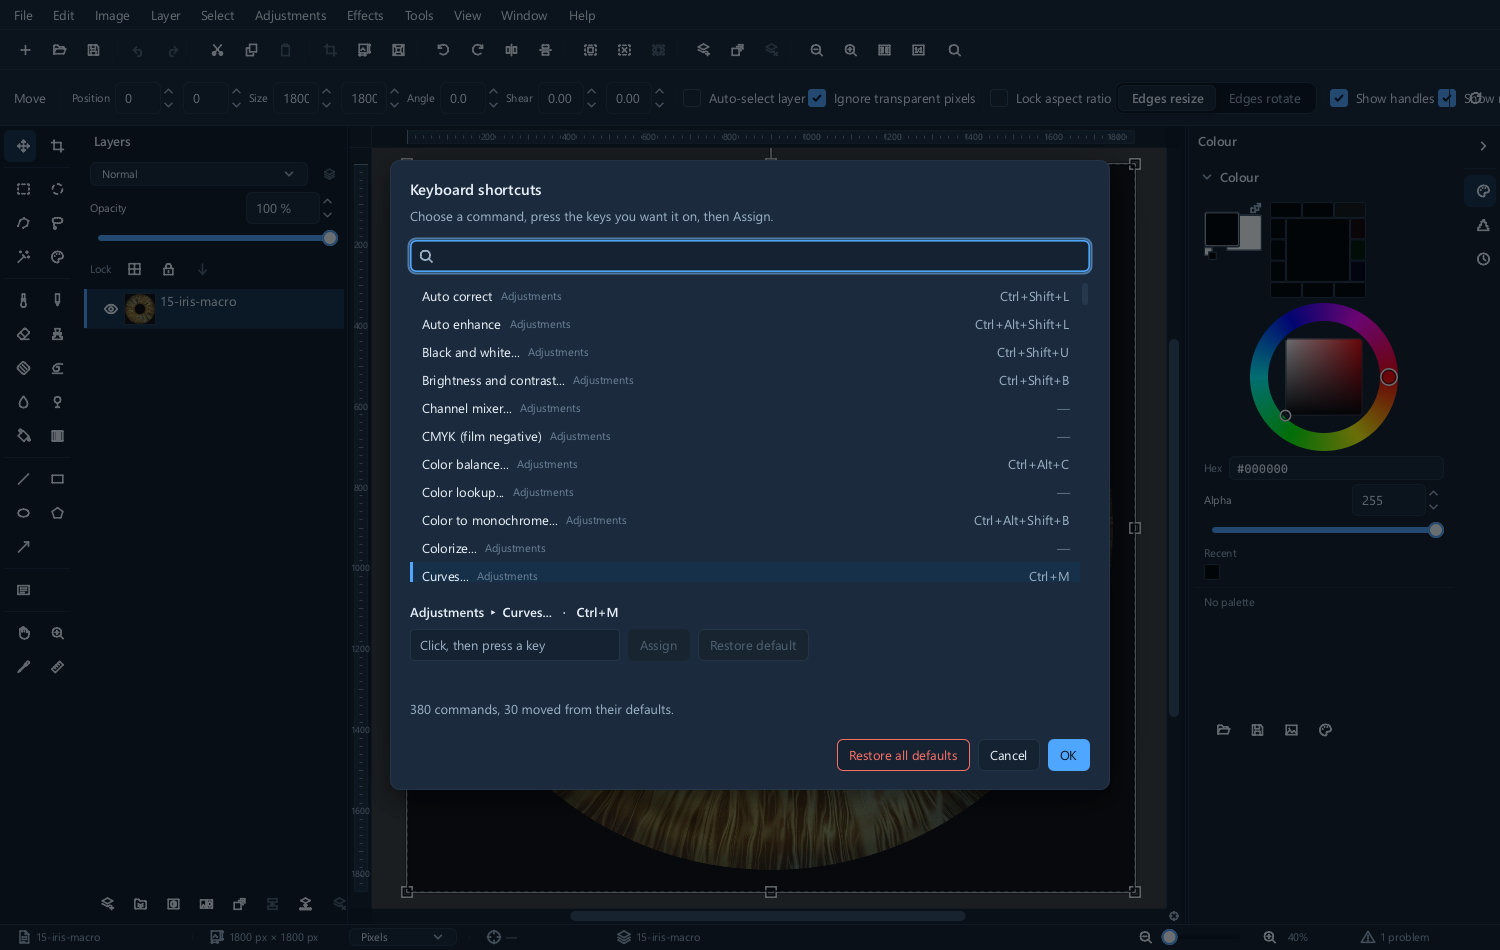
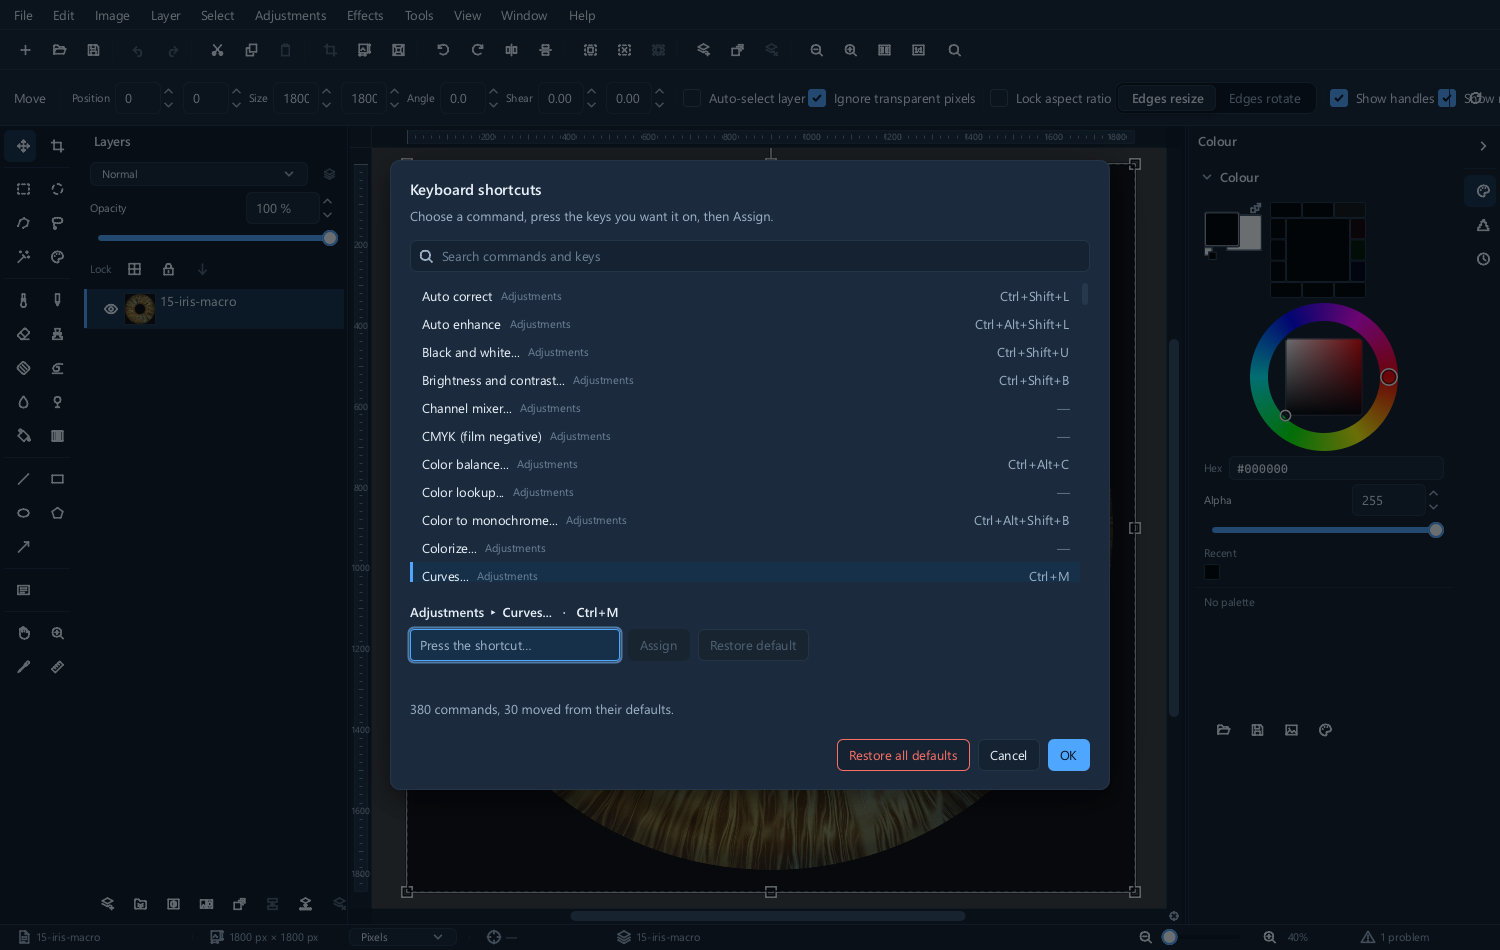
Find the command, select it, and press the keys you want.
| Selecting a command | Capturing the keys |
|---|---|
 |
 |
If the combination is already in use, you are told what it currently does before anything changes.
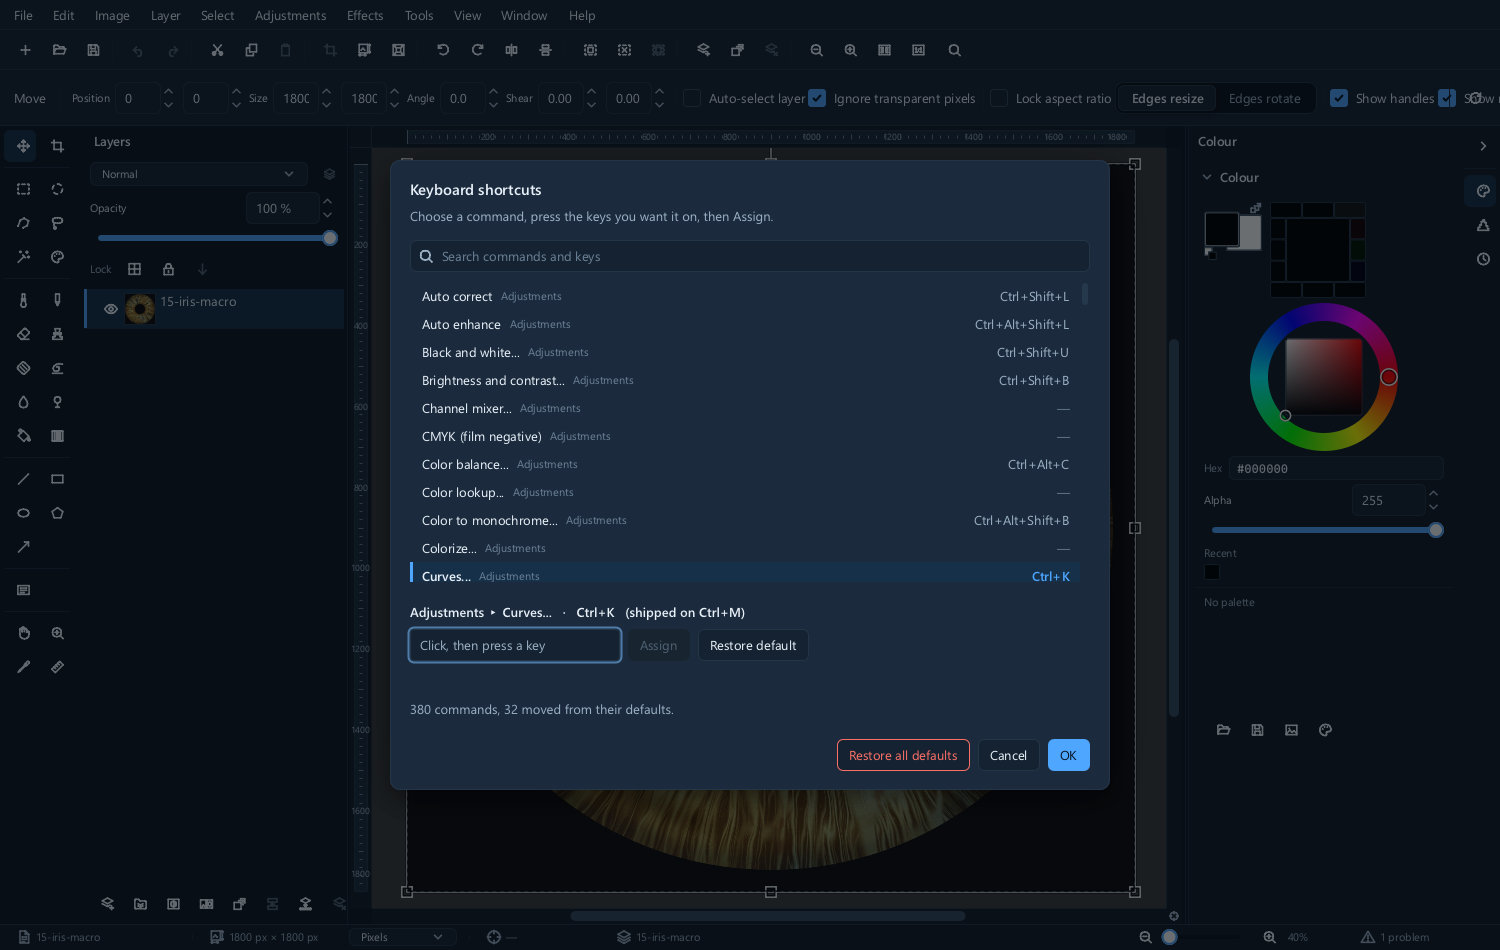
Assigning it anyway takes it from the other command, and the editor shows that immediately rather than leaving you to discover it later.
The ones worth learning first
These are assigned by default, and they are the ones that pay back immediately:
| Key | Tool |
|---|---|
| B | Brush |
| P | Pencil |
| E | Eraser |
| K | Clone |
| J | Healing |
| R | Blur and sharpen |
| O | Dodge and burn |
| N | Smudge |
| F | Fill |
| G | Gradient |
| M | Move |
| C | Crop |
| T | Text |
| W | Wand |
| Q | By color |
| Z | Zoom |
| H | Pan |
Four letters hold more than one tool, and pressing the letter again moves to the next one. That is how twenty-odd tools fit on the alphabet.
| Key | Cycles through |
|---|---|
| S | Rectangular marquee, then elliptical marquee |
| L | Polygon, then lasso |
| I | Colour picker, then measure |
| U | Line, rectangle, ellipse, polygon, arrow |
| Key | Does |
|---|---|
| [ ] | Brush smaller and larger |
| Shift+[ ] | Brush softer and harder |
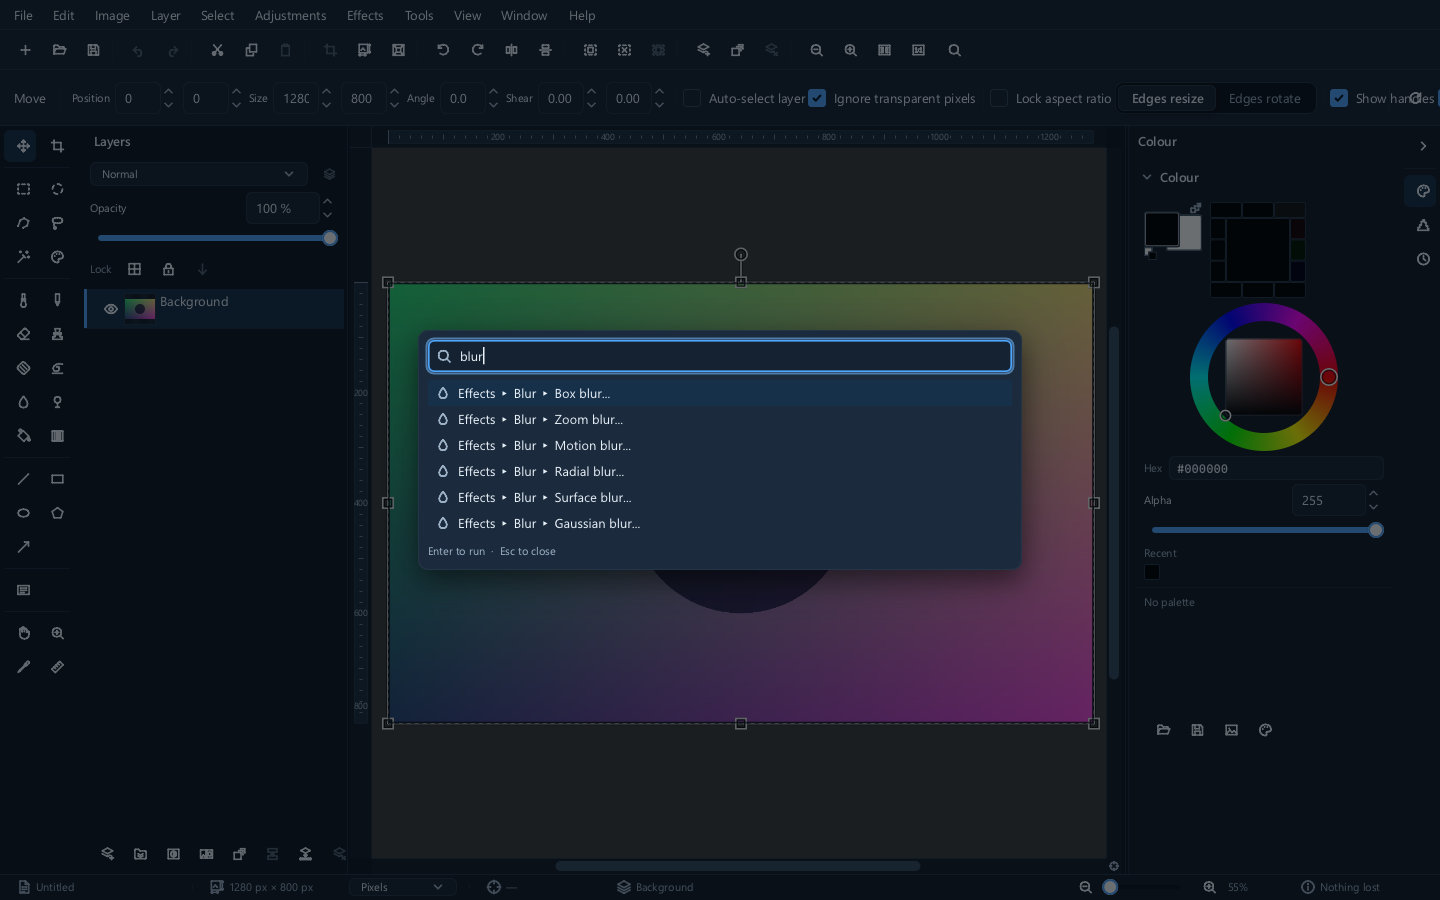
| Ctrl+F | Search for a command by name |
That last one is worth knowing before you memorise anything else — it finds any command by typing part of its name, which for a program with this many menu rows is often faster than remembering where something lives.
Panels
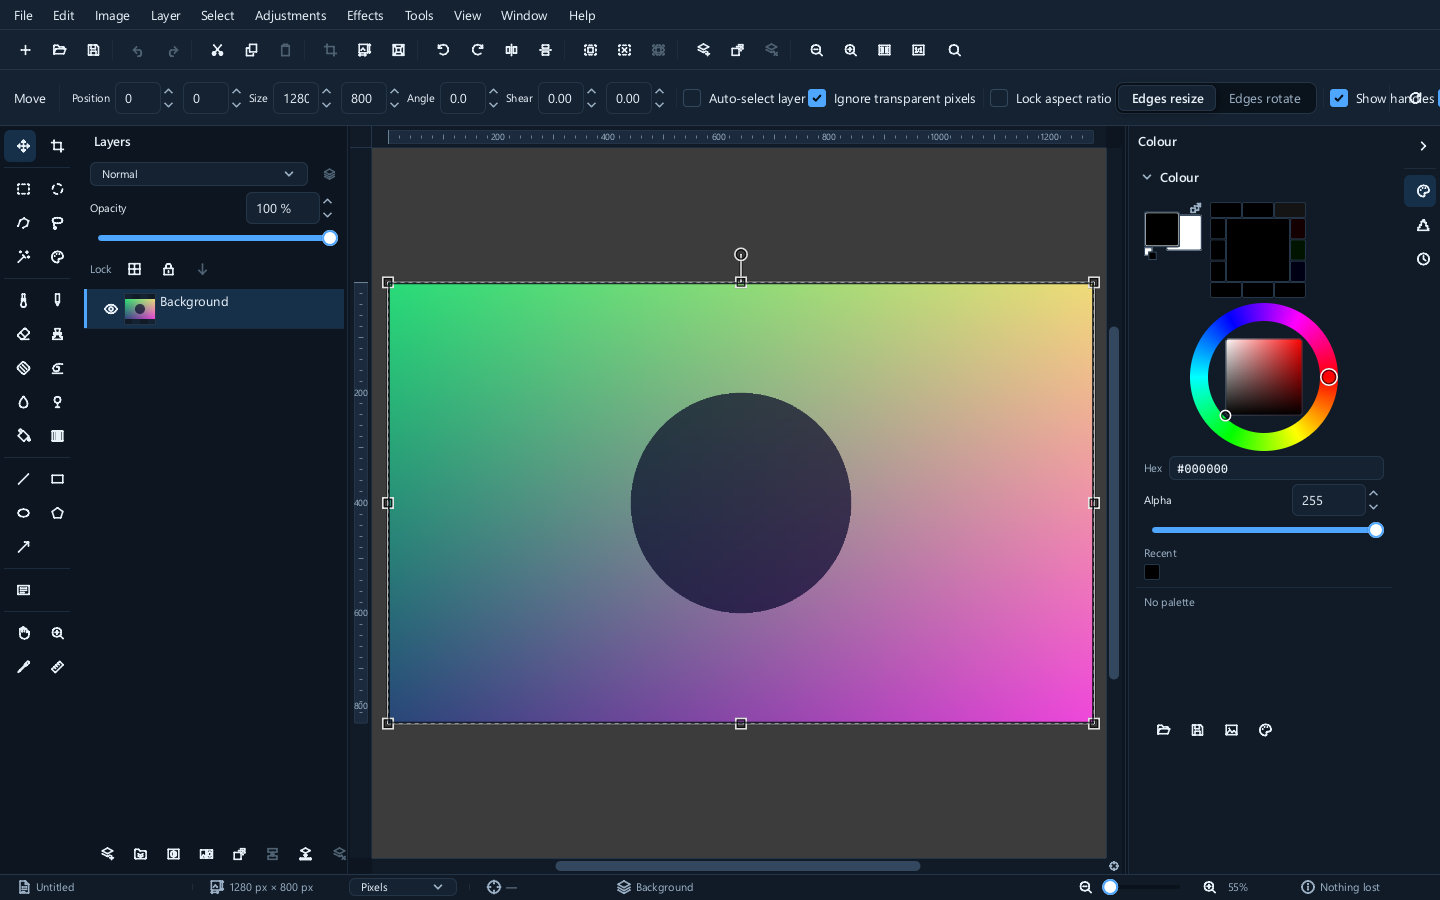
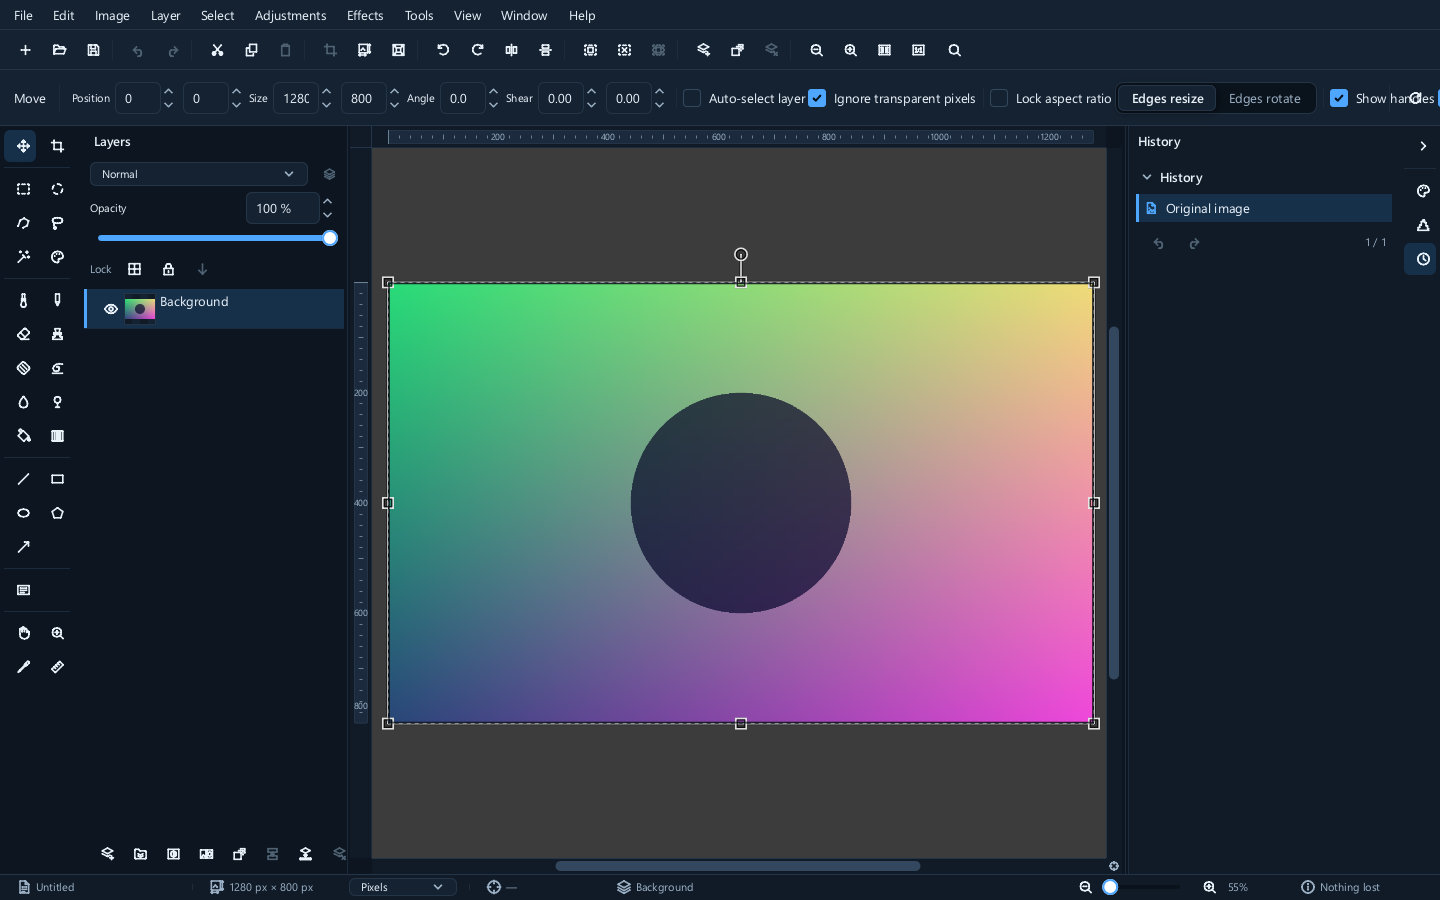
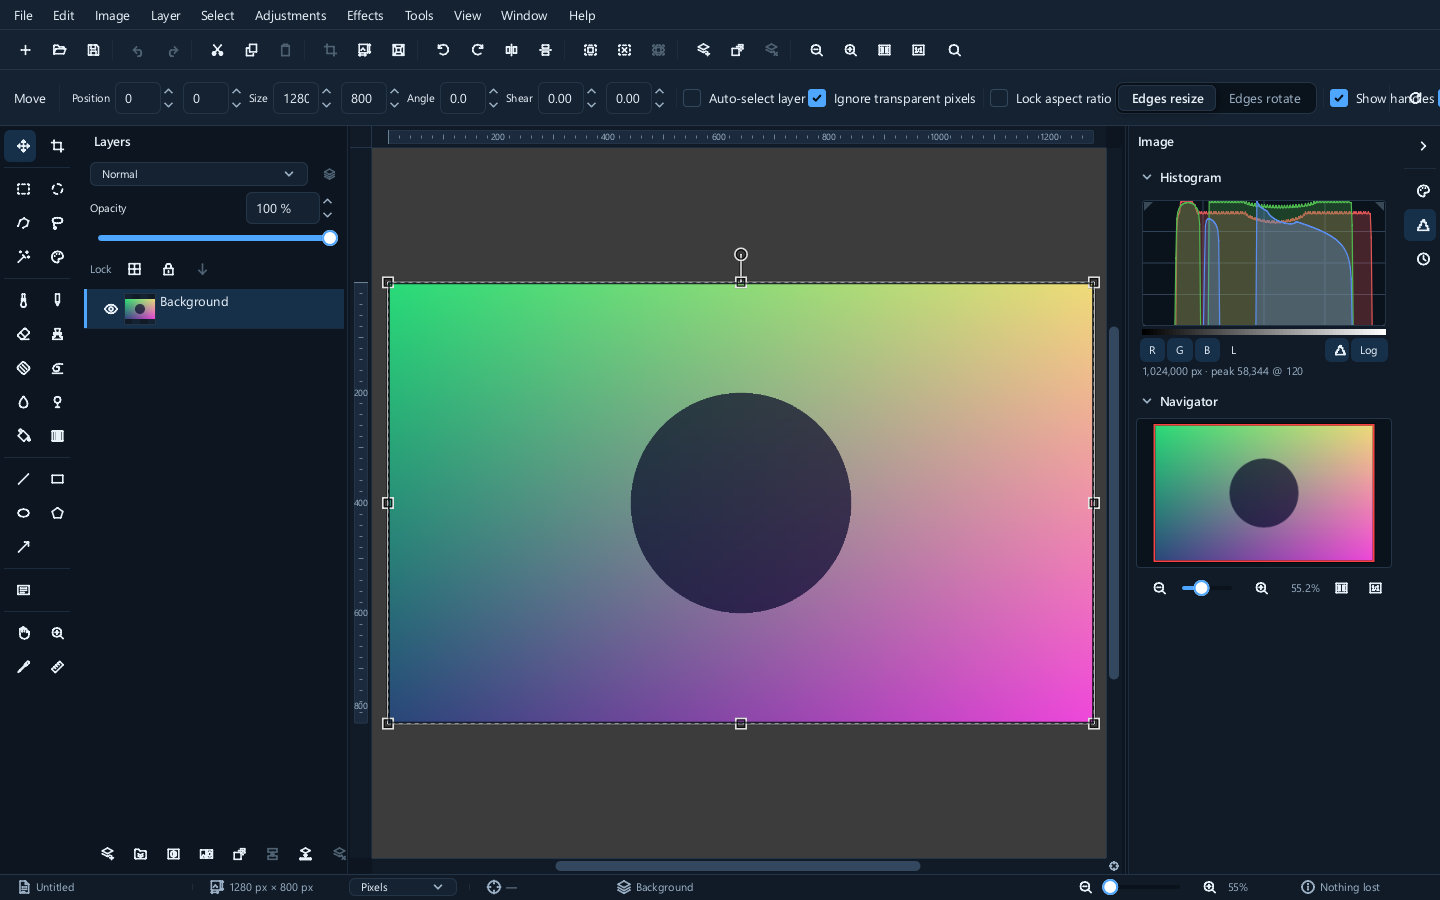
Panels can be shown, hidden and rearranged from the Window menu. The layout is remembered between sessions.
| Colour | History | Image properties |
|---|---|---|
 |
 |
 |
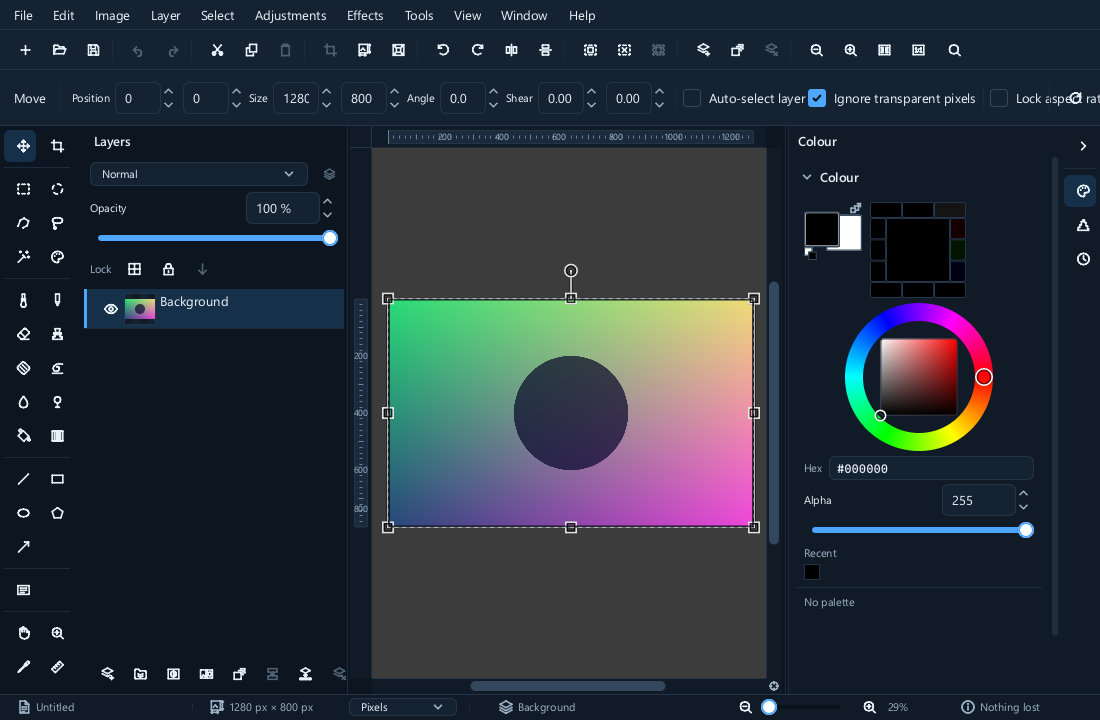
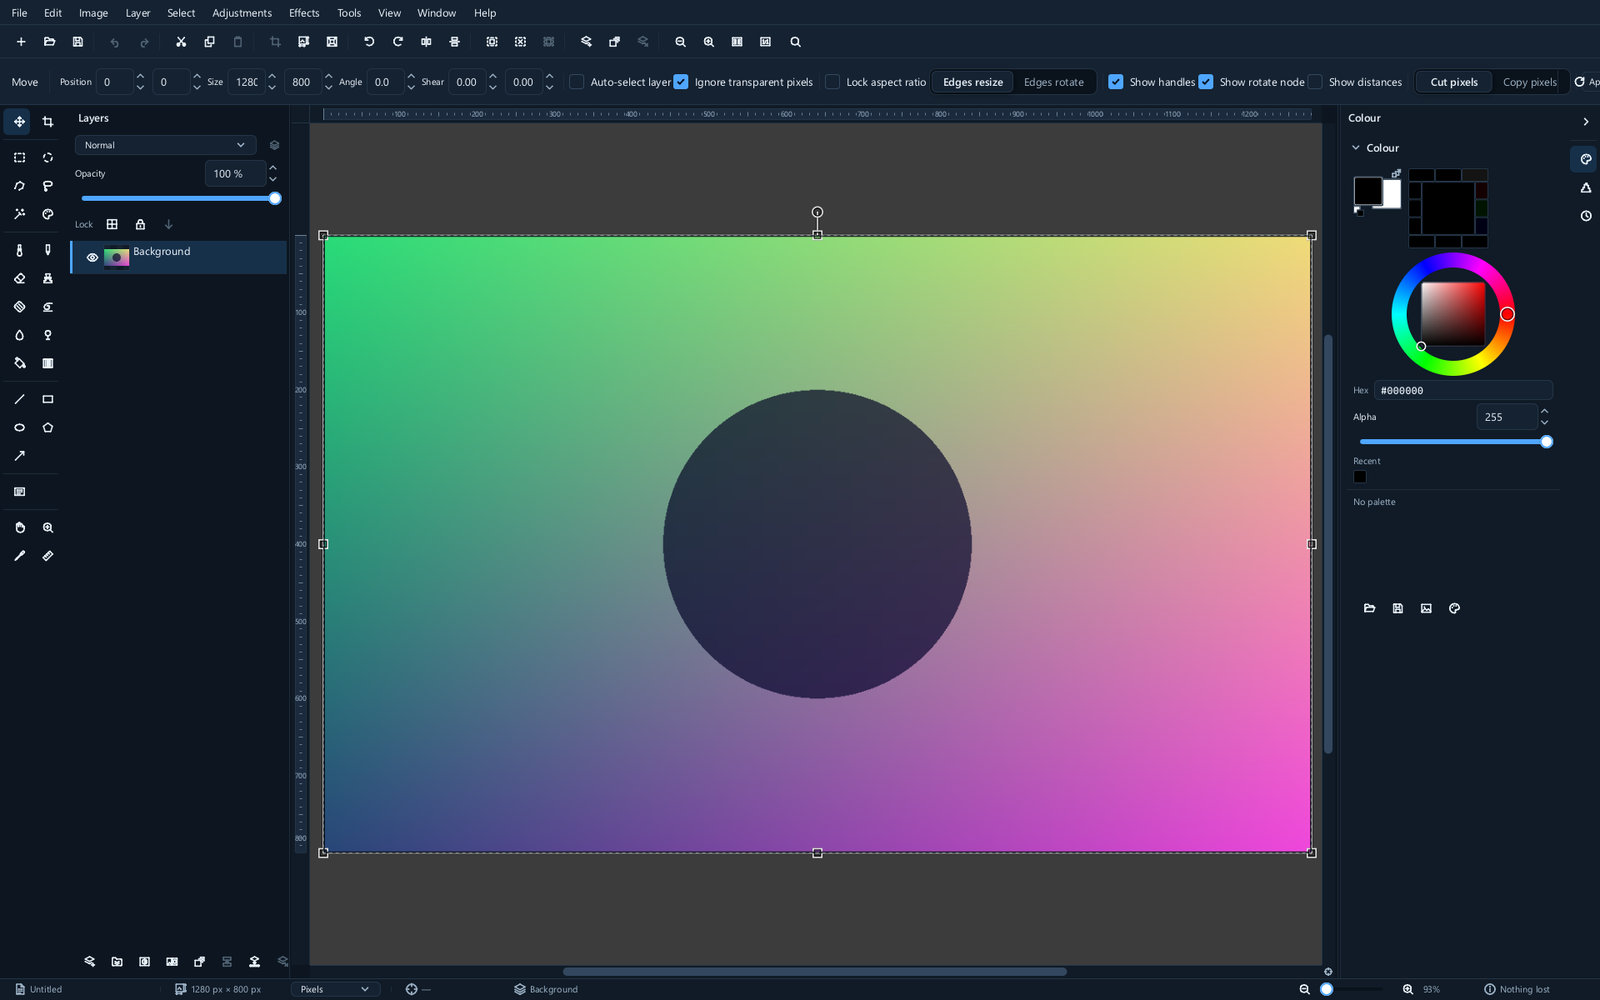
Panel layout depends on window size. On narrow windows, check for clipped tool options and use the Window menu to hide panels you do not need.
| Narrow | Wide |
|---|---|
 |
 |
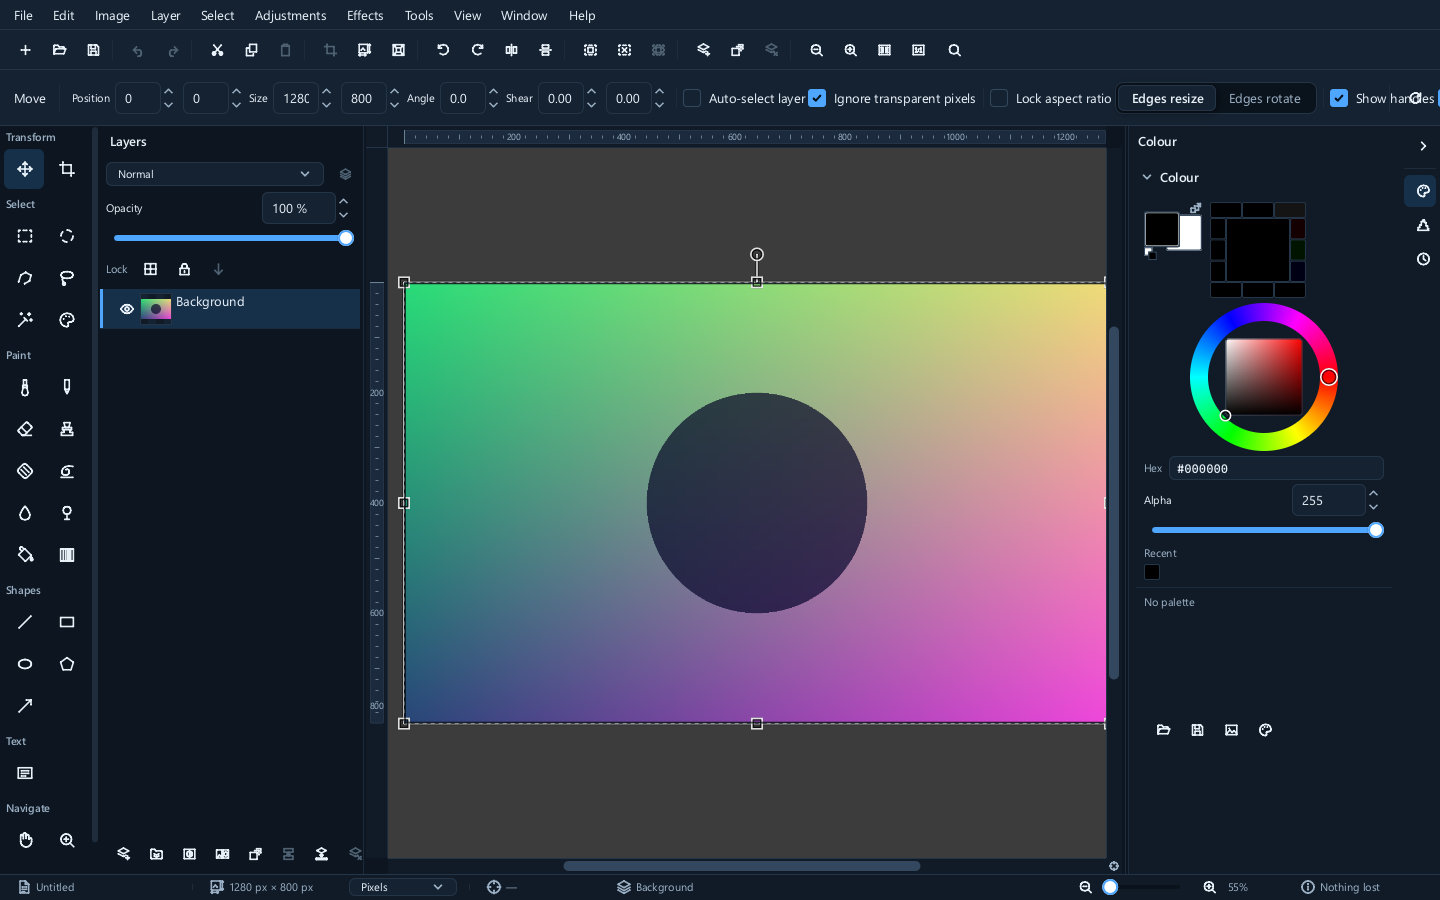
The toolbox can show tool names as well as icons, which is worth turning on for the first week.
Several images open as tabs.
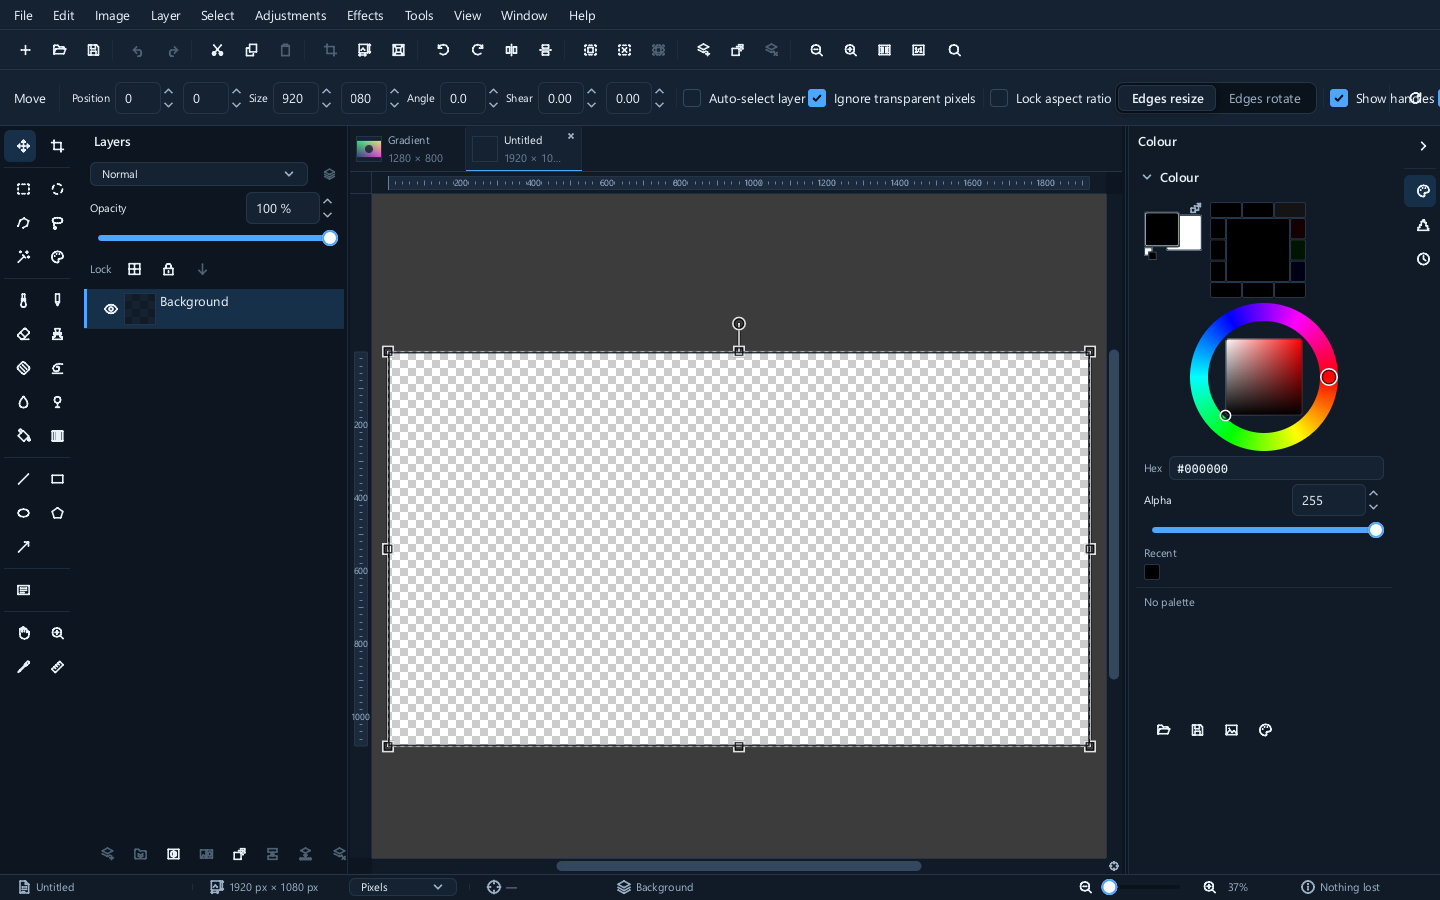
If the layout gets into a state you do not want, it can be reset to the default.
The preference pages
| Page | Holds |
|---|---|
| Interface | Theme, accent, density, language, tool names |
| Canvas | What is drawn behind and around the picture, the checkerboard, guides |
| Colour | Working space, profile handling, rendering intent |
| Files | Defaults for opening and saving, and what to do about metadata |
| Folders | Where settings, presets, macros and autosaves live |
| Input | Mouse and graphics tablet behaviour, pressure |
| Performance | Memory, undo depth, how many threads to use |
Canvas
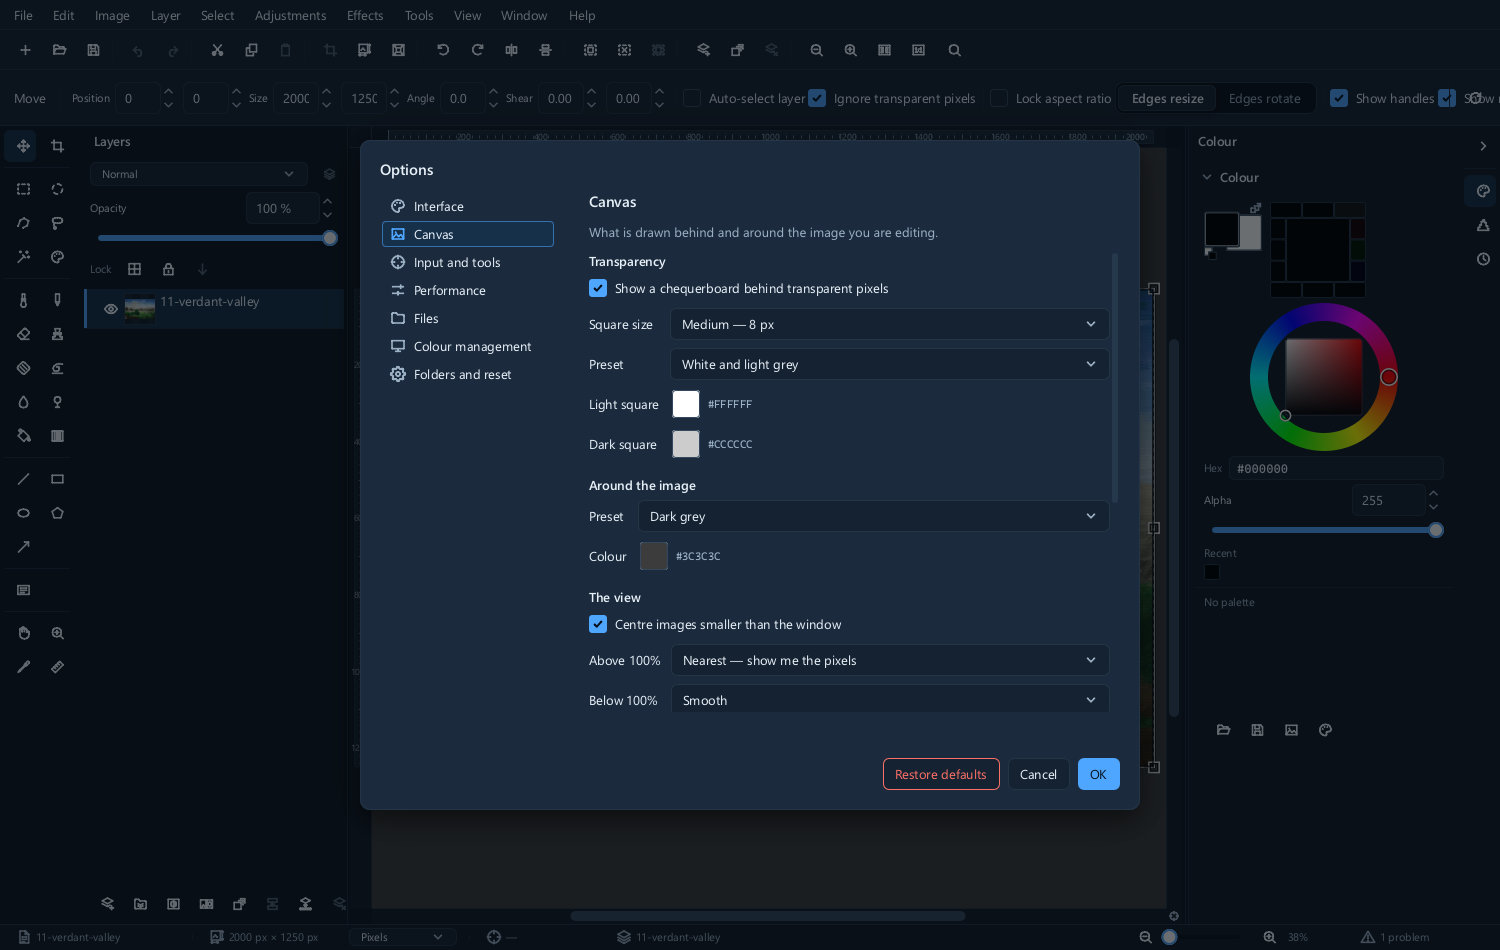
The surround colour matters more than it sounds. A mid-grey surround is the neutral choice; a white one makes pictures look darker than they are, and a black one makes them look lighter.
Colour
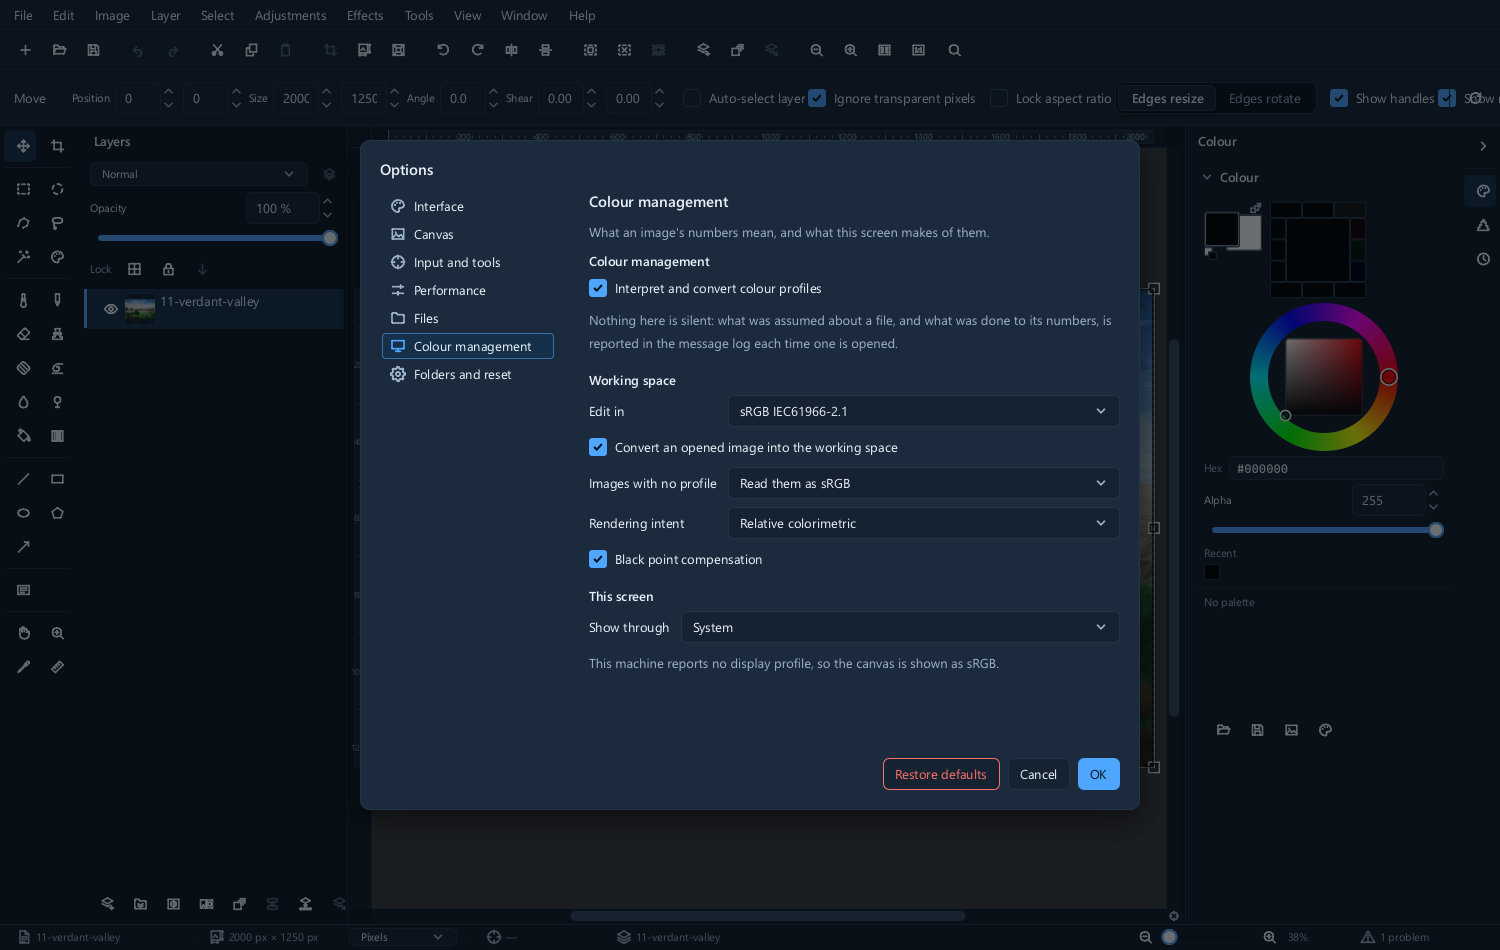
Leave conversion of opened images on. Colour management explains why at length.
Files
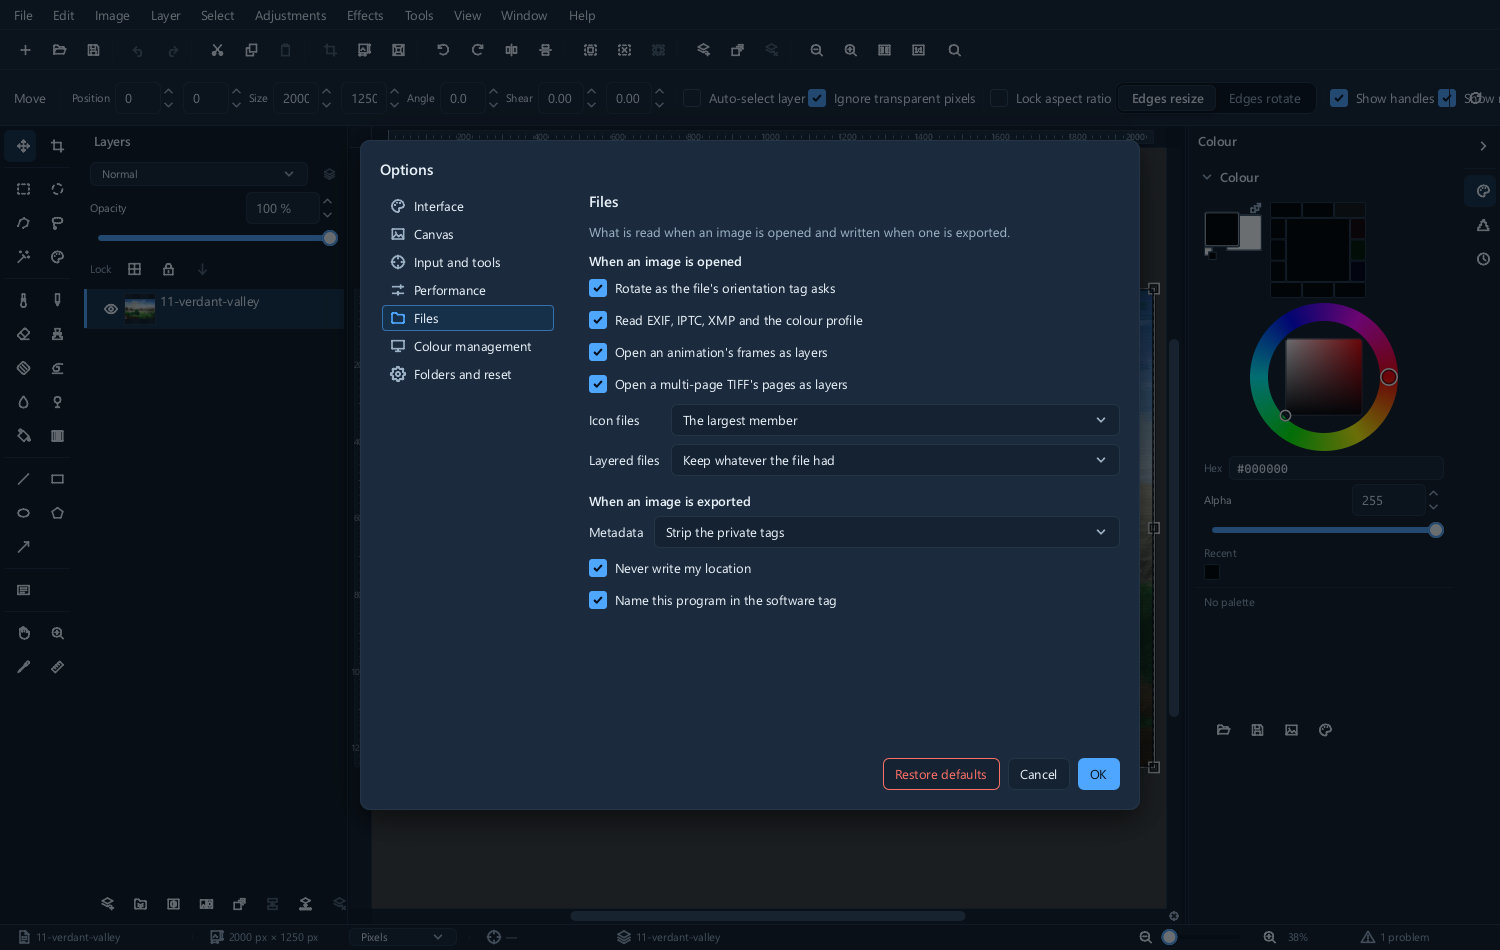
Defaults for export, and what happens to metadata. If you publish pictures, decide here what should travel with them — location data in particular.
Folders
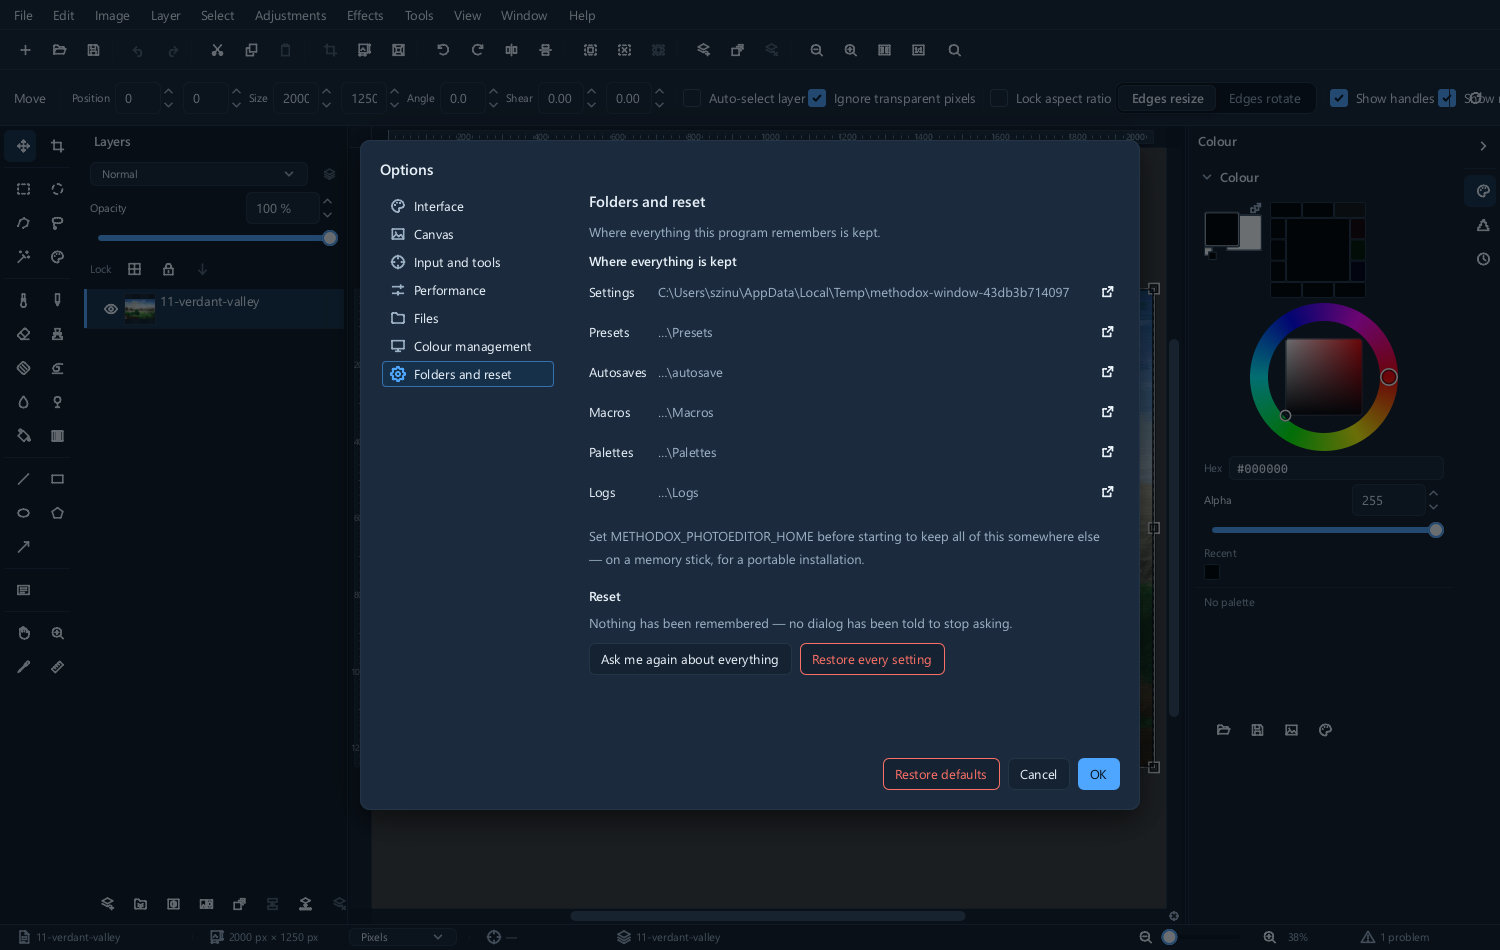
Where your settings, presets, macros and autosaves are kept. Worth knowing so you can back them up — a folder of macros represents real work.
Input
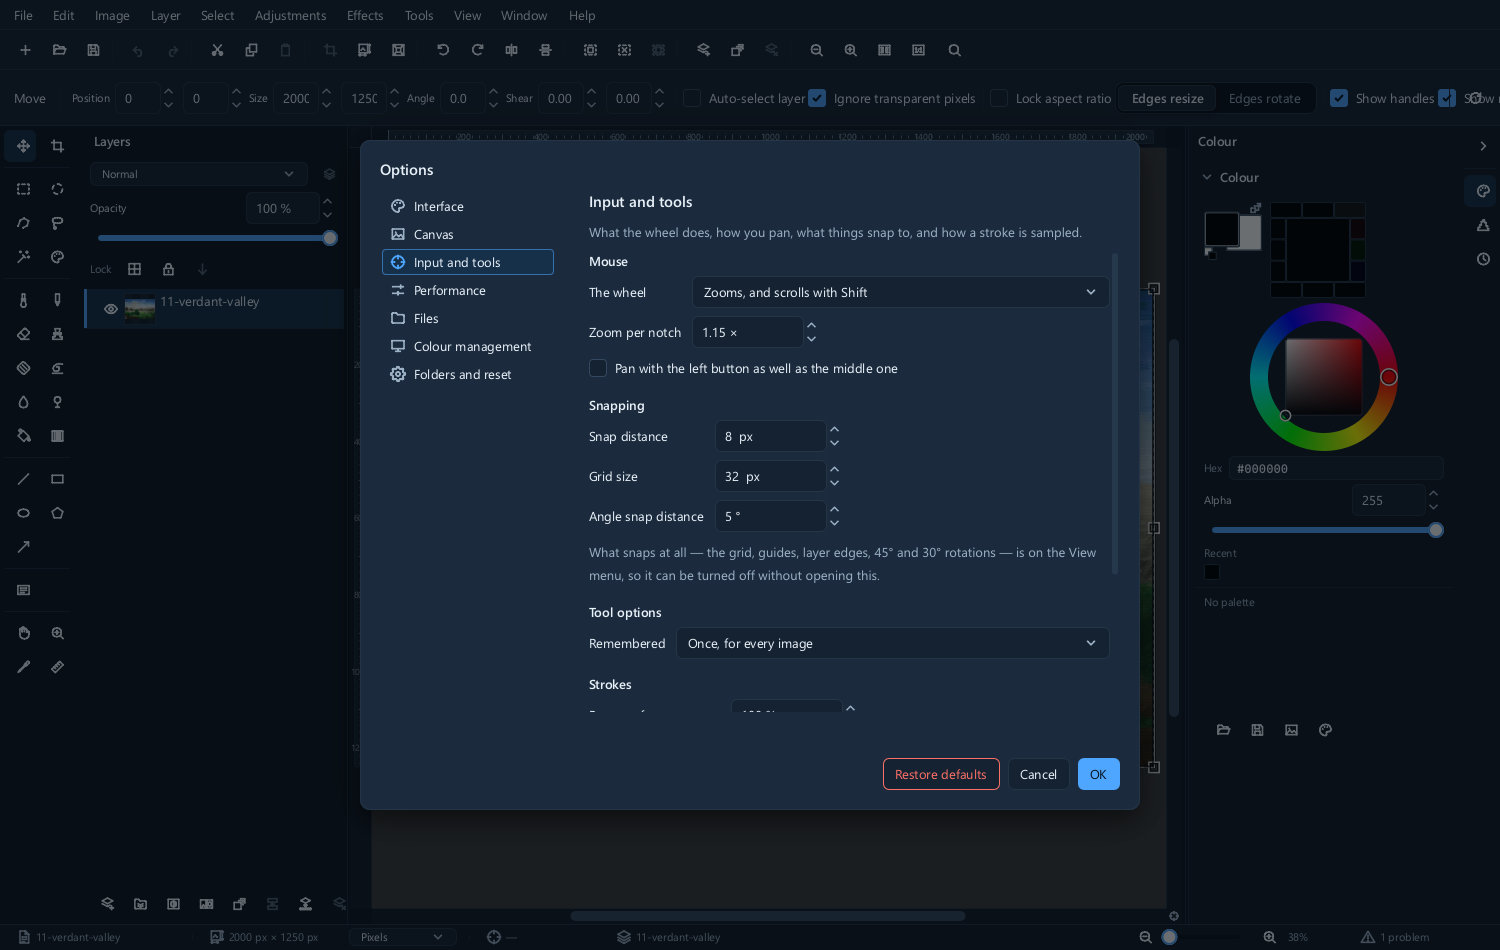
Graphics tablet settings live here, including what pen pressure should control.
Performance
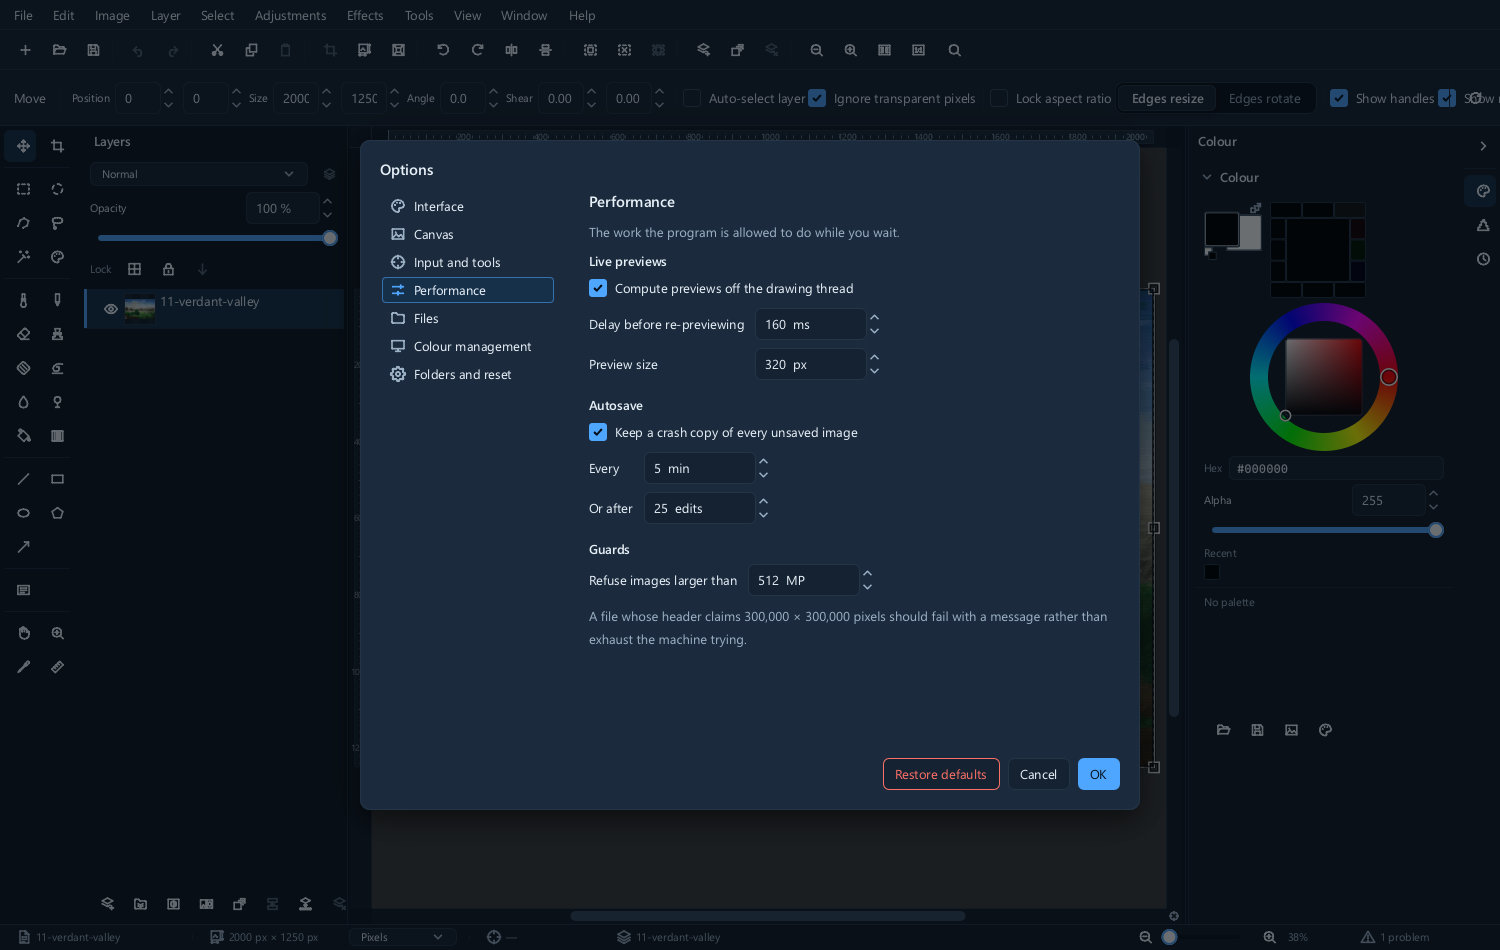
Undo depth and memory. A deeper undo history uses more memory; effects run across several threads, and the number to use is adjustable if you want to leave the machine responsive for other work.
Restoring the workspace
Use Window ▸ Reset all toolboxes to restore panel layout. If long tool options are clipped, widen the window or try a less dense arrangement; hiding an unused panel can give the canvas more space. View ▸ Show rulers, View ▸ Snap and View ▸ Show extras ▸ Smart guides control measurement and alignment aids separately from the panel layout.
See Troubleshooting before resetting settings when only one tool or document behaves unexpectedly.
Next
- Automation — macros, which are the other half of customising
- Colour management — the settings that most affect what you see
- Getting started — the tour, if you skipped it