
Painting and retouching
The painting tools put pixels on a layer. Some of them are for drawing; most are for repairing photographs, which is what people actually use them for.
Everything here works on the selected layer, and inside the selection if there is one.
The brush
Press B. The tool options bar fills with the brush's settings.
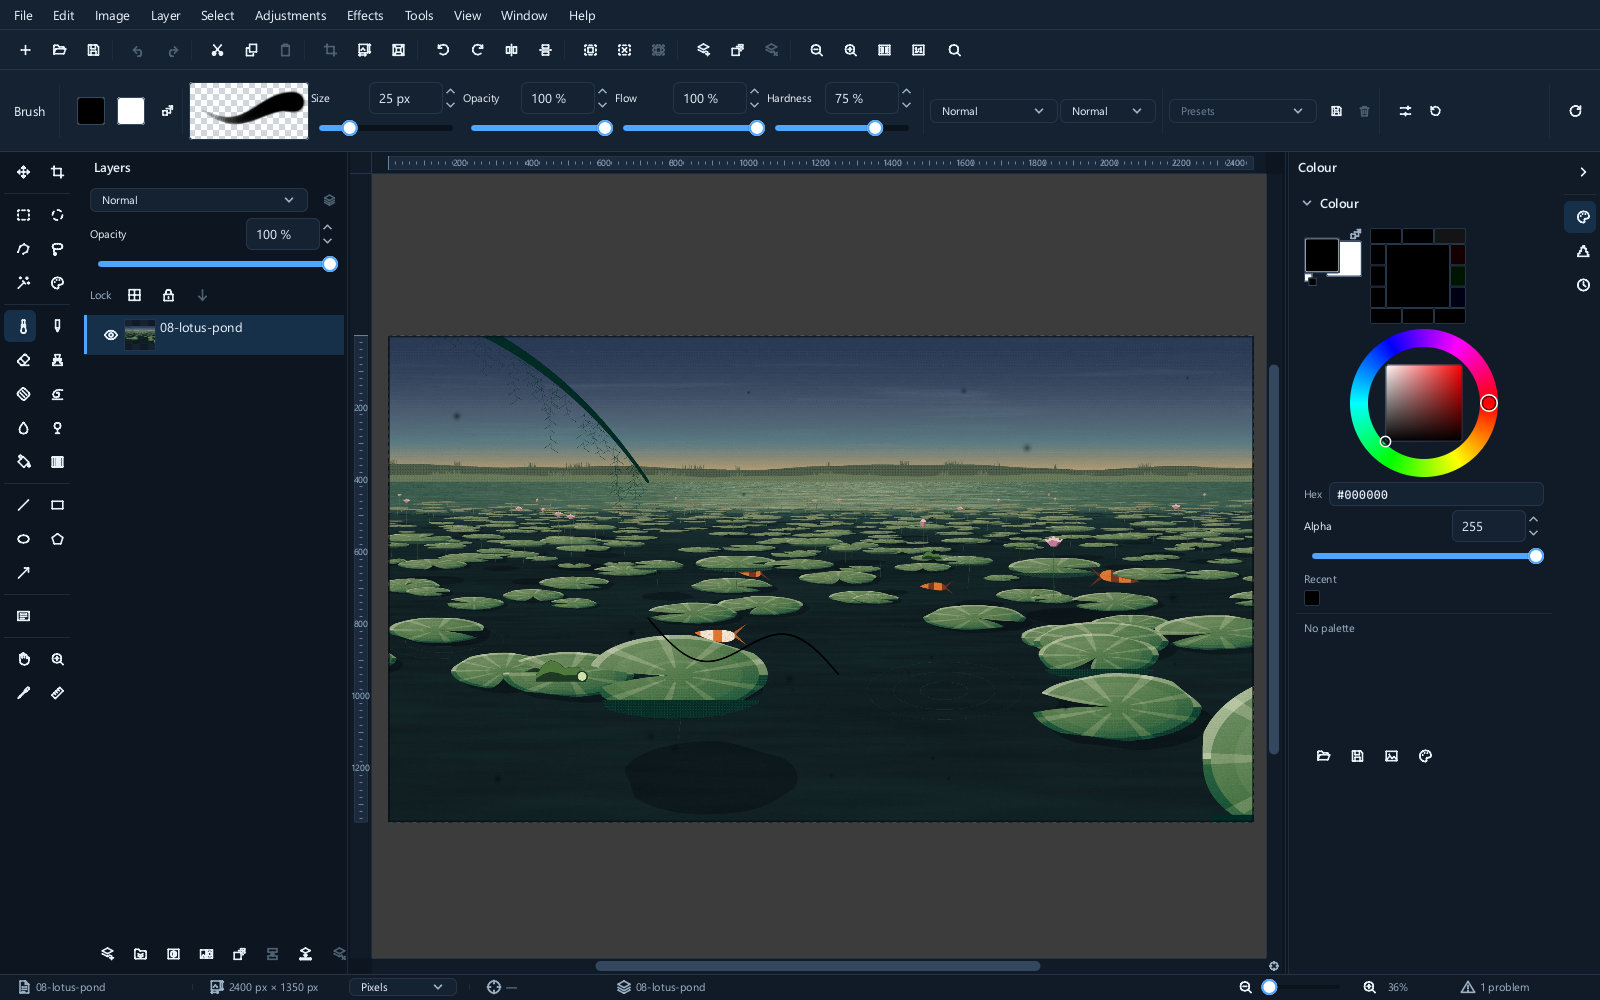
Five settings matter, and they are easy to confuse with one another.
| Setting | What it does |
|---|---|
| Size | The diameter of the brush, in pixels |
| Hardness | How sharp the edge is — 100% is a hard disc, 0% fades out entirely |
| Opacity | How much paint a stroke can lay down in total |
| Flow | How much paint each touch lays down |
| Spacing | How far the brush travels between one dab and the next |
Change size with [ and ] without leaving the canvas, and hardness with Shift+[ and Shift+]. These two shortcuts do more for your speed than anything else in this page.
Hardness
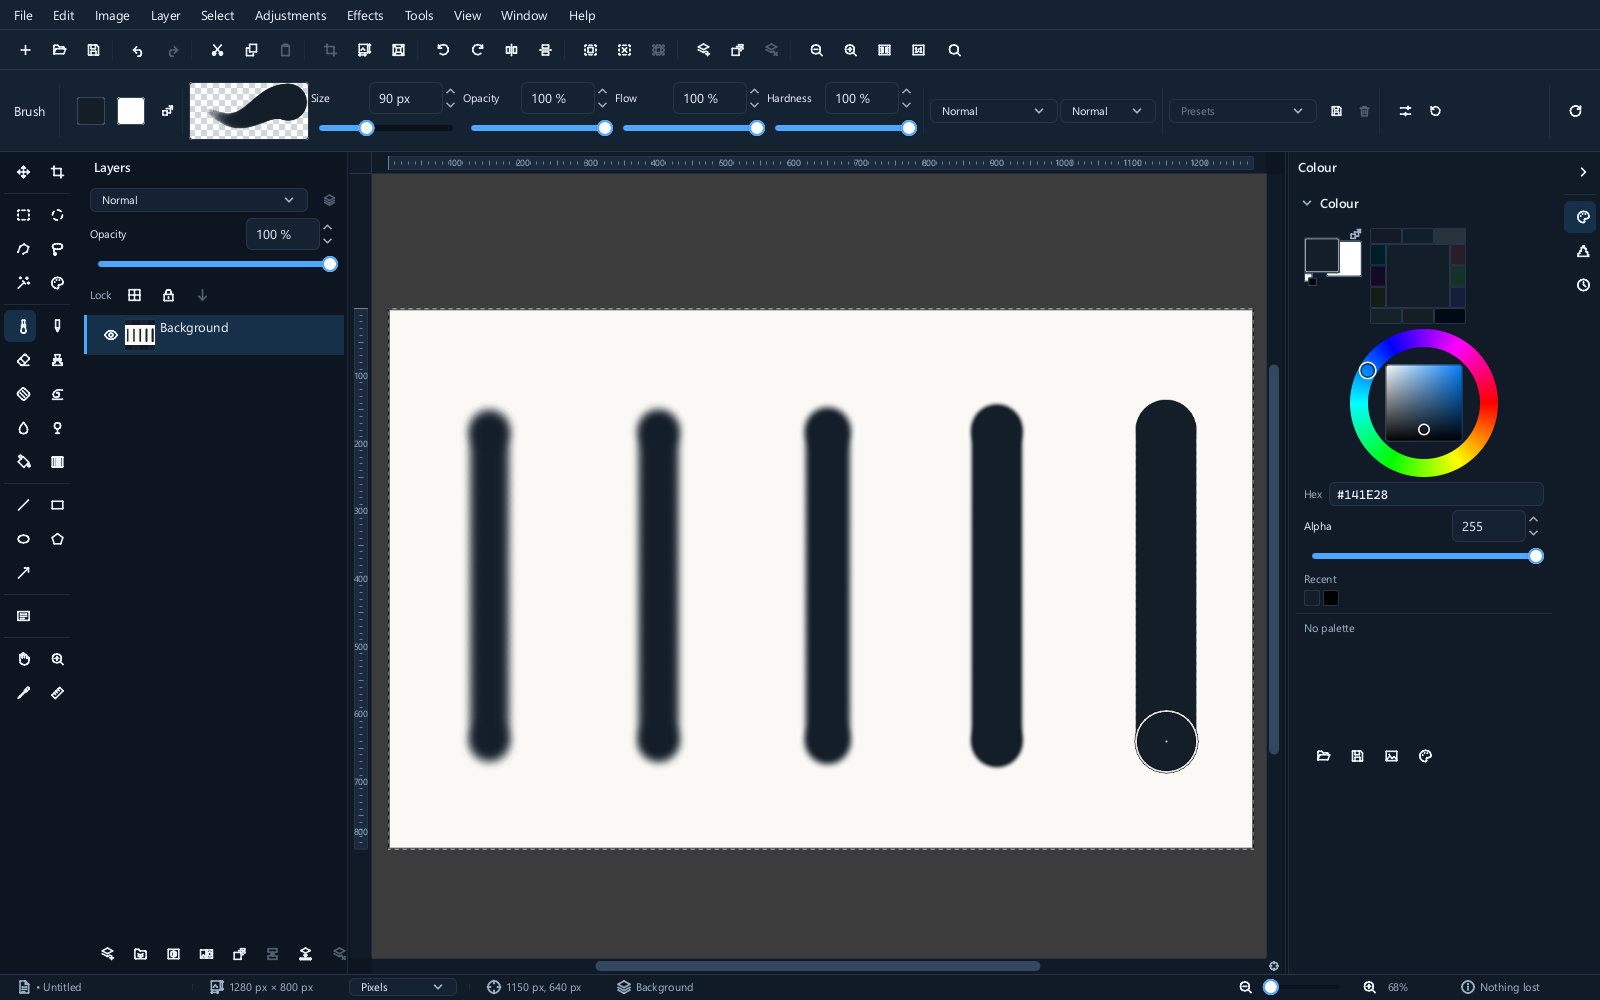
A hard brush is right for drawing and for masking something with a definite edge. A soft brush is right for almost everything on a photograph — dodging, burning, blending a repair in, painting a mask. If a retouch looks obvious, a too-hard brush is usually why.
Opacity and flow
These sound the same and are not.
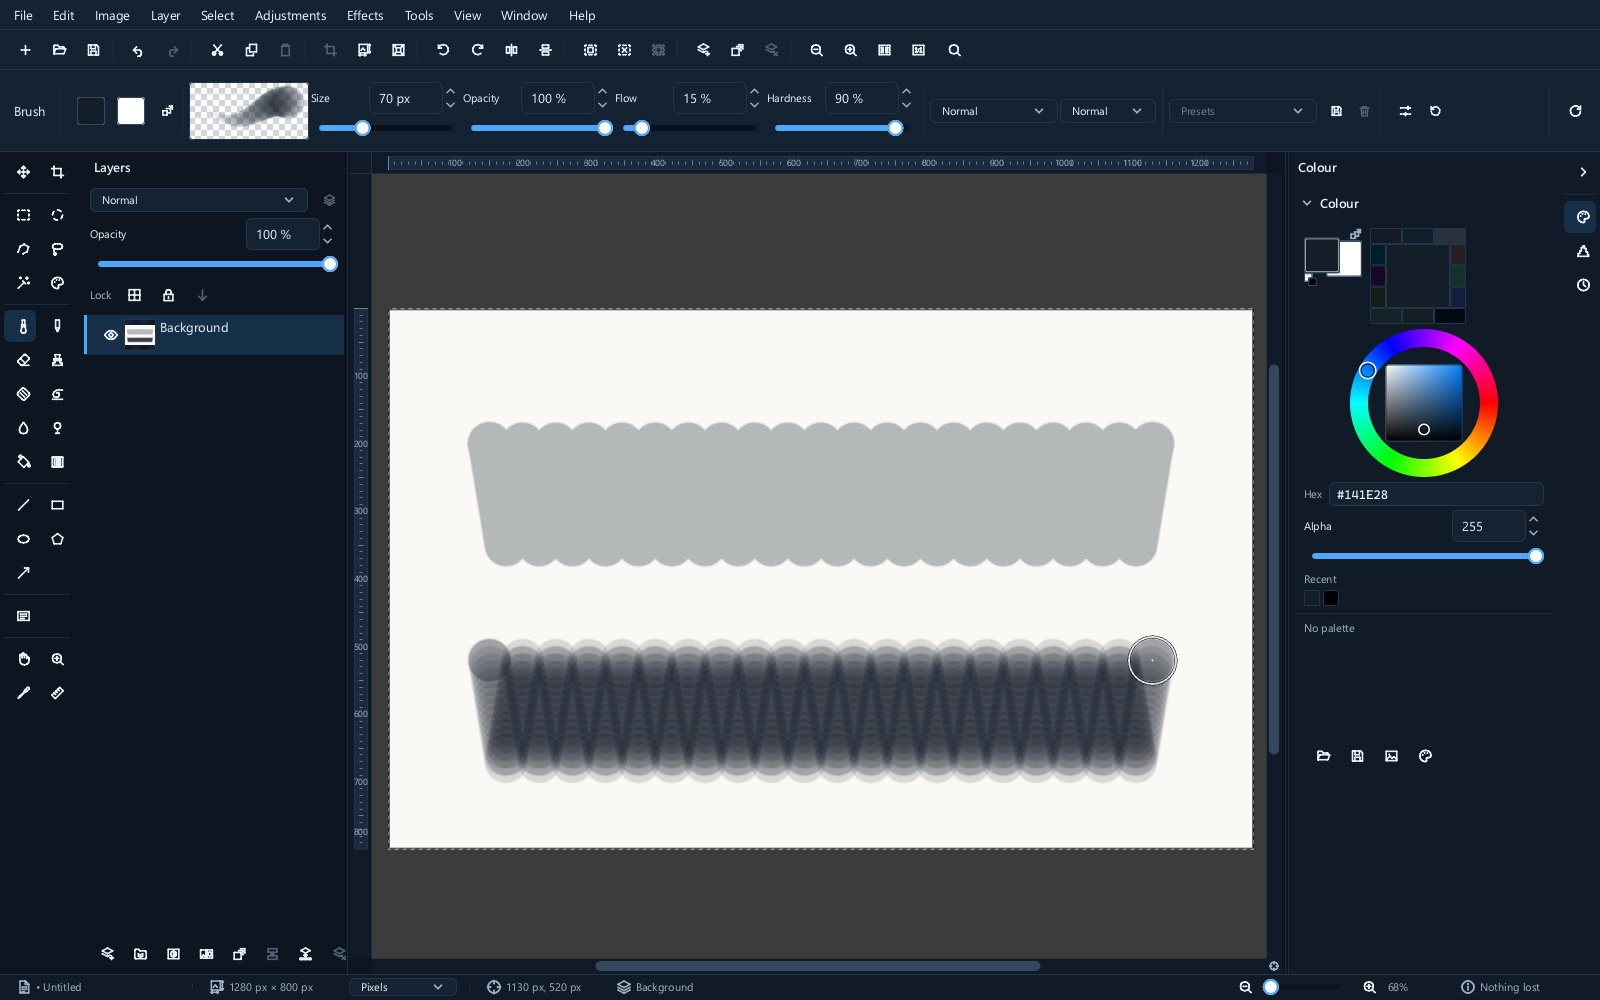
Opacity caps the whole stroke. At 50%, going over the same spot ten times without lifting the button still gives you 50% — the stroke cannot exceed its cap.
Flow caps each dab. At 20% flow, every pass darkens further, so paint builds up the way an airbrush does.
For retouching, low flow is the useful one: build the correction up in several passes and stop when it looks right, rather than committing to a strength in advance.
Spacing
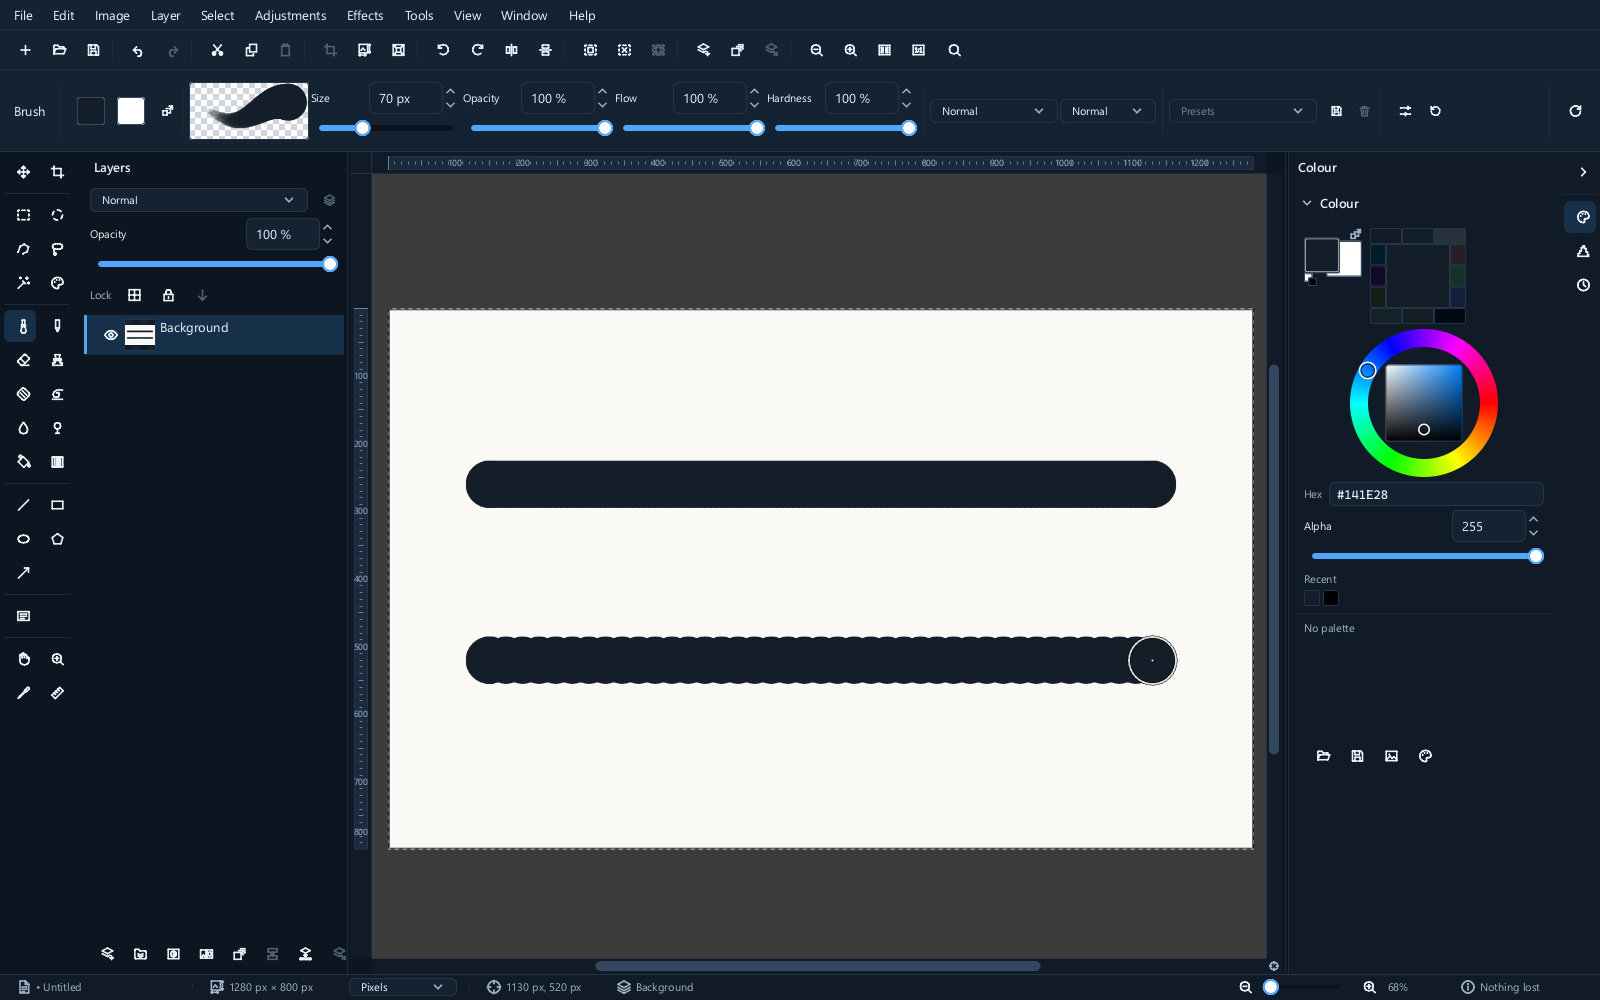
Low spacing gives a continuous line. High spacing gives a dotted trail, which is how you scatter texture deliberately.
Pressure
With a graphics tablet, pen pressure can drive size, opacity or both.
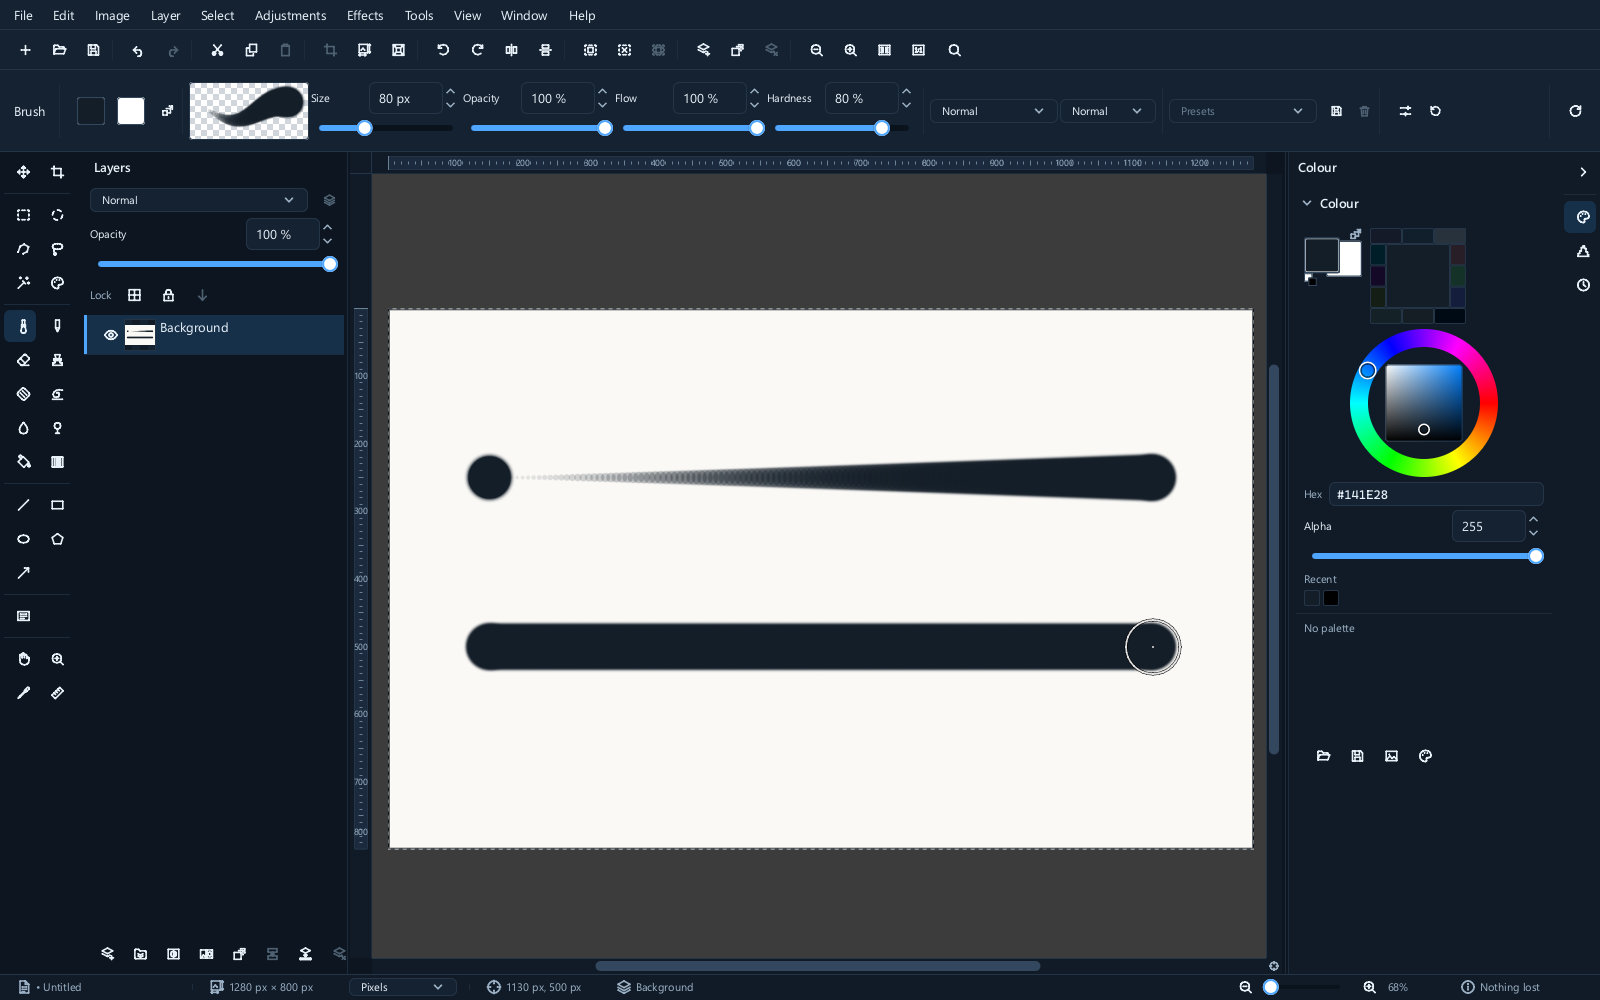
With a mouse, every touch is full pressure and these settings do nothing.
Blend mode
The brush has its own blend mode, which decides how the paint you lay down combines with what is already on the layer. It is the same idea as a layer's blend mode, applied a stroke at a time.
The list is longer than the layers panel's — twenty-eight rather than twenty — because several modes are only useful under a moving brush. Alongside the familiar Multiply, Screen and Overlay you get the linear and vivid variants (Linear burn, Linear light, Vivid light, Pin light, Hard mix), the arithmetic pair Divide and Subtract, and Grain extract and Grain merge for working with texture. Exclusive or is the one layer mode the brush does not offer.
Three are worth knowing by name:
- Multiply for shading — paint at a low opacity and each pass darkens what is under it, the way a pencil builds up tone.
- Overlay for adding contrast to a specific area, which is what dodging and burning by brush amounts to.
- Behind paints only where the layer is transparent, so you can put a background in around an object without masking it first.
Leave it on Normal unless you want one of those. A brush that is mysteriously doing nothing is very often a brush left on a blend mode from an hour ago.
Choosing a colour
The colour panel holds the foreground and background colours, a wheel, a hex field and your recent colours.
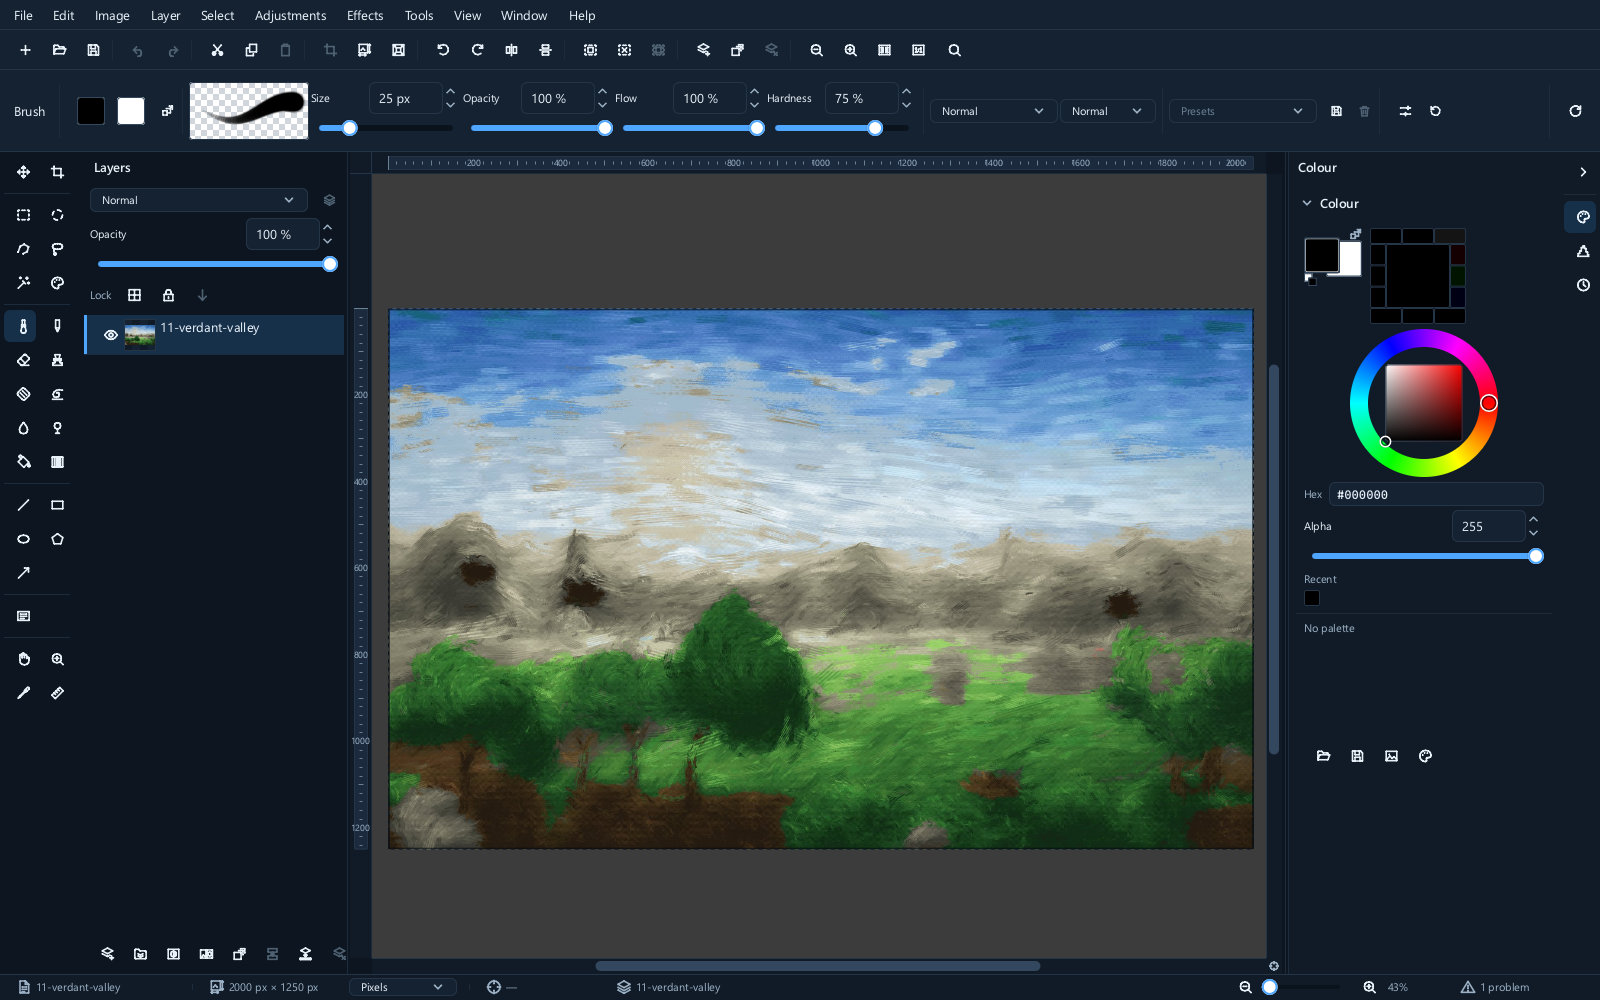
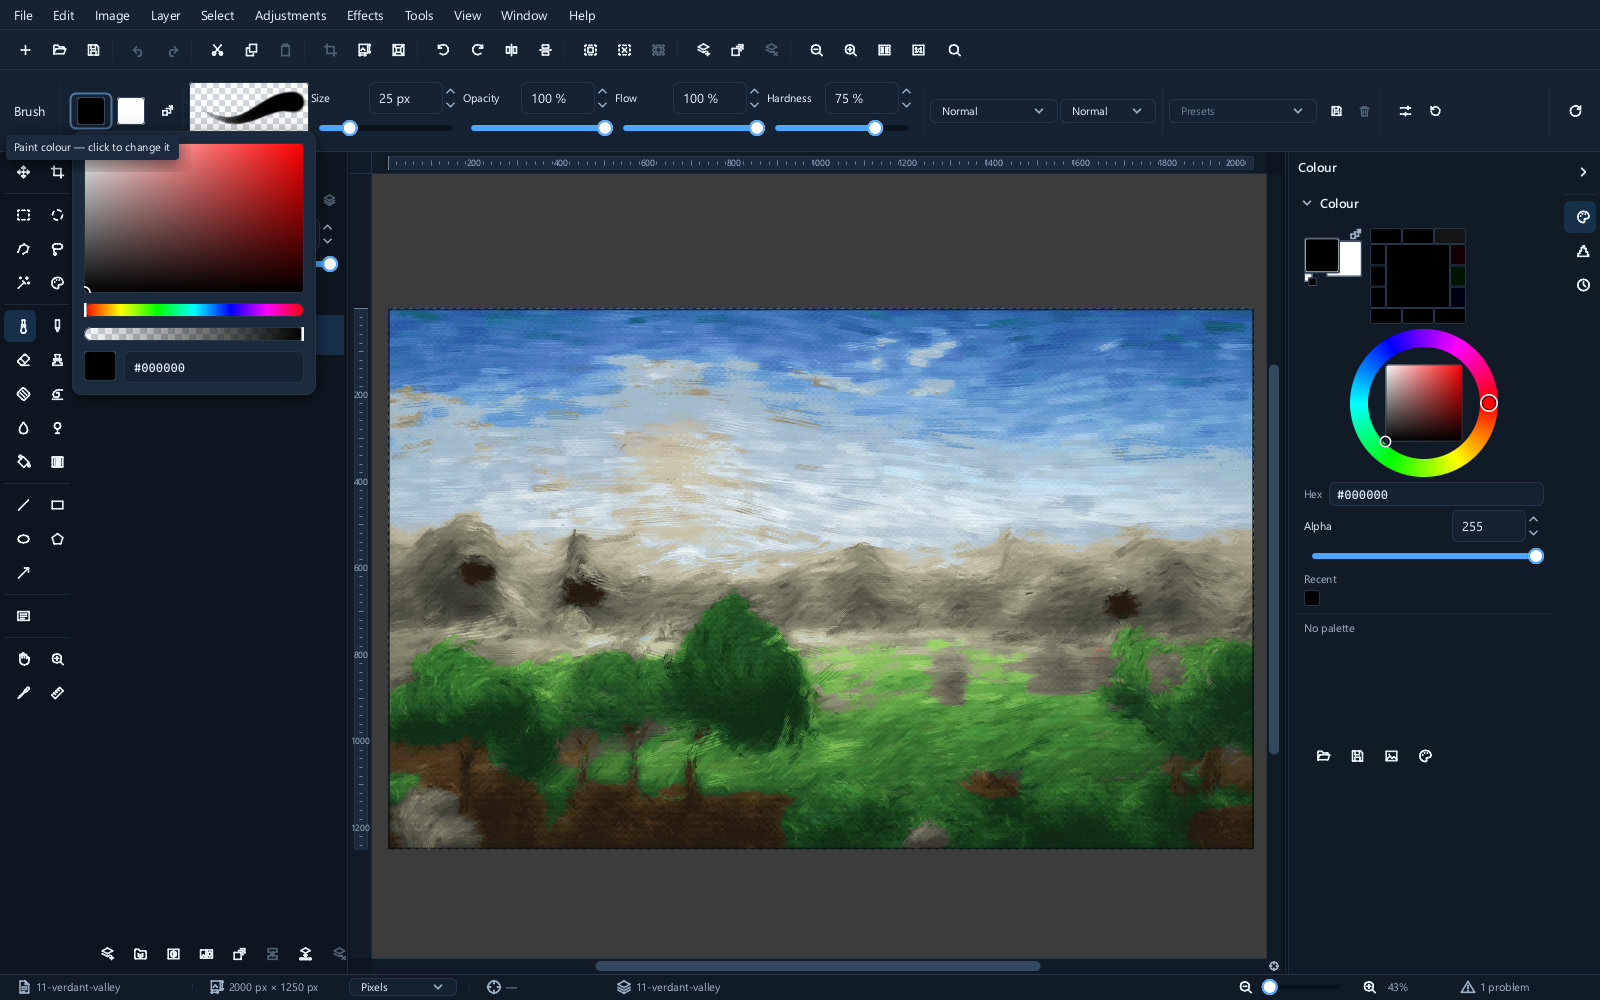
The dialog gives you the same thing larger, with the space to pick precisely.
Taking a colour from the picture
Press I for the colour picker and click anywhere on the canvas. That colour becomes the foreground.
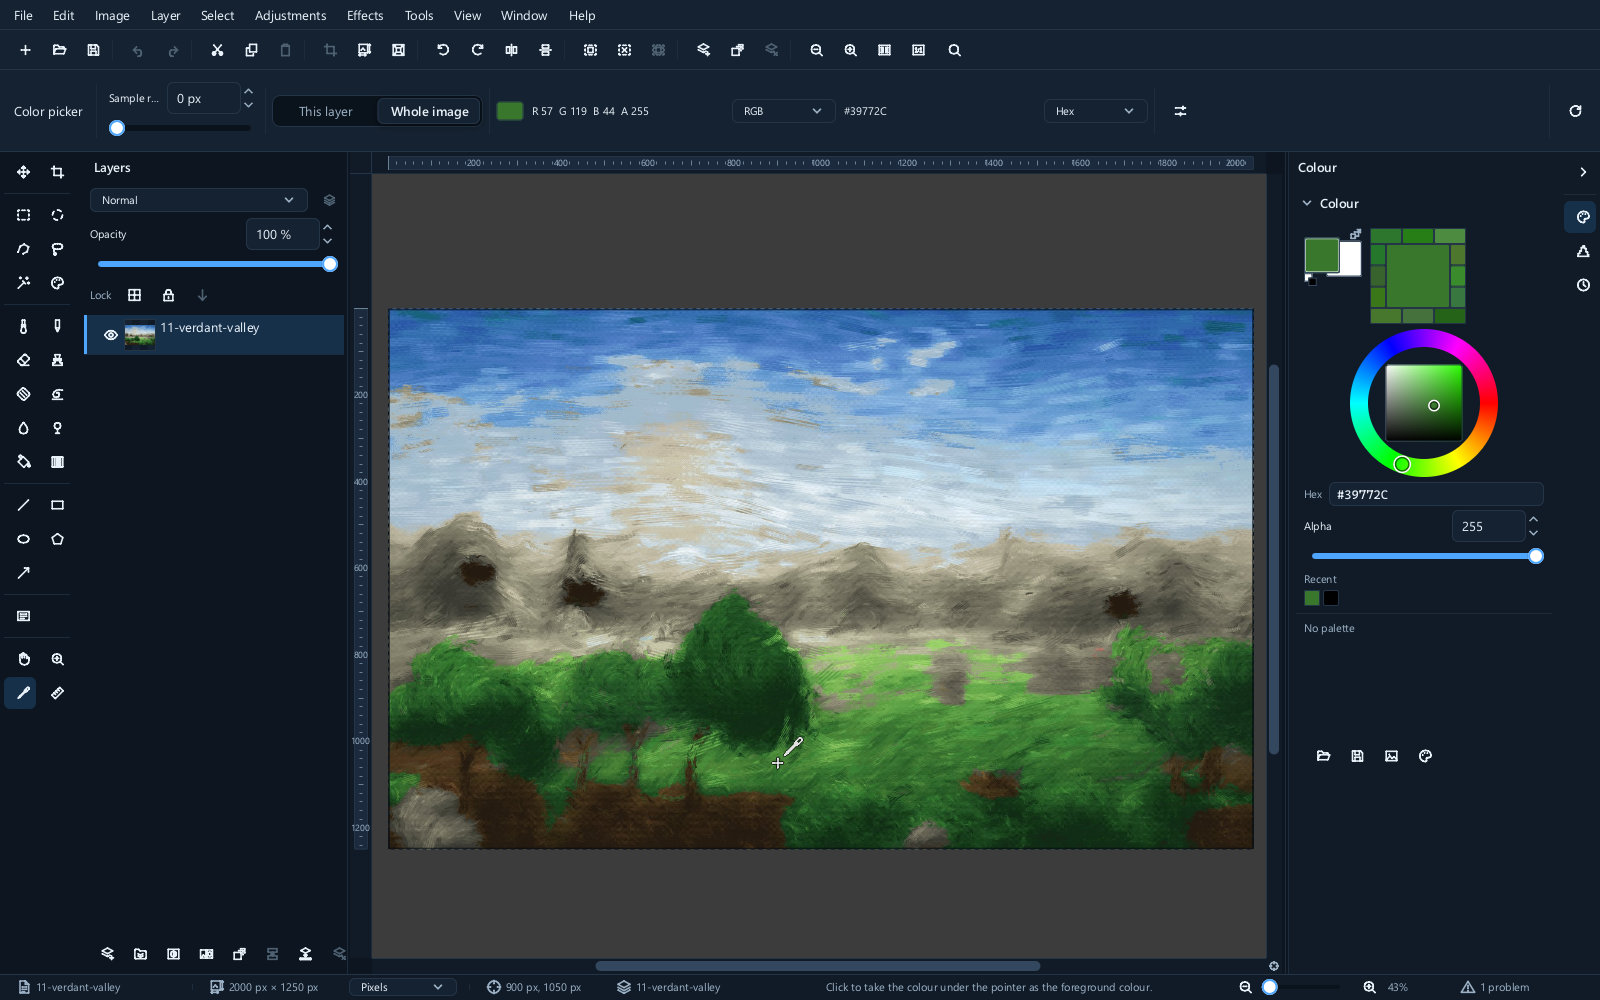
This is how retouching gets its colours. Almost every repair starts by sampling the colour just beside the thing you are fixing.
The eraser
E. It removes pixels instead of adding them, with the same size, hardness, opacity and flow.
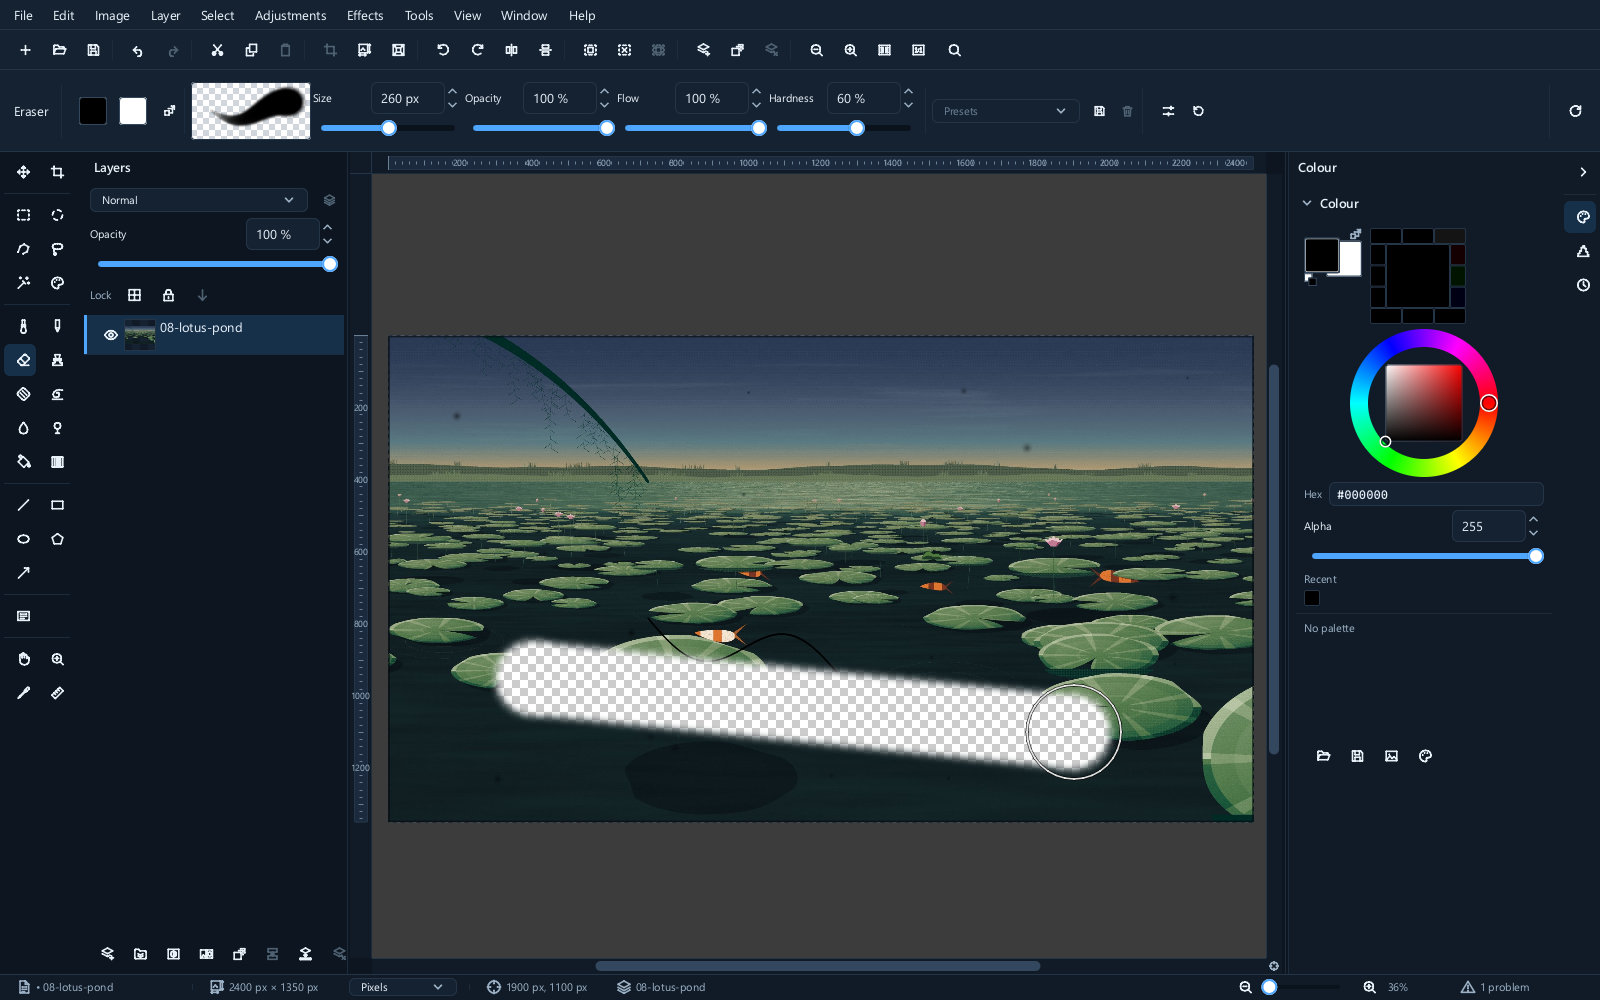
Erasing is permanent once you move on. Painting black on a mask hides exactly the same pixels and can be undone at any point in the future. Prefer the mask.
The clone stamp
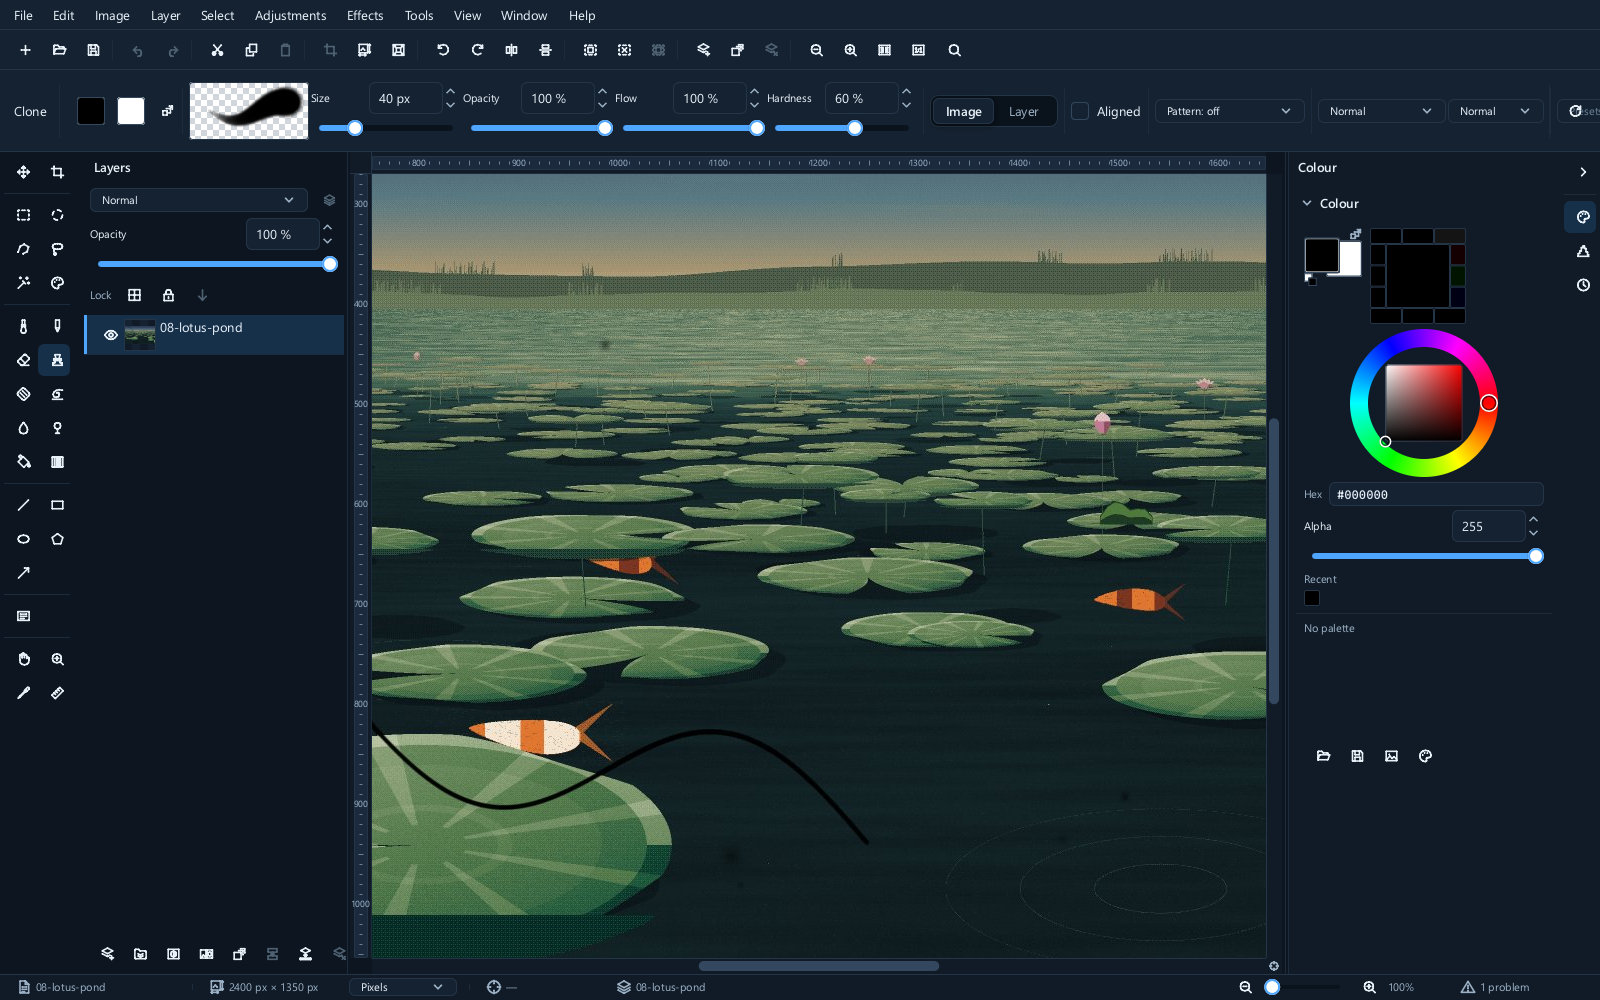
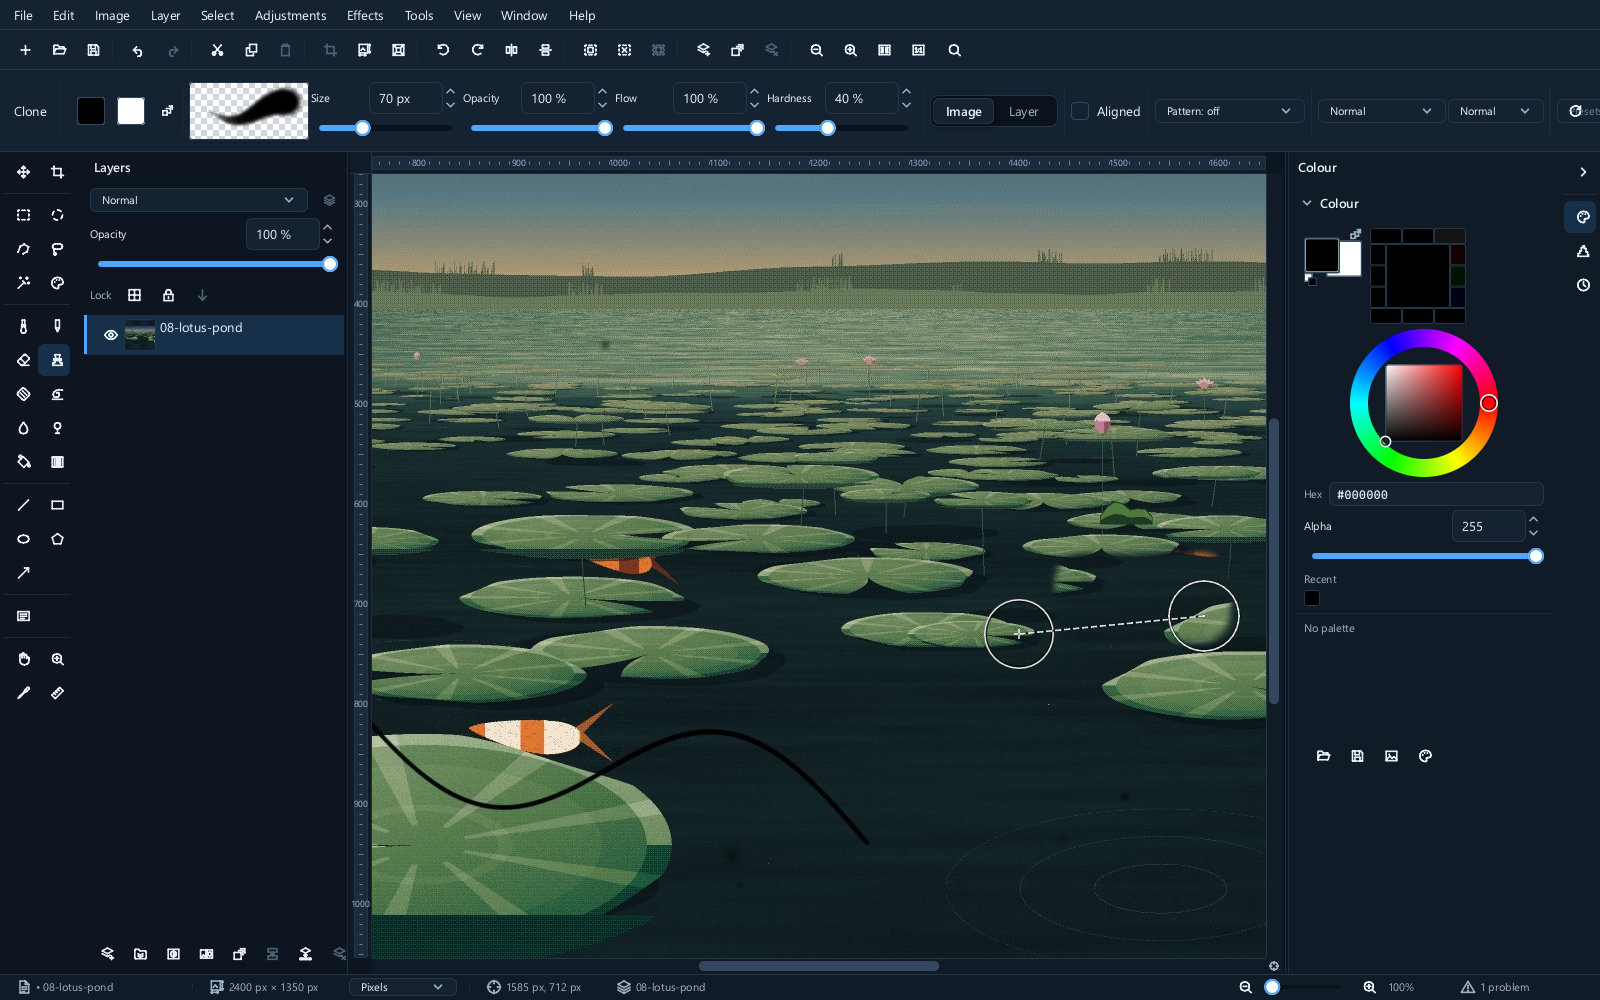
K. It copies pixels from one part of the picture to another, and it is the main tool for removing things.
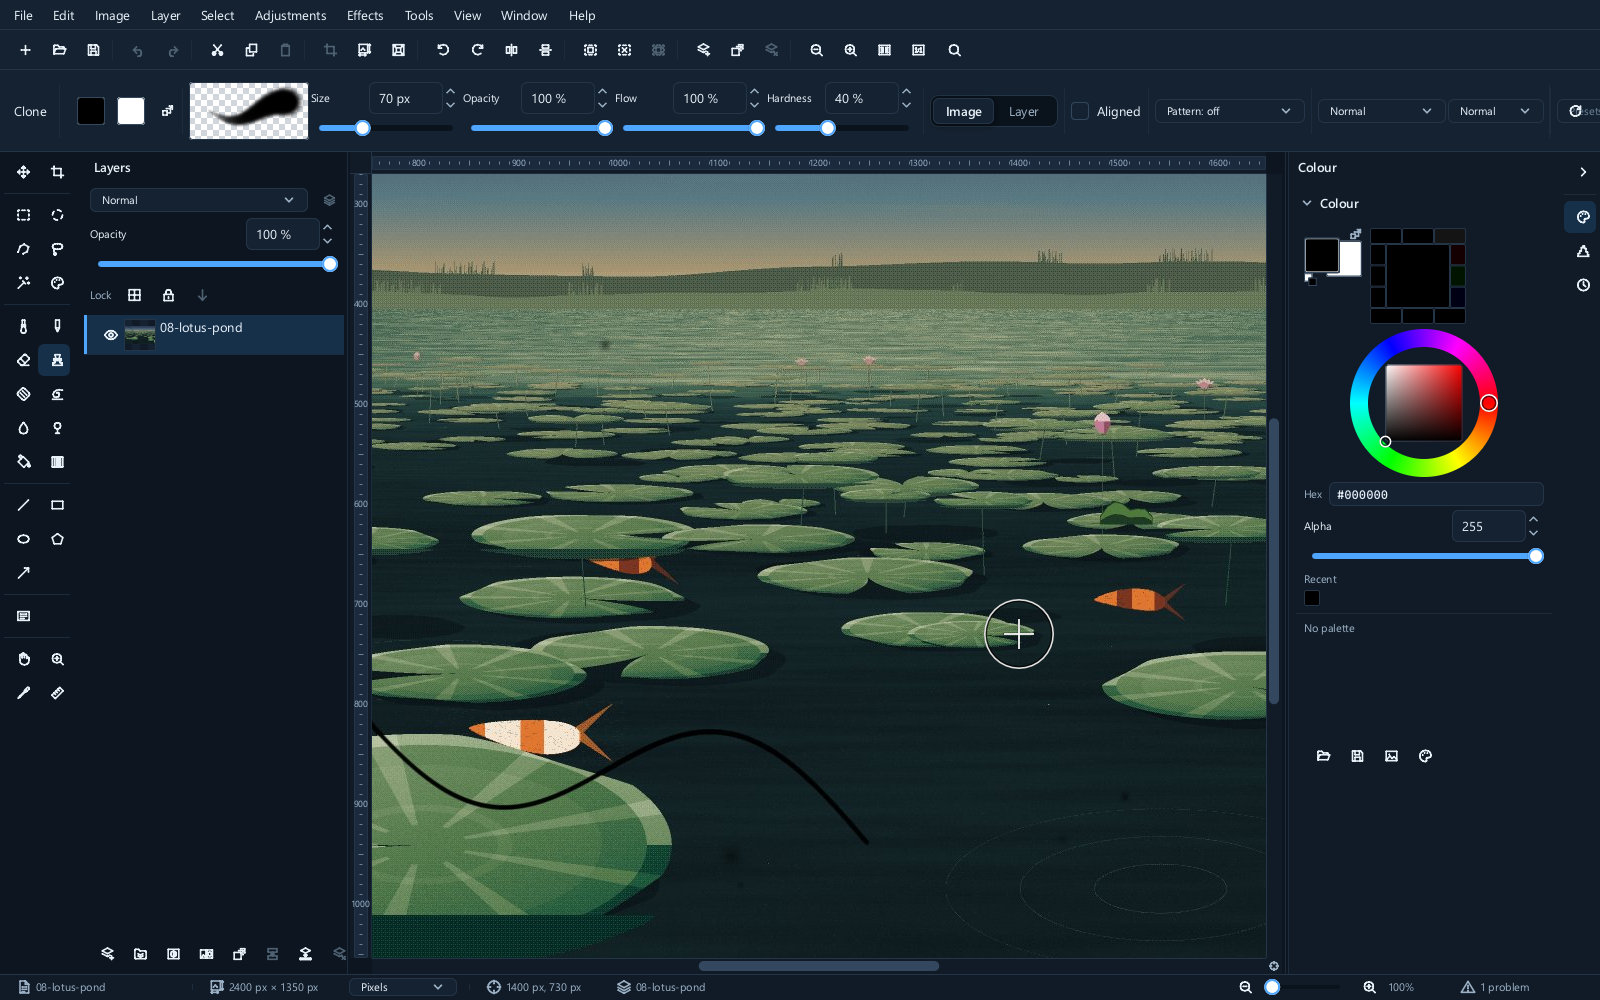
Hold Ctrl and click to set the source — the place the pixels come from. Then paint where you want them to appear.
| The blemish | Source anchored | After cloning |
|---|---|---|
 |
 |
 |
Three habits make the difference between a repair that works and one that shows:
- Sample close to the damage, so the texture and brightness already match.
- Use a soft brush. A hard edge round a clone patch is the giveaway.
- Re-anchor often. Cloning a long way from one source repeats a recognisable patch of texture, and the eye finds repetition immediately.
If the tool seems to do nothing, you have not set a source yet — the status bar says so.
Dodge and burn
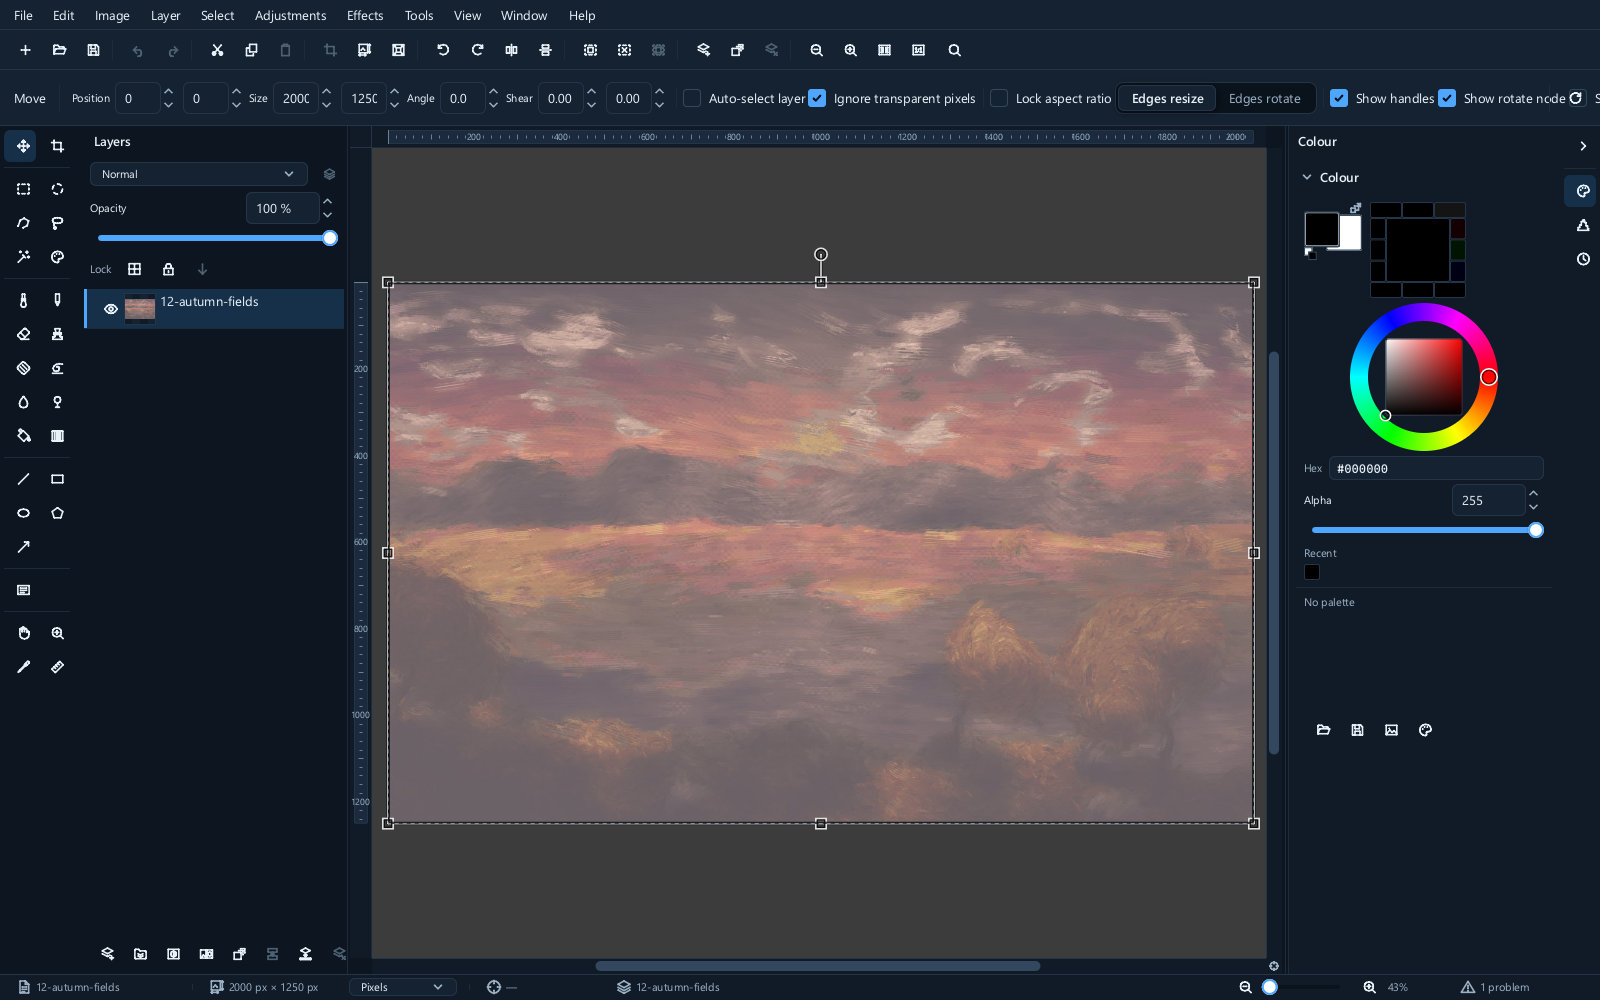
Dodging lightens, burning darkens, both by painting. The names come from darkroom practice.
| Before | After dodging and burning |
|---|---|
 |
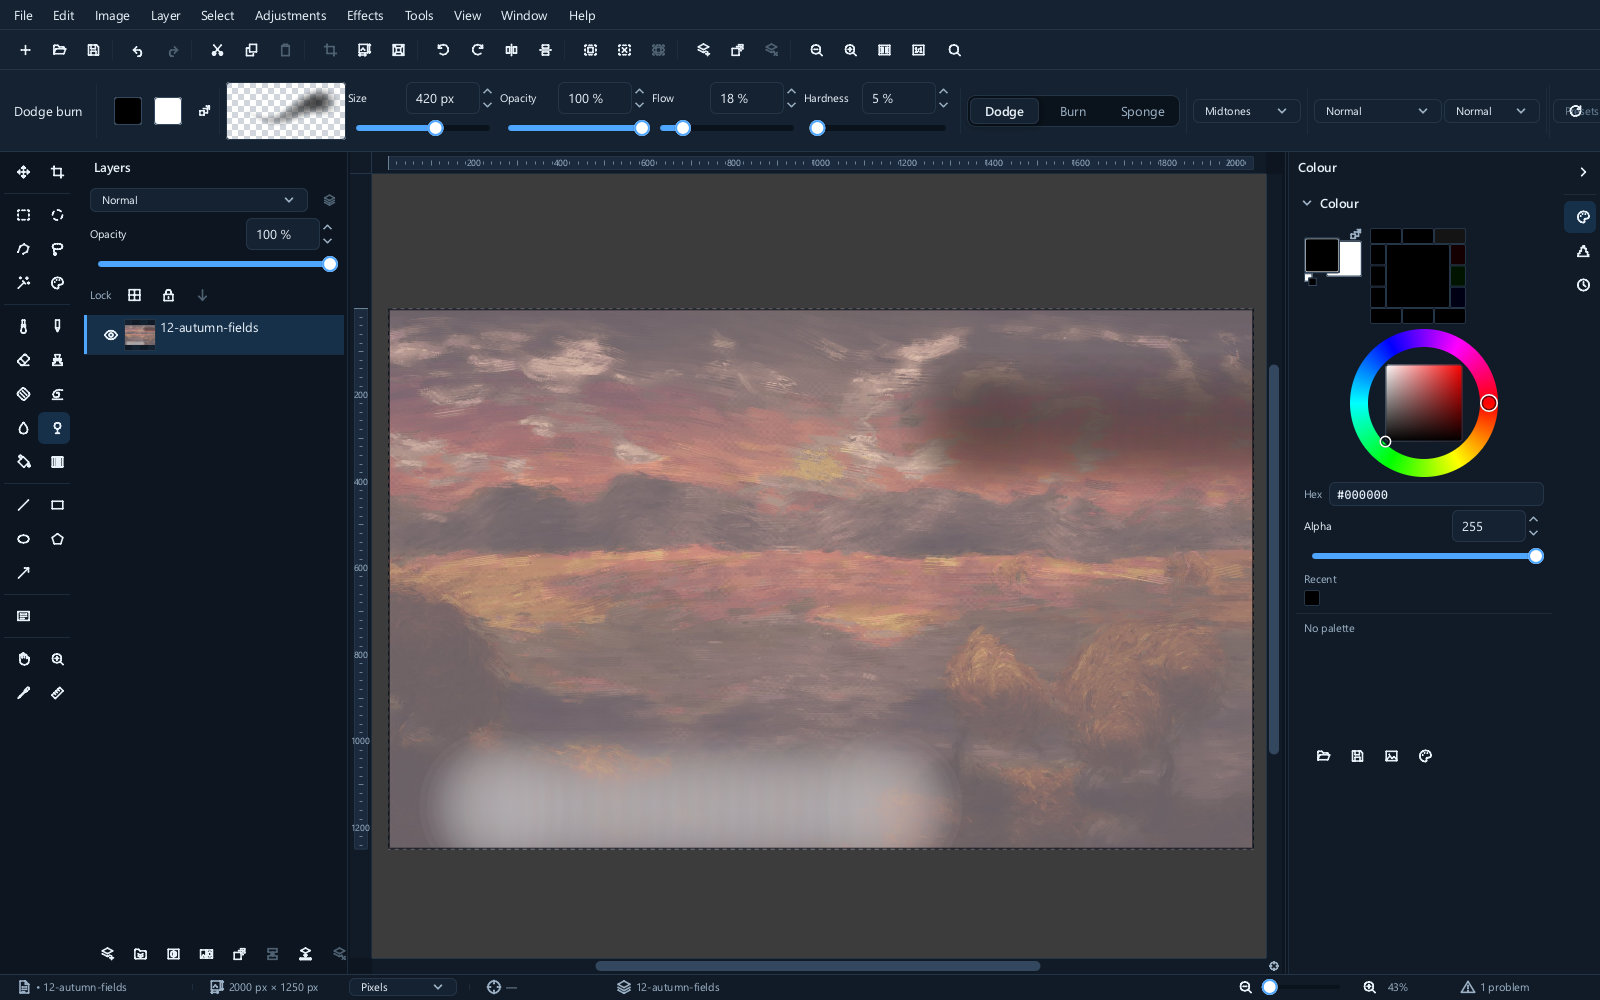 |
Use a large, soft brush at low exposure and build the effect up. Dodging and burning is how a flat photograph is given shape, and it works because it is invisible — the moment somebody can see where you dodged, it is too strong.
The tool can be aimed at shadows, mid-tones or highlights, so you can lift the shadows without blowing out the highlights that are already bright.
Blur and sharpen
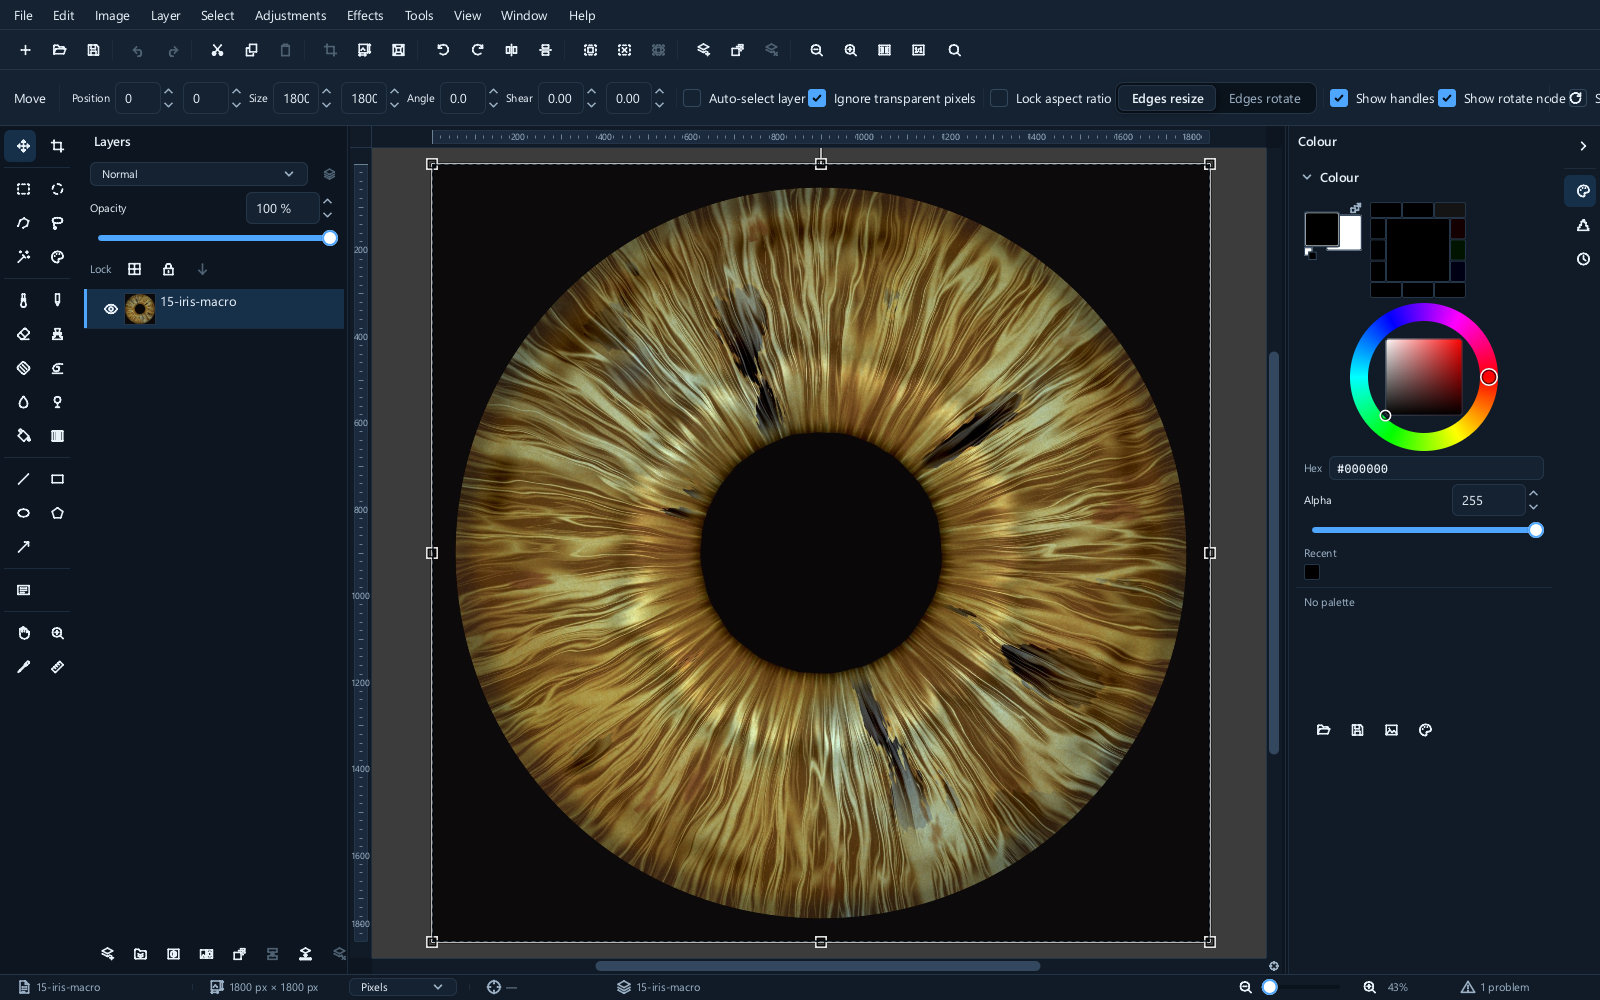
Painted blur and sharpen, for local work.
| Before | After sharpening one area |
|---|---|
 |
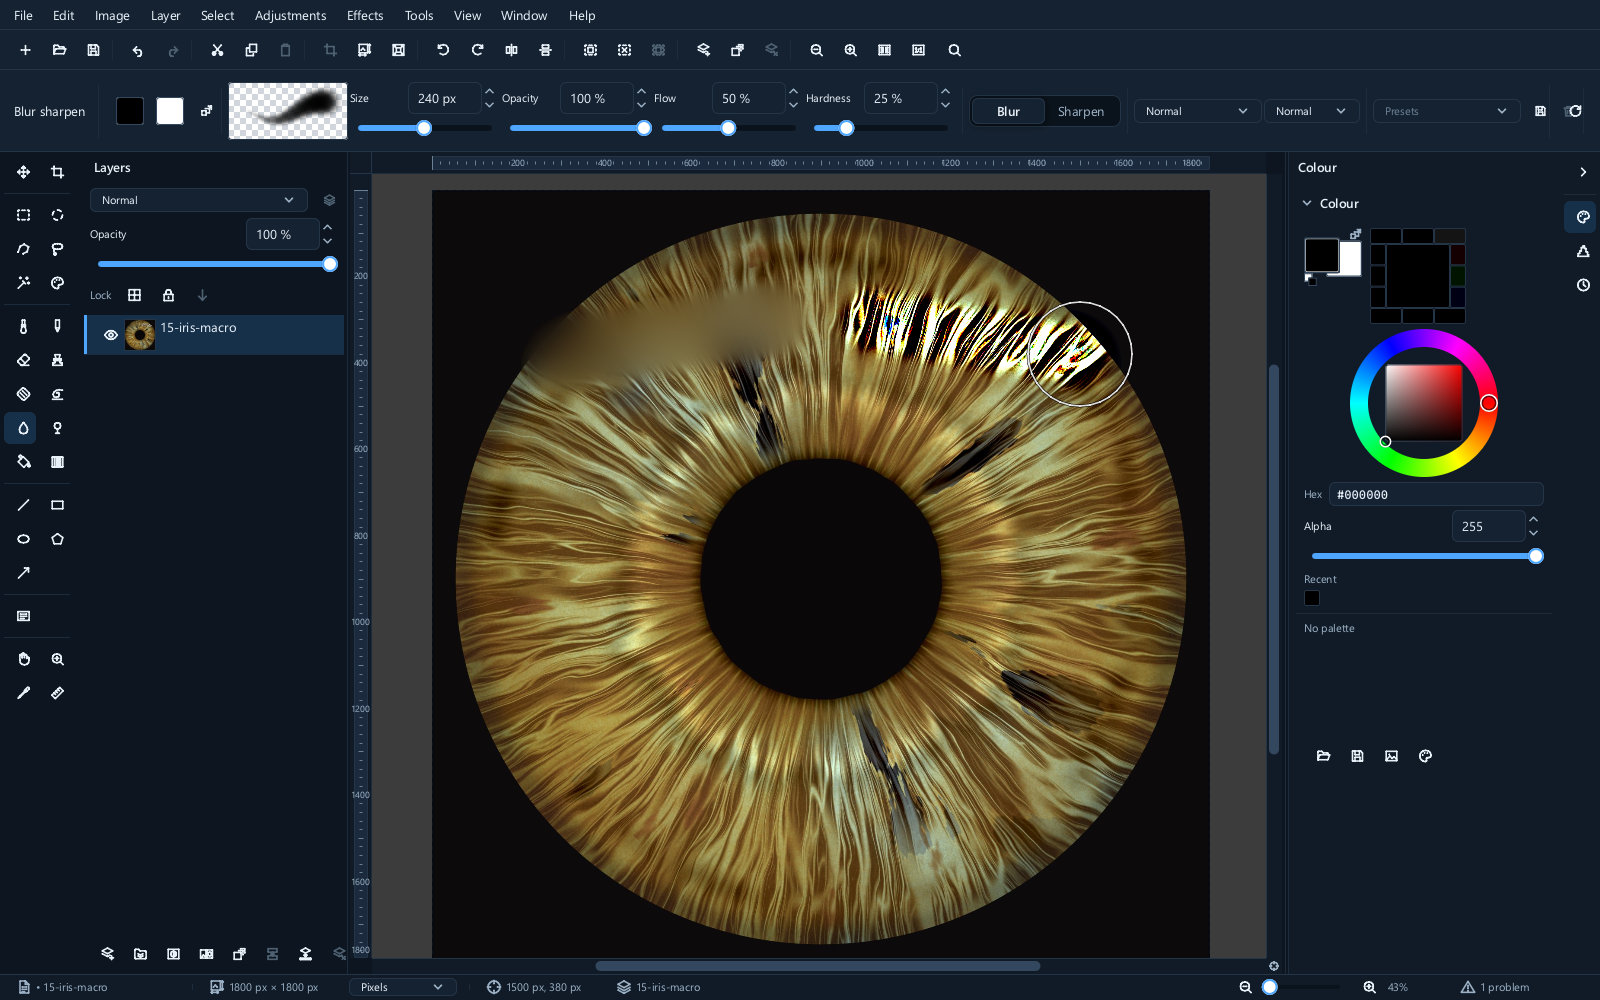 |
Sharpening only the subject and leaving the background alone is a common and effective trick. Blur softens a distraction without removing it.
Neither adds detail. Sharpening increases the contrast at edges that are already there; if the picture is genuinely out of focus, nothing here will fix it.
Filling
Press F for the paint bucket. It fills the area you click with the foreground colour, spreading outwards while the colours are similar enough.
Tolerance decides how similar is similar enough, exactly as it does for the wand.
| Tolerance 5 | Tolerance 45 |
|---|---|
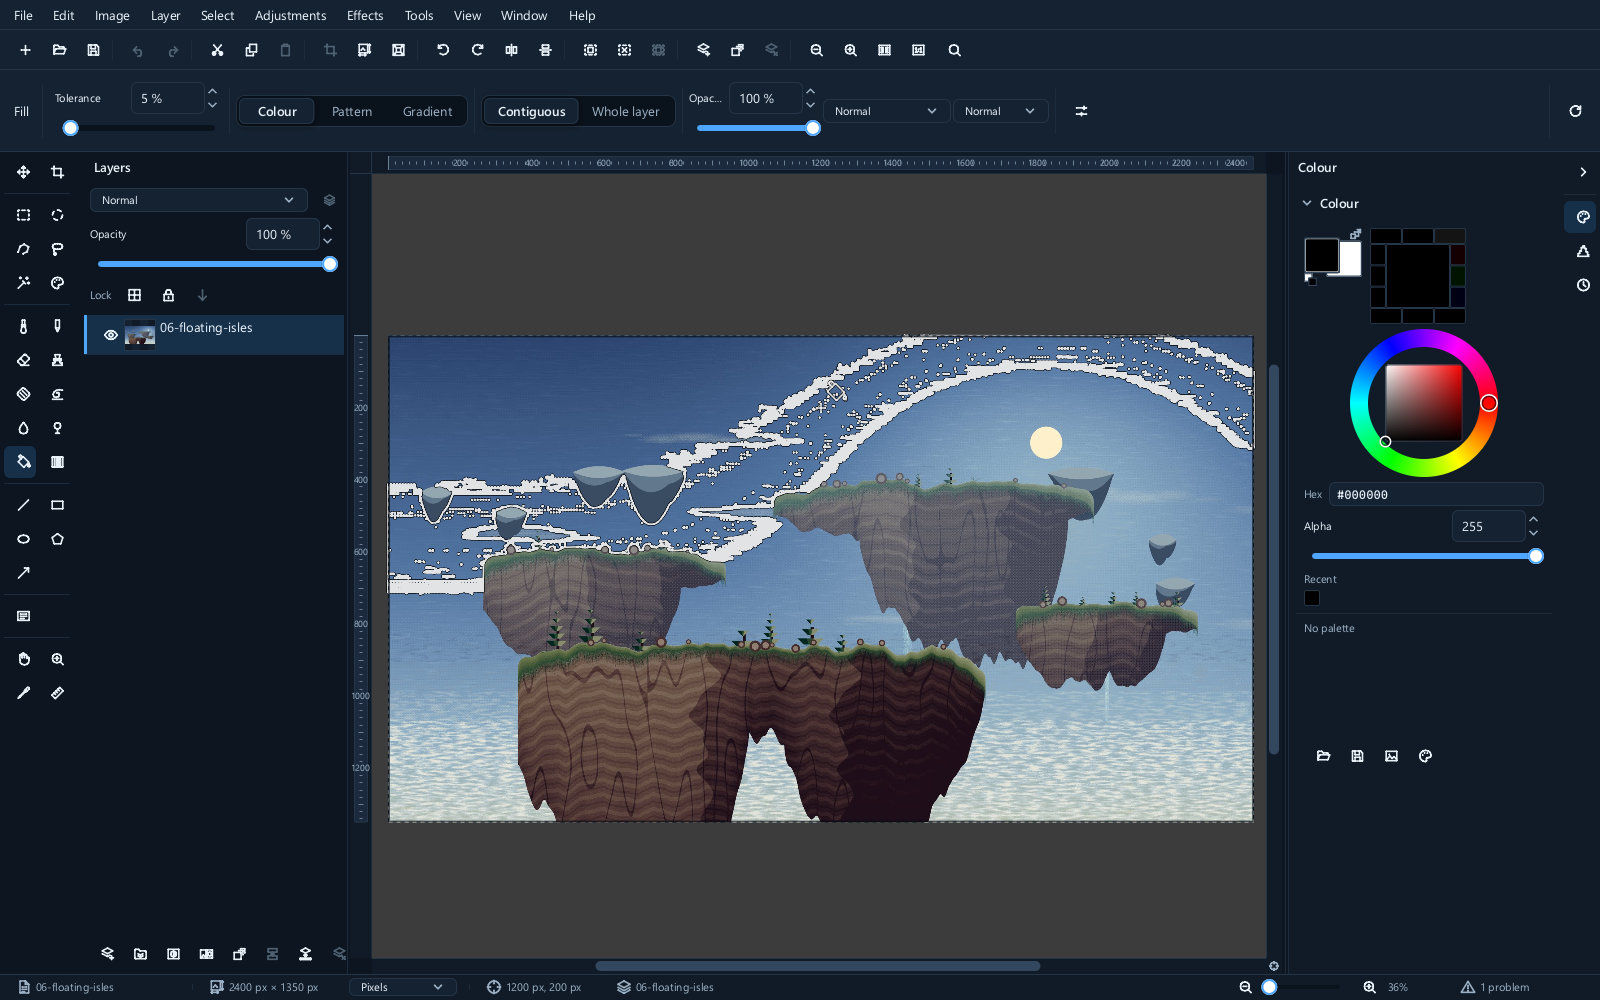 |
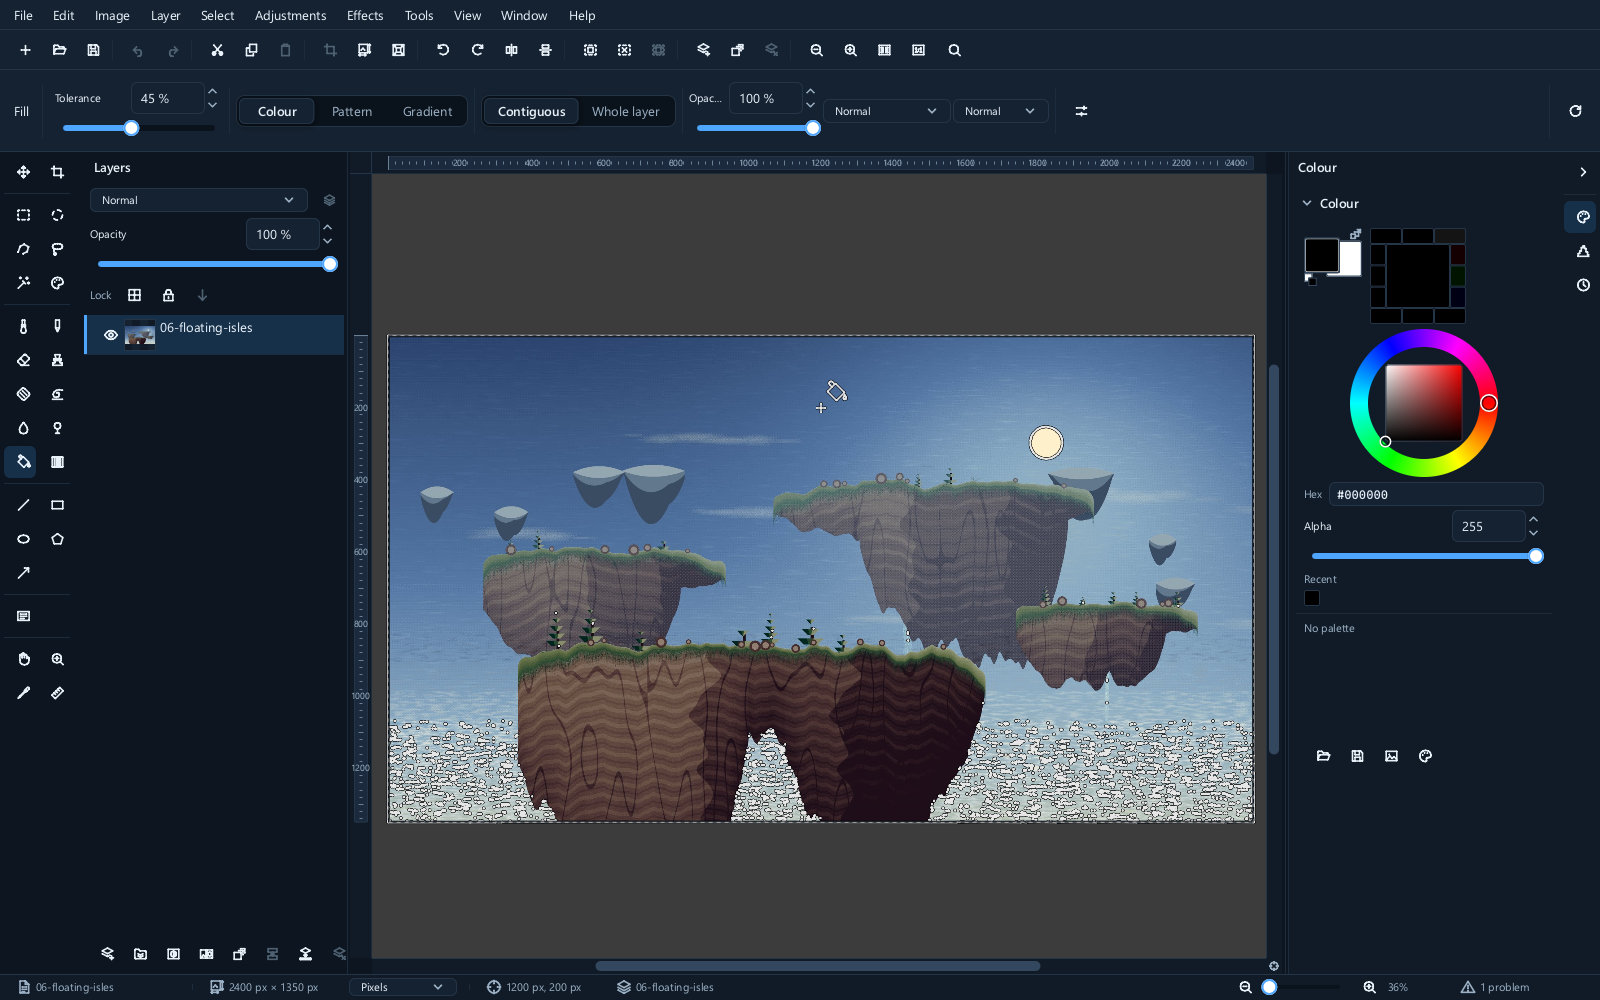 |
| Before | Filled |
|---|---|
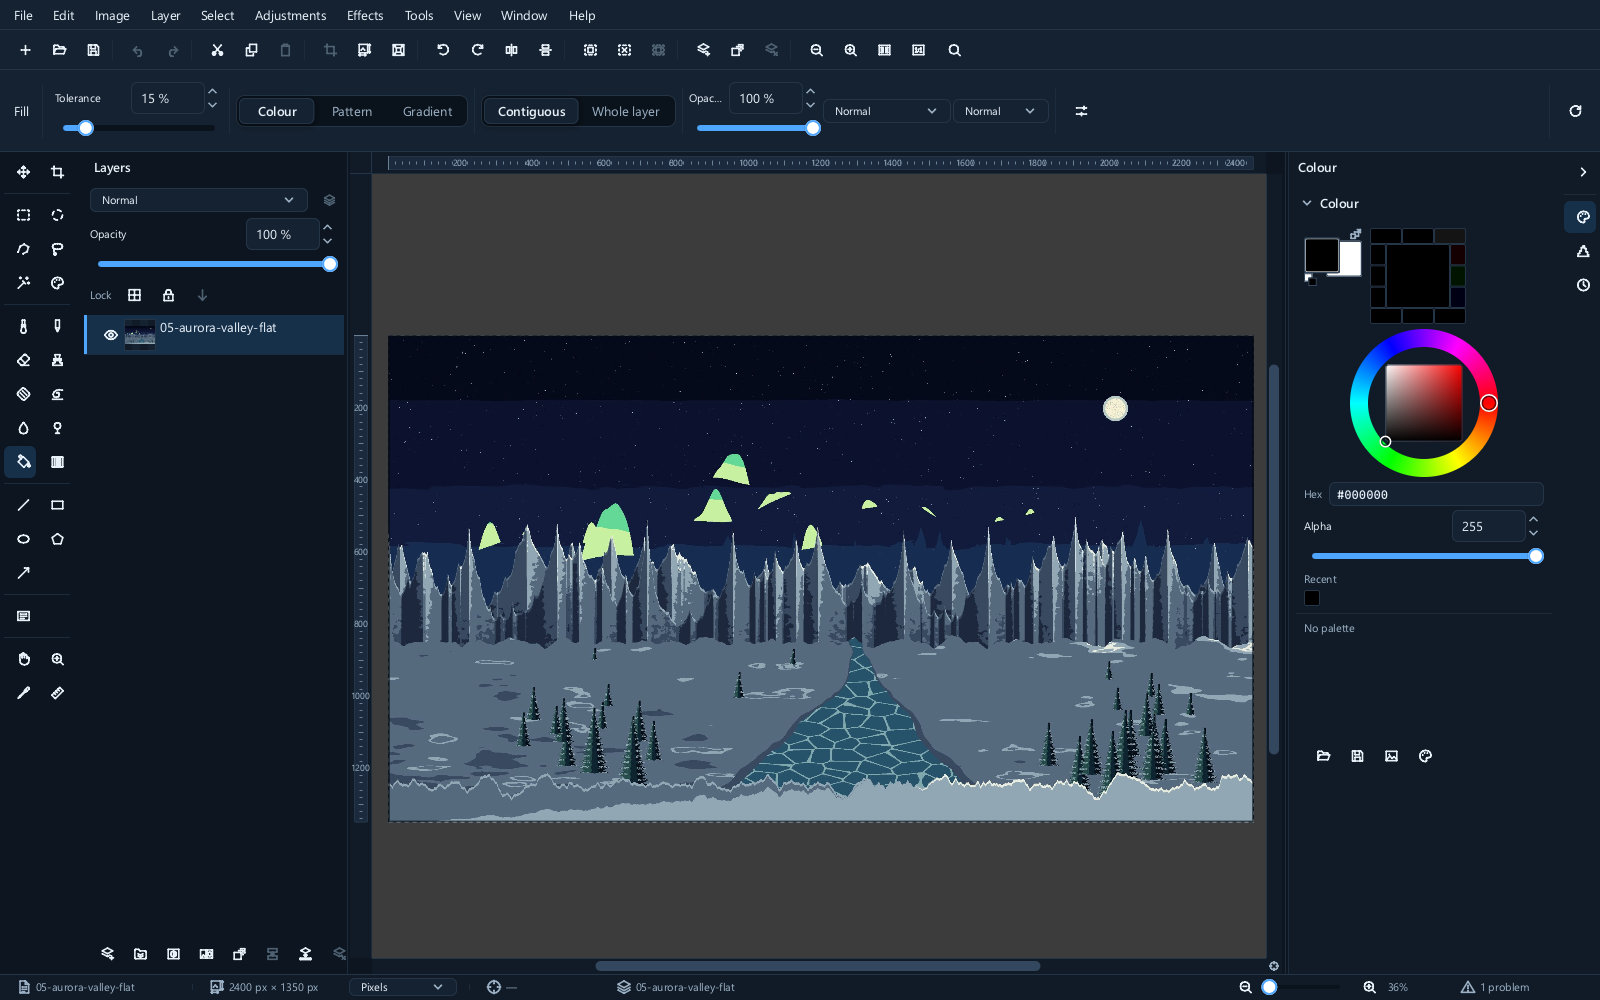 |
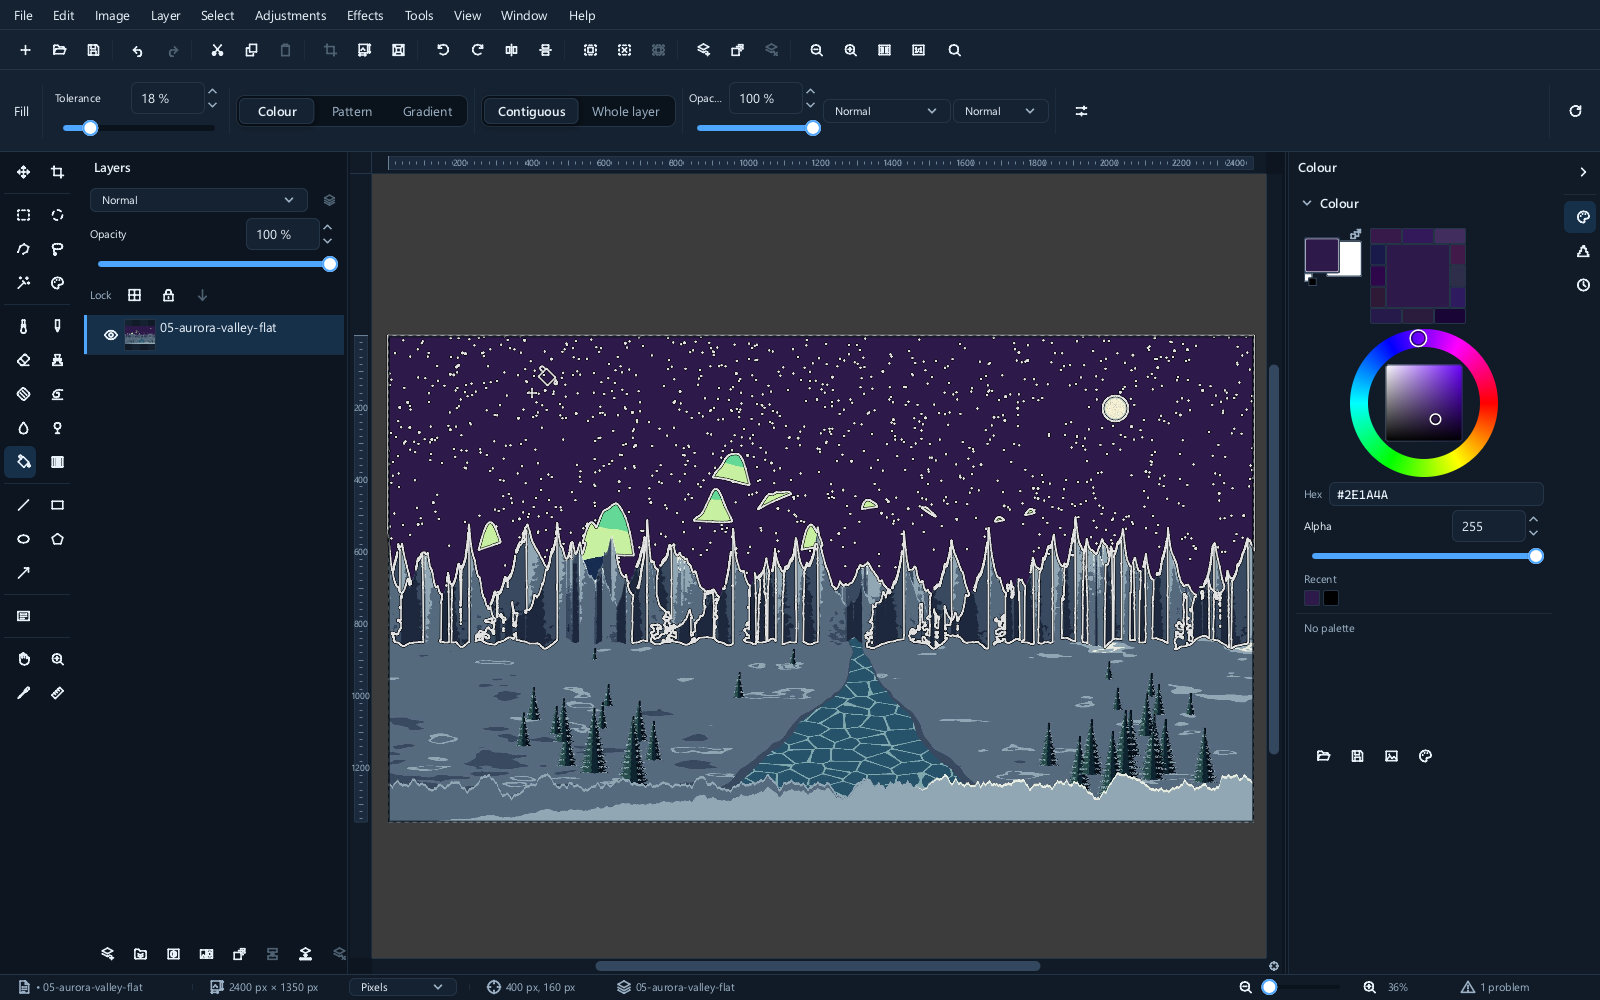 |
On a photograph, a bucket fill almost always leaves a fringe of half-matched pixels at the edge. Filling a selection gives a cleaner result.
Gradients
Press G, then drag. The gradient runs from where you pressed to where you released, so the direction and the length of the drag are the whole control.
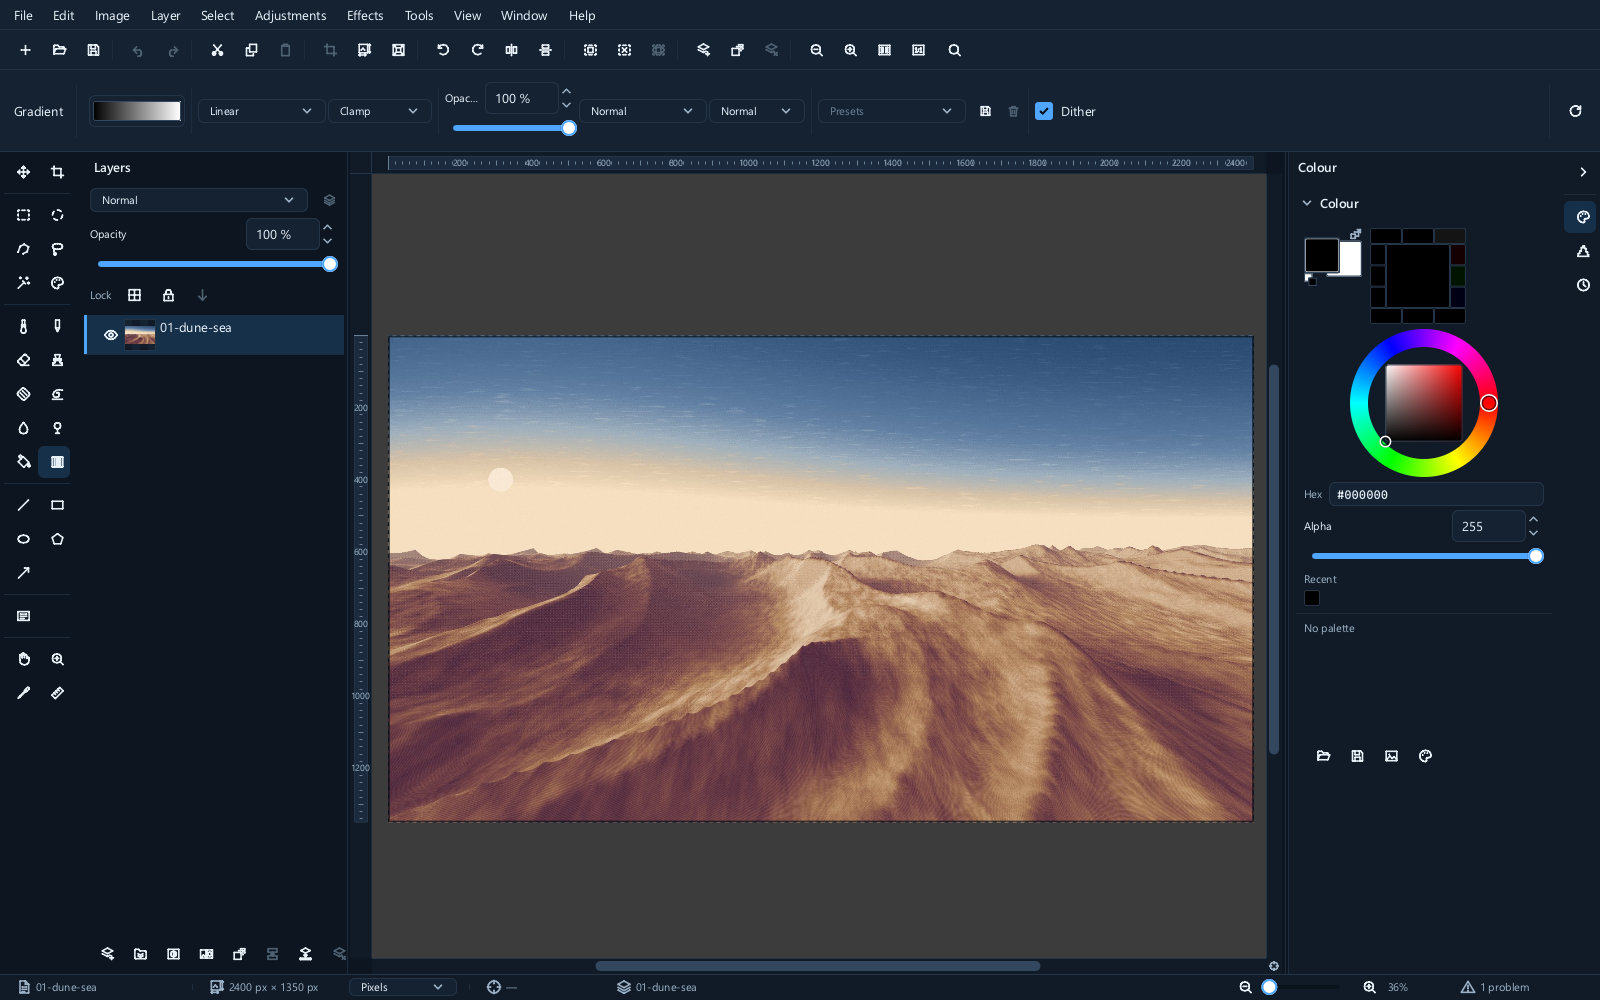
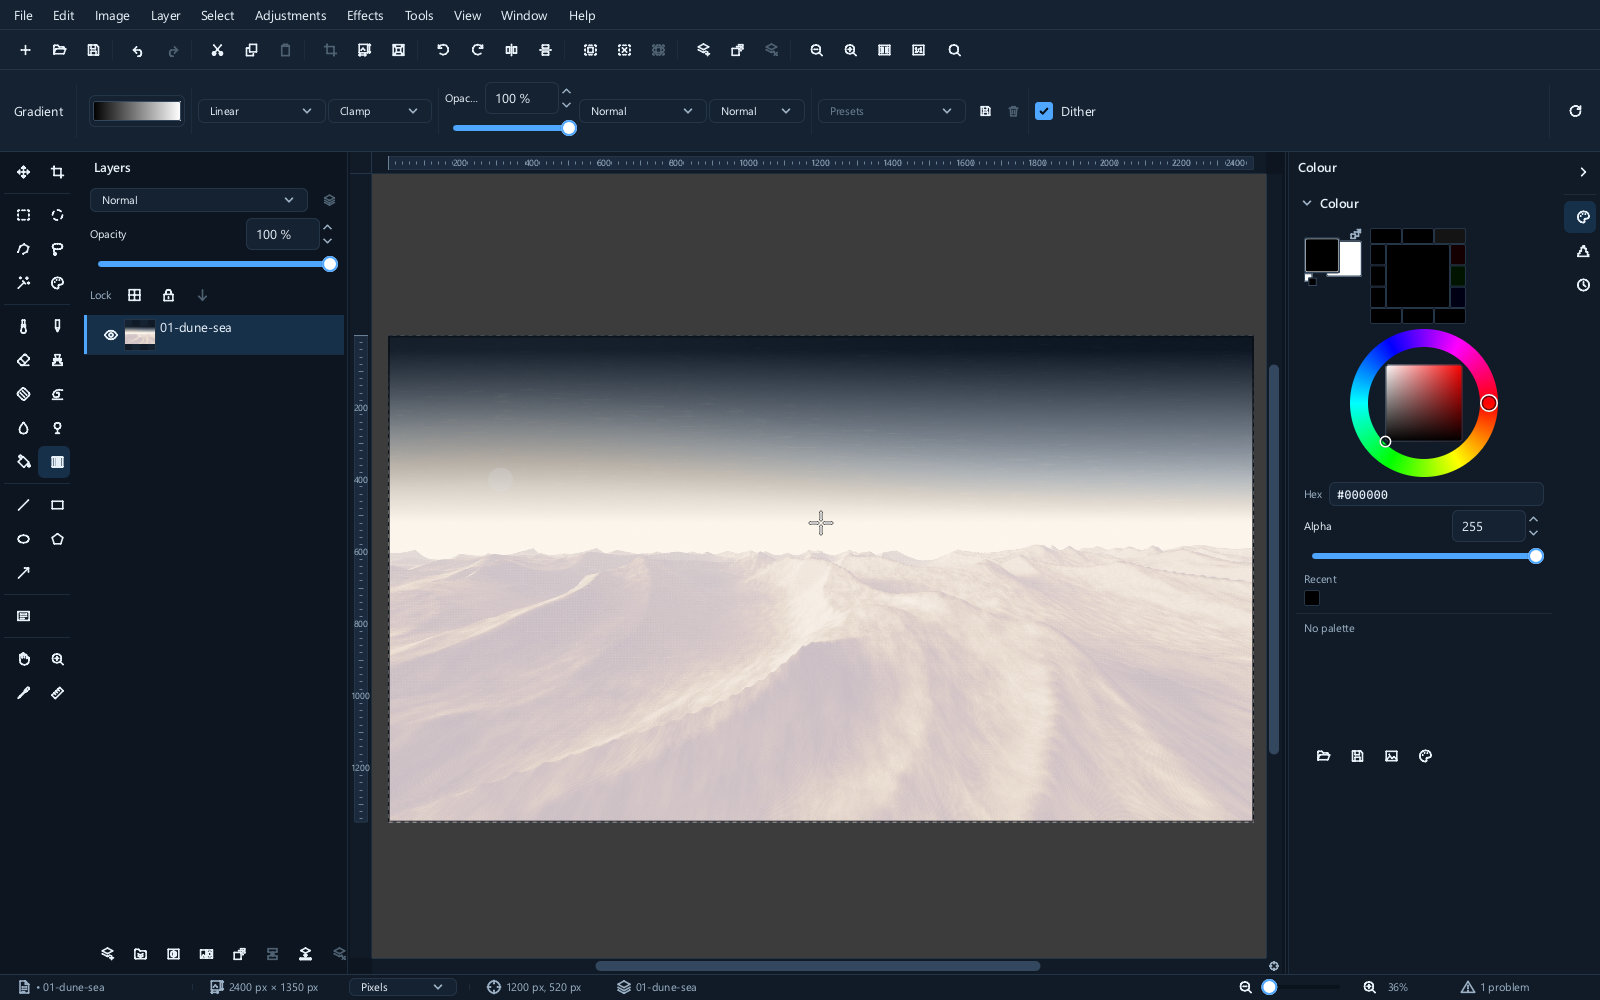
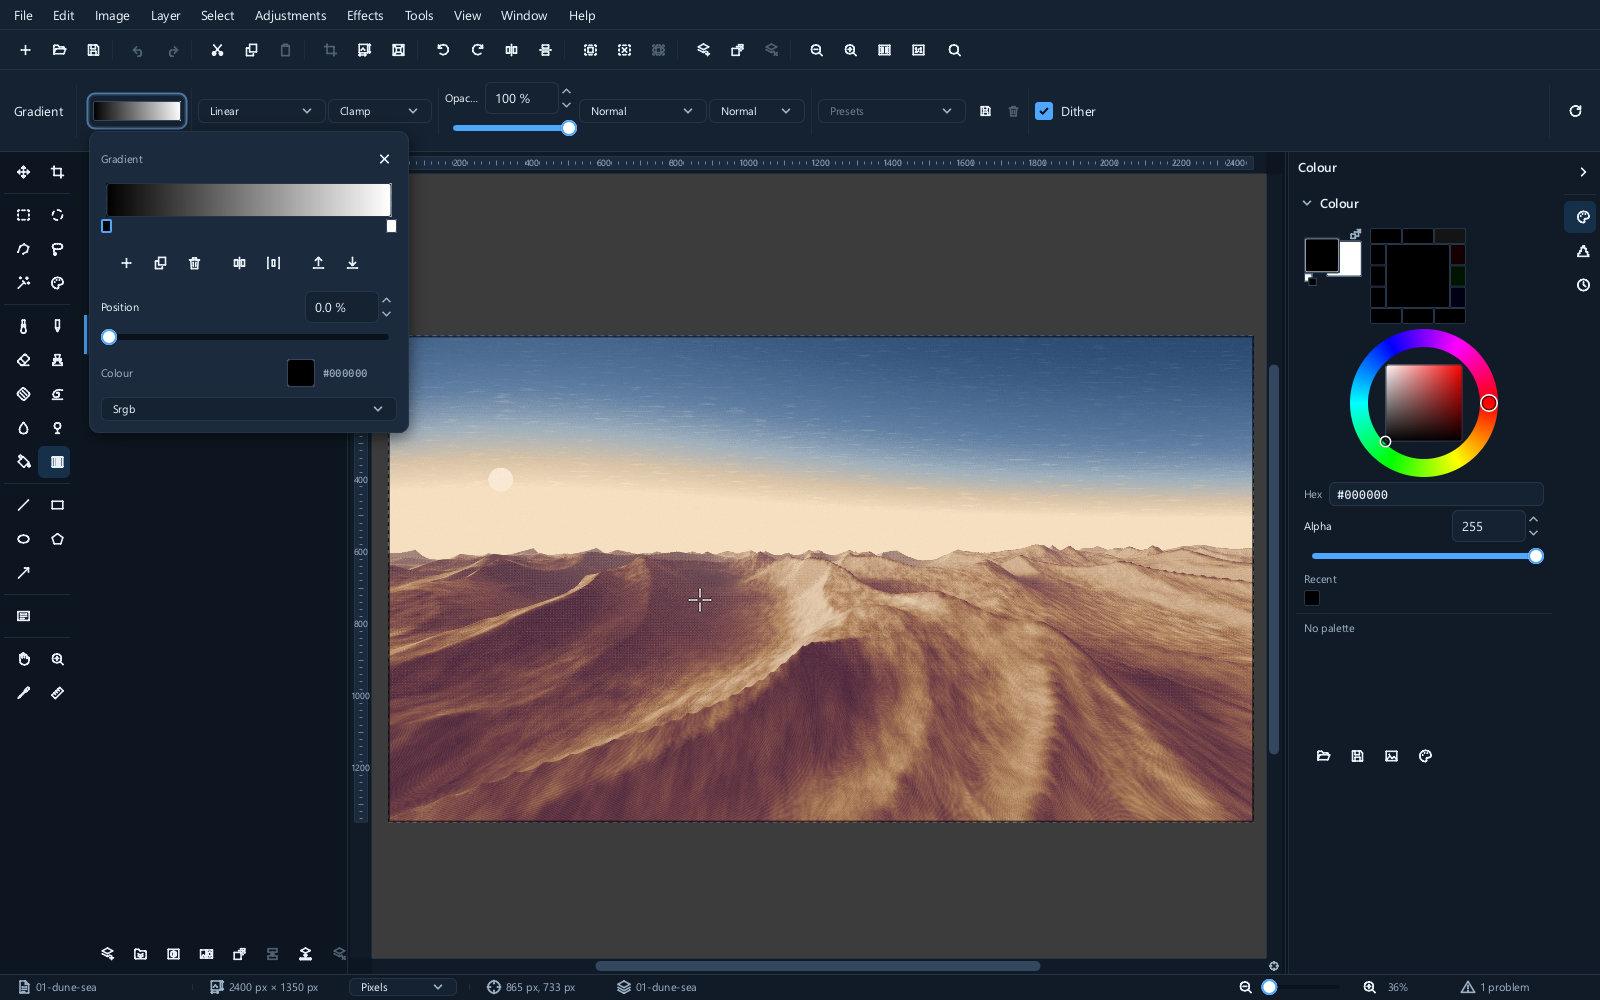
The editor lets you build the ramp itself — add stops, give each a colour and an opacity, and move them along the bar.
A gradient from black to transparent, painted on a mask, is how you fade one layer smoothly into another. It is worth knowing as a technique in its own right — graduated sky darkening, soft vignettes and seamless composites are all the same gesture.
Retouching in practice
A workable order for cleaning up a photograph:
- Duplicate the layer first, so the original is underneath and you can compare.
- Remove the obvious blemishes with the clone stamp, sampling close by, soft brush, re-anchoring often.
- Even out the tones by dodging and burning at very low strength.
- Sharpen the subject locally, and leave the background alone.
- Correct colour and tone with adjustment layers at the top of the stack.
Doing the corrections last means you are not fighting them while you retouch, and you can change them afterwards without redoing any of the repair work.
Pencil, healing and smudge
Pencil makes firm strokes without a brush-hardness falloff. Turn its anti-aliasing option off for deliberately crisp pixel art; inspect at 100% and use nearest-neighbour resizing when preserving that grid matters. Turn anti-aliasing on for smoother diagonals in ordinary graphics.
Healing blends a repair into its surroundings. On a duplicate picture layer, use a brush slightly larger than a small blemish and click or make a short stroke. With no source anchored, it uses surrounding texture. Ctrl+click anchors a particular source, as with Clone. Prefer Clone when you must copy a precise edge: healing near a strong boundary can pull unwanted colour into the repair. Compare the result with the original and resample often.
Smudge drags existing colour along the stroke. Use low flow and short gestures to nudge an edge; stronger flow moves more colour and quickly destroys texture. It is useful for painted transitions but is not a substitute for repairing photographic detail.
These tools change pixels. Keep a duplicate or earlier saved version, and verify which layer or mask thumbnail is selected before the first stroke.
Next
- Masks — a reversible alternative to the eraser
- Text and shapes — drawing that stays editable
- Effects — blur and sharpen applied to a whole layer