
Automation
If you are about to do the same thing to forty photographs, do it once, record it, and let the program do the other thirty-nine.
There are two halves: a macro is a recorded sequence of actions, and batch processing runs one over a folder of files.
Recording a macro
Choose Tools ▸ Create macro ▸ Start recording, perform the repeatable edits, then choose Tools ▸ Create macro ▸ Stop recording... and save the macro.
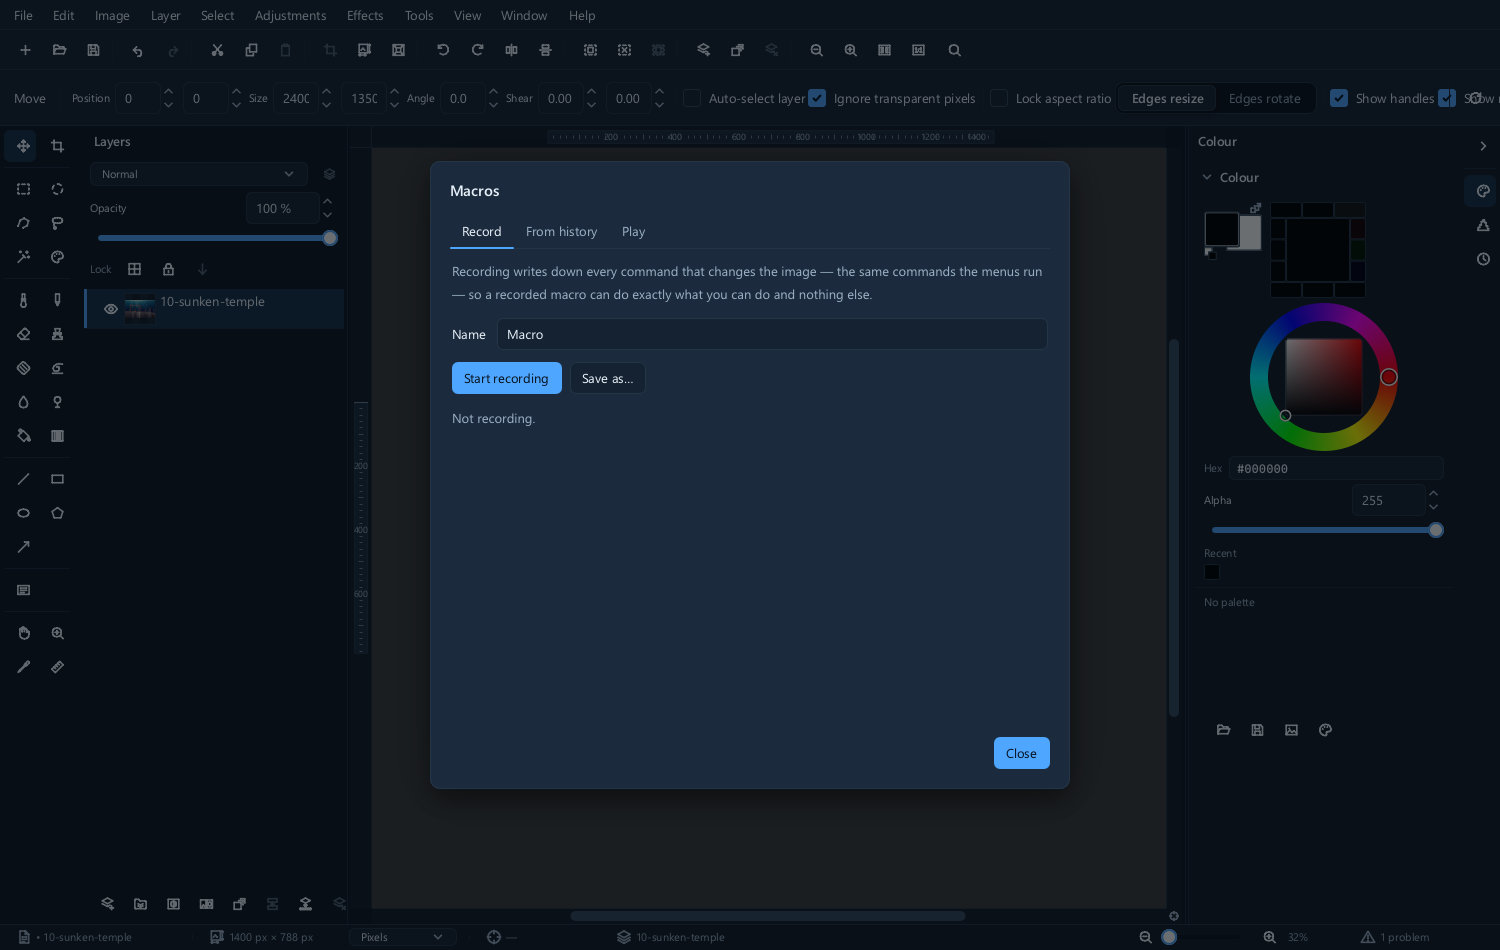
While recording, the program is watching every command you run and writing it down. Work normally.
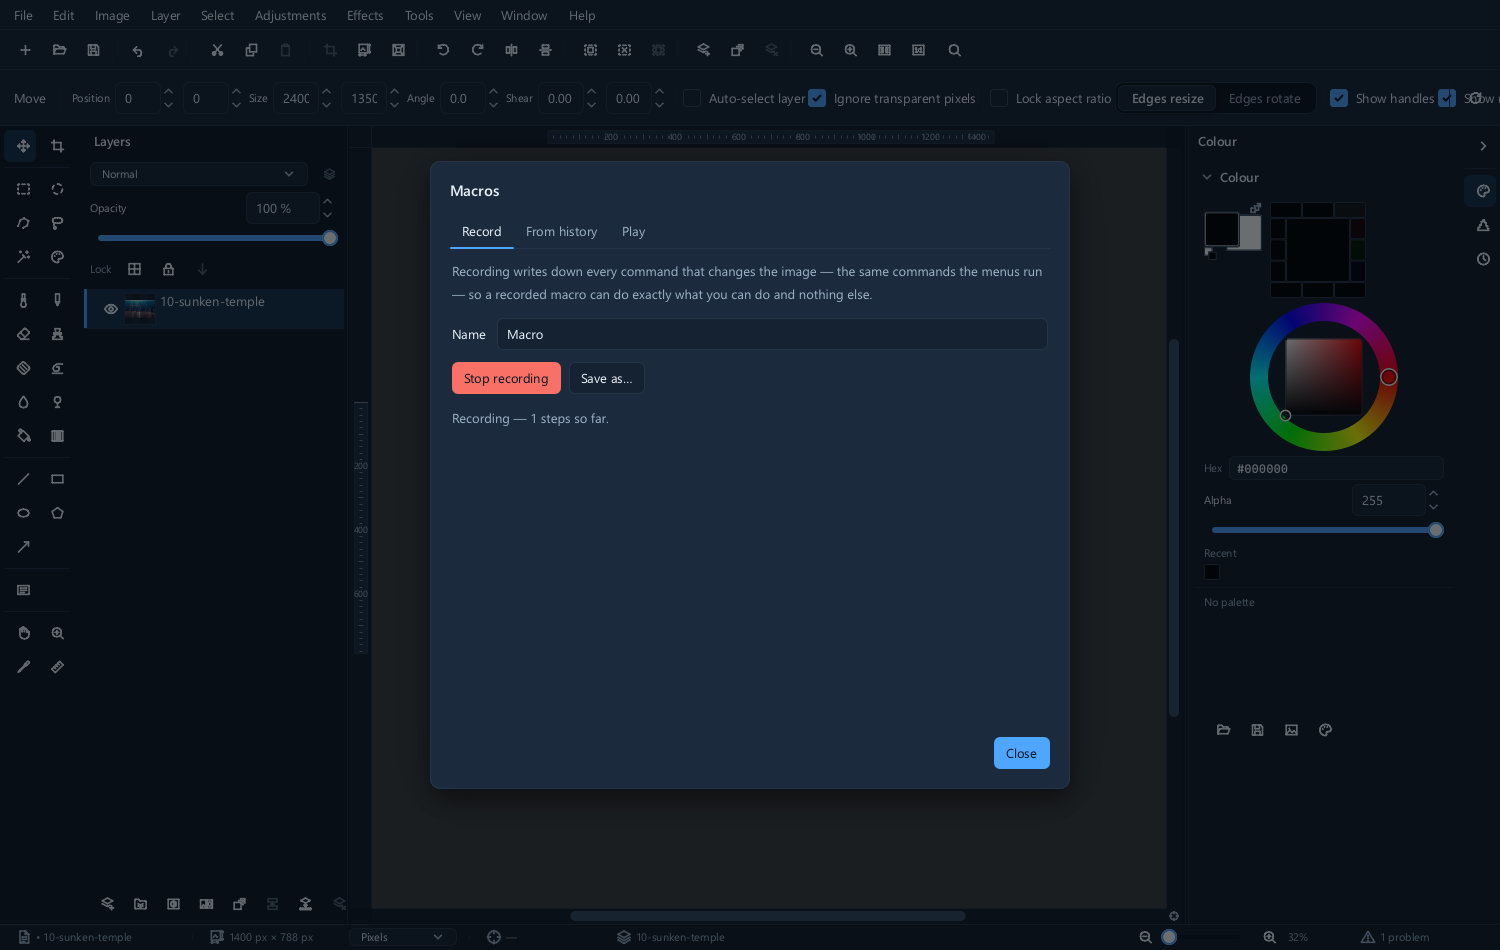
Stop when you have finished, and you are asked where to save it.
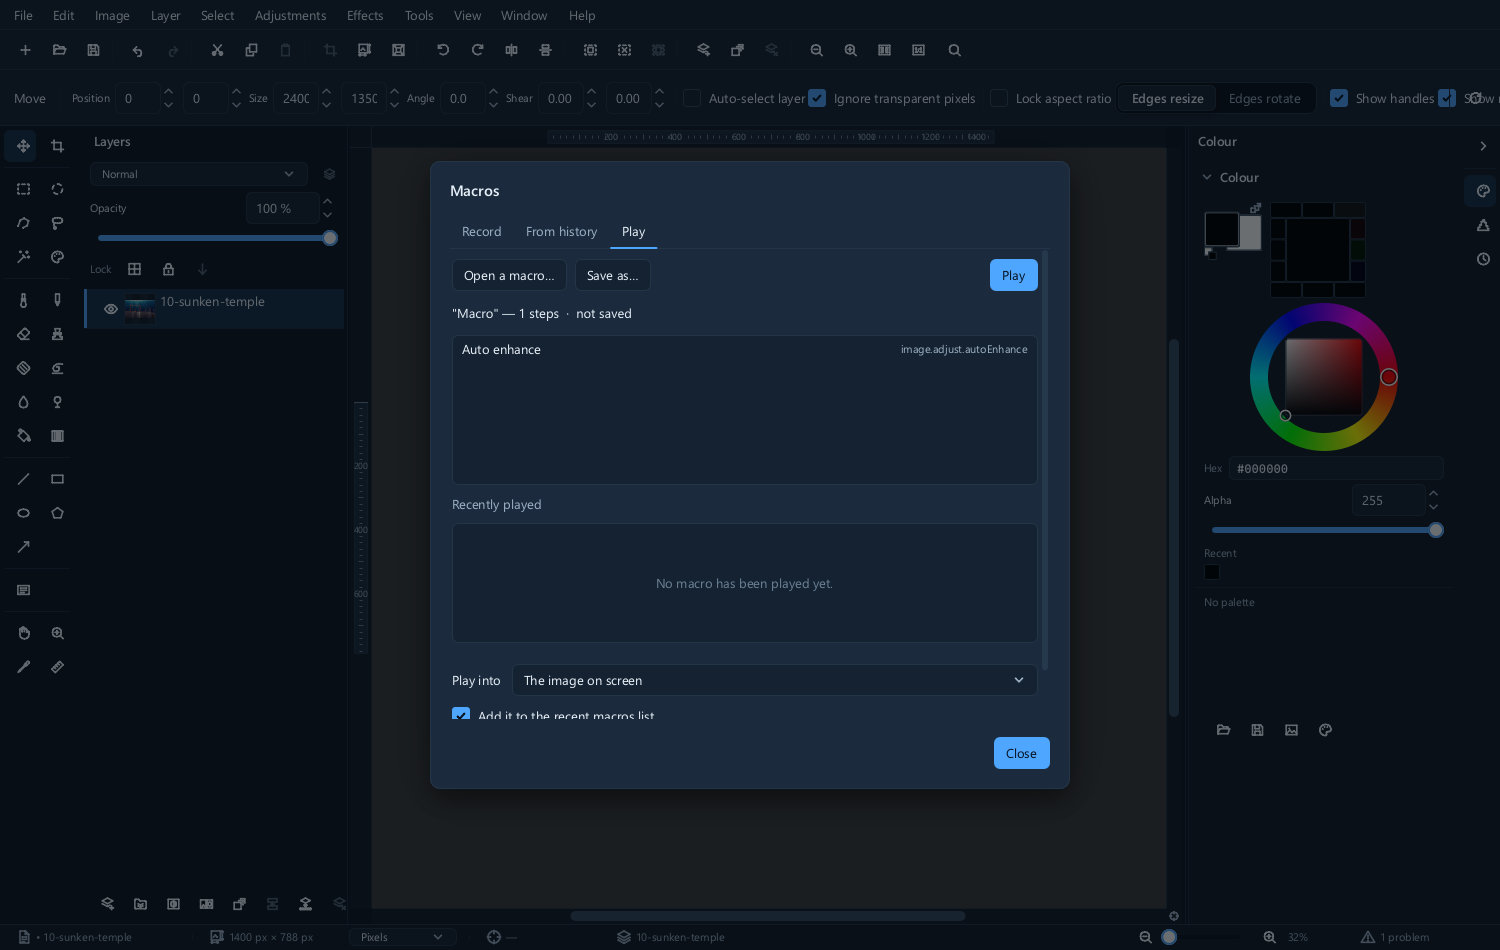
What records and what does not
Commands record. Adjustments, effects, resizing, cropping, layer operations, saving — anything that is supported by the recorder. Navigation and dialog-opening commands are not useful processing steps; inspect the recorded list before relying on it.
Freehand work does not usefully record. A brush stroke is bound to the exact pixels you dragged over, which means nothing in a different photograph. Retouching is not something to automate.
So macros are for the repeatable half of the work: resize, sharpen, correct, convert, save. Leave the judgement for afterwards.
Building one from what you have already done
You do not have to decide in advance. The history panel holds everything you have done to the current picture, and a macro can be made from a run of it.
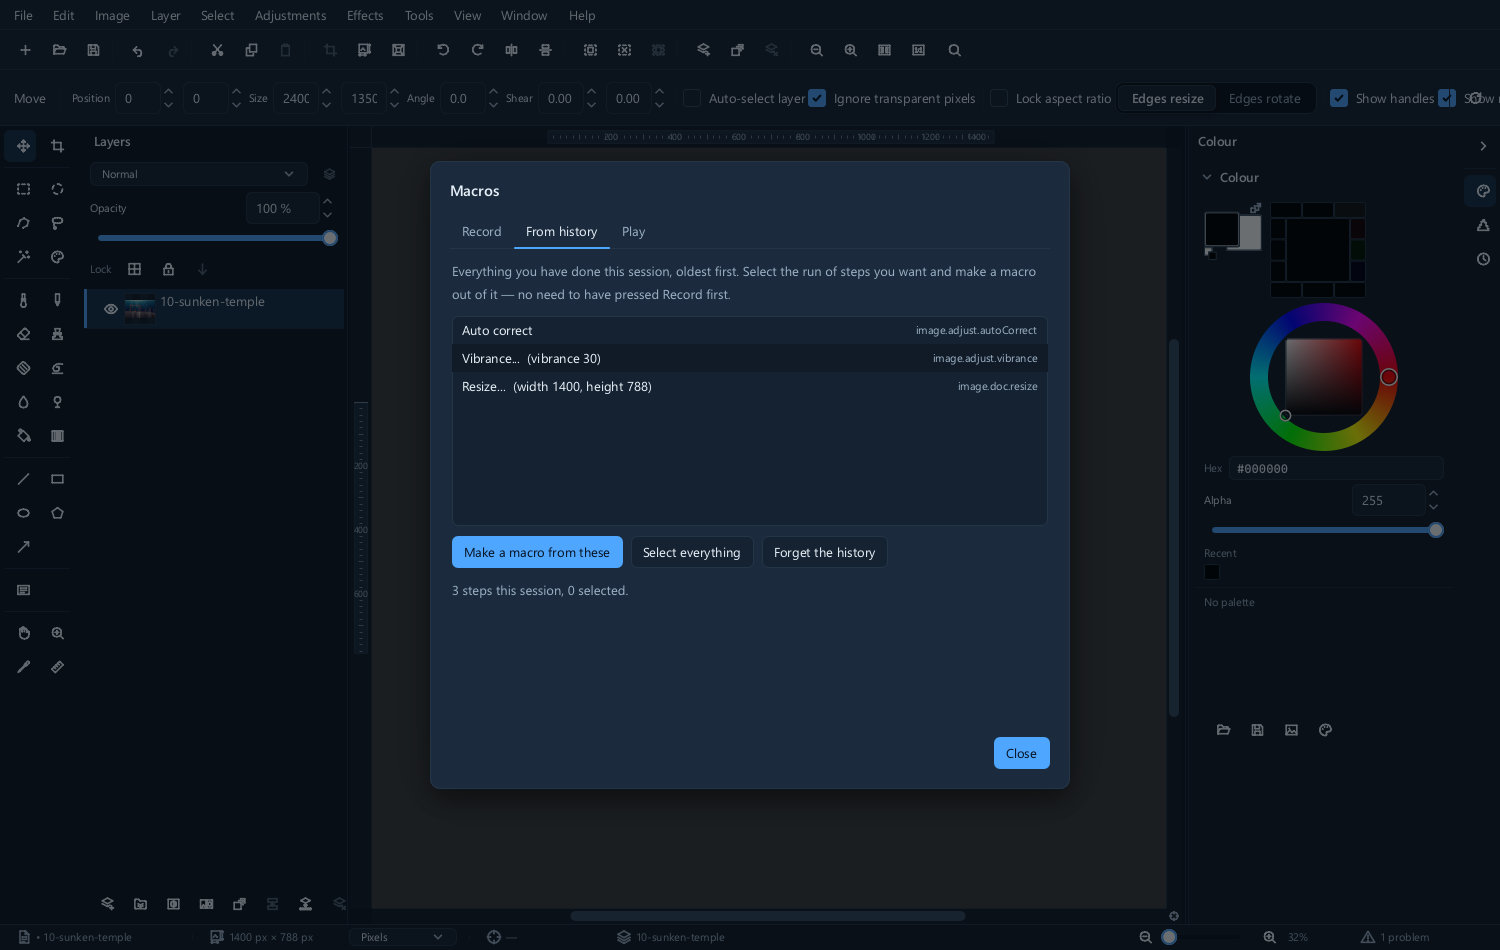
Use Tools ▸ Create macro ▸ From history..., select the steps to retain and save the macro.
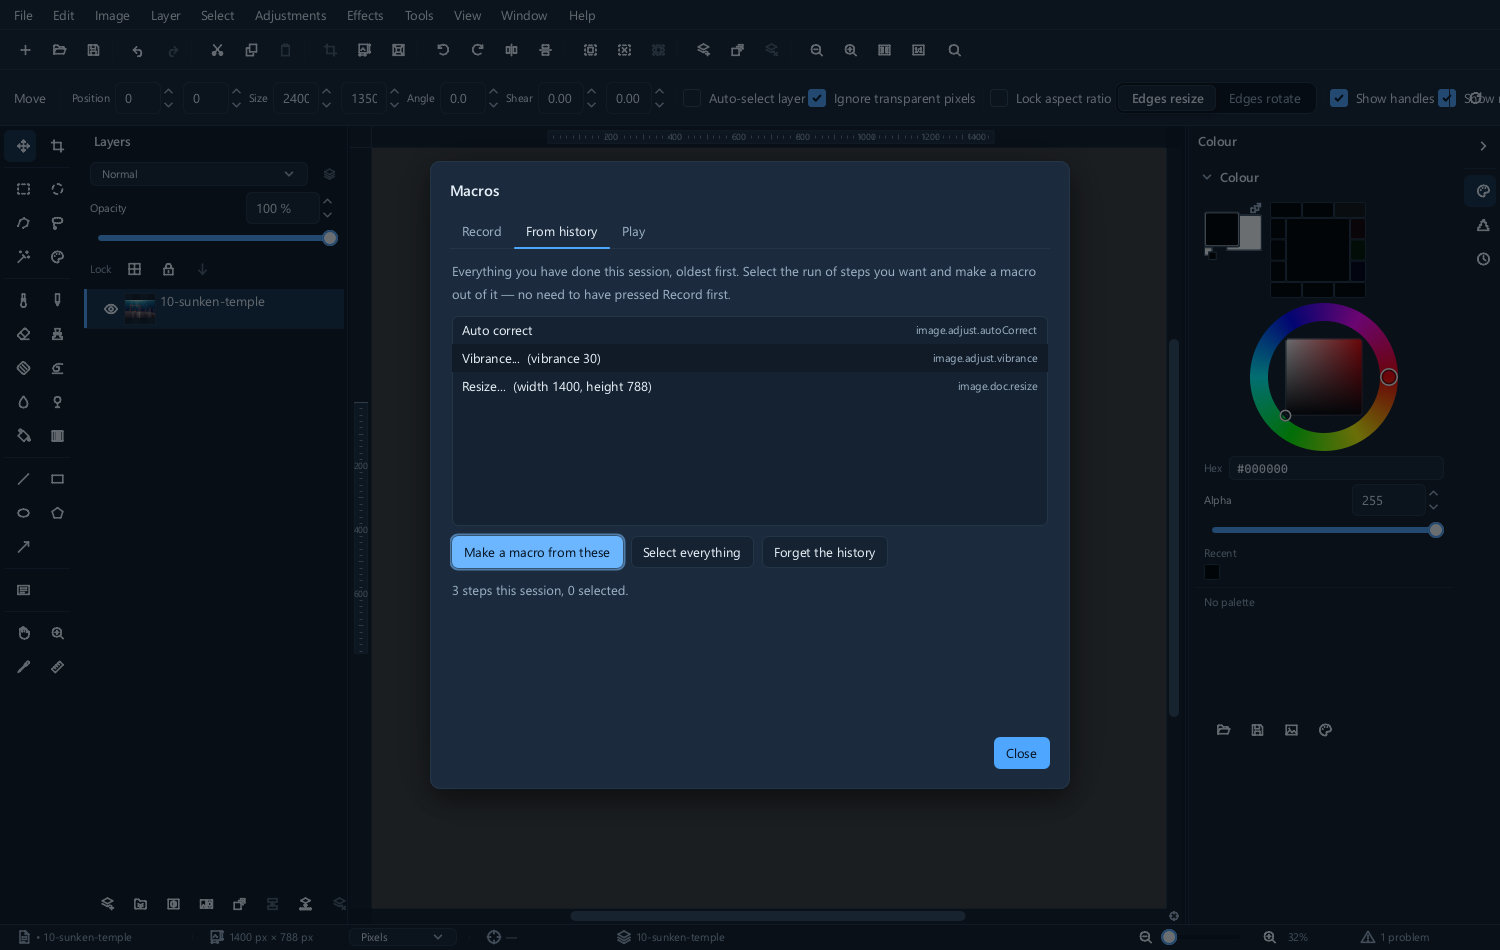
This is usually the better way round. Edit one photograph until it looks right, then keep the parts that would apply to the rest.
Playing one back
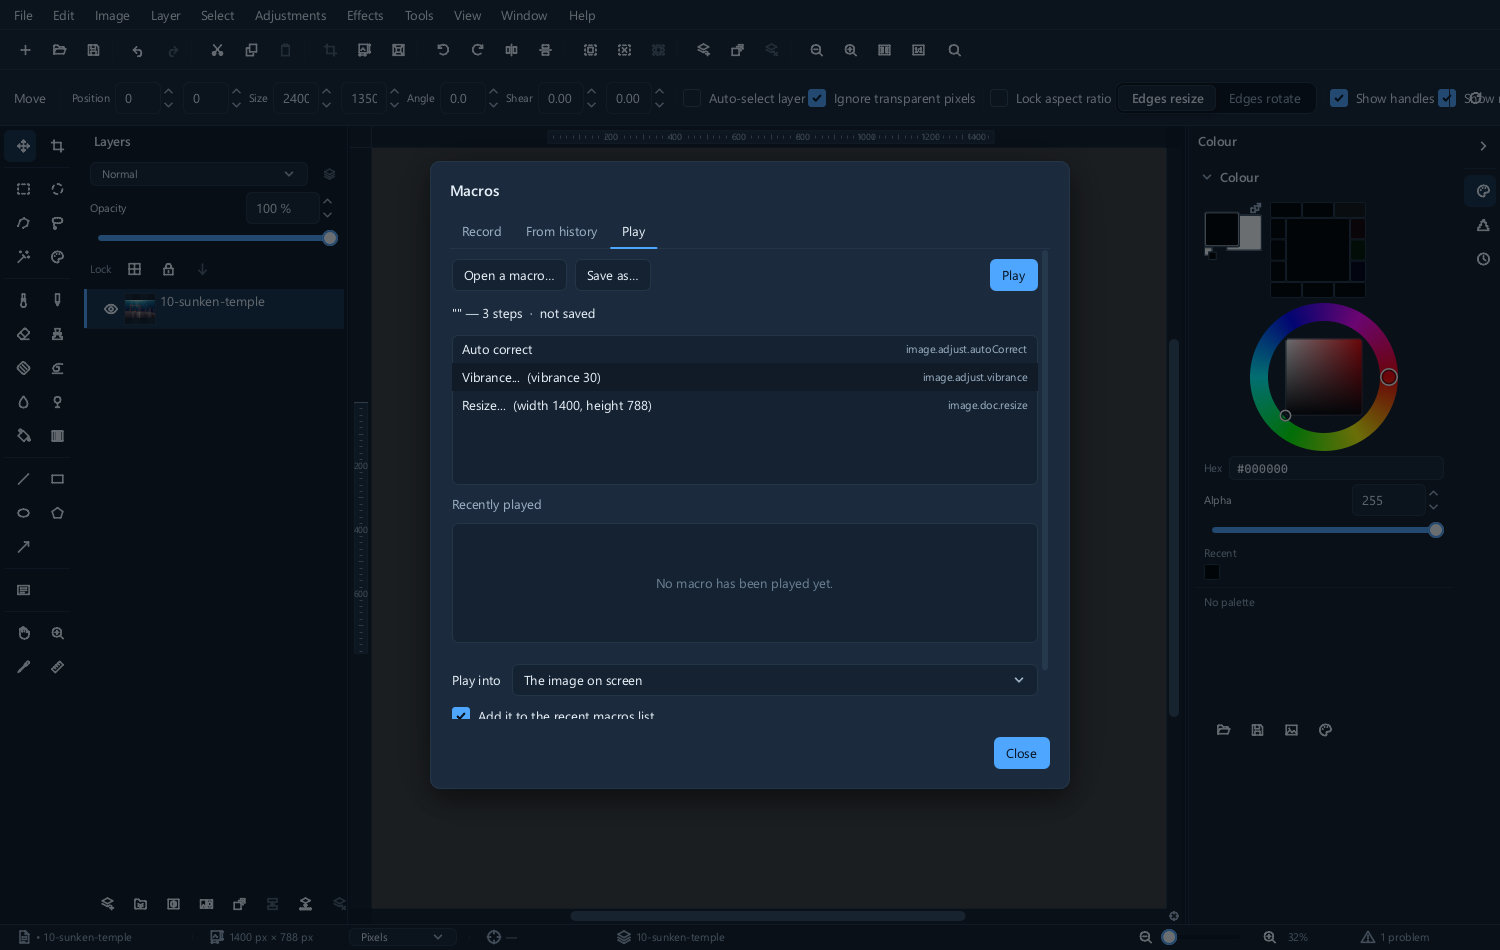
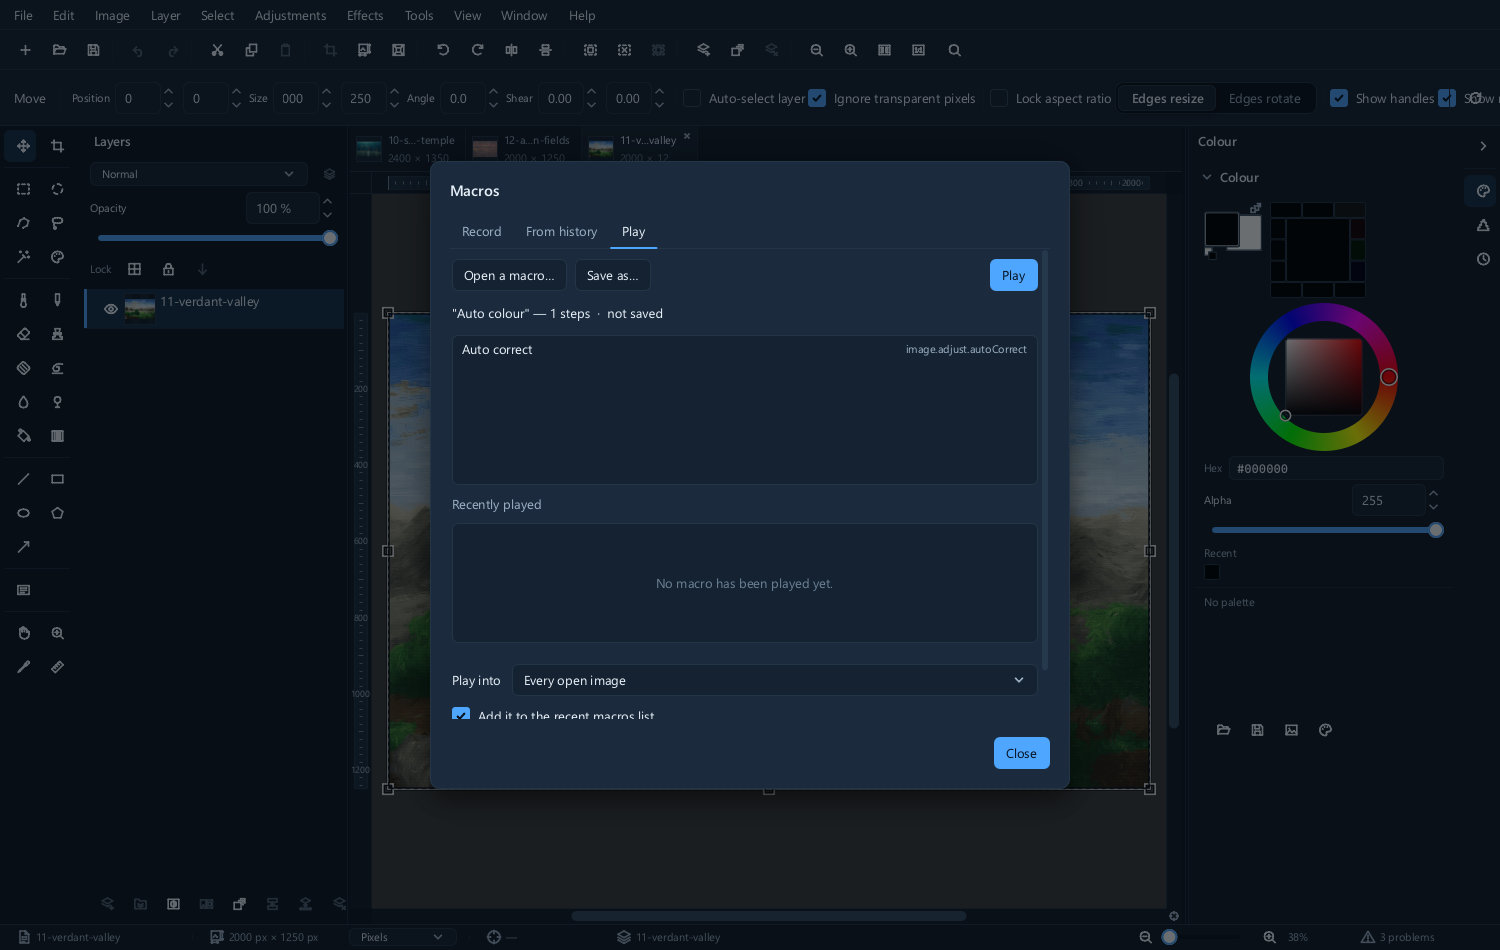
Open a picture and choose Tools ▸ Play macro....
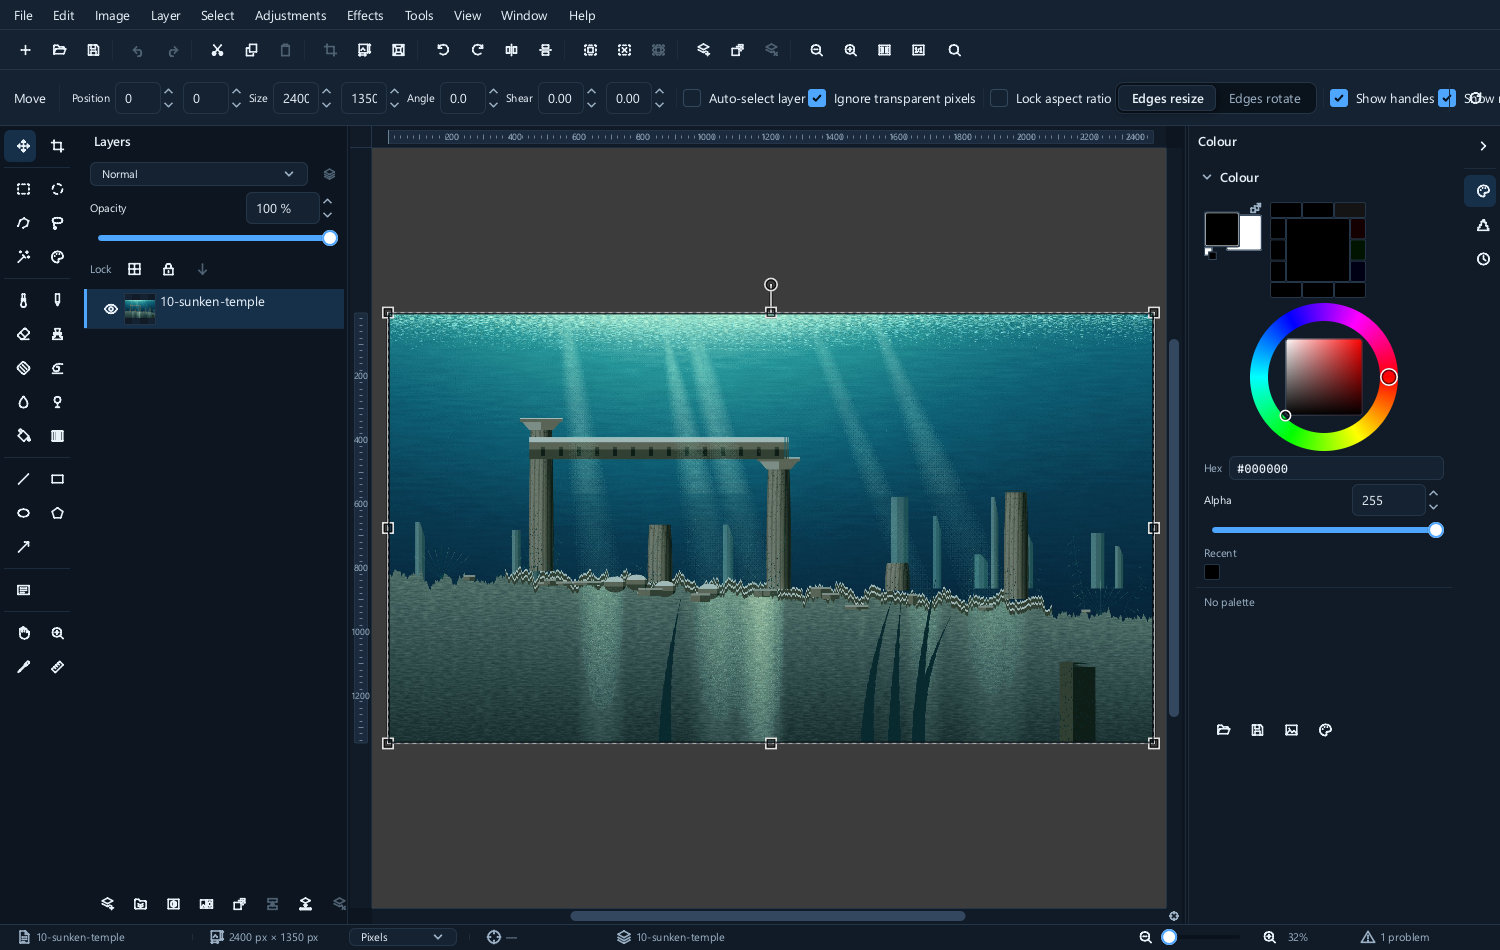
| Before | After |
|---|---|
 |
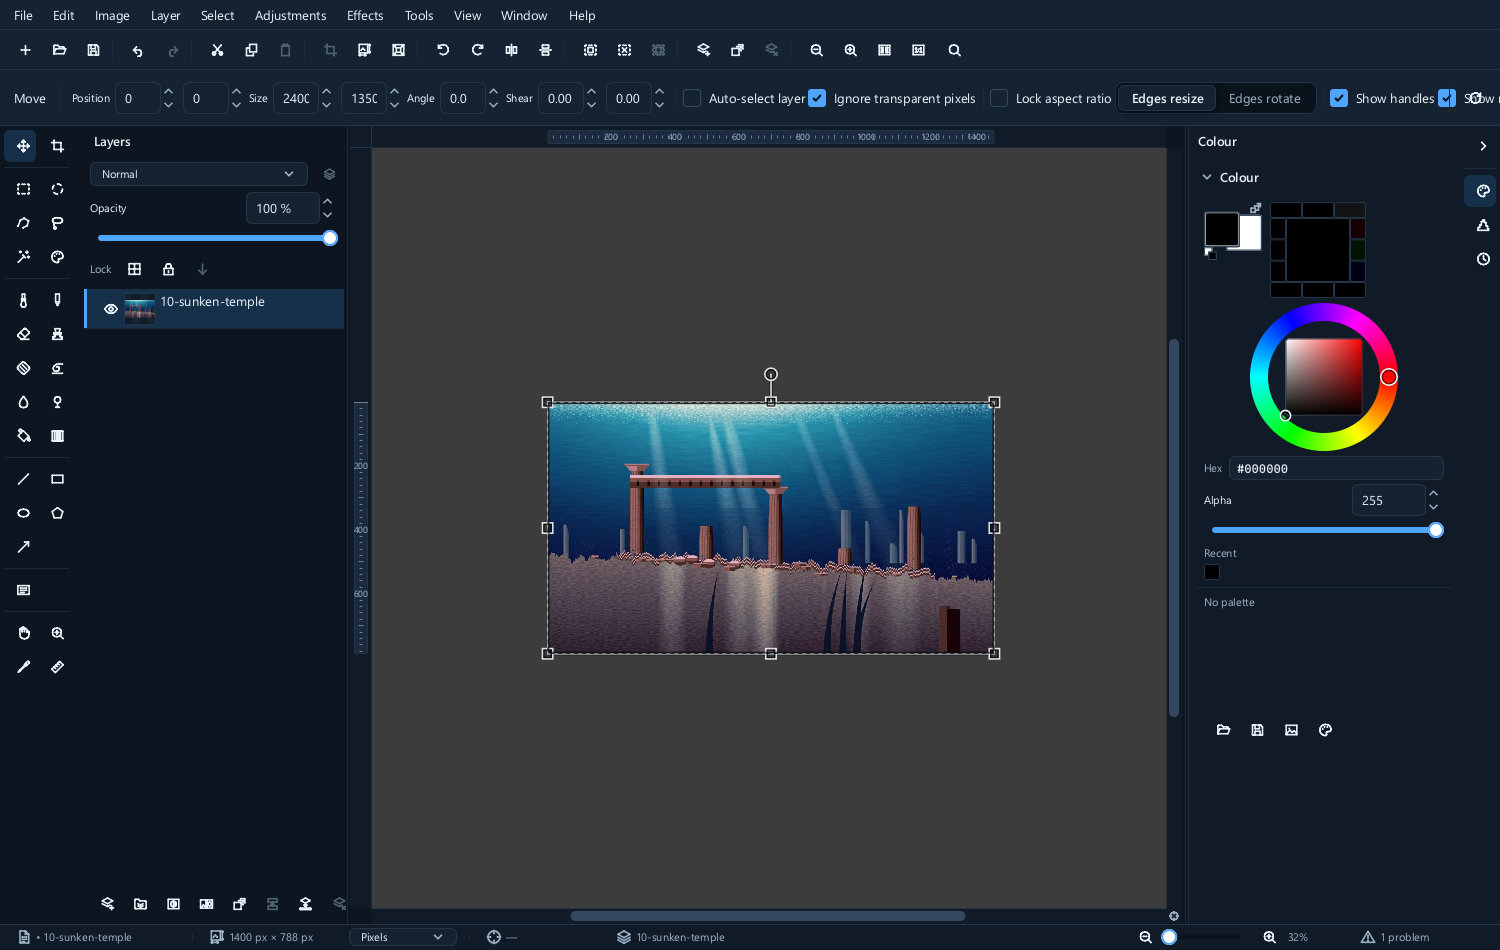 |
A macro’s undoable document edits are grouped into one Ctrl+Z. This does not undo external side effects such as files already written to disk; use a separate batch output folder.
Batch processing
This is where the time is saved. A batch takes a macro and a list of files and runs one over the other. Open File ▸ Batch operations ▸ Process... to configure it.
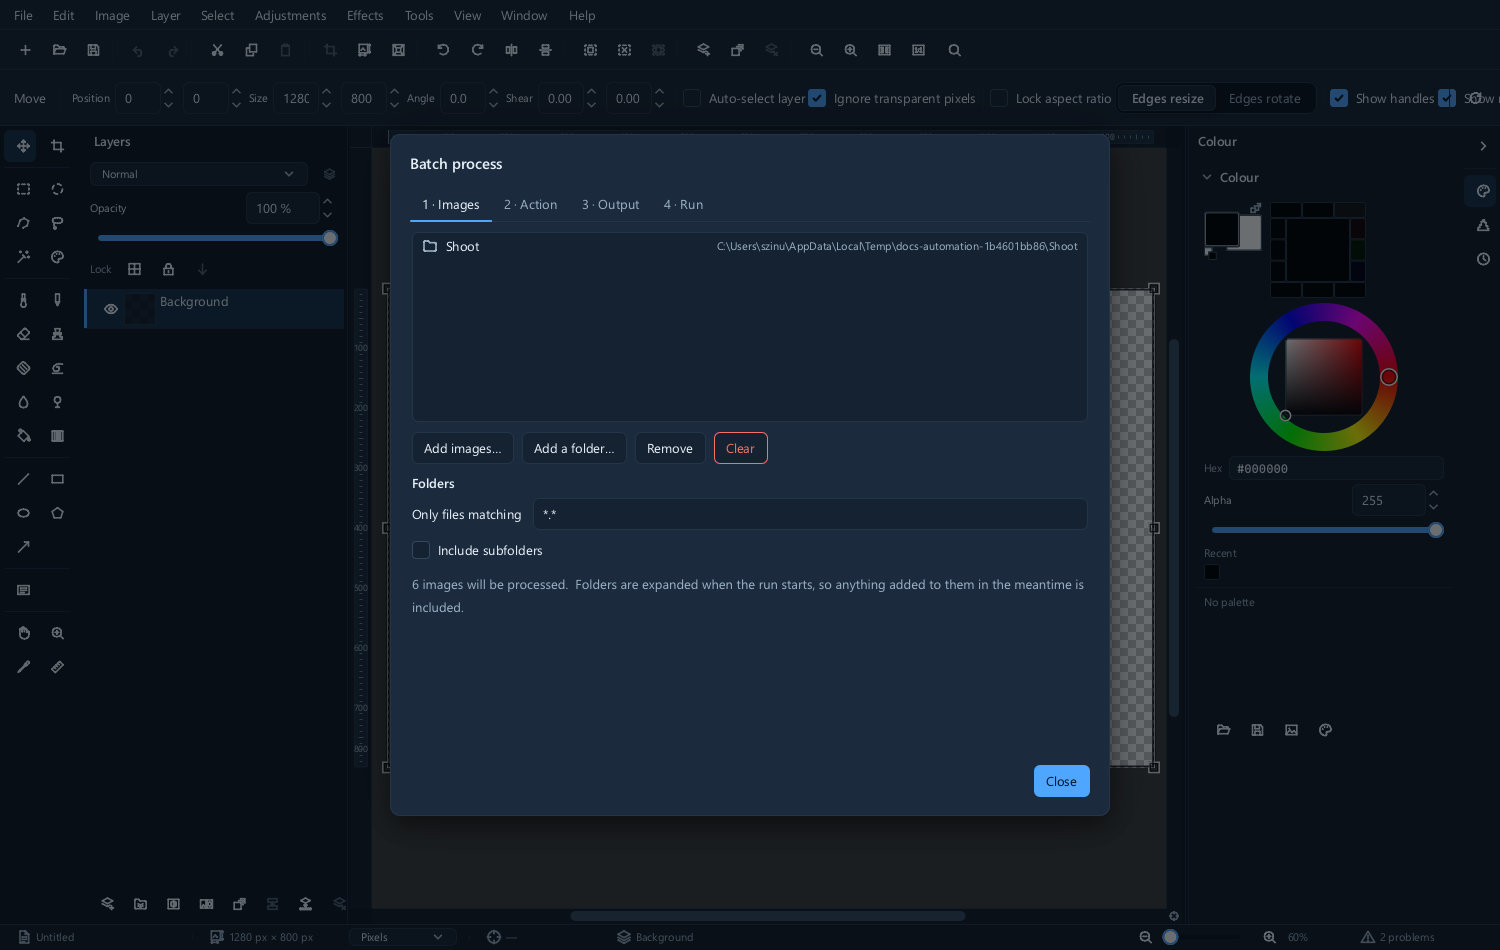
Three things to set.
The images
Add files, or add a whole folder.
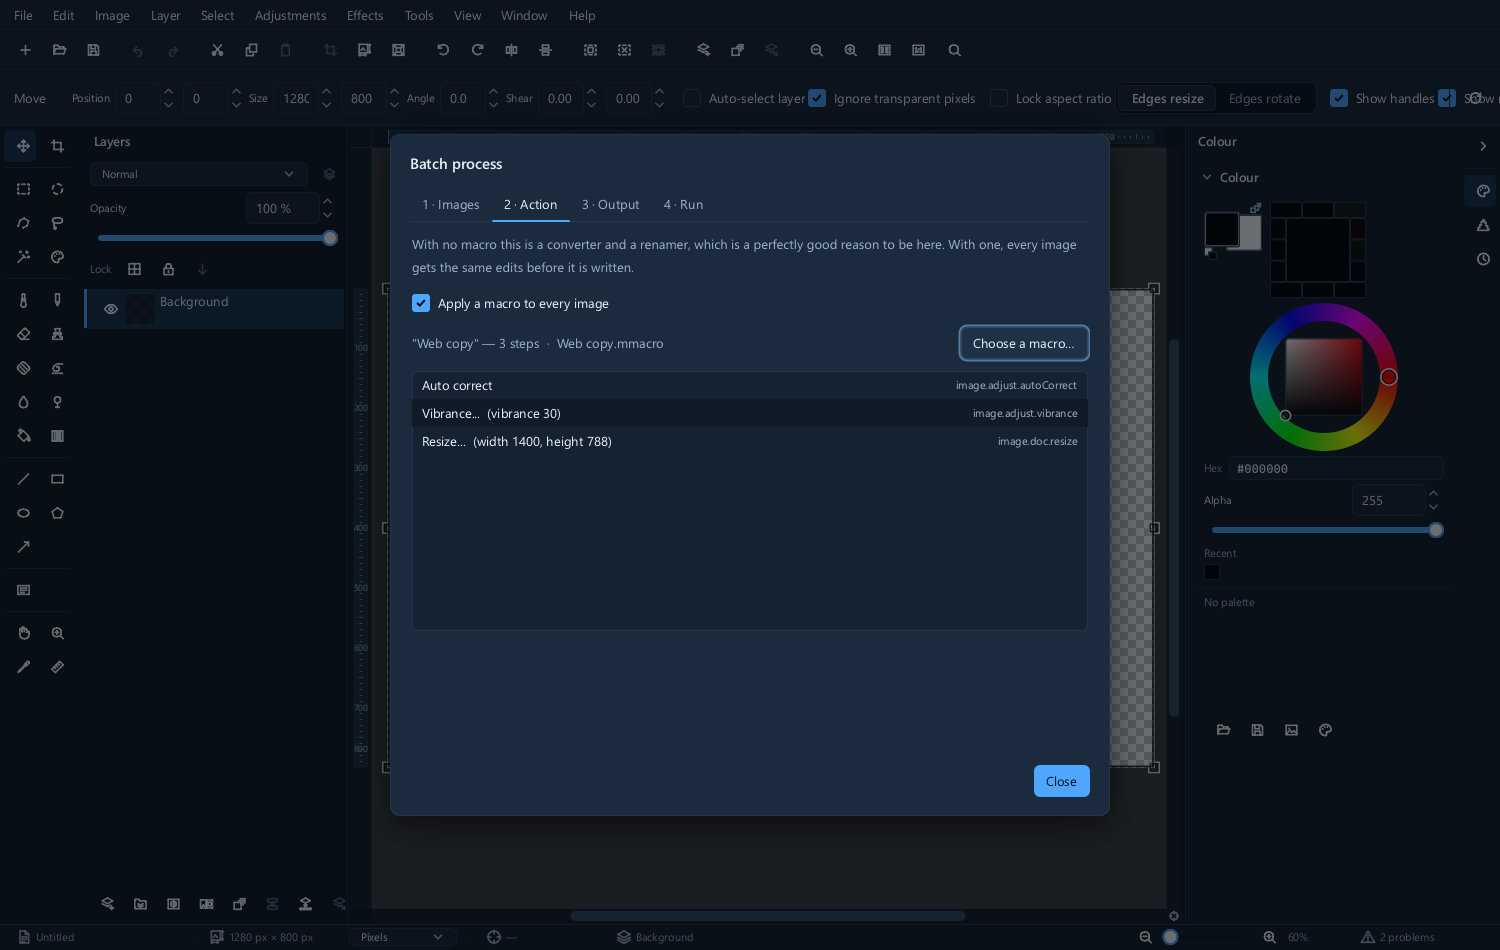
What to do to them
Choose the macro, or one of the simpler built-in actions if all you need is a resize or a format change.
Where the results go
Choose an output folder, a format, and how the files should be named.
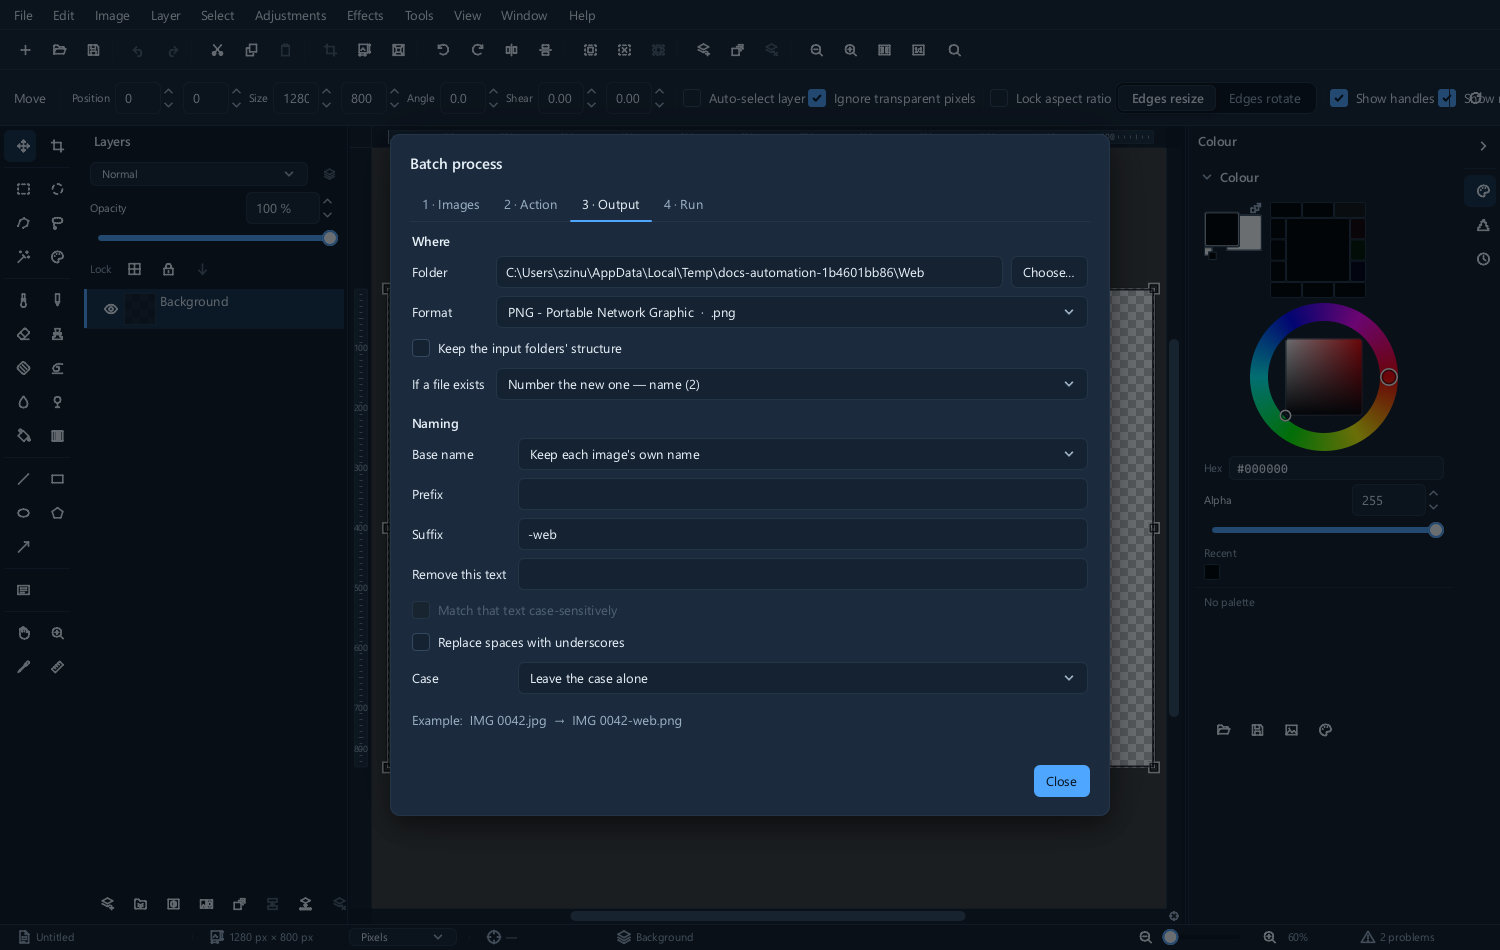
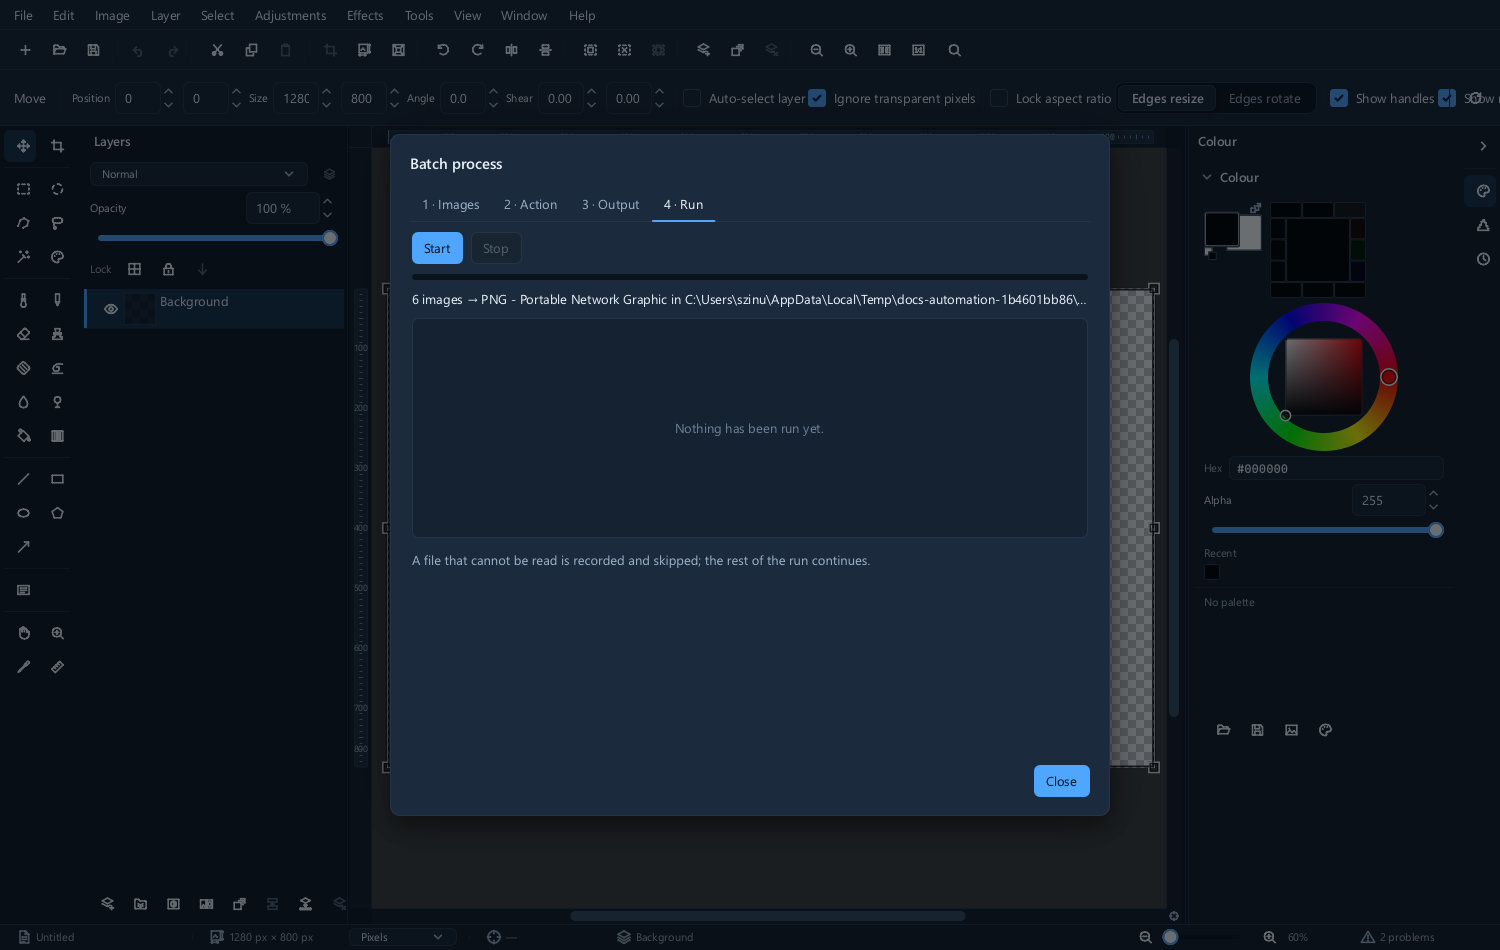
Always write to a different folder from the one you read. It is the difference between a batch that went wrong and a batch that went wrong and destroyed the originals.
Running it
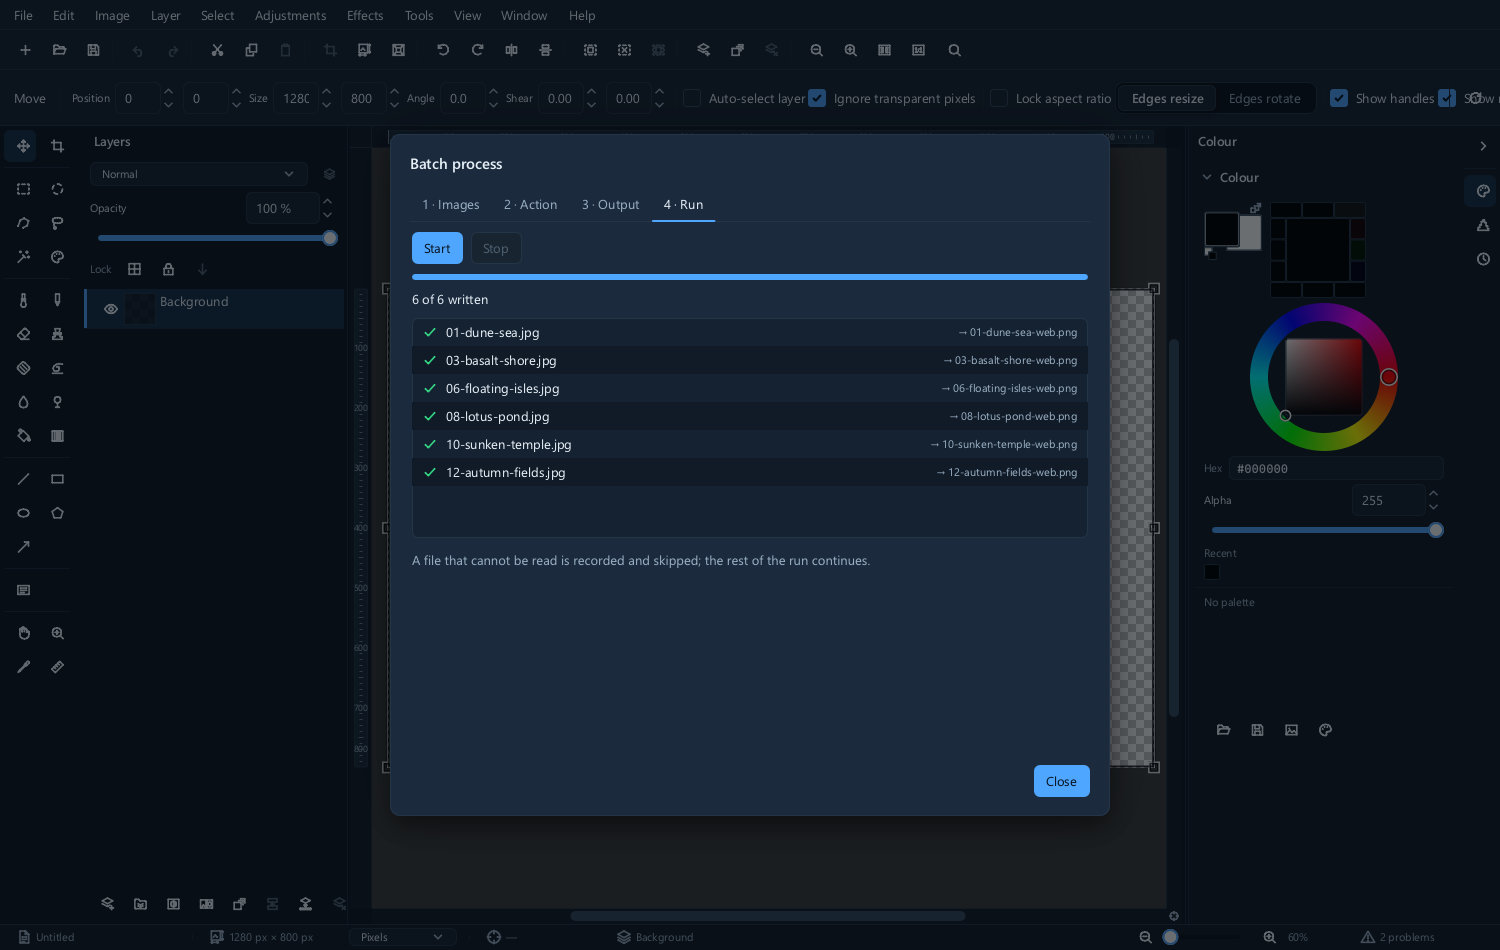
Files are processed one at a time and the progress is reported as it goes.
If something goes wrong with one file — it is corrupt, it is not really an image, a step does not apply to it — the batch says so and carries on with the rest rather than stopping.
Use File ▸ Batch operations ▸ Repair... to revisit failed work. Read the report at the end. A batch that says it processed 38 of 40 files has told you something important.
Test it on two files first
Point the batch at two images, run it, and look at what came out. A mistake in a macro is invisible until it has been applied to everything, and a batch is fast enough that testing costs nothing.
Things worth automating
- Resize a folder for the web — resize, sharpen, export as JPEG at a chosen quality
- Convert a format — a folder of TIFFs to PNG, or raw developments to JPEG
- Apply a consistent look — the same curve and vibrance across a set from one shoot
- Add a watermark — a logo layer at fixed opacity and position
- Strip metadata — remove location and camera data before publishing
That last one is worth setting up once and keeping. It is easy to forget, and it matters.
Macros as presets
A macro is a file. Save it, keep it, and it becomes a recipe you can hand to somebody else or use next year.
Name them for what they do rather than when you made them — web-1200-sharpen will still mean
something in six months in a way that macro3 will not.
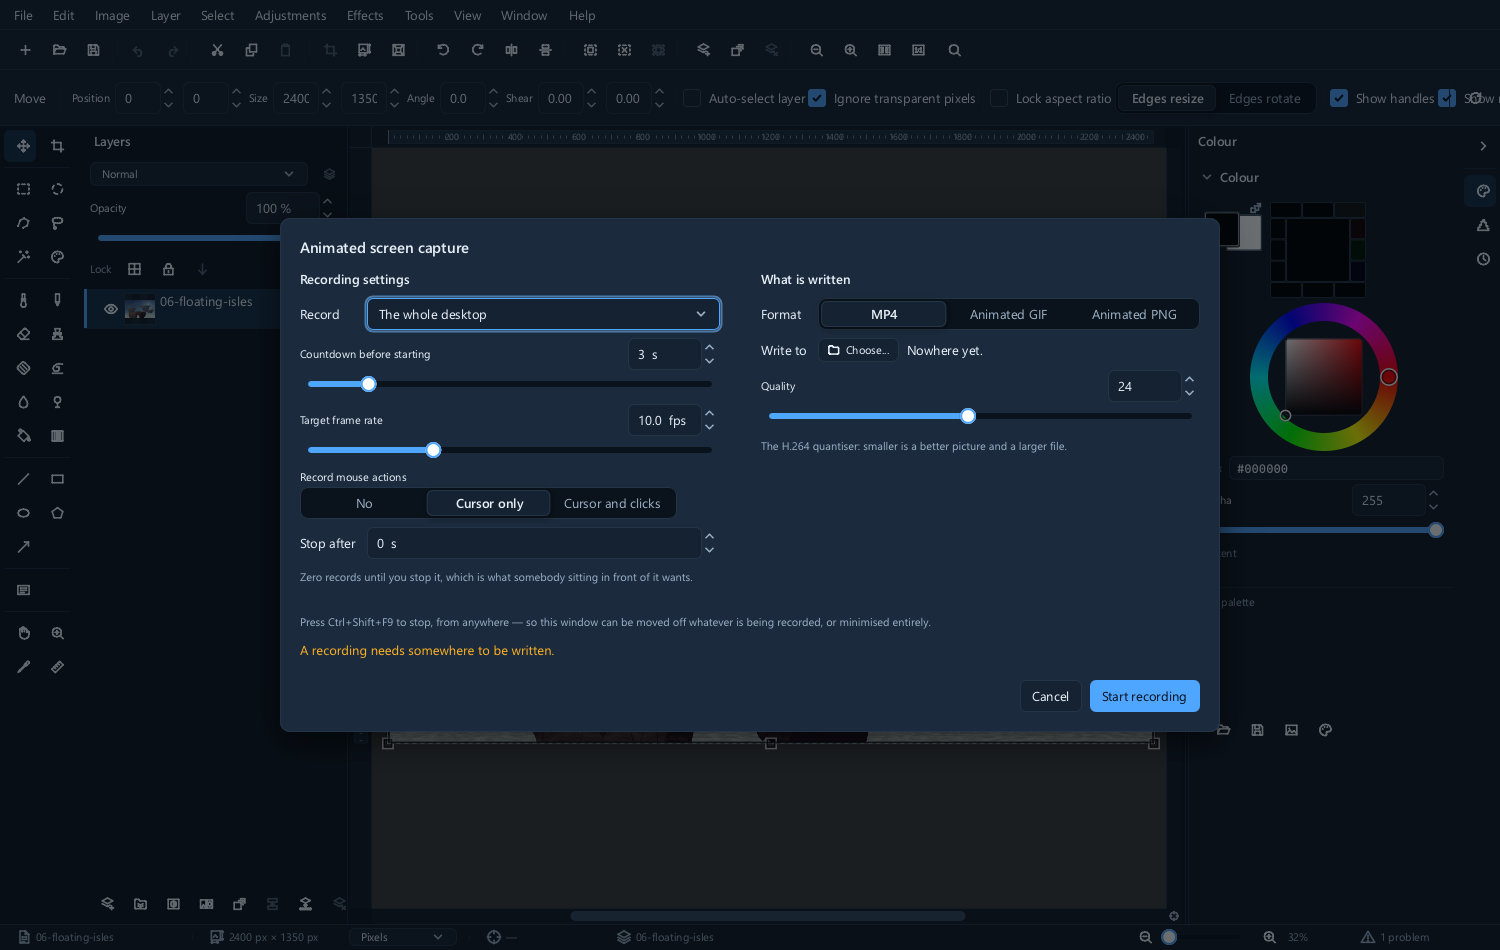
Recording the screen
Use Tools ▸ Animated screen capture... to choose what to record — useful for showing somebody how to do something rather than describing it.
The result can be written as an animated GIF.
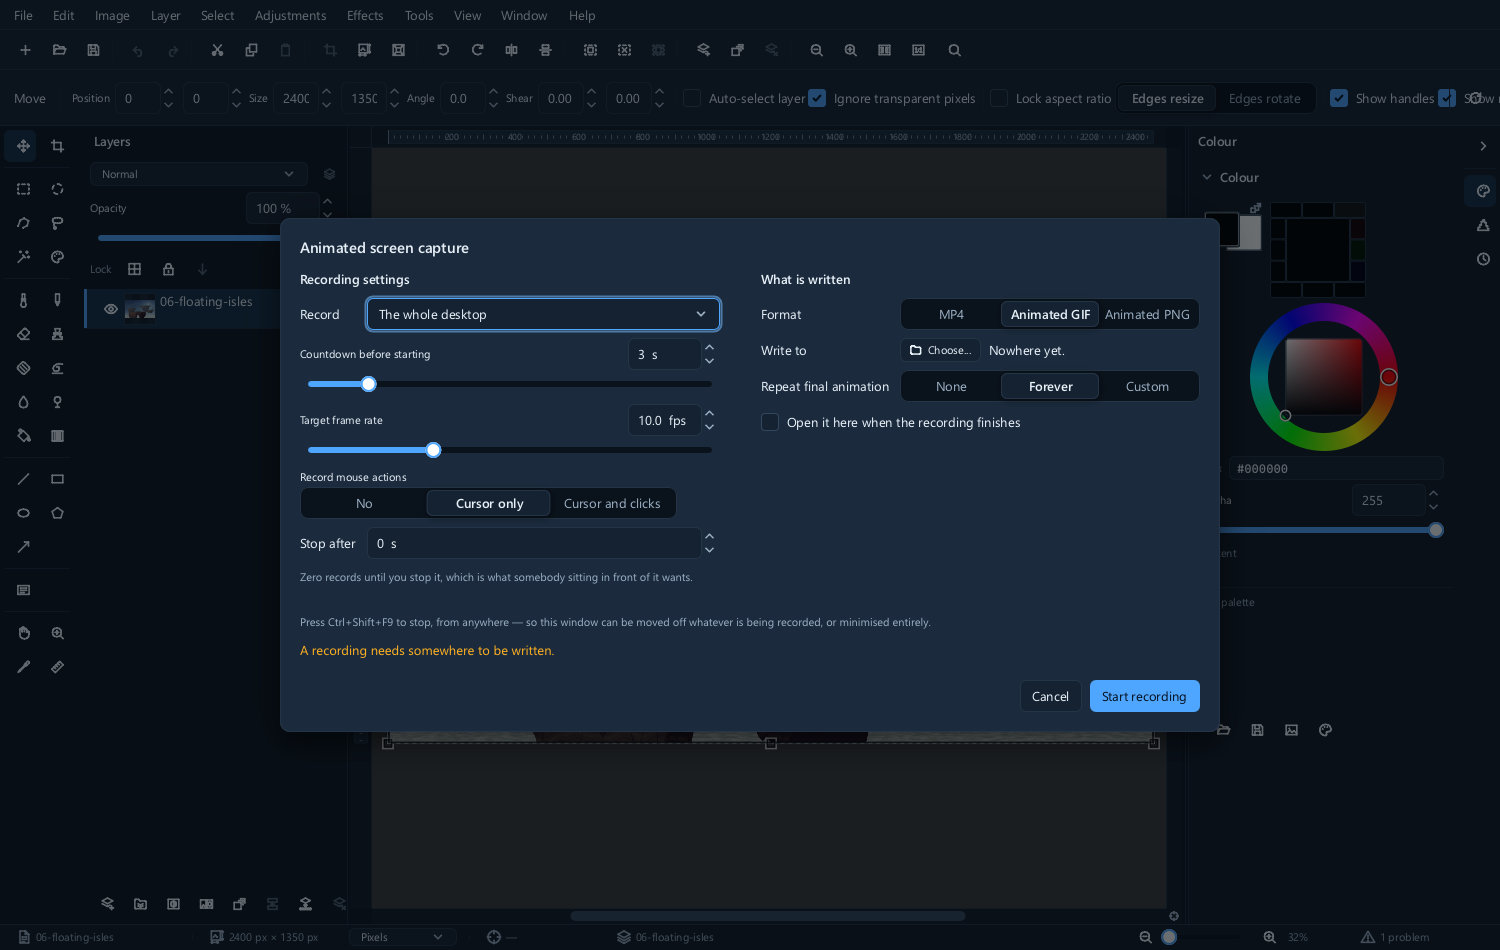
Keep recordings short. A GIF of a whole editing session is enormous and nobody watches it; fifteen seconds showing one technique is useful.
Next
- Customising — shortcuts for the things you do most
- Opening and saving — the format options a batch will use
- Effects — repeating one effect without a macro