
Layers
A layer is a picture stacked on top of another picture. The layers panel lists them, topmost first, and what you see on the canvas is the whole stack looked at from above.
Everything else on this page is a way of controlling how one layer meets the one beneath it.
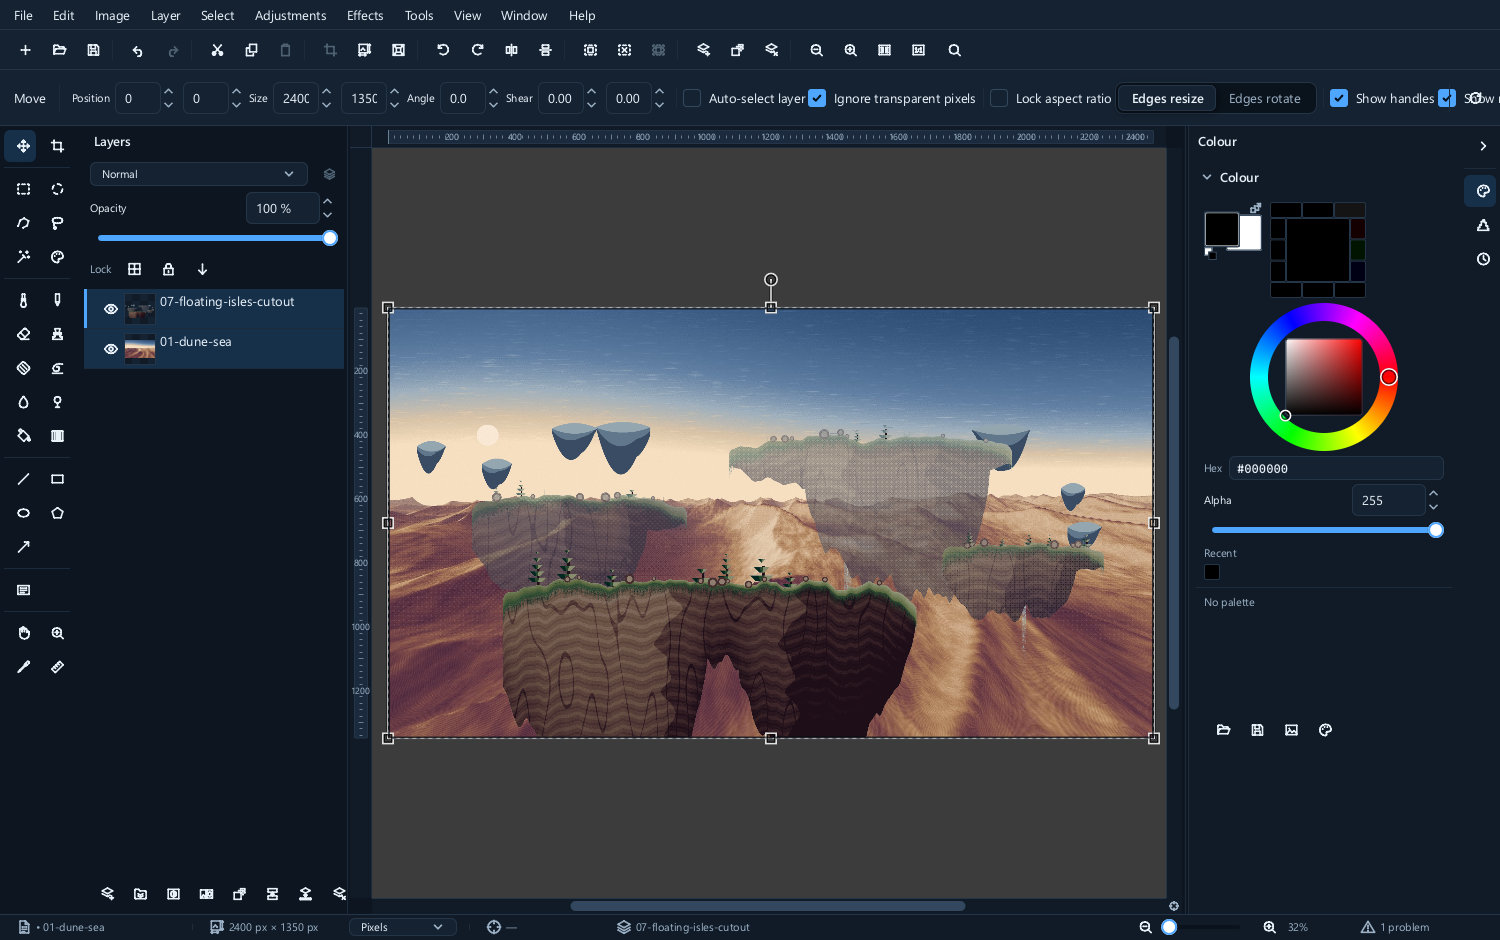
The panel
| Control | What it does |
|---|---|
| The eye | Hides the layer without deleting it |
| The name | Double-click to rename — do it, you will thank yourself later |
| Blend mode | How this layer combines with everything below |
| Opacity | How much of it you see at all |
| Lock | Protects the pixels, the transparency, or the position |
| The row of buttons along the bottom | Add, duplicate, group, mask, adjustment layer, delete |
Select a layer by clicking its row. Most commands act on the selected layer, and getting the wrong one selected is the commonest reason for "nothing happened when I painted".
Stacking order
Drag a row up or down to move it. Higher in the list means nearer the viewer.
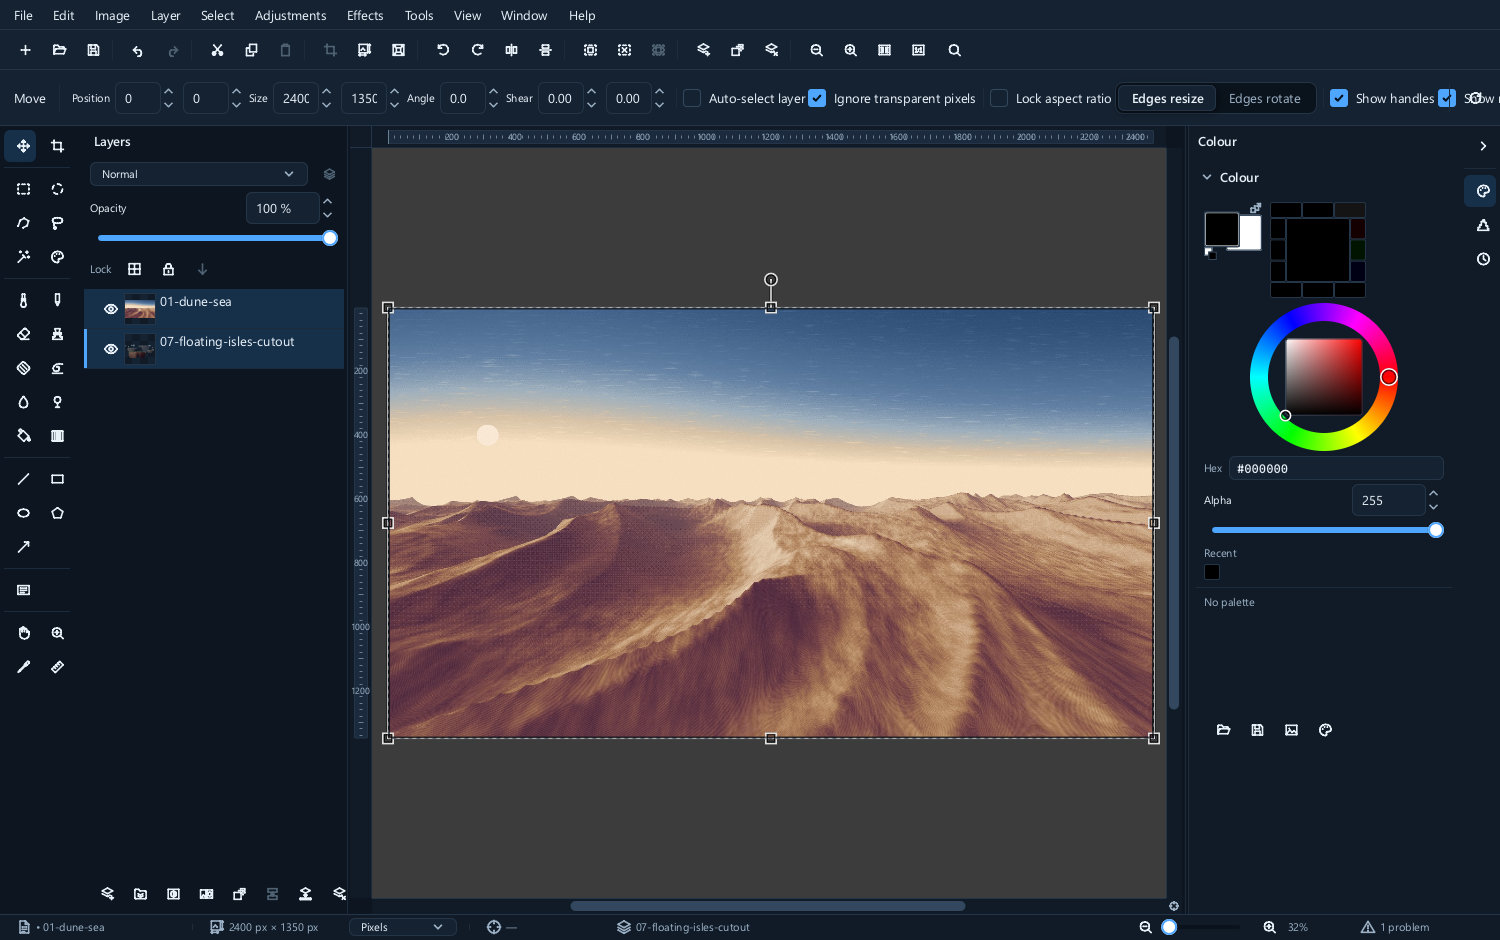
Order is not cosmetic. A layer only affects what is beneath it, so moving one up or down changes the result whenever opacity or a blend mode is involved.
Opacity
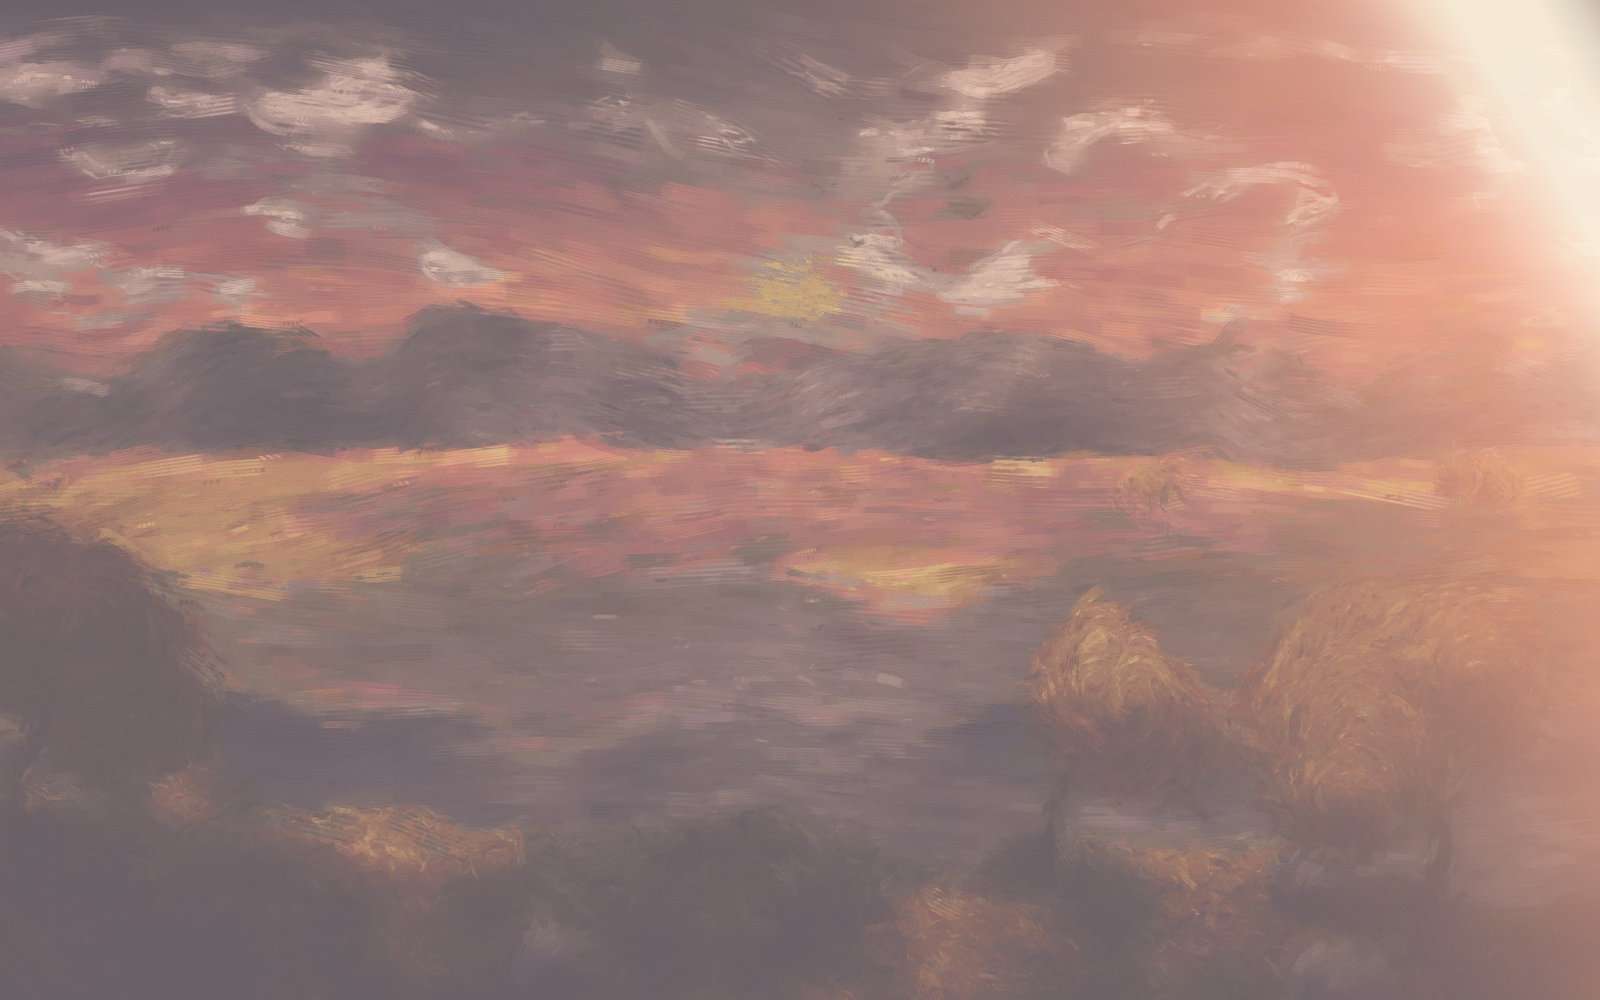
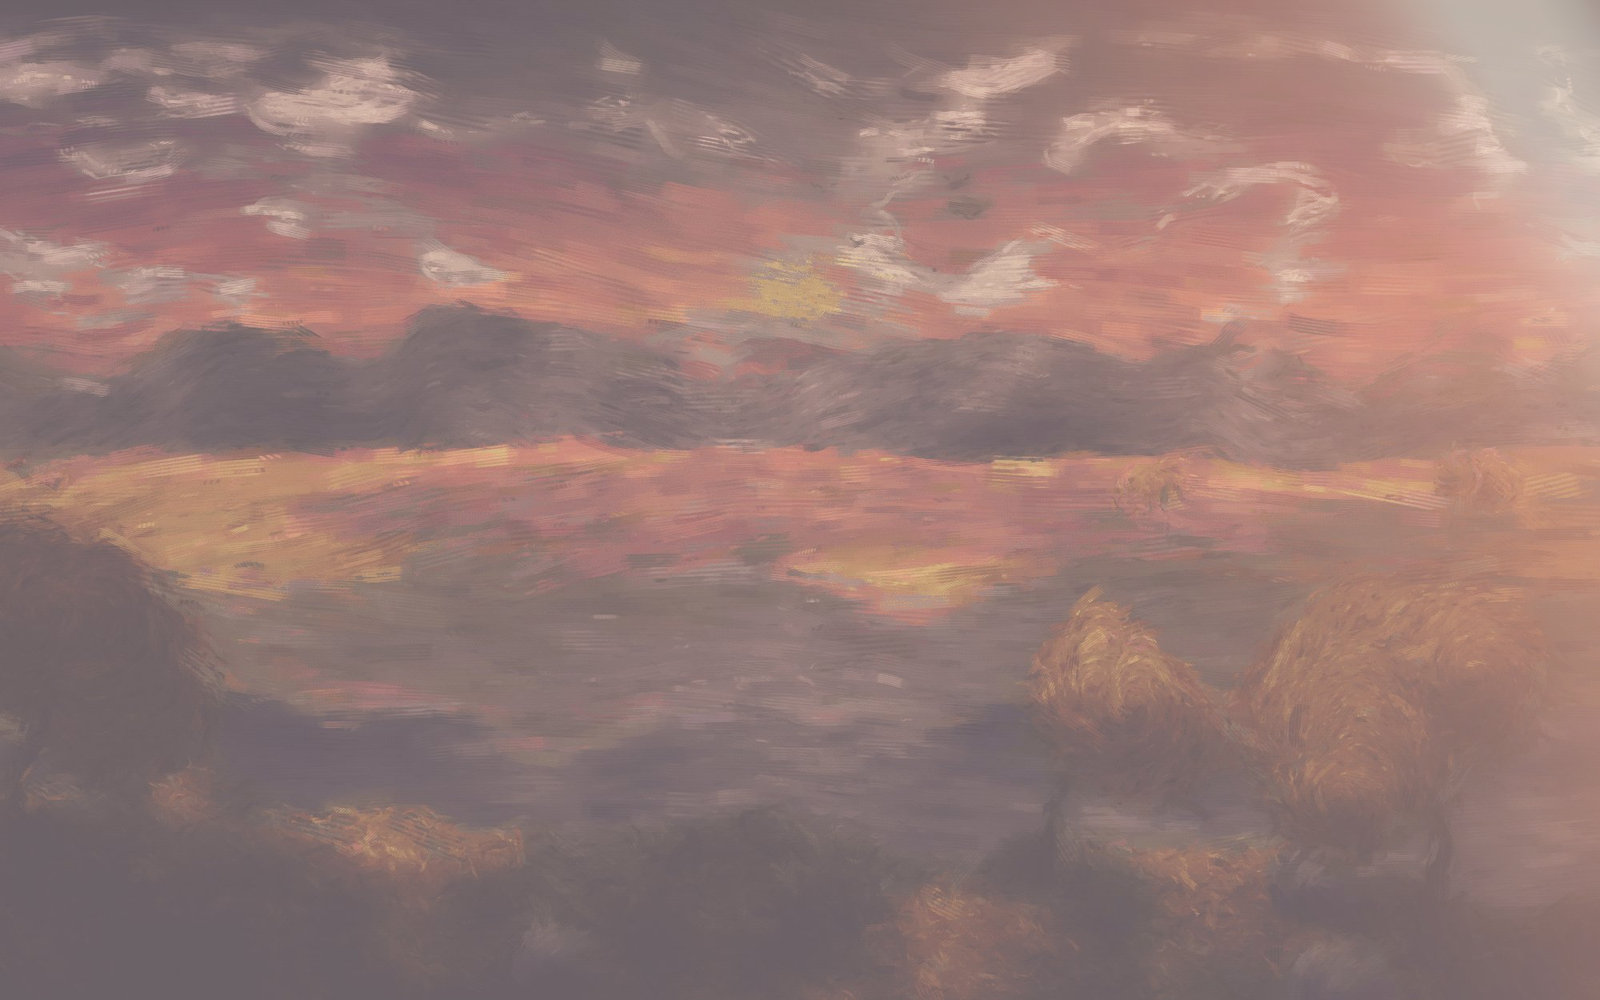
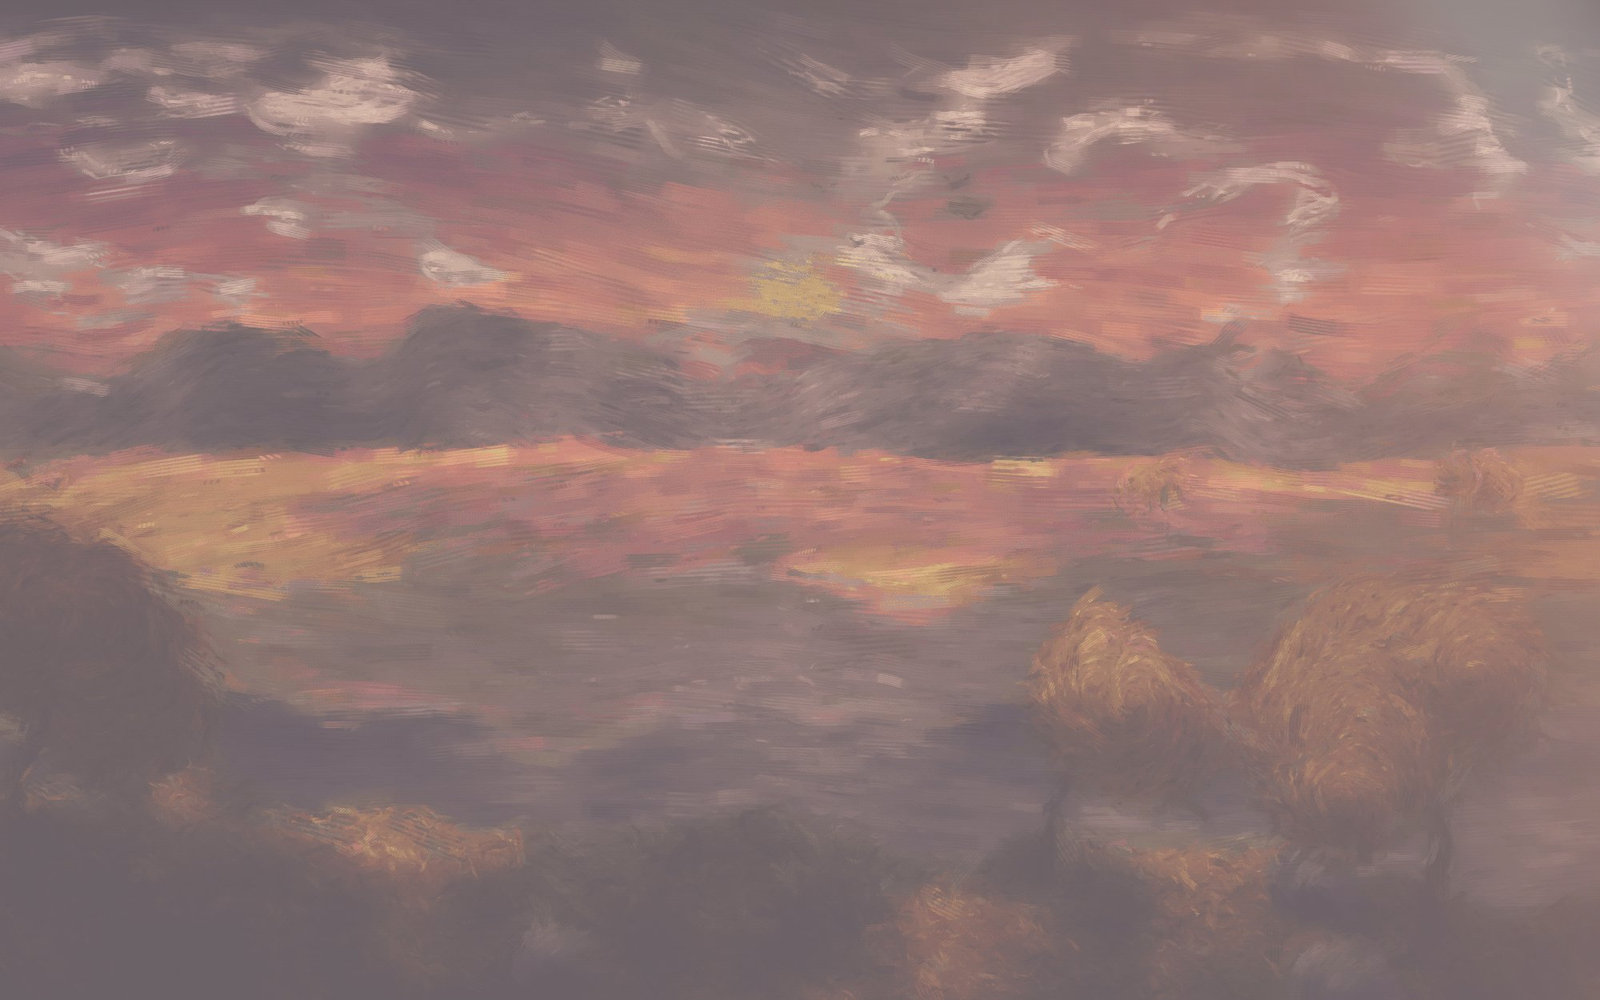
Opacity is how much of the layer reaches the eye, from 100% (all of it) to 0% (none).
| 100% | 60% | 30% | 0% |
|---|---|---|---|
 |
 |
 |
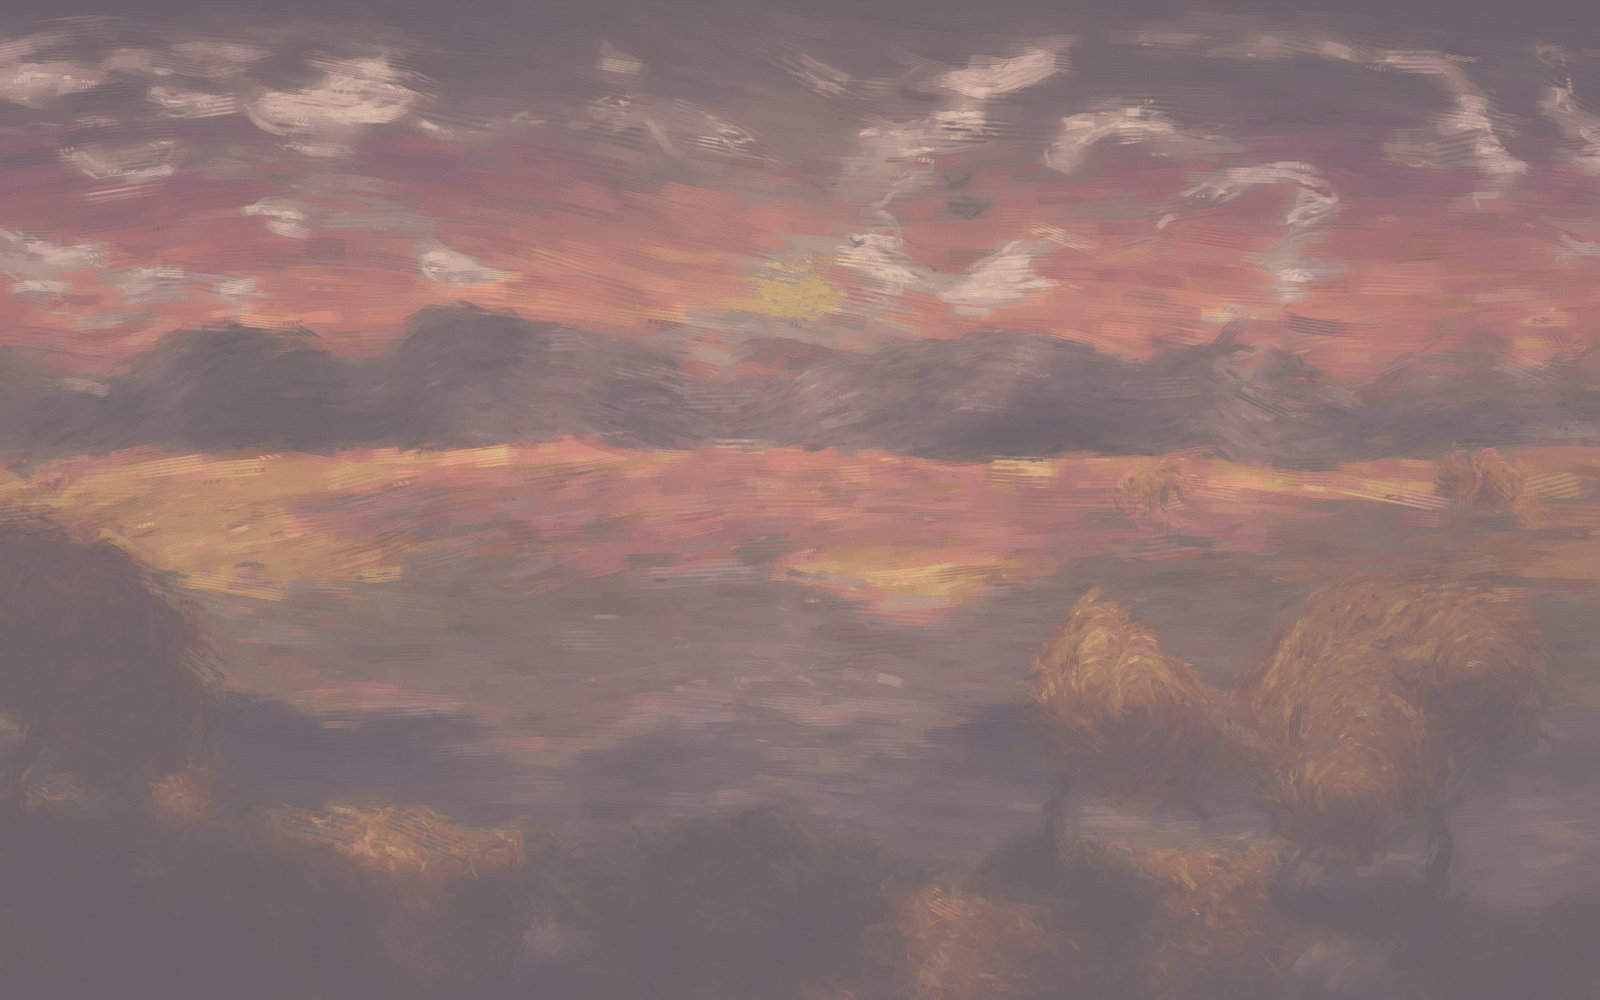 |
Lowering opacity is the quickest way to make any effect subtler. Apply it at full strength on its own layer, then dial the layer back until it looks right — much easier than guessing the right strength in a dialog.
Blend modes
A blend mode is a rule for combining this layer with what is beneath. There are twenty of them, and the picker groups them by what they do.
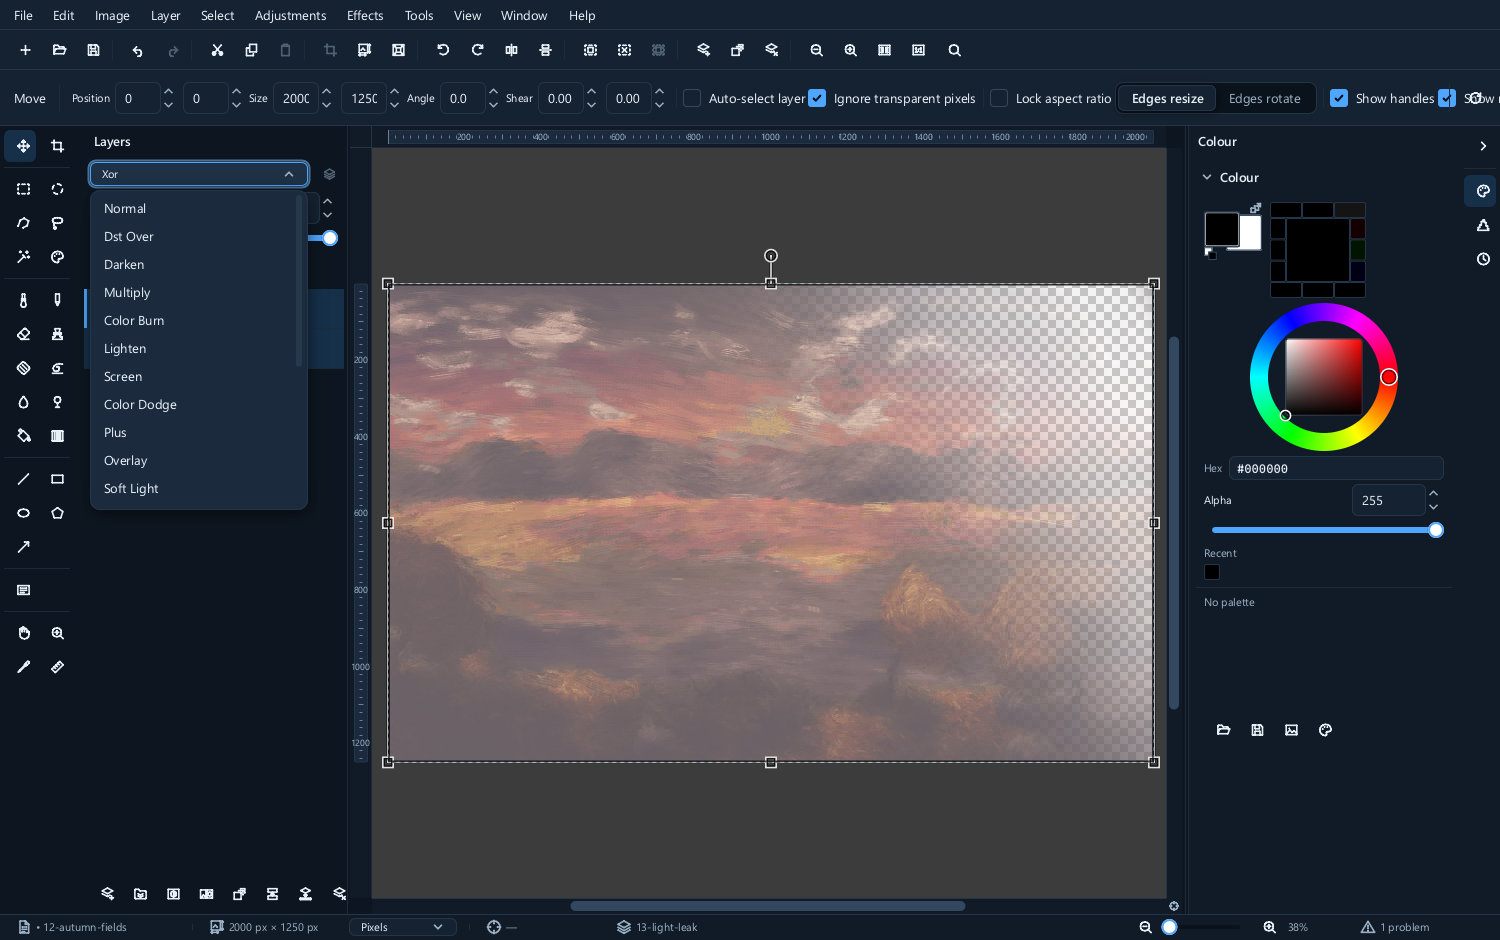
Start with Normal: the upper layer covers the lower one according to its alpha, mask and opacity, without a special colour interaction. Other modes change how the colours combine.
Common starting points
Multiply darkens. Every colour is multiplied by the one beneath, so white becomes invisible and everything else darkens what it covers. Use it for shadows, for stains, and for putting ink or pencil artwork over paper.
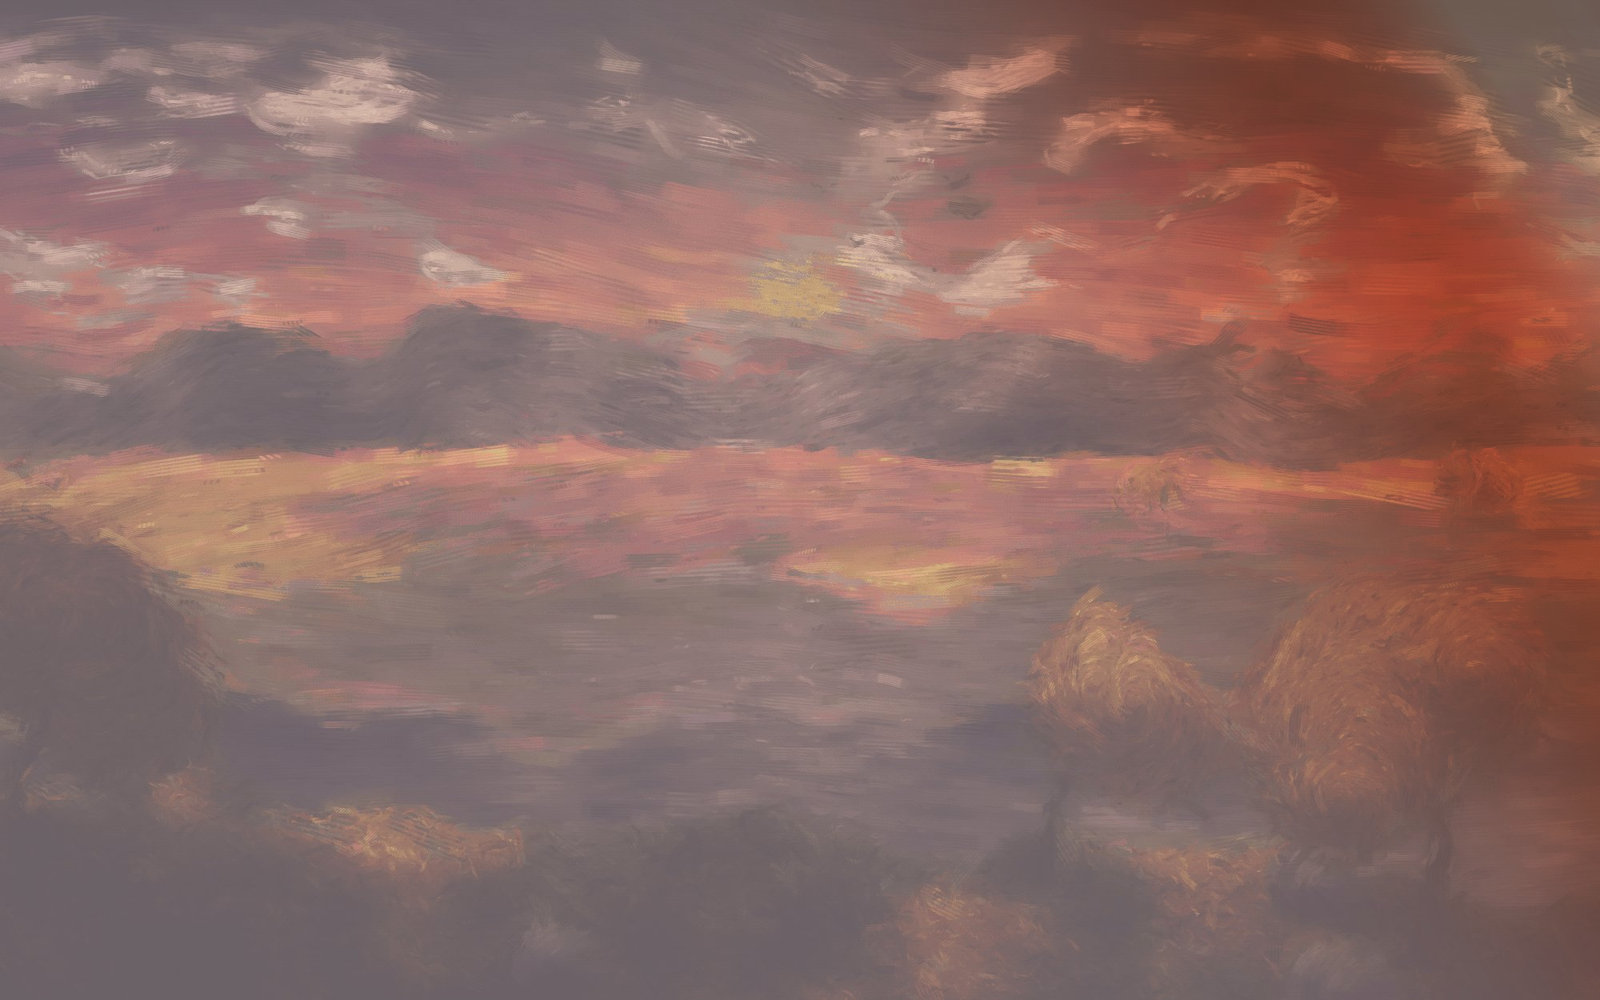
Screen is the opposite: it lightens, and black becomes invisible. Use it for glows, for light leaks, for fire and for anything that emits rather than reflects.
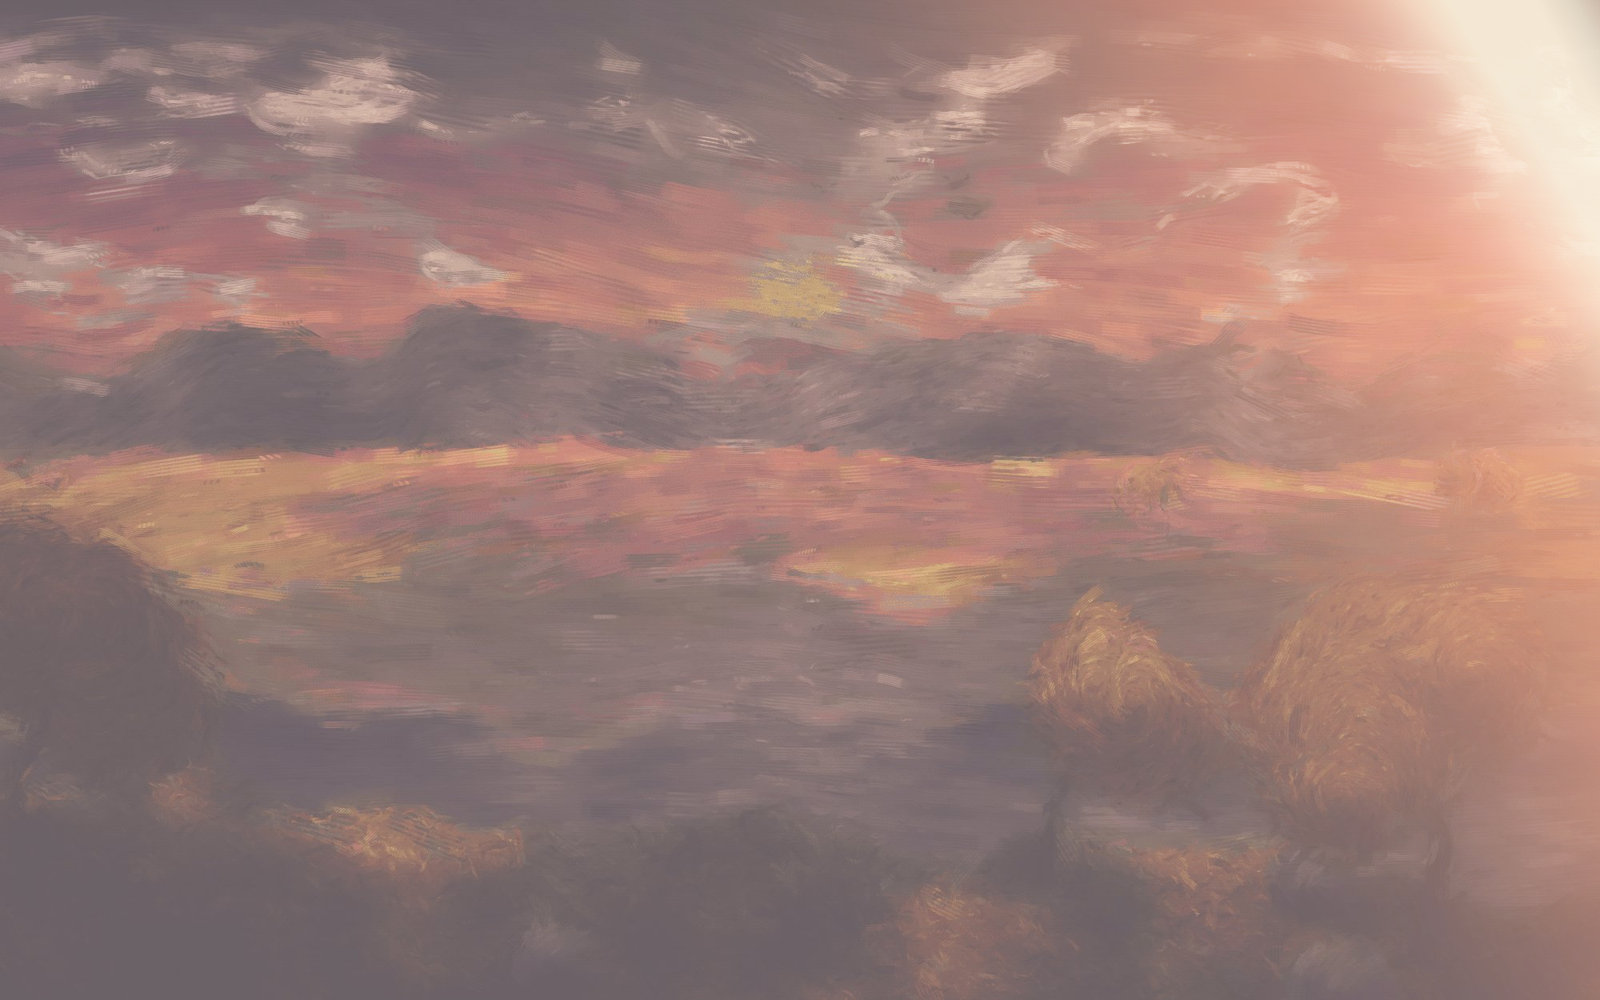
Overlay does both at once — it darkens the dark parts and lightens the light parts, so it adds contrast and keeps mid-grey unchanged. Use it for contrast and for tinting.
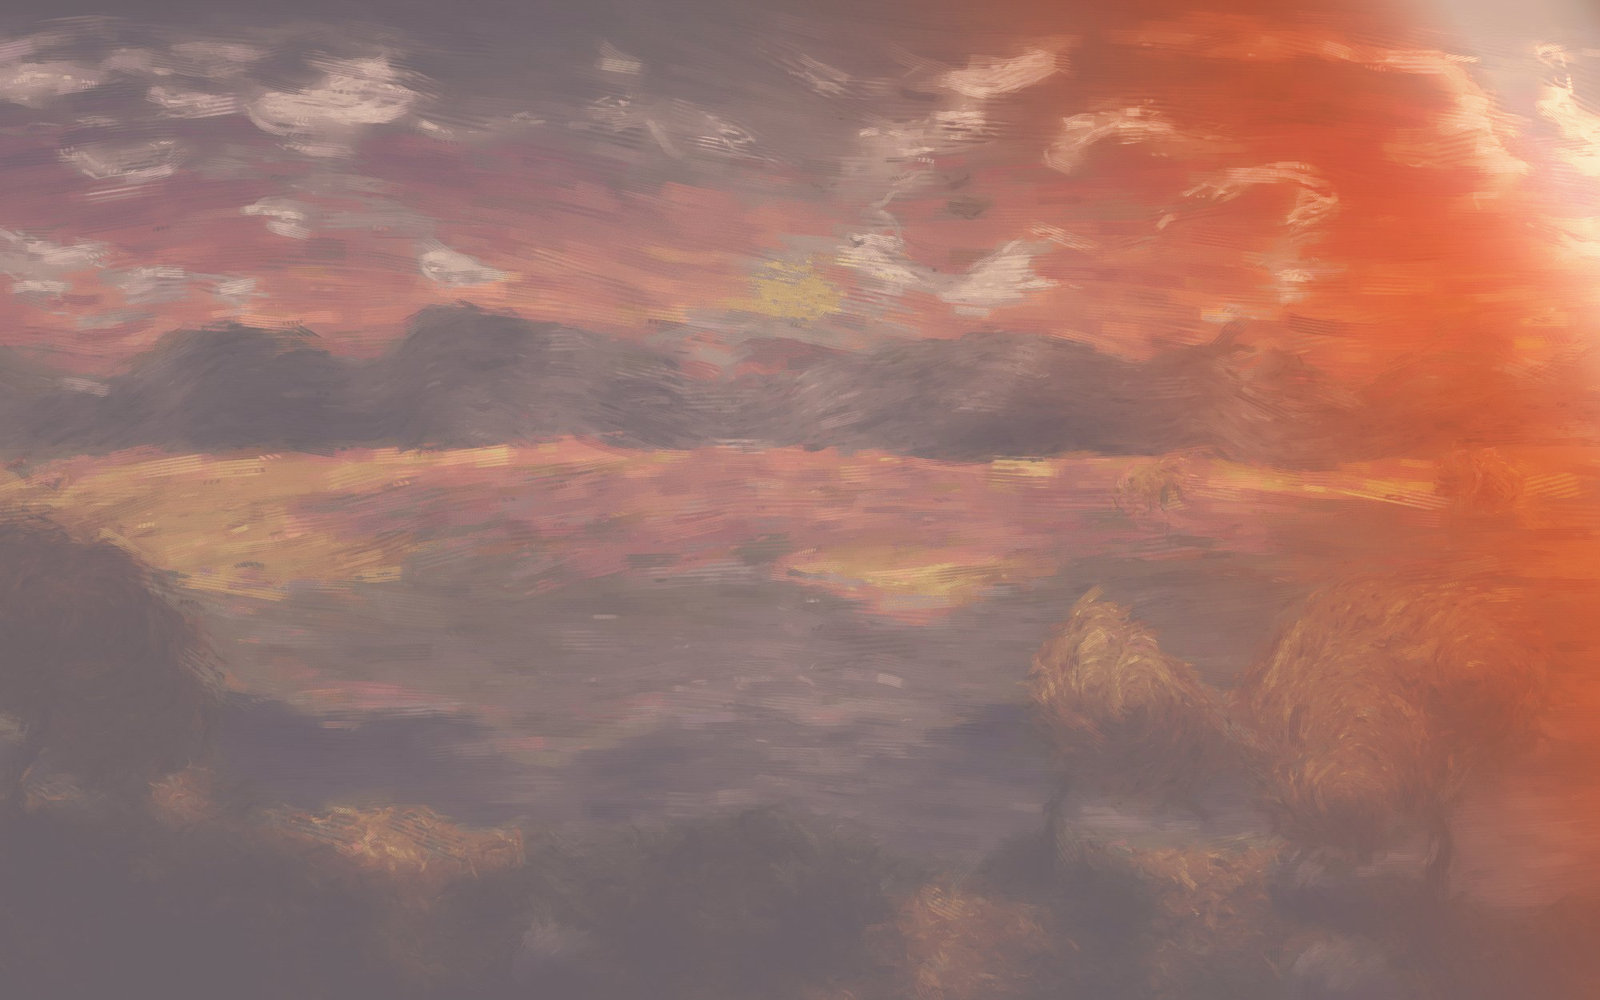
Luminosity keeps this layer's brightness and the lower layer's colour. It is the one that makes adjustment layers behave: a contrast adjustment set to Luminosity changes the tones without saturating the colours, which is almost always what you wanted.
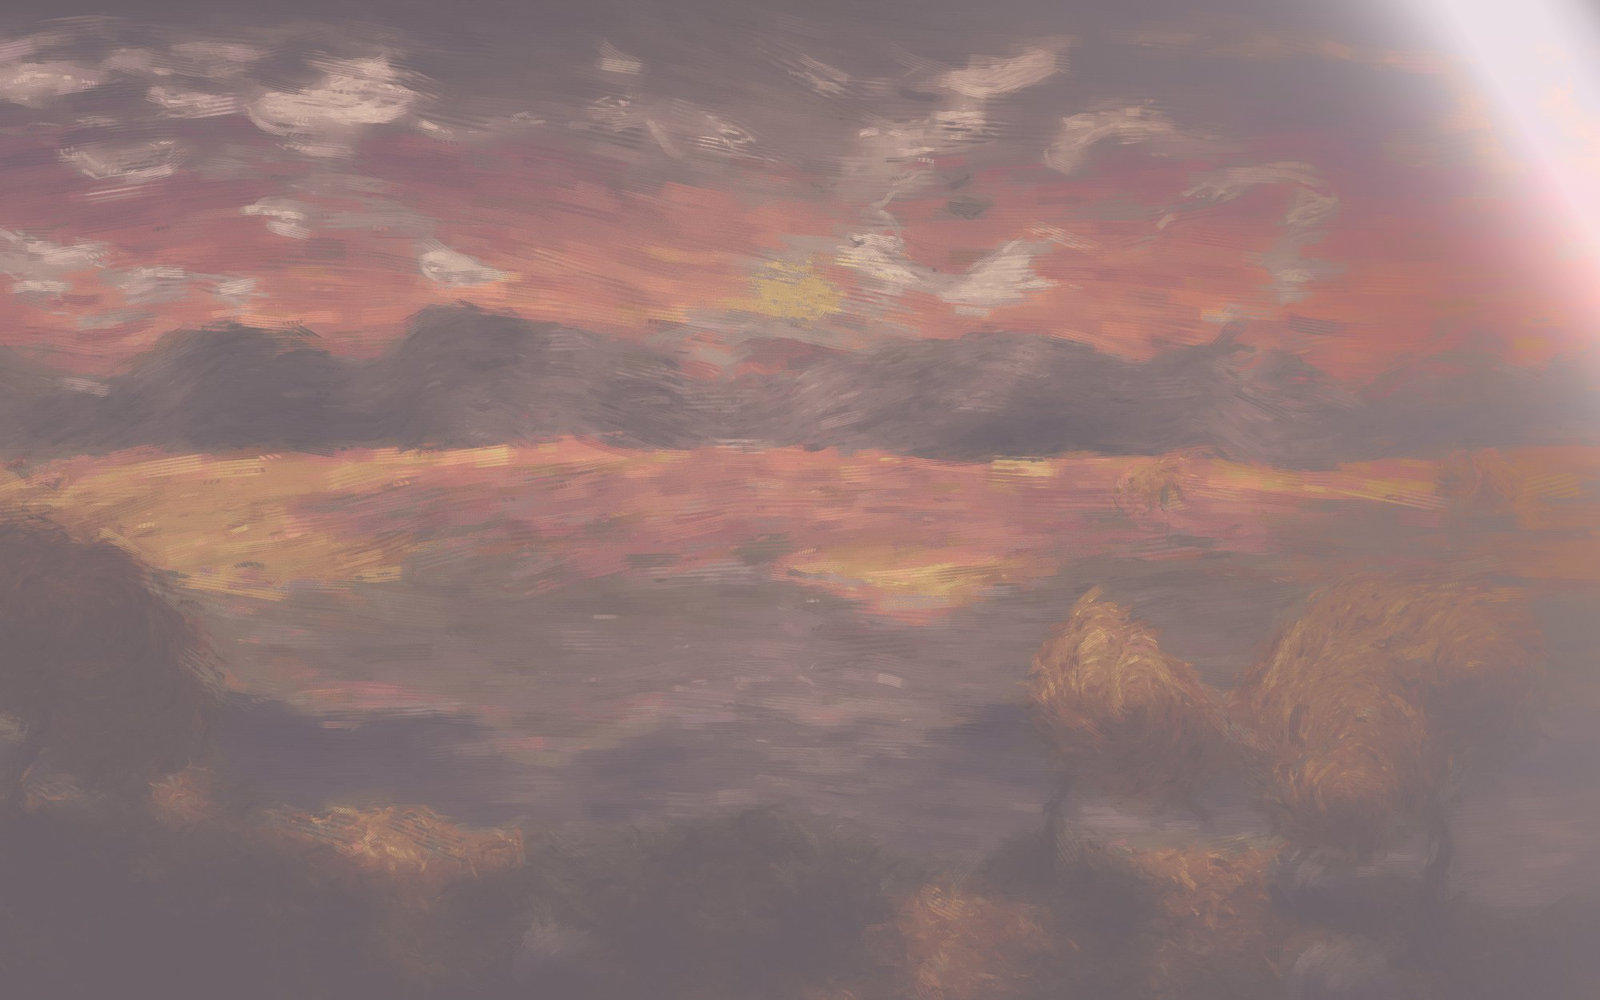
The rest, briefly
| Mode | What it is for |
|---|---|
| Darken, Lighten | Chooses the lower or higher value separately in each colour channel; the result can combine channels from both inputs |
| Colour burn, Colour dodge | Stronger versions of Multiply and Screen, with more contrast |
| Soft light, Hard light | Gentler and harsher versions of Overlay |
| Difference, Exclusion | Subtracts one from the other — useful for comparing two versions of a picture |
| Hue, Saturation, Colour | Takes one property from this layer and the rest from below |
| Behind, Erase | Shows only where the layer below is transparent, or punches a hole through everything beneath |
| Linear dodge | Adds the two together — a brighter, harsher Screen, good for light and fire |
| Exclusive or | Keeps what one layer covers and the other does not; a compositing tool rather than a look |
The brush and the other painting tools offer a longer list than this one, including the linear and vivid variants and a few that only make sense under a moving brush. Those are covered in Painting and retouching.
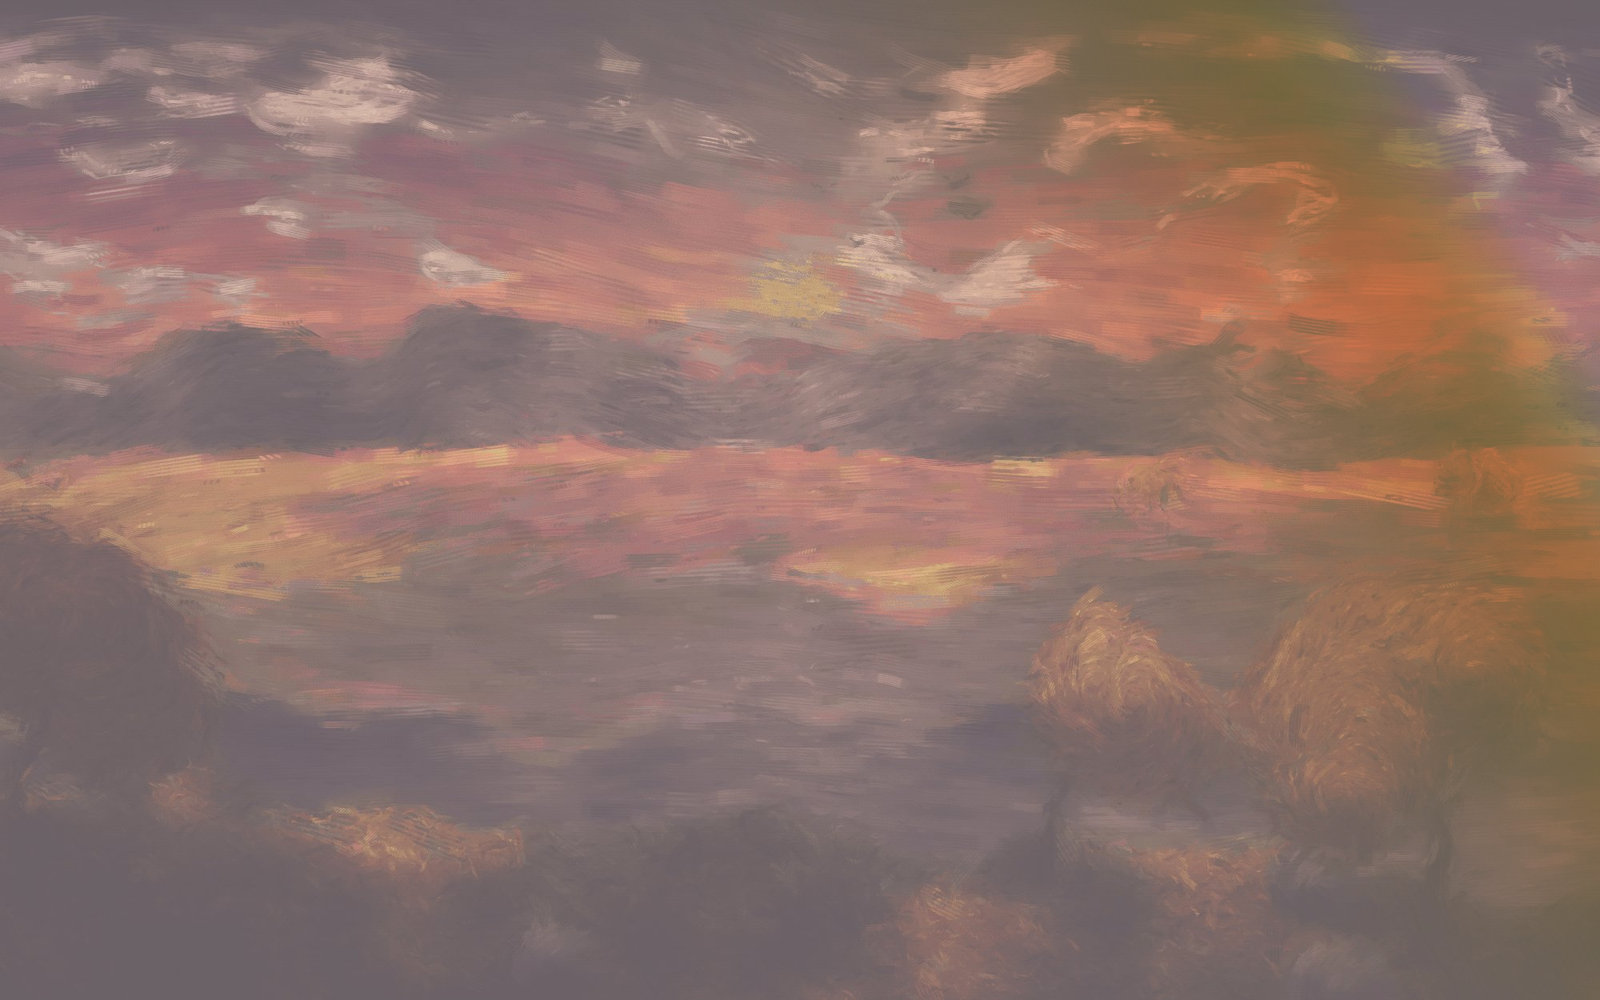
Try them by cycling the picker with a layer selected and watching the canvas. Reading about blend modes is much less useful than seeing one.
| Darken | Lighten | Difference | Hue |
|---|---|---|---|
 |
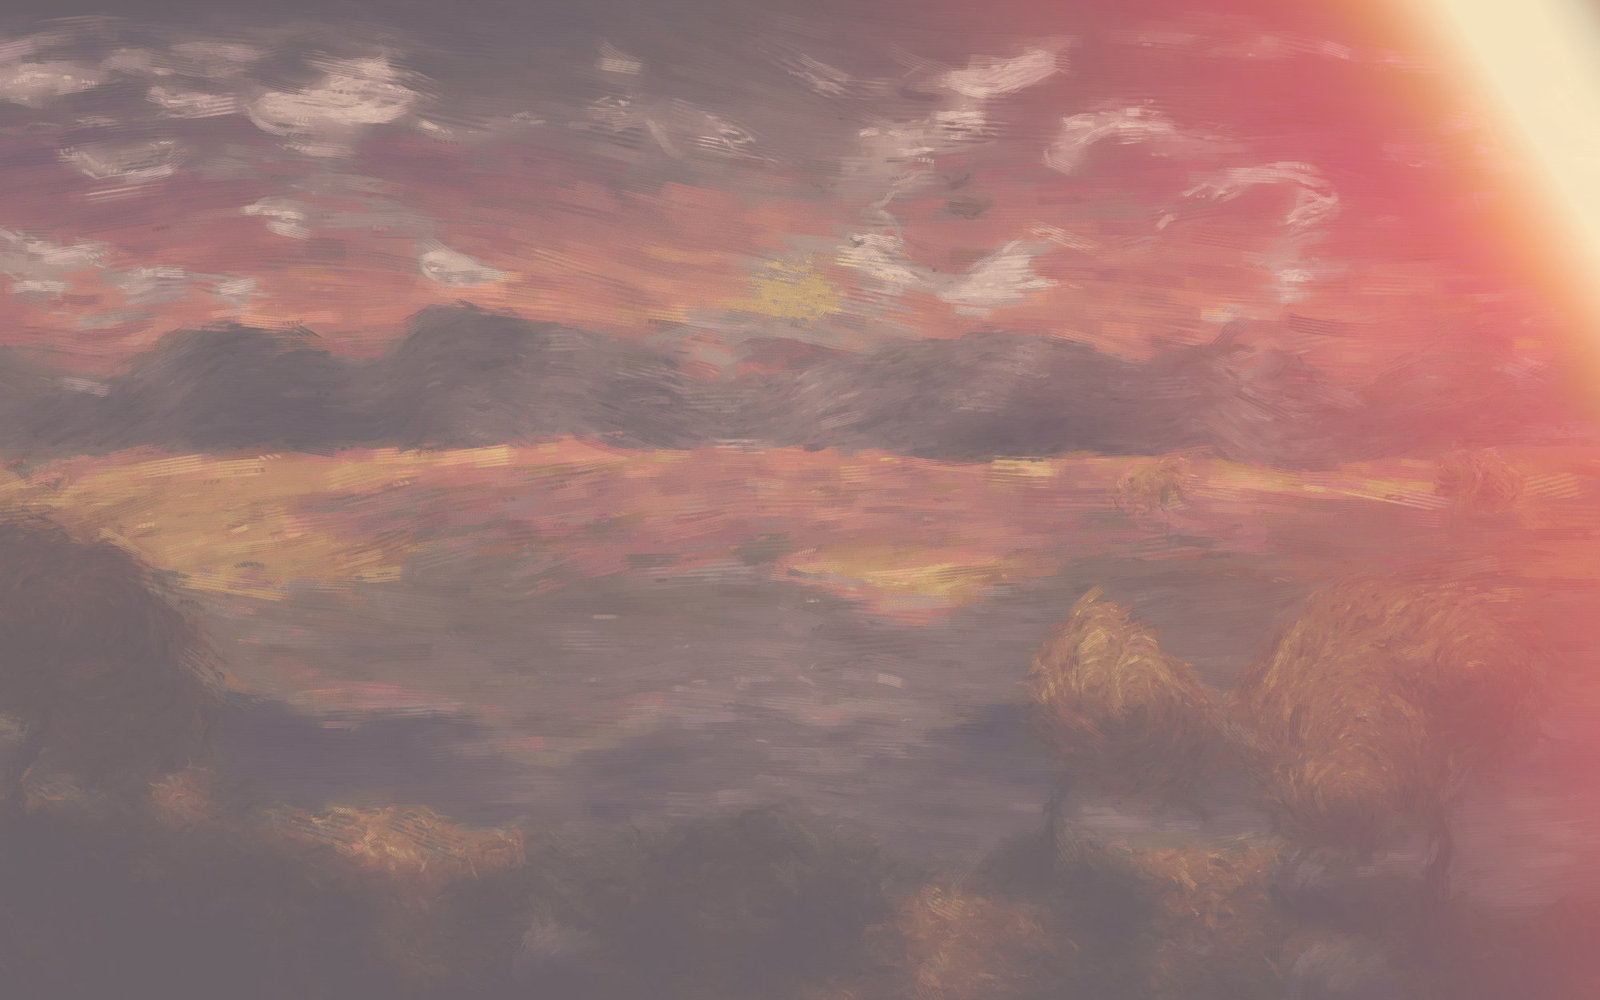 |
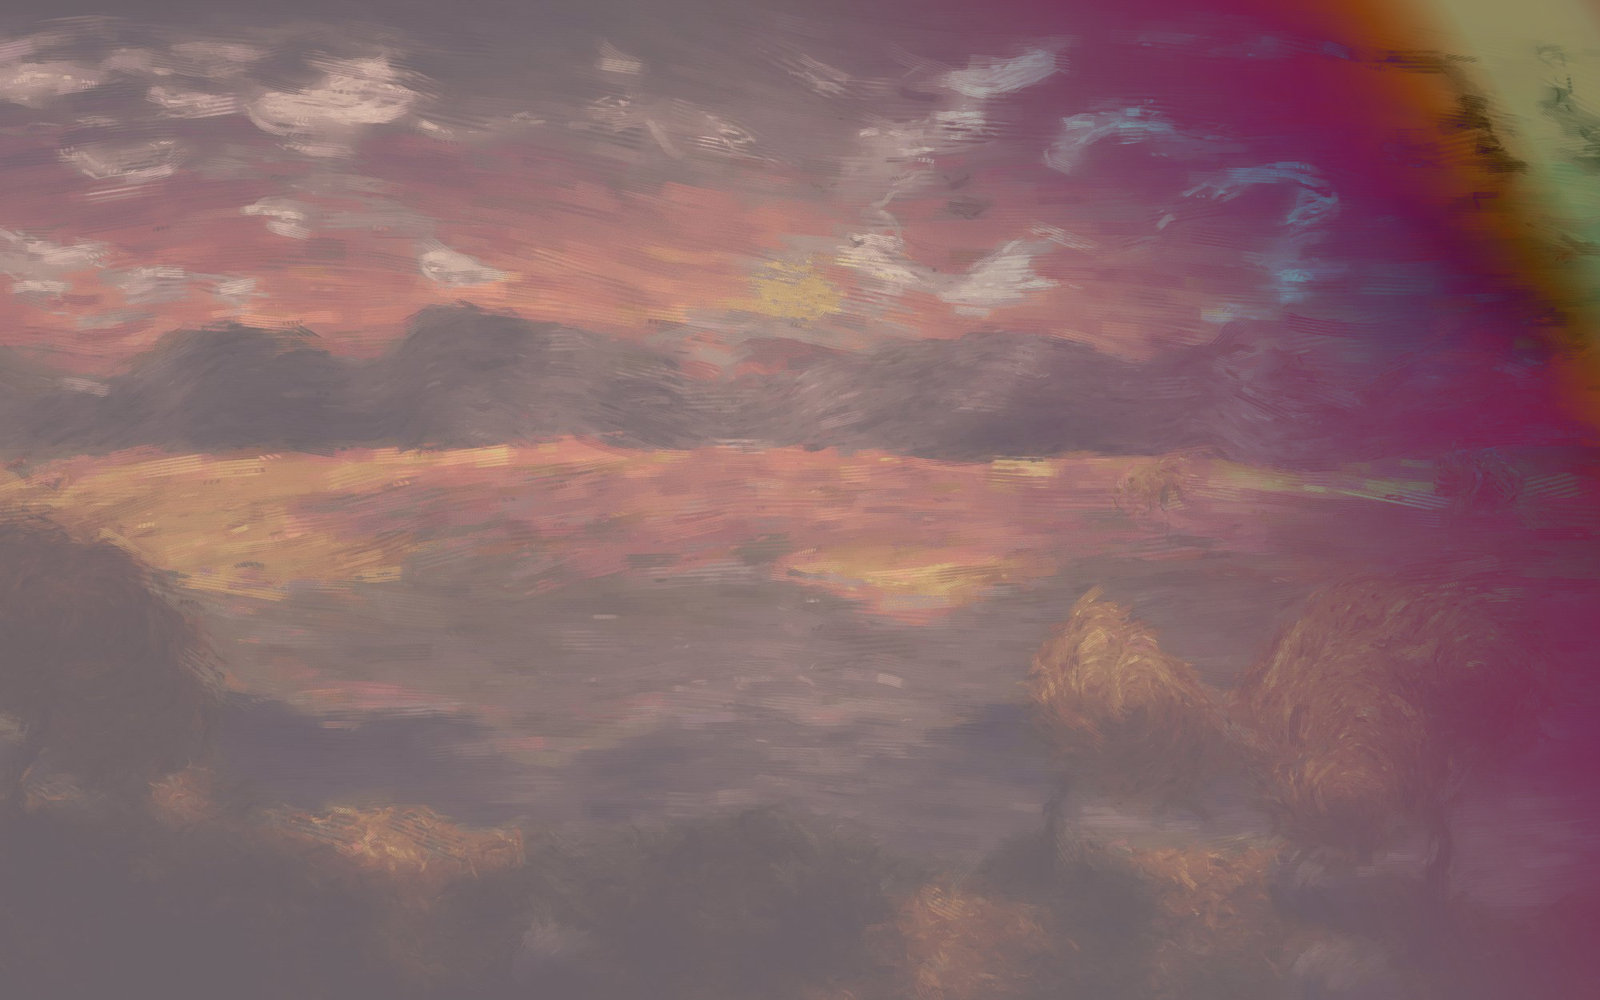 |
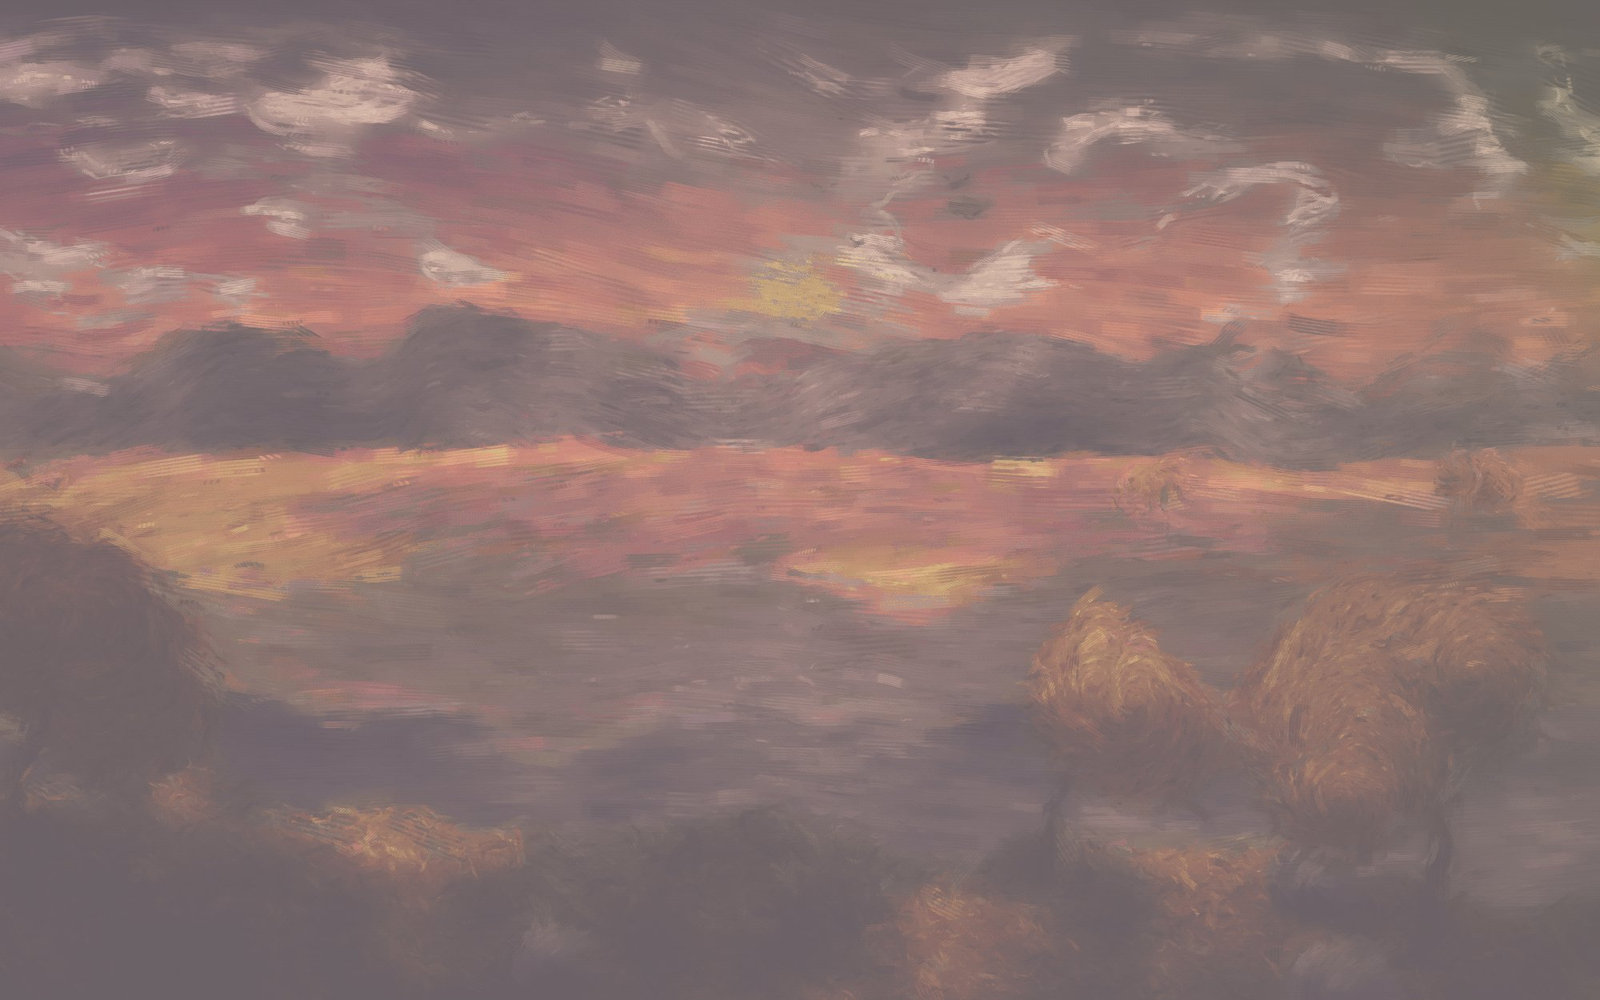 |
| Colour burn | Colour dodge | Soft light | Exclusion |
|---|---|---|---|
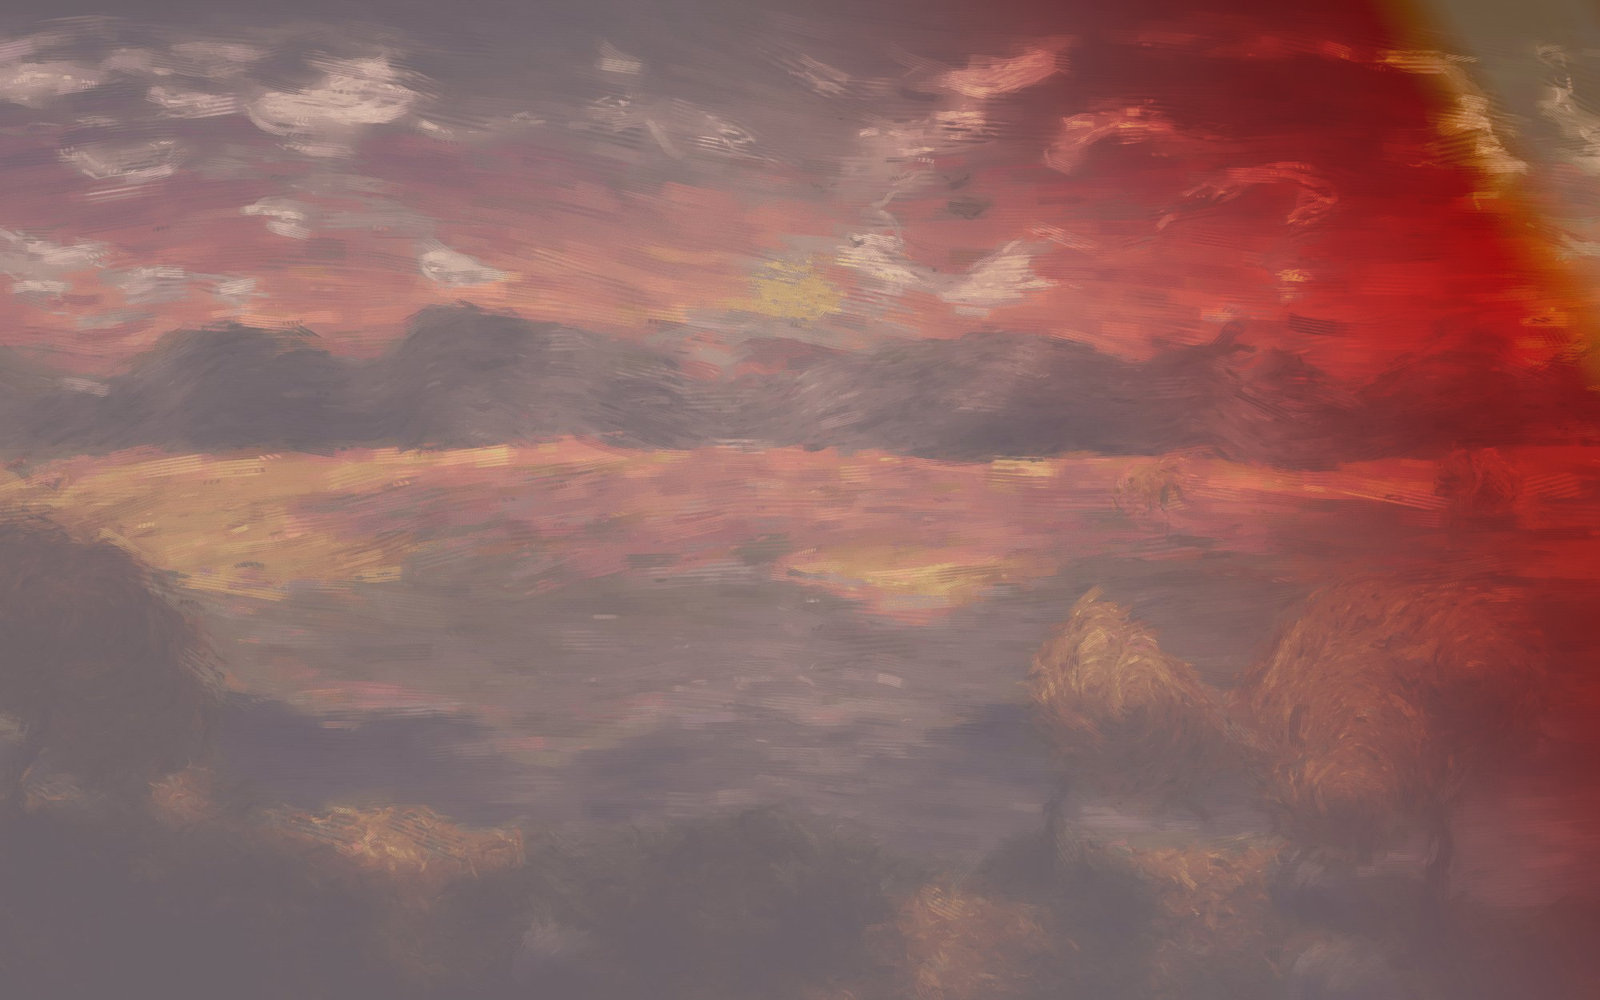 |
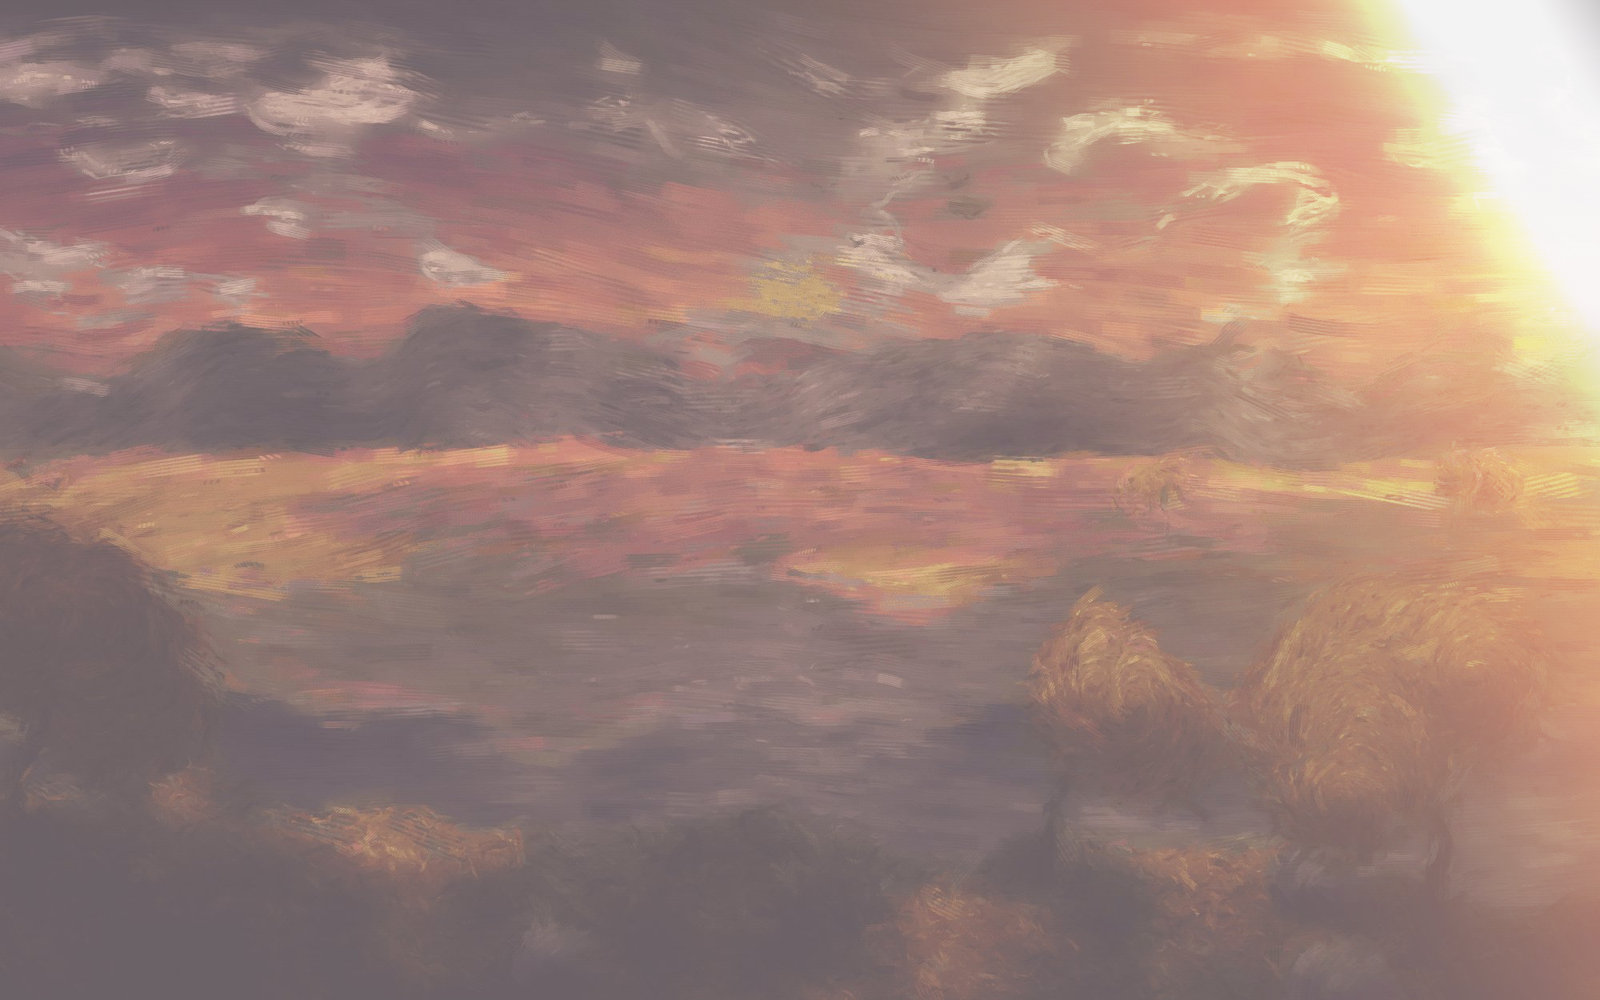 |
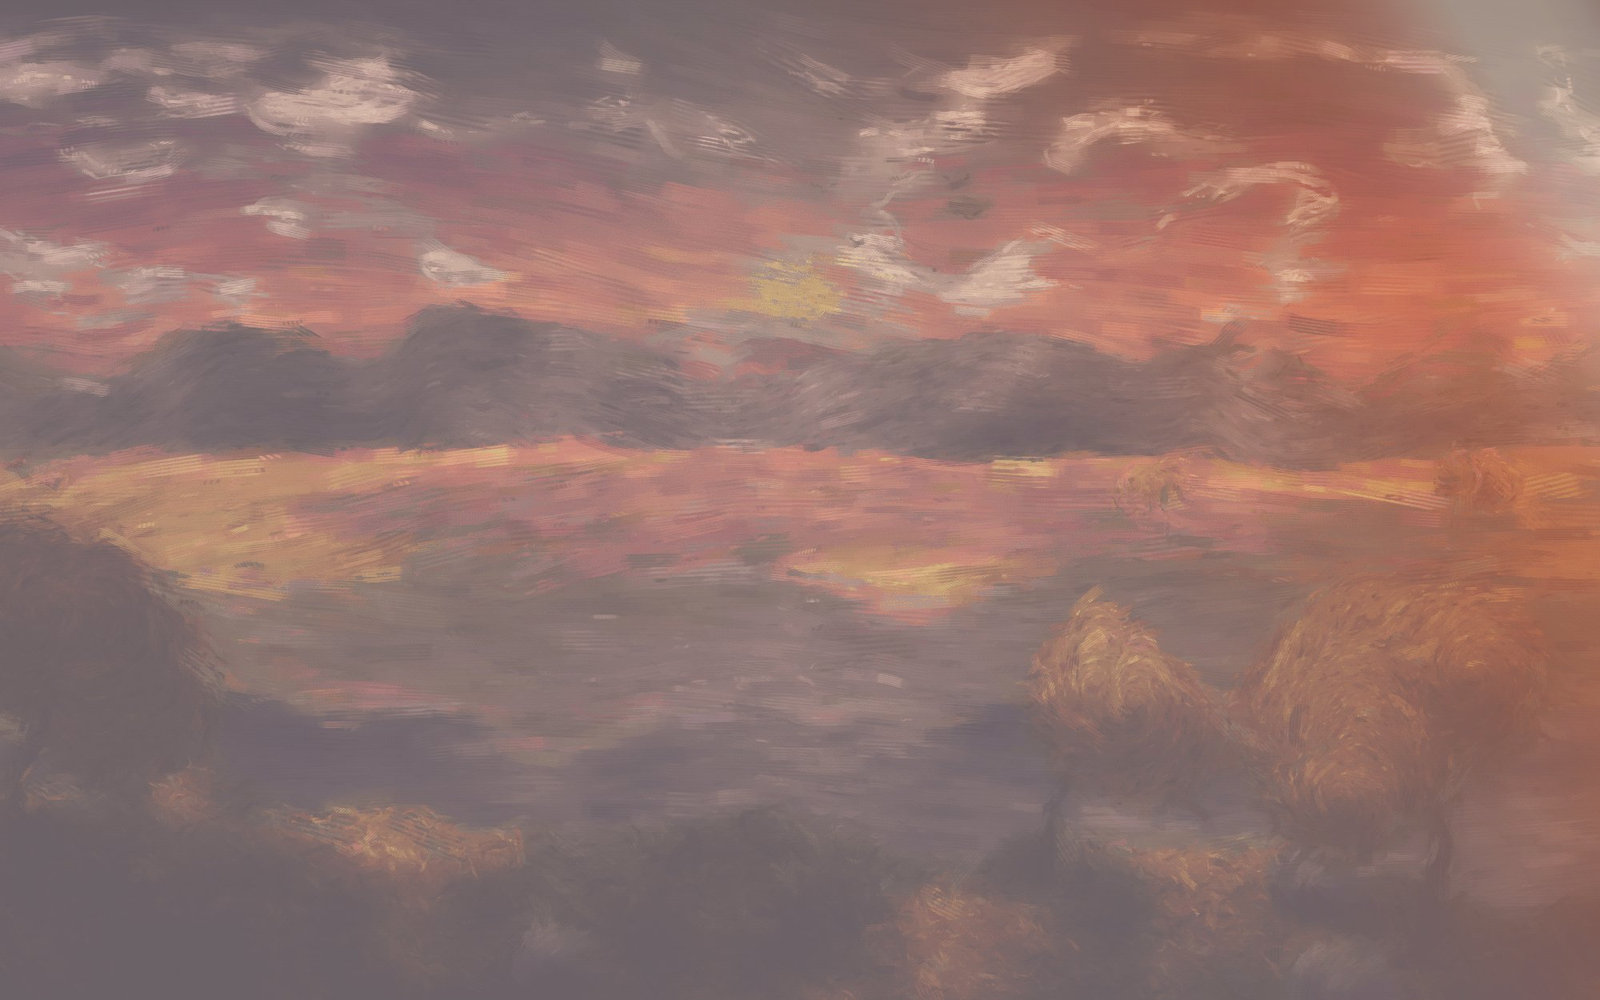 |
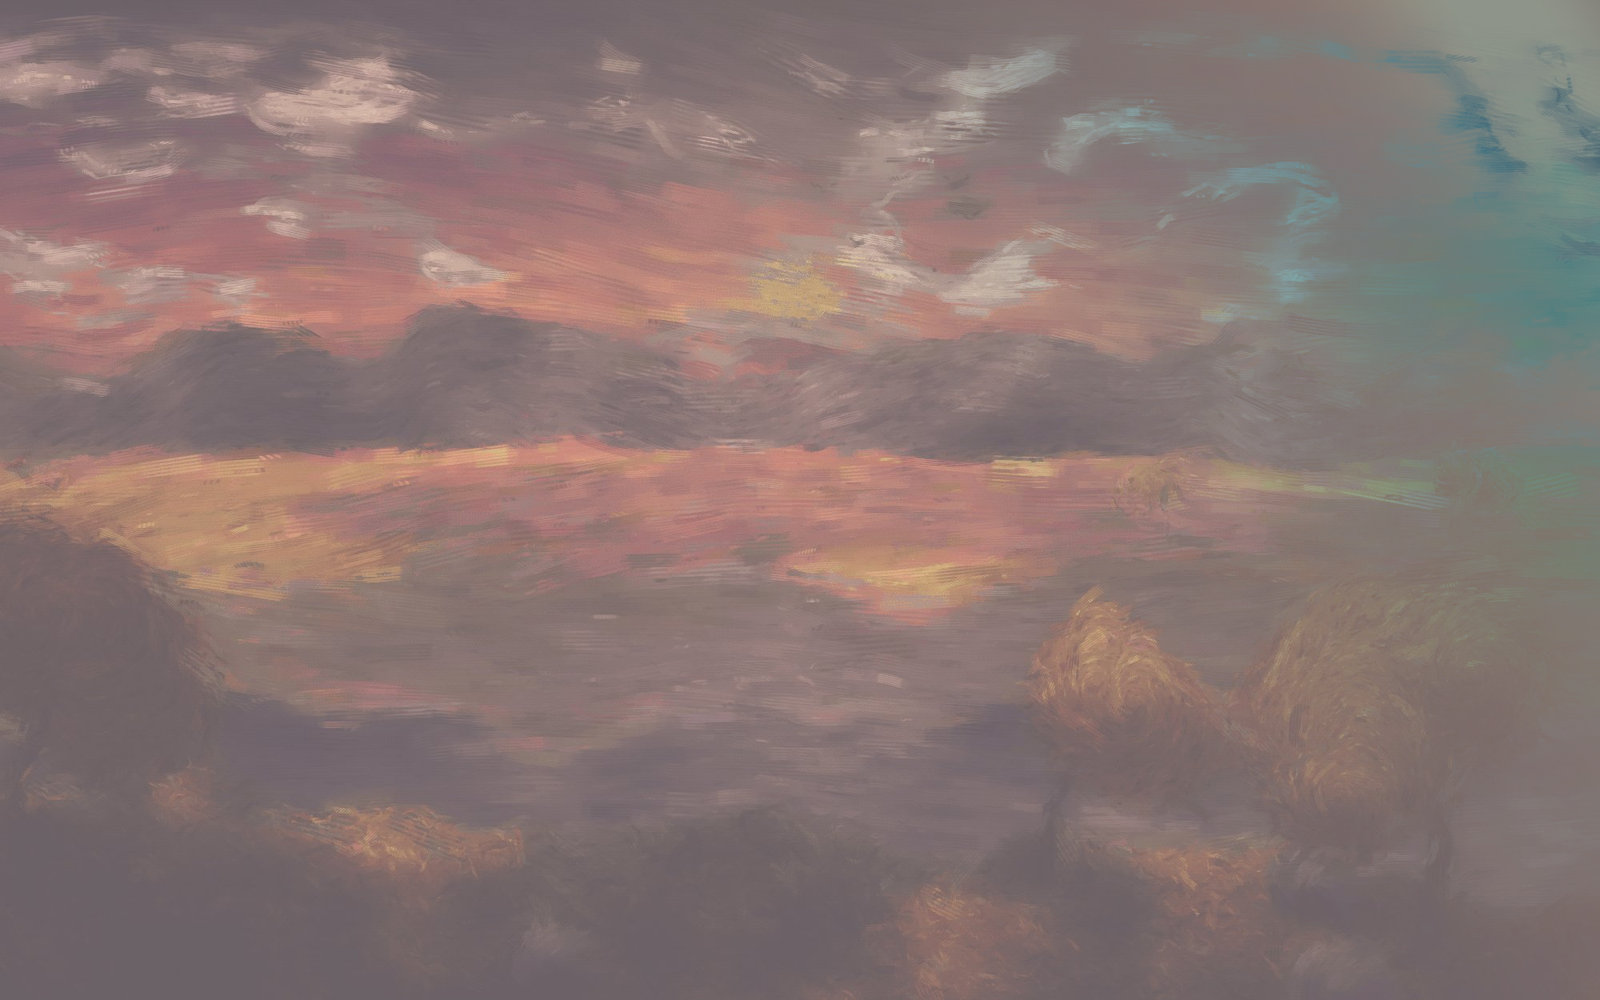 |
Groups
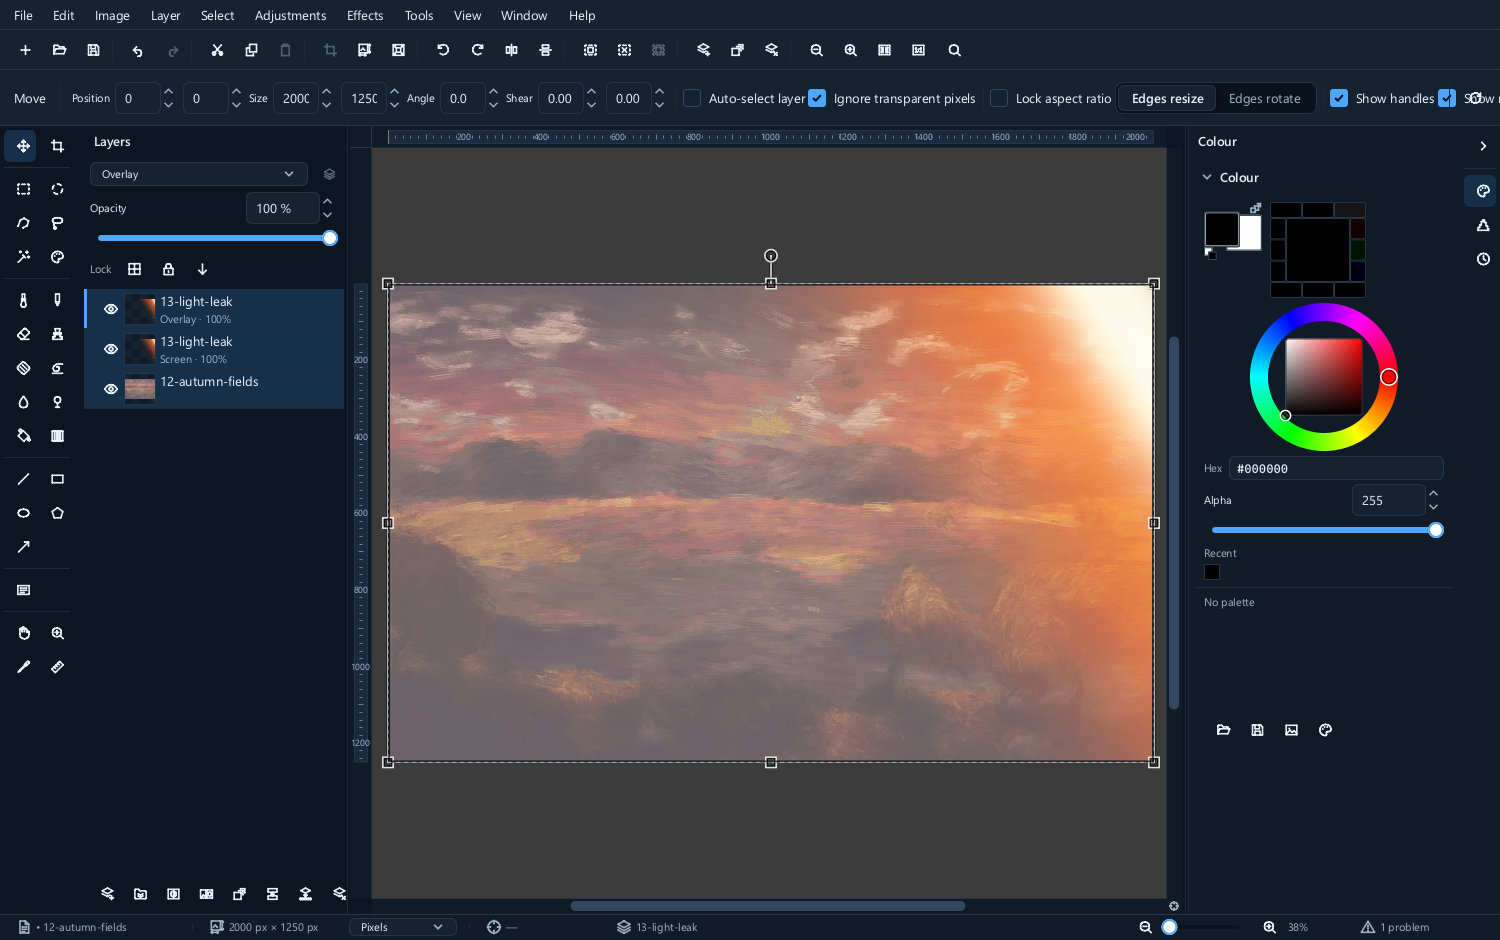
A group is a folder of layers that behaves as one. Put the six layers making up a sky into a group and you can hide, move, fade or mask the whole sky at once.
| Before grouping | After grouping | Collapsed |
|---|---|---|
 |
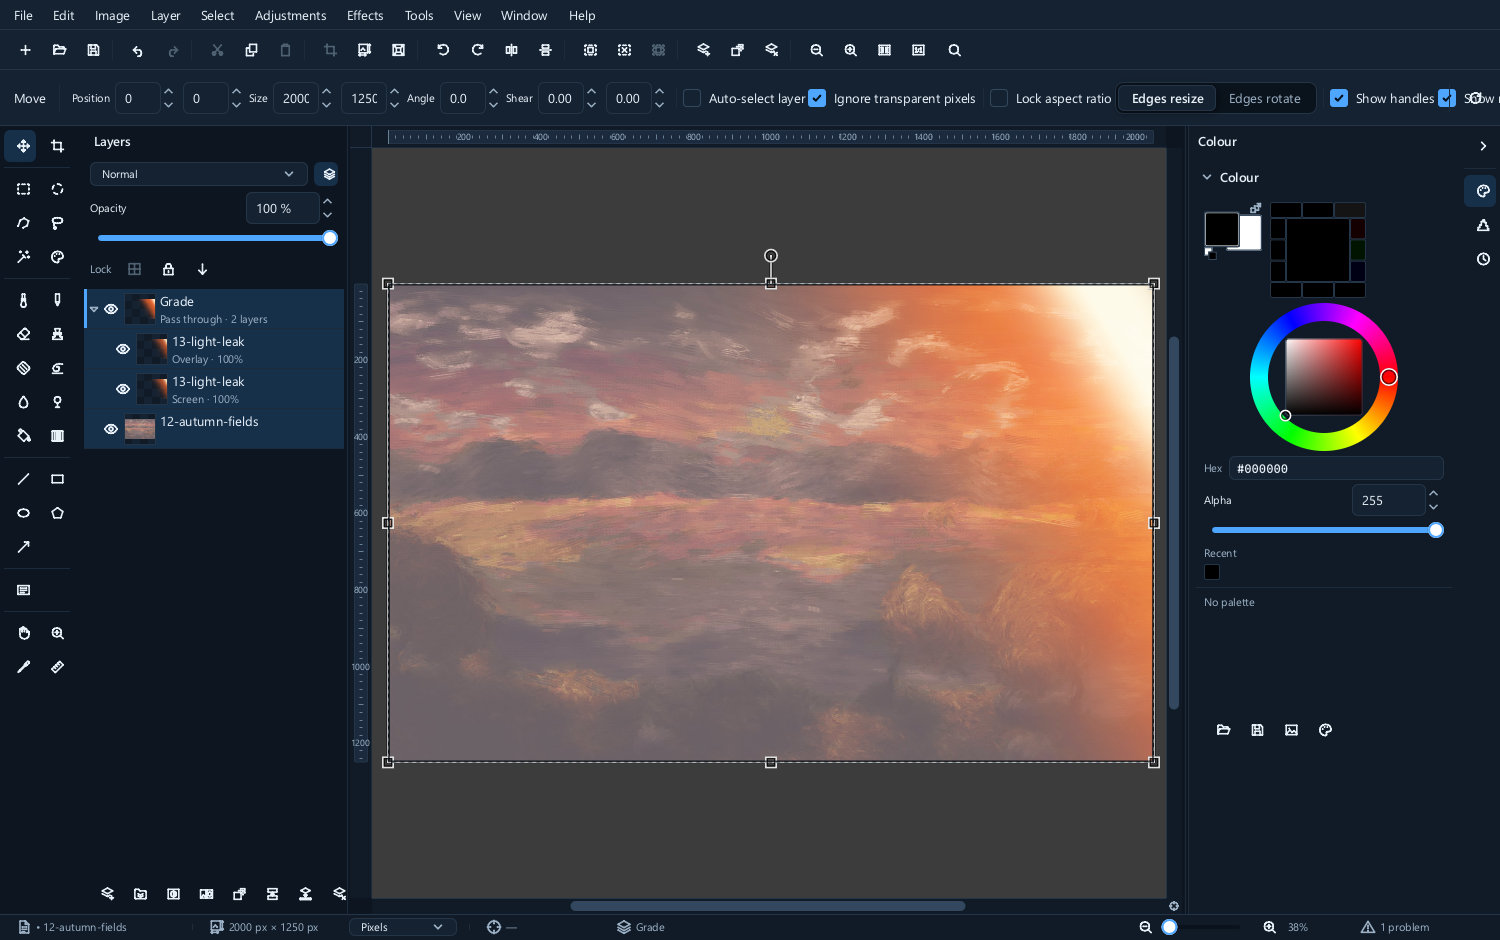 |
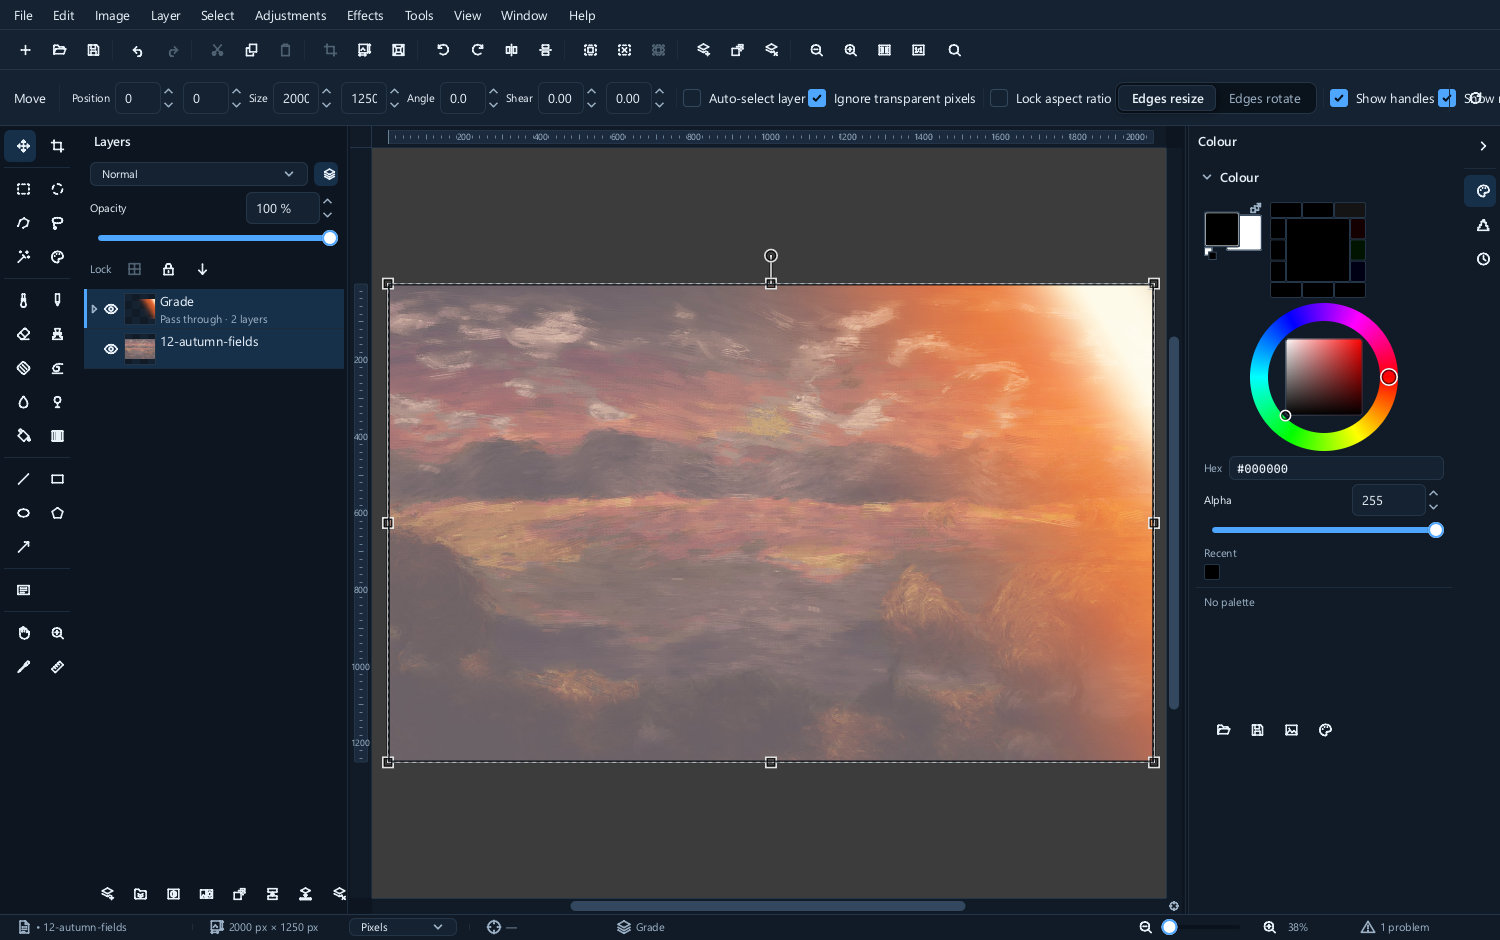 |
Hiding a group hides everything in it.
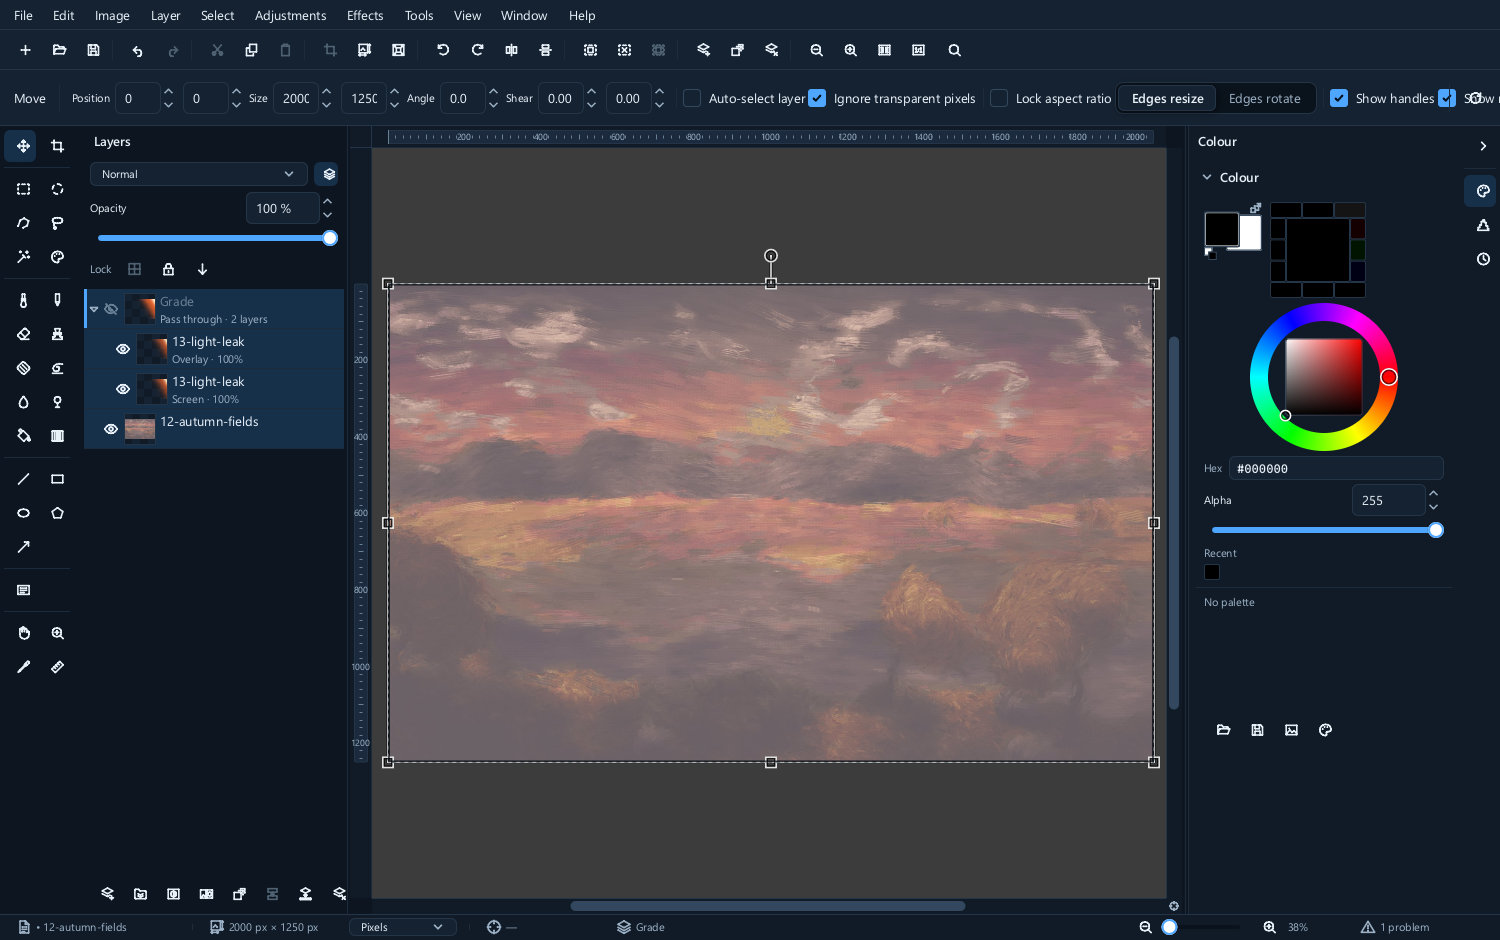
Isolated and pass-through
This is the one part of groups that surprises people, and it is worth understanding once.
A group can combine with the rest of the picture in two ways:
- Pass-through — the layers inside blend with everything below the group, exactly as they would if the group were not there. The group is only an organisational convenience.
- Isolated — the layers inside blend with each other first, and the finished result is then blended with what is below as a single image.
The difference shows the moment a layer inside the group uses a blend mode.
| Pass-through | Isolated |
|---|---|
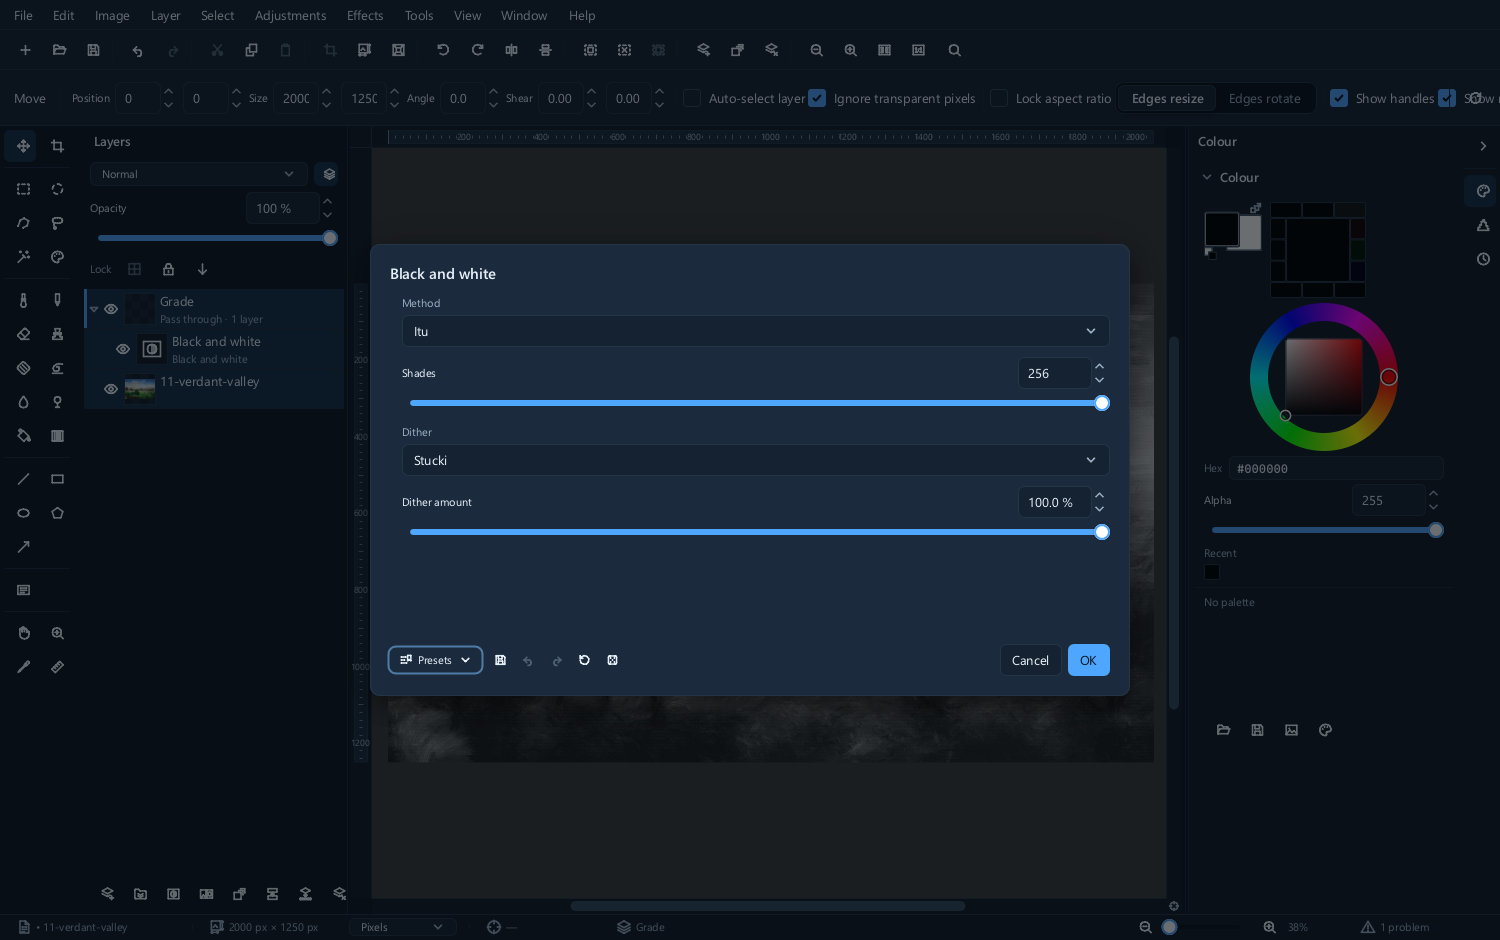 |
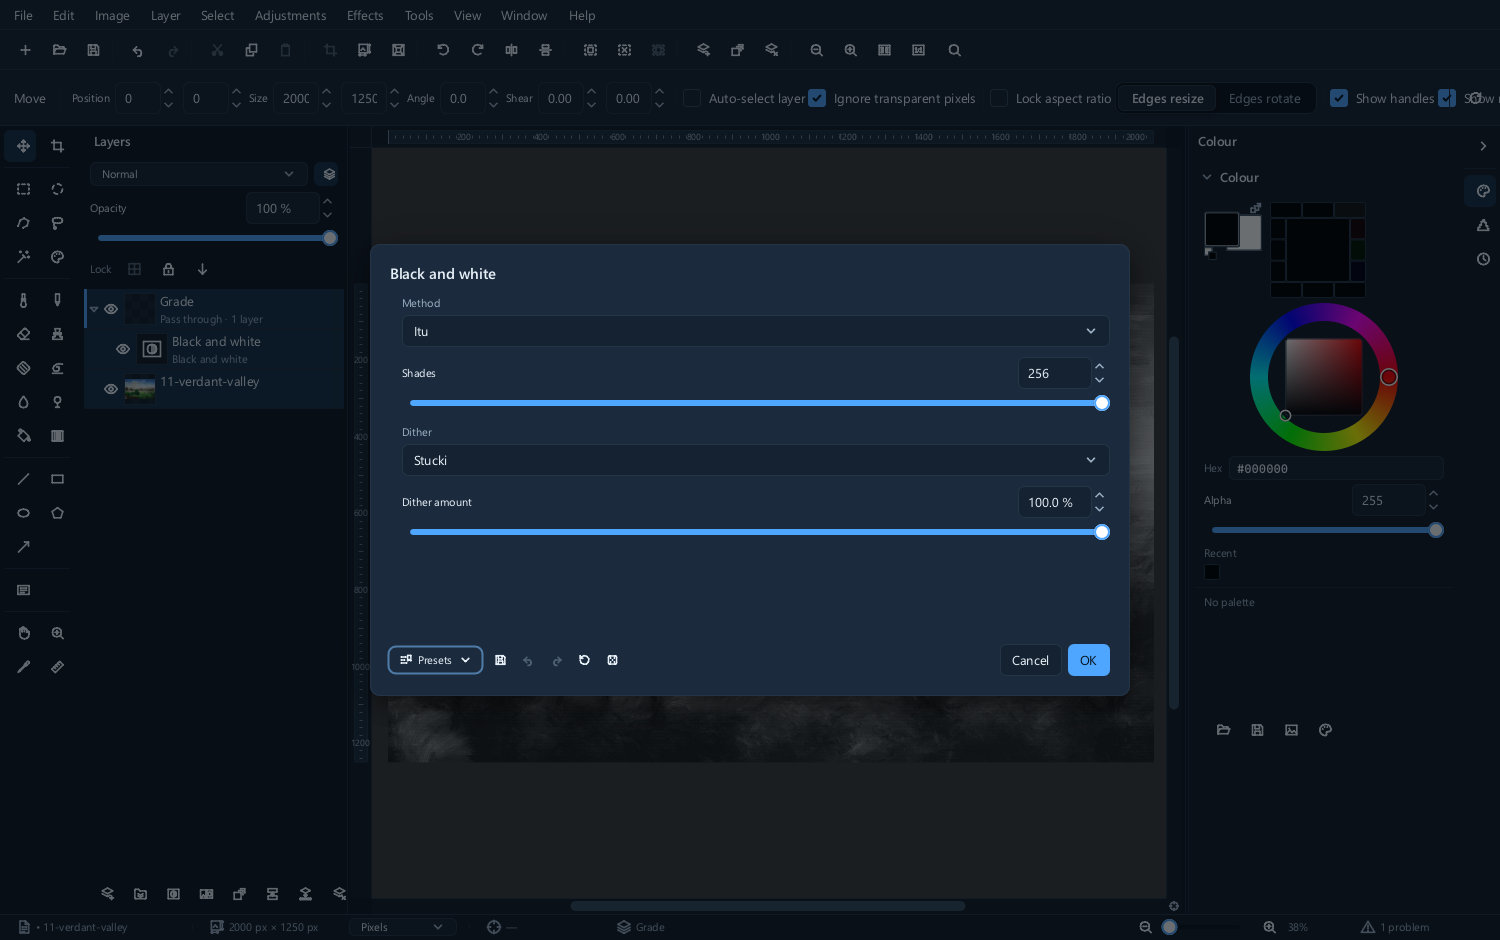 |
Use isolated when a group is a self-contained thing — a composited object, a graded version of the picture — that should not leak its internal blending onto the rest. Use pass-through when the group is just tidying.
Clipping one layer to another
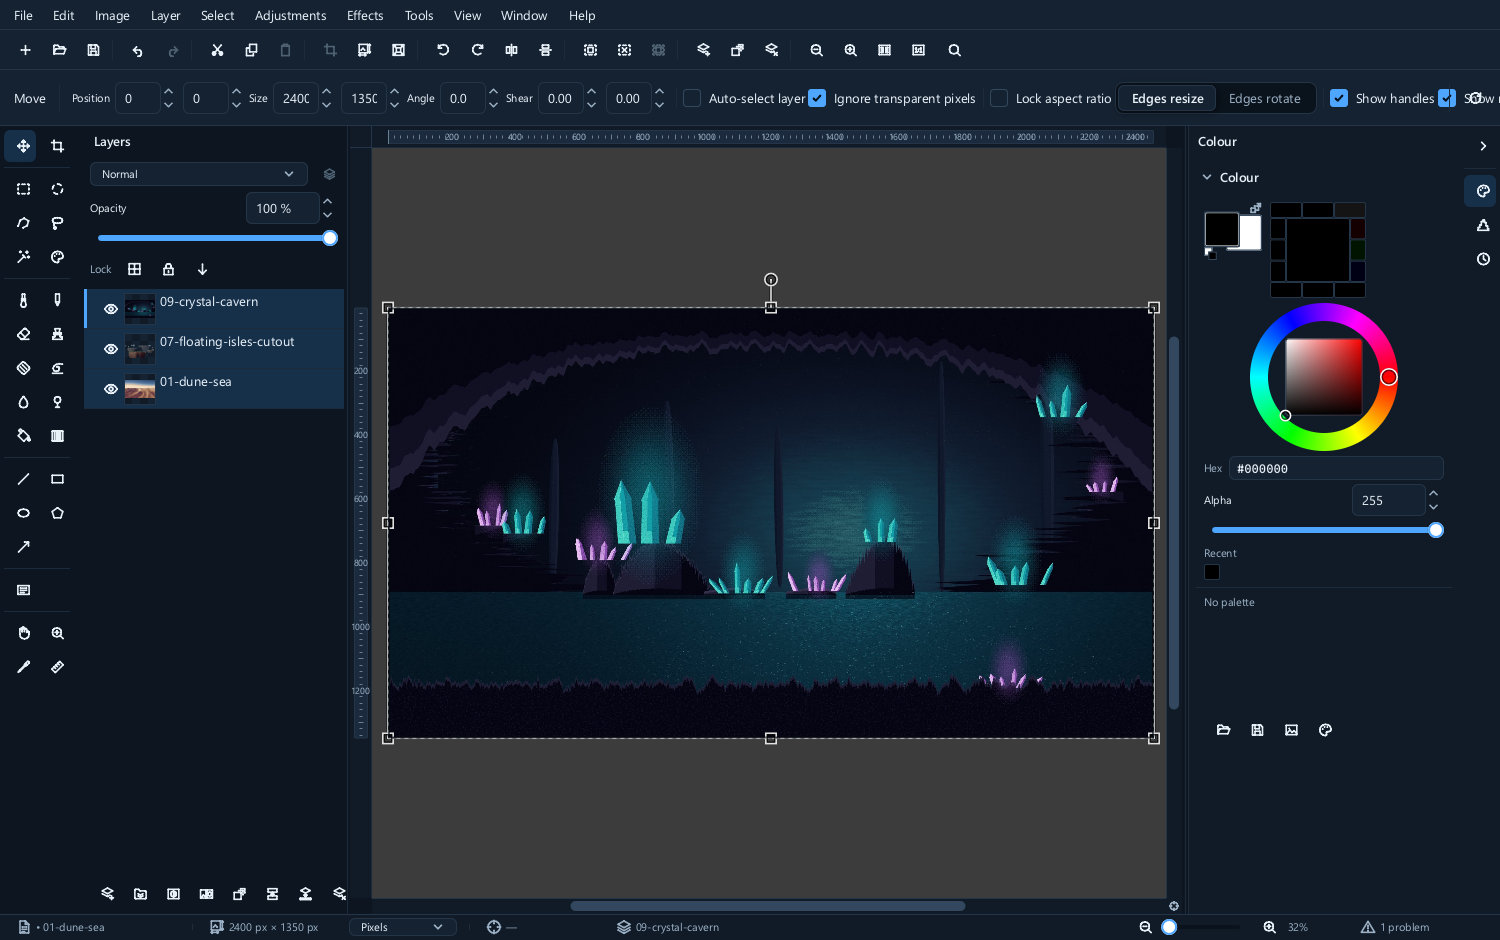
Select the upper layer and choose Layer ▸ Clip to layer below. A clipped layer only shows where the layer beneath provides coverage. It is the easy way to confine something to a shape you have already made.
| Not clipped | Clipped |
|---|---|
 |
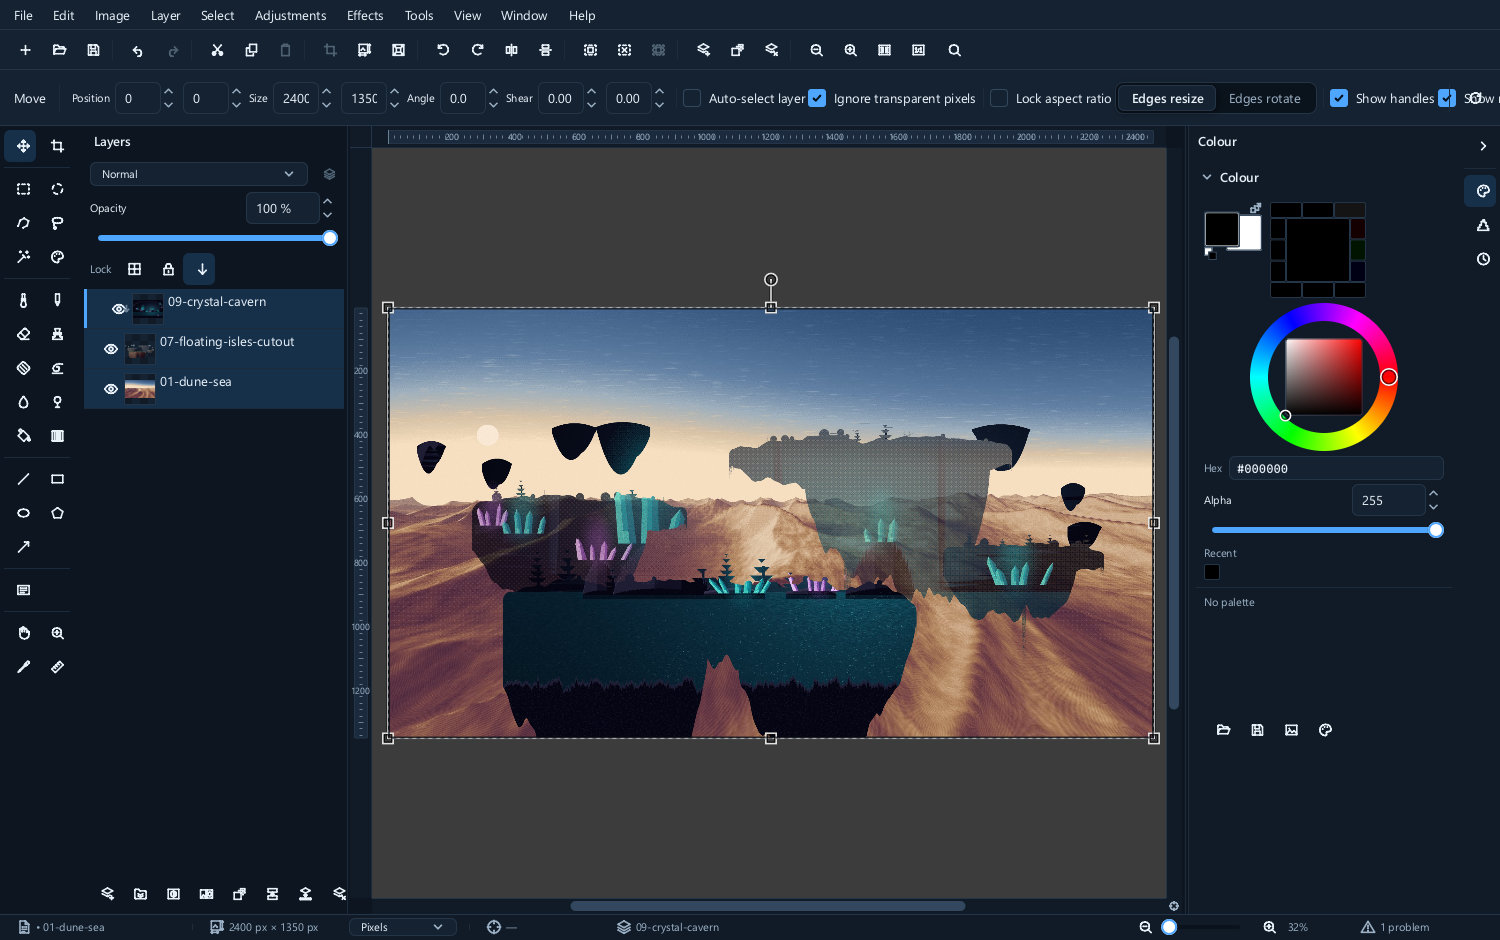 |
Texture on a letterform, a colour wash on a cut-out object, a glow that must not spill — all of them are a clipped layer.
A mask does a similar job with more control; clipping is faster when the shape already exists as a layer.
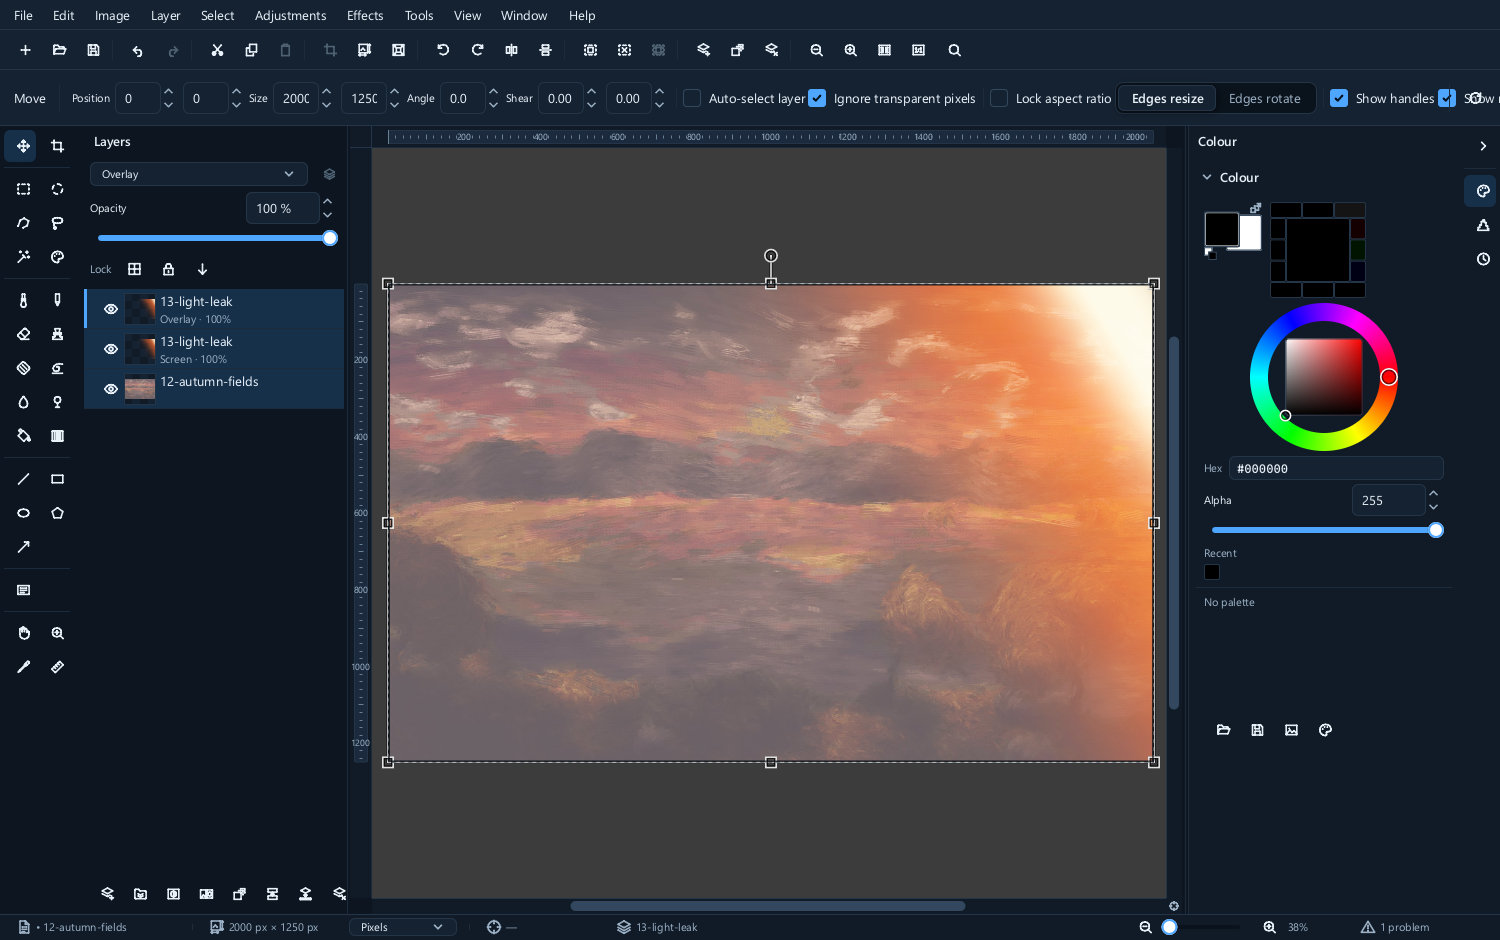
Merging and flattening
| Command | What it does |
|---|---|
| Merge down | Combines the selected layer with the one beneath into a single layer |
| Merge visible | Combines everything currently visible into one |
| Flatten image | Combines everything into one layer and discards transparency |
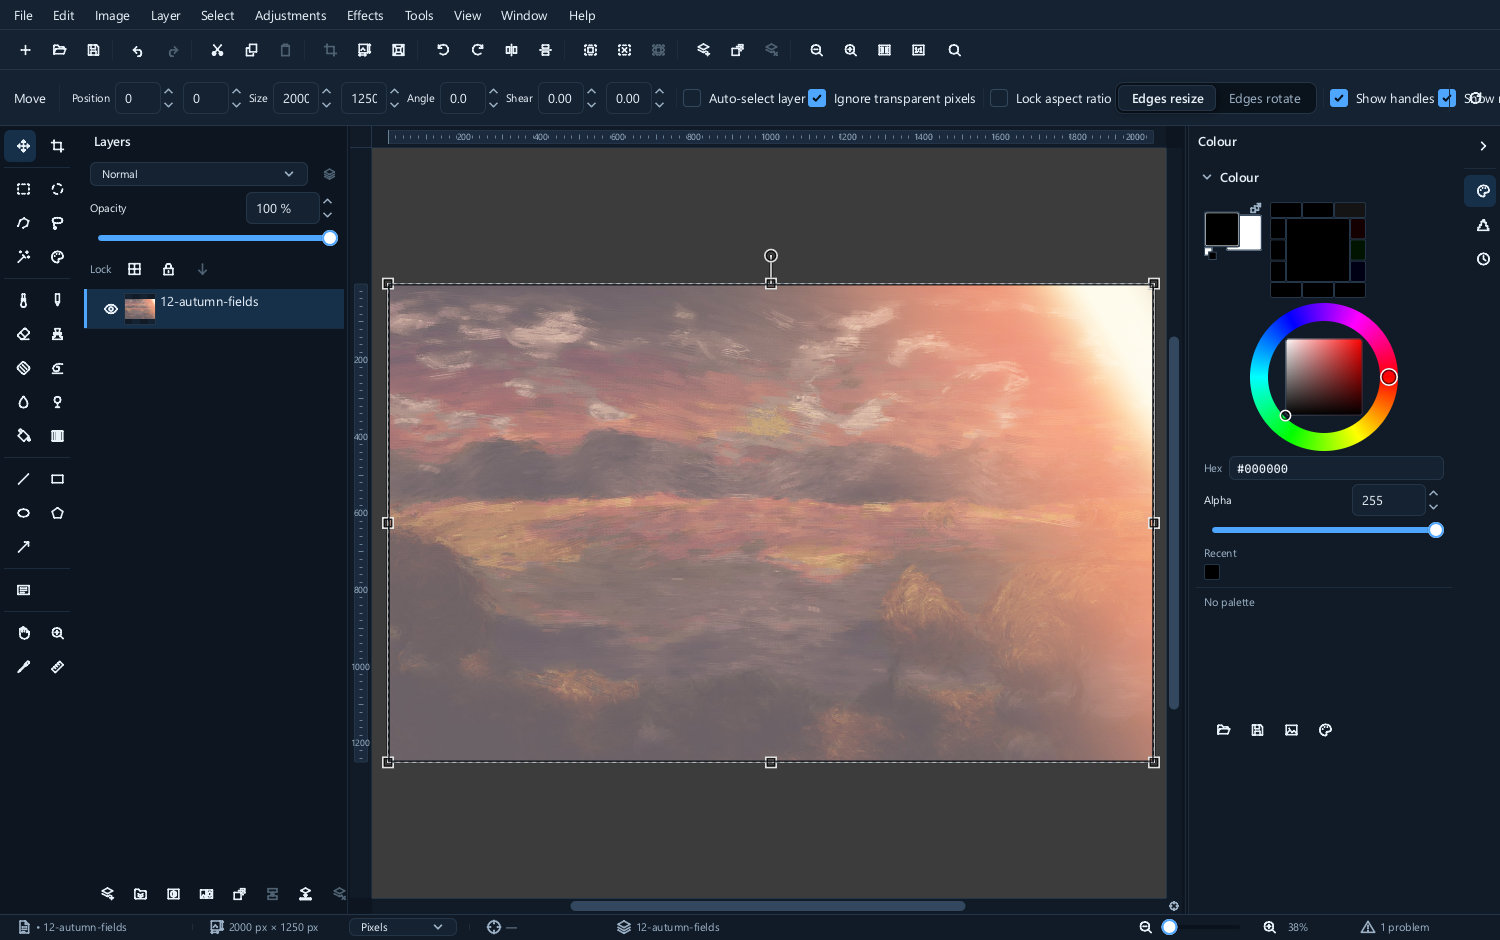
| Before merging | After merging |
|---|---|
 |
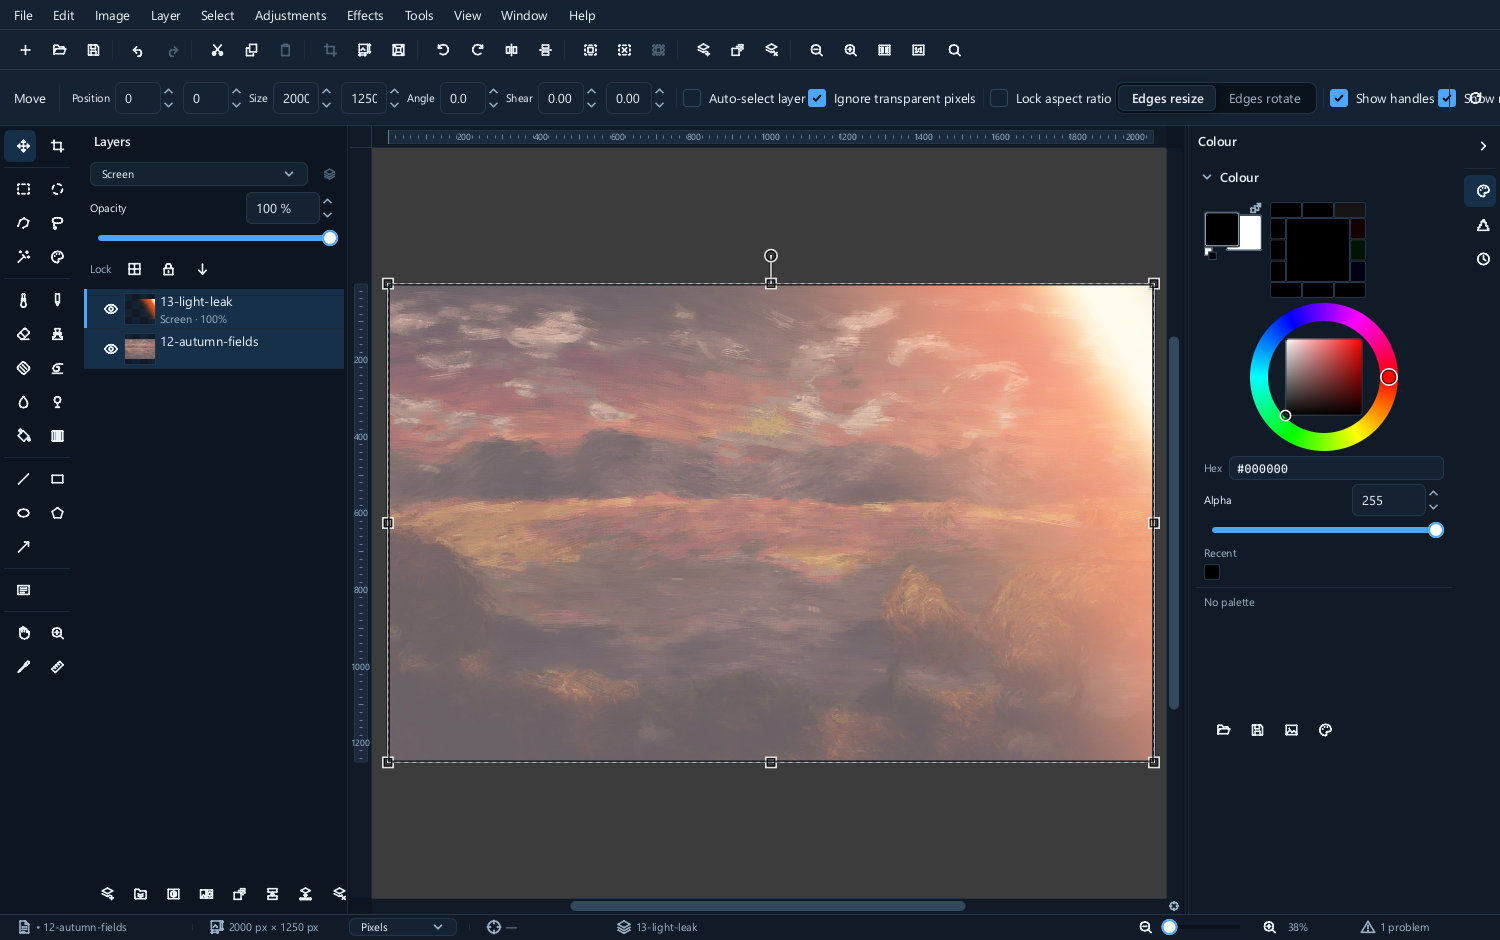 |
All three are destructive: the separate layers are gone, and only undo brings them back. There is rarely a reason to flatten while you are still working — exporting to JPEG or PNG flattens a copy for you and leaves your document alone.
Keeping layers when you save
Layered formats do not all preserve the same objects. Save in .mie while you work to keep
editable text, live adjustment layers, masks and selection along with pixels. Undo history is
not restored when you reopen the file. Save separate versions before destructive changes.
Opening and saving has the full table.
Adding and organizing content
Use Layer ▸ Add for these tasks:
| Command | Use it when |
|---|---|
| Blank layer | Paint separately from the photograph |
| Duplicate of current layer | Try a pixel effect while preserving the original |
| From file... | Bring another picture into this document |
| From visible layers | Make a combined snapshot above the existing pieces |
| Layer via copy | Copy selected pixels into a new layer |
| Layer via cut | Move selected pixels to a new layer, removing them from the source |
Select the layers that belong together and use Layer ▸ Group layers. Name the group for its purpose, such as “Caption” or “Sky”. Layer ▸ Ungroup separates its contents again. Open the group's blend controls to choose pass-through or isolated behaviour; a group that changes the appearance unexpectedly may be blending with content outside it.
Layer opacity and masks multiply coverage. For an opaque pixel, 50% opacity and a 50% mask give 25% coverage before other compositing factors. A blend mode chooses how colours interact; it is not a replacement for either coverage control. See Image basics.
Next
- Masks — hiding part of a layer without deleting it
- Adjustment layers — corrections that stay editable
- Text and shapes — layers that are not made of pixels