
Effects
Where adjustments change colours and tones, effects change the pixels themselves — softening them, sharpening them, moving them about, or replacing the picture with a stylised version of it.
There are over a hundred, in twelve groups.
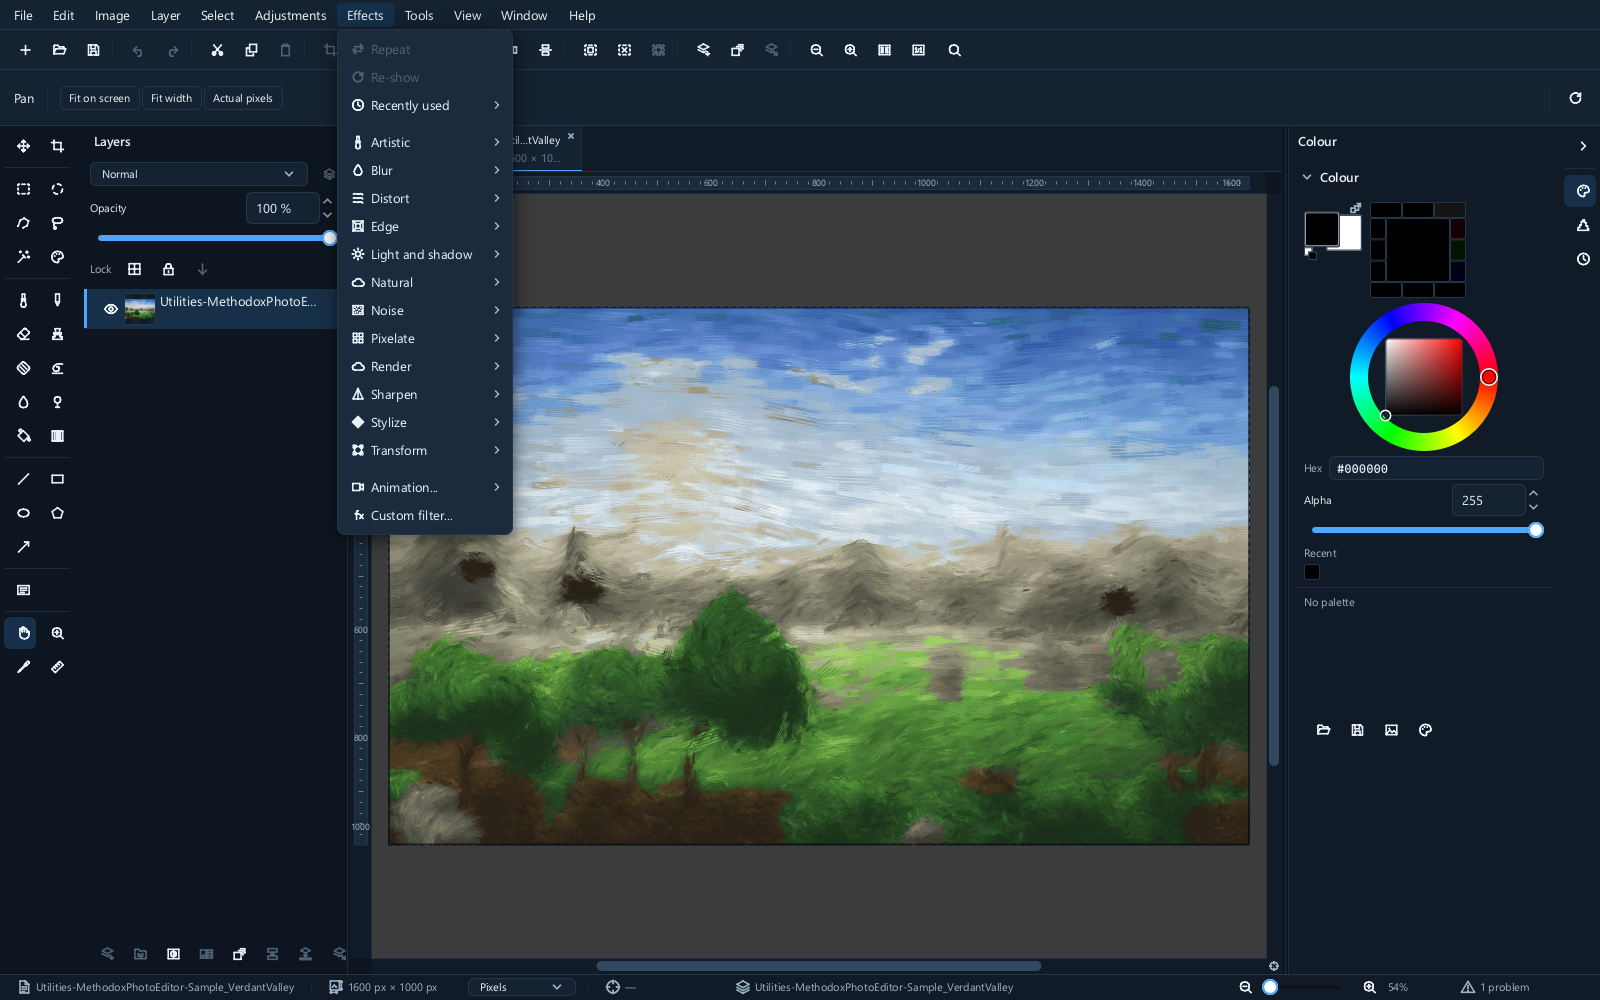
| Group | What is in it |
|---|---|
| Sharpen | Sharpen, unsharp mask, enhance edges |
| Blur | Gaussian, box, motion, radial, zoom, surface blur |
| Noise | Adding grain, and removing it — median, dust and scratches, anisotropic diffusion |
| Distort | Ripple, swirl, pinch, spherize, waves, shear, polar conversion, lens correction |
| Edge | Find edges, trace contour, emboss, relief, outline |
| Artistic | Oil painting, coloured pencil, comic book, modern art, film noir, antique |
| Light and shadow | Sunshine, cross-screen, black light, fog, portrait glow, ignite |
| Natural | Clouds, fibres, lava, rainbow, snow, underwater, atmosphere |
| Pixelate | Mosaic, crystallize, pointillize, colour halftone, mezzotint, fragment |
| Stylize | Vignetting, solarize, posterize, plastic wrap, glass tiles, kaleidoscope |
| Render | Generating a picture rather than changing one |
| Transform | Perspective, rotate, offset and zoom — see Transforming |
Every effect works on the selected layer, and inside the selection if there is one.
Most open a dialog with a live preview. Change a number, watch the picture, and press OK when it looks right.
The four you will actually use
Unsharp mask
The proper way to sharpen. Despite the name it sharpens: it finds edges and increases the contrast across them.
| Before | After |
|---|---|
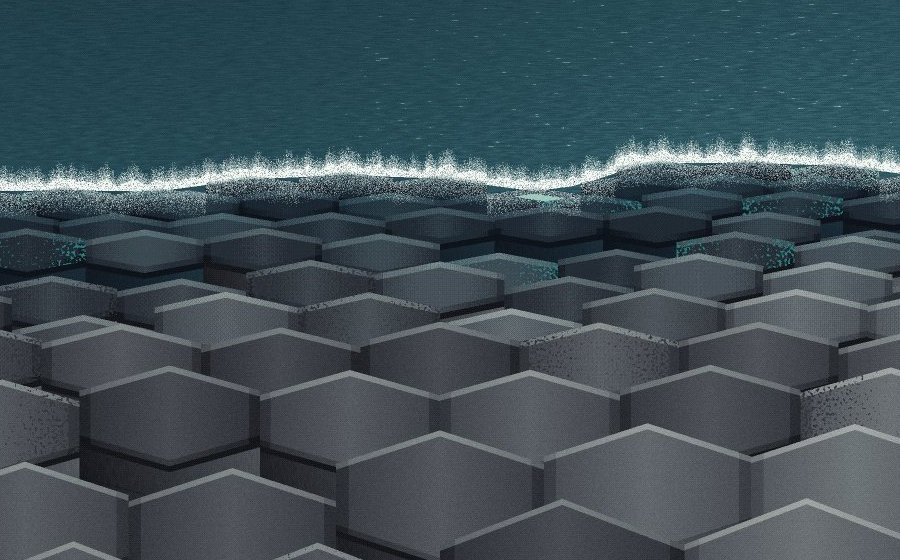 |
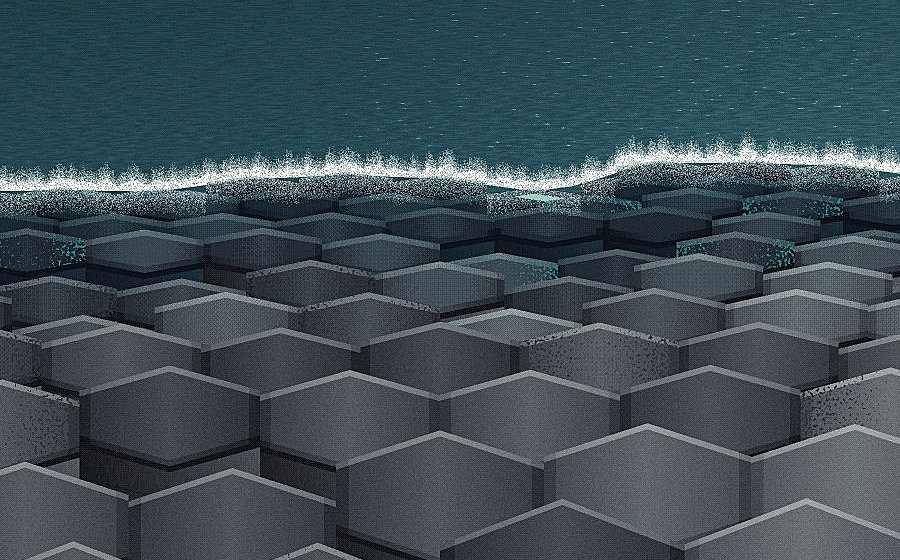 |
Three settings:
- Radius — how wide the edge contrast reaches. Around 1 px for detail; larger for a broad contrast effect that reads as "punch" rather than sharpness.
- Amount — how strong. Start around 50% and raise it until it looks right, then back off a little.
- Threshold — how different two areas must be before it counts as an edge. Raise it to stop sharpening from crawling all over smooth sky and skin.
Sharpening is easy to overdo, and the result is unmistakable: white halos along every edge and a gritty look in flat areas.
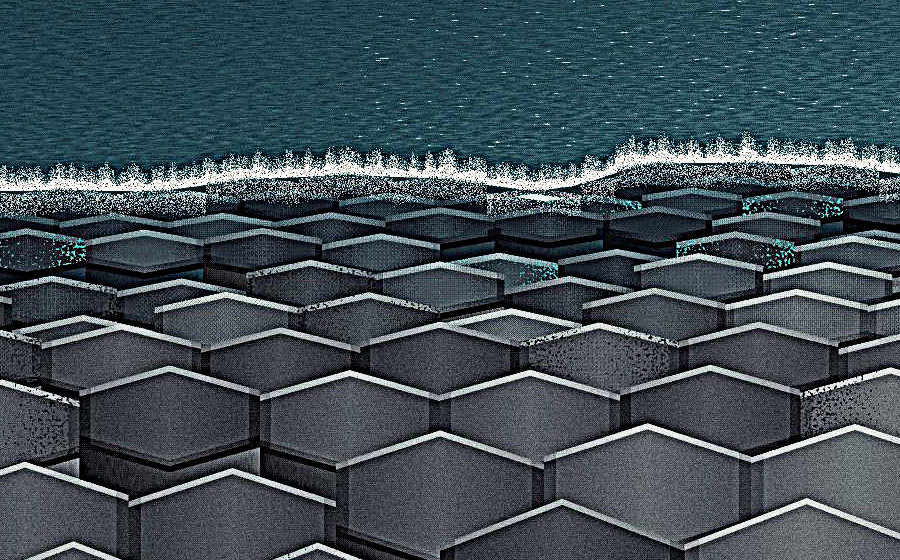
Sharpen last, after resizing, and once only. Sharpening a sharpened picture compounds the halos.
Gaussian blur
The standard blur, controlled by one radius. It is used far more for construction than for its own sake — softening a mask edge, making a shadow, building a glow, blurring a duplicate layer to smooth skin.
Noise removal
Median replaces each pixel with the middle value of its neighbours. It removes speckle well and softens fine detail as a side effect.
| Before | After |
|---|---|
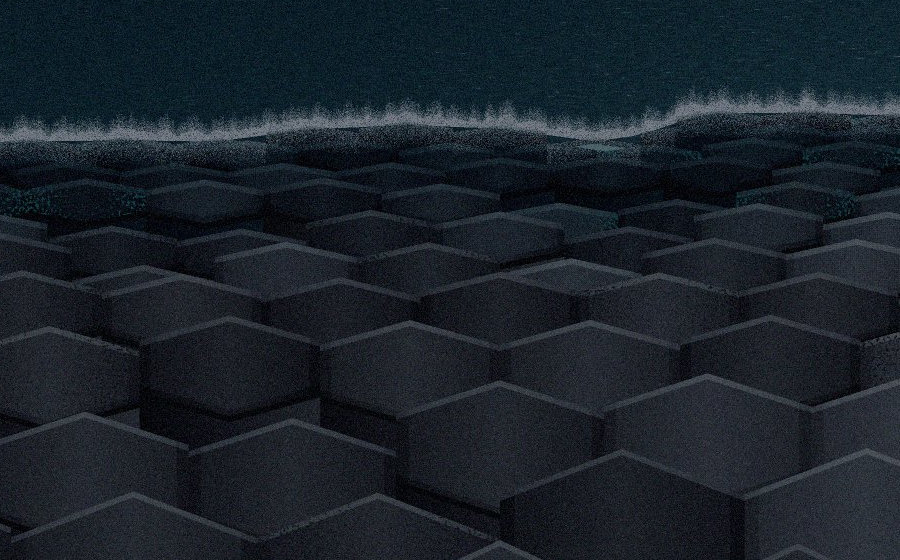 |
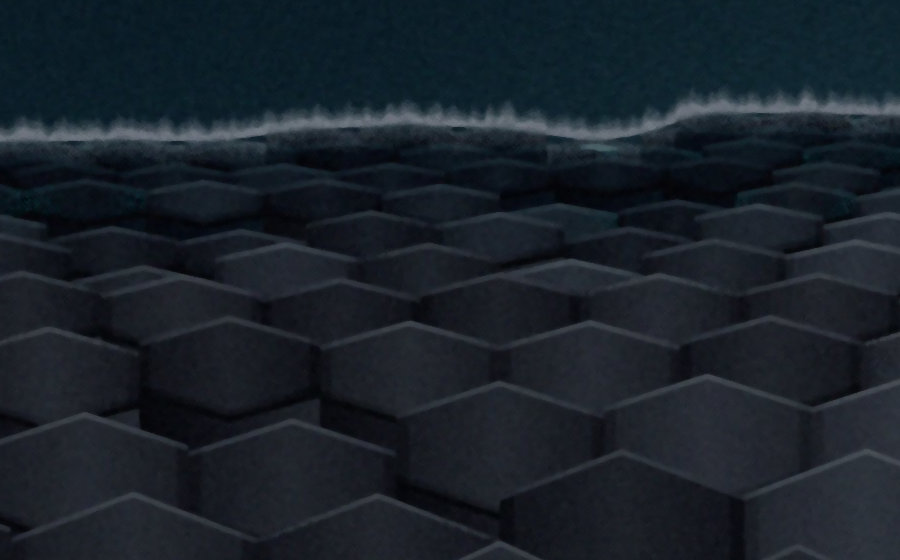 |
Dust and scratches does the same thing selectively, only where a pixel differs sharply from its surroundings — better for scanned photographs, where the damage is isolated specks rather than overall grain.
| Before | After |
|---|---|
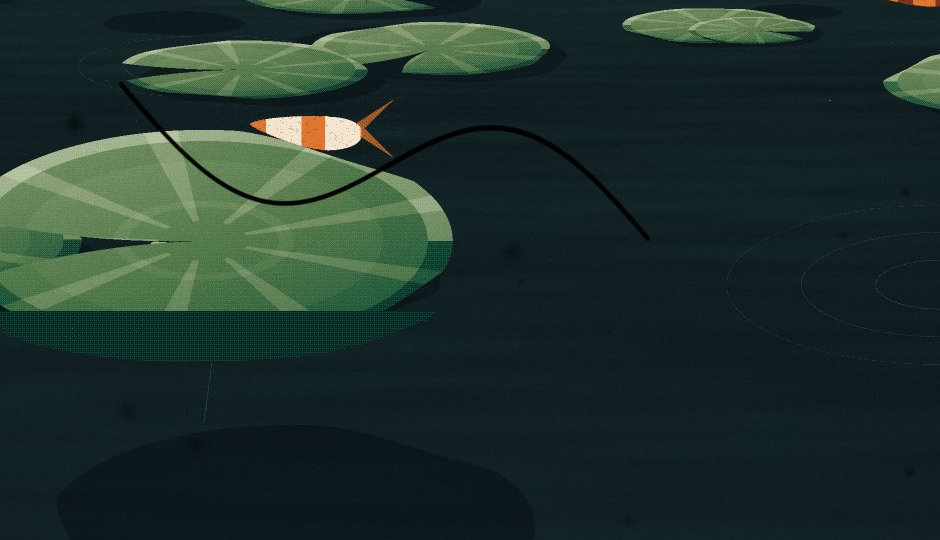 |
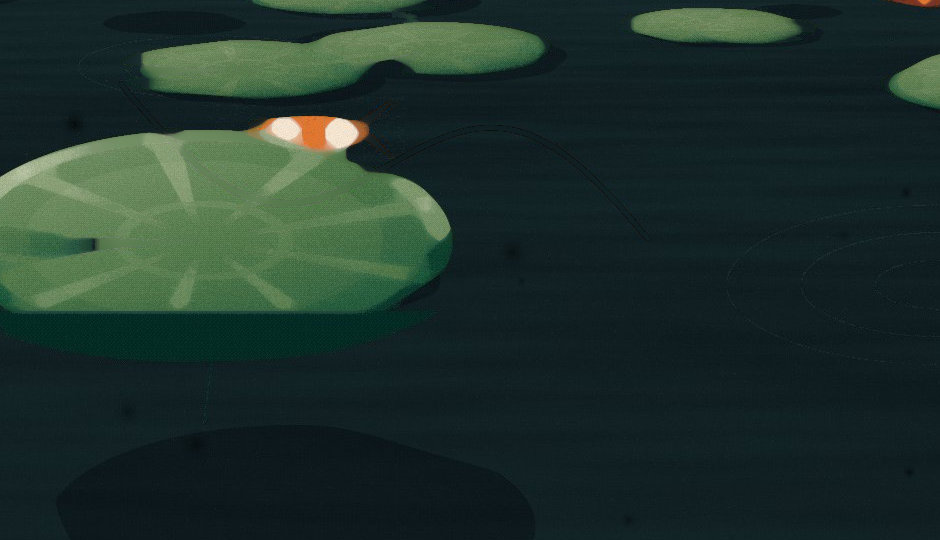 |
There is always a trade. Noise removal removes detail too, and the way to keep both is to apply it on a duplicate layer and mask it back off the parts that matter — eyes, edges, texture you want to keep.
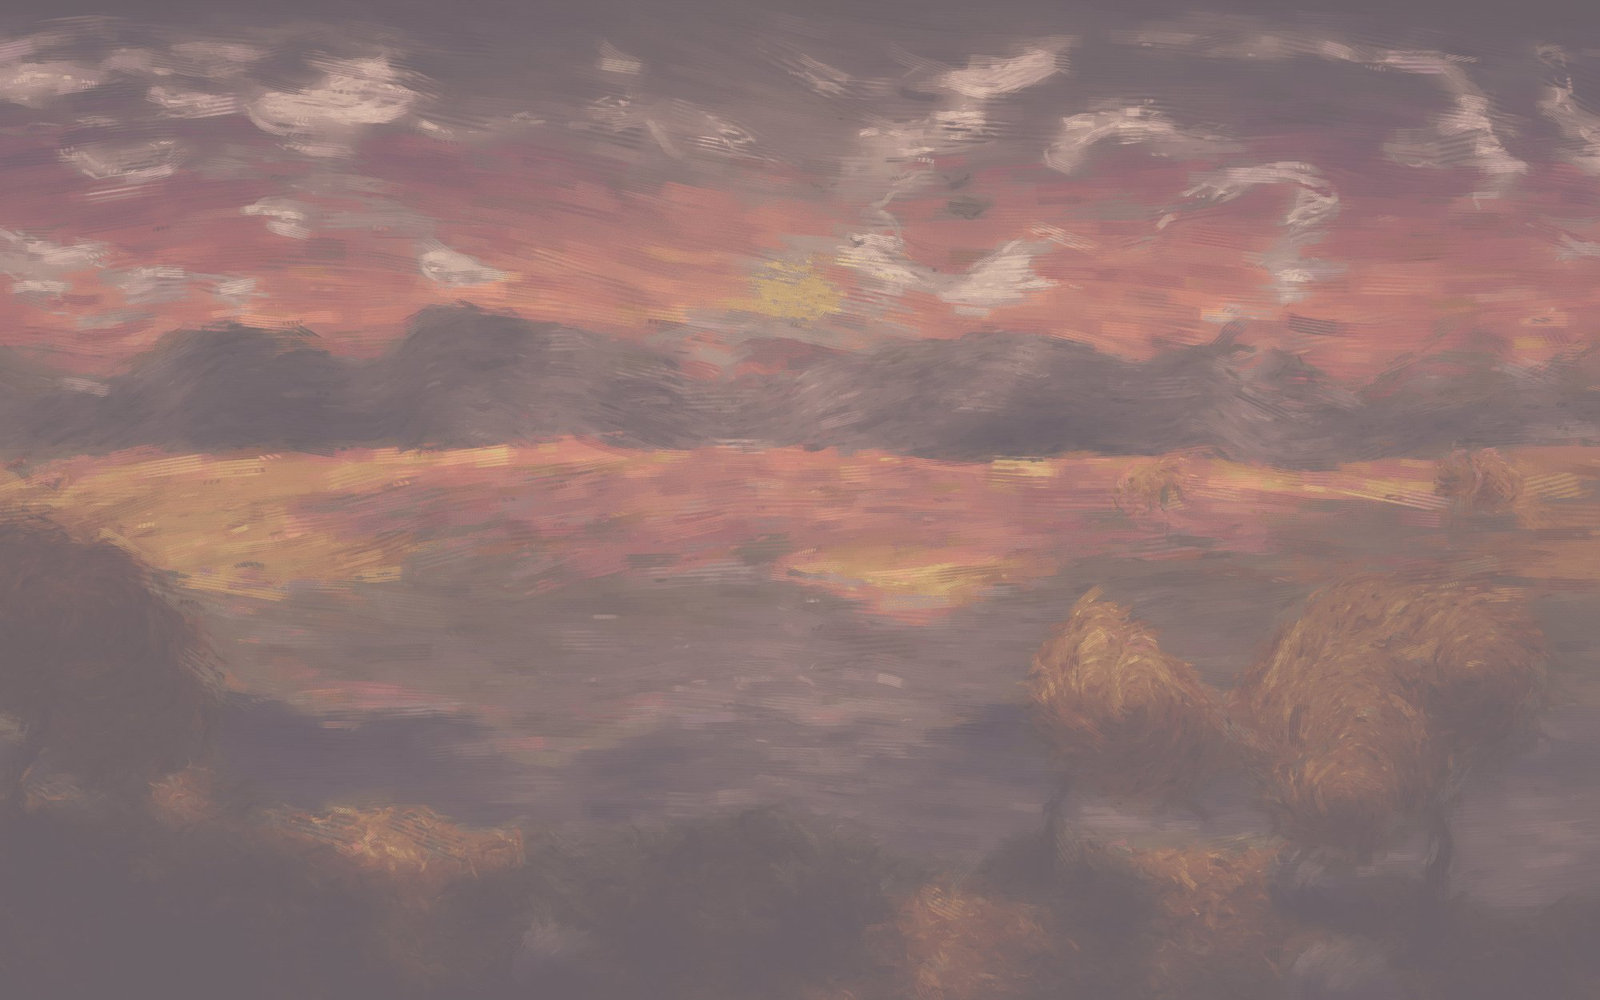
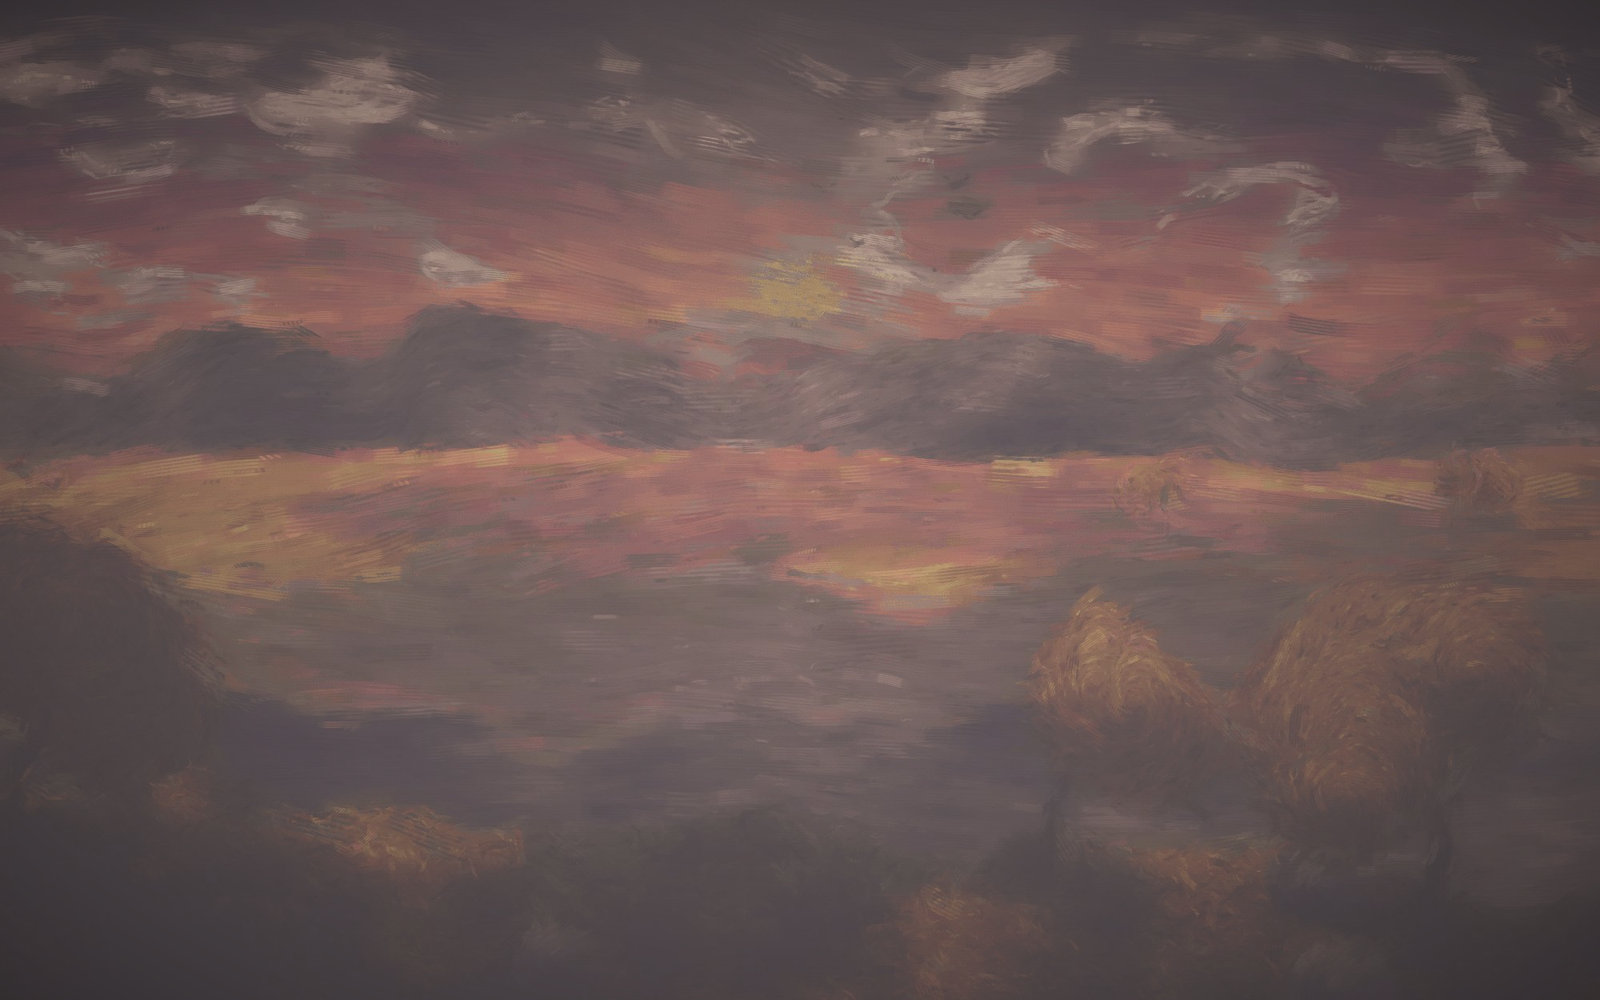
Vignetting
Darkening the corners draws the eye to the middle. It is the most quietly useful effect in the list, because at a low setting nobody notices it and the picture is better.
| Before | After |
|---|---|
 |
 |
Effects for their own sake
Blur as a subject
Zoom blur streaks the picture outwards from a centre point, which reads as speed.
| Before | After |
|---|---|
 |
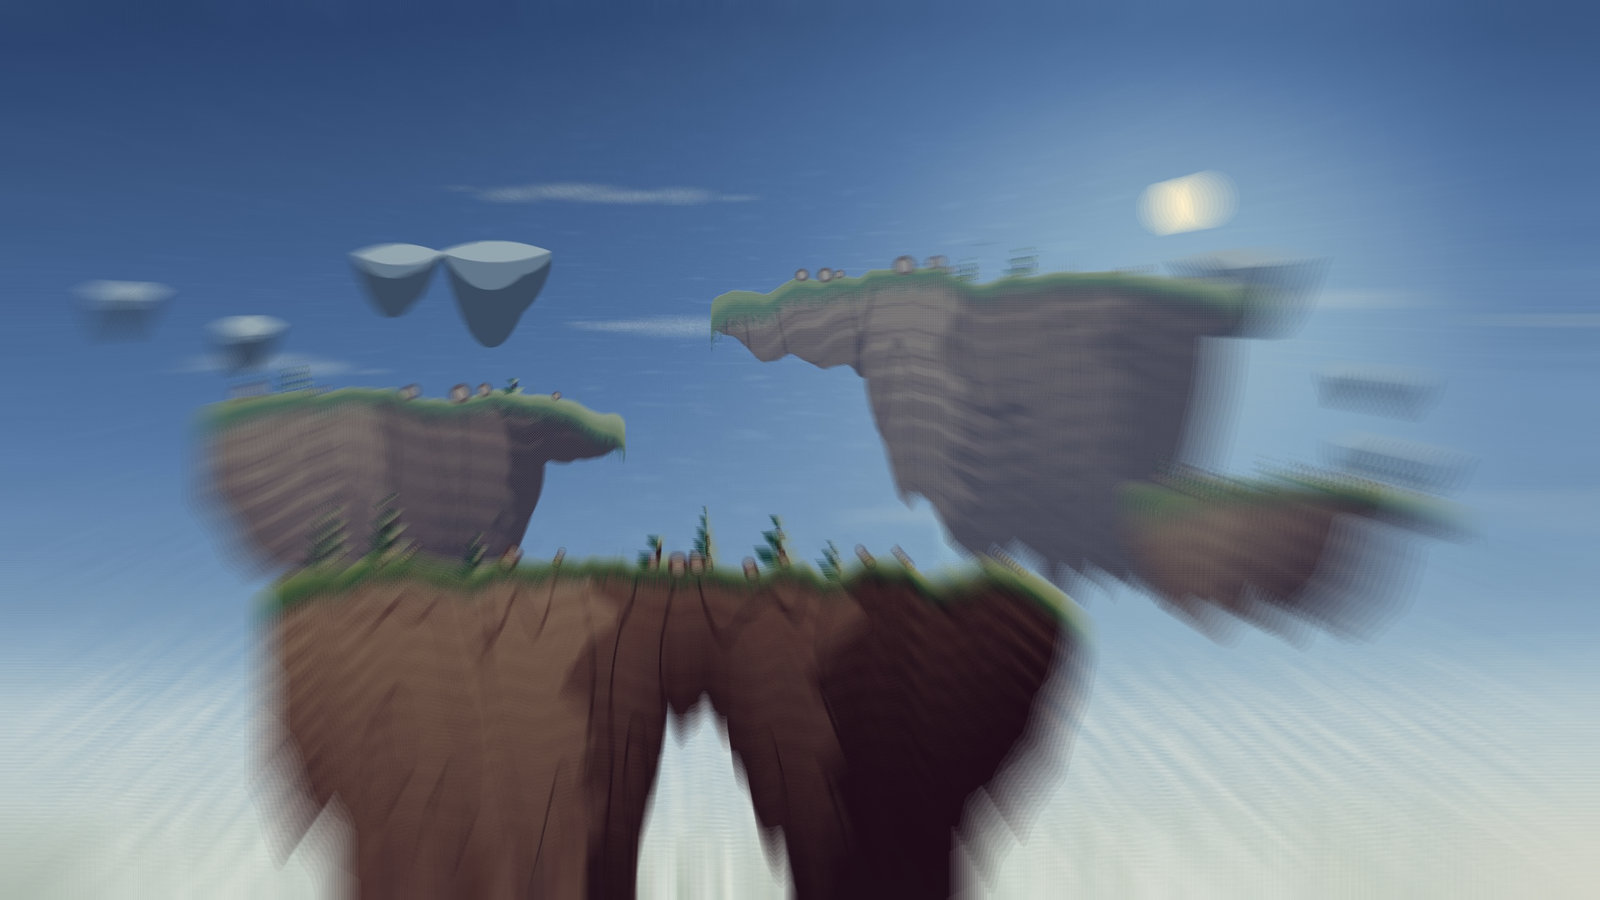 |
Motion blur does the same in one direction, and radial blur rotates around a point.
Distortion
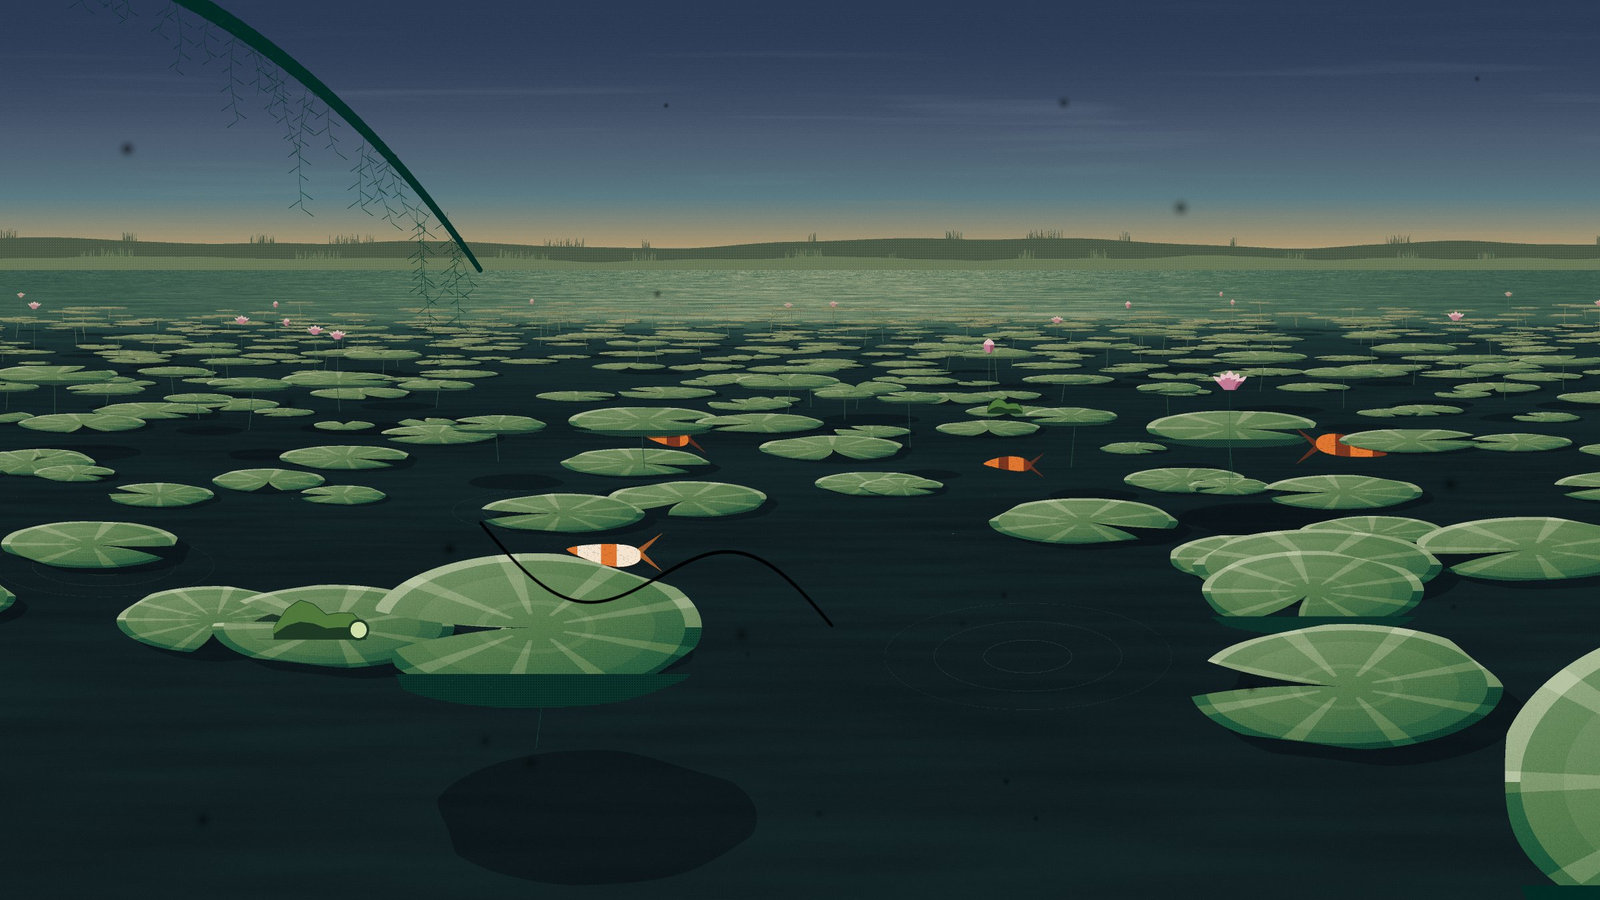
Ripple pushes pixels around in waves.
| Before | After |
|---|---|
 |
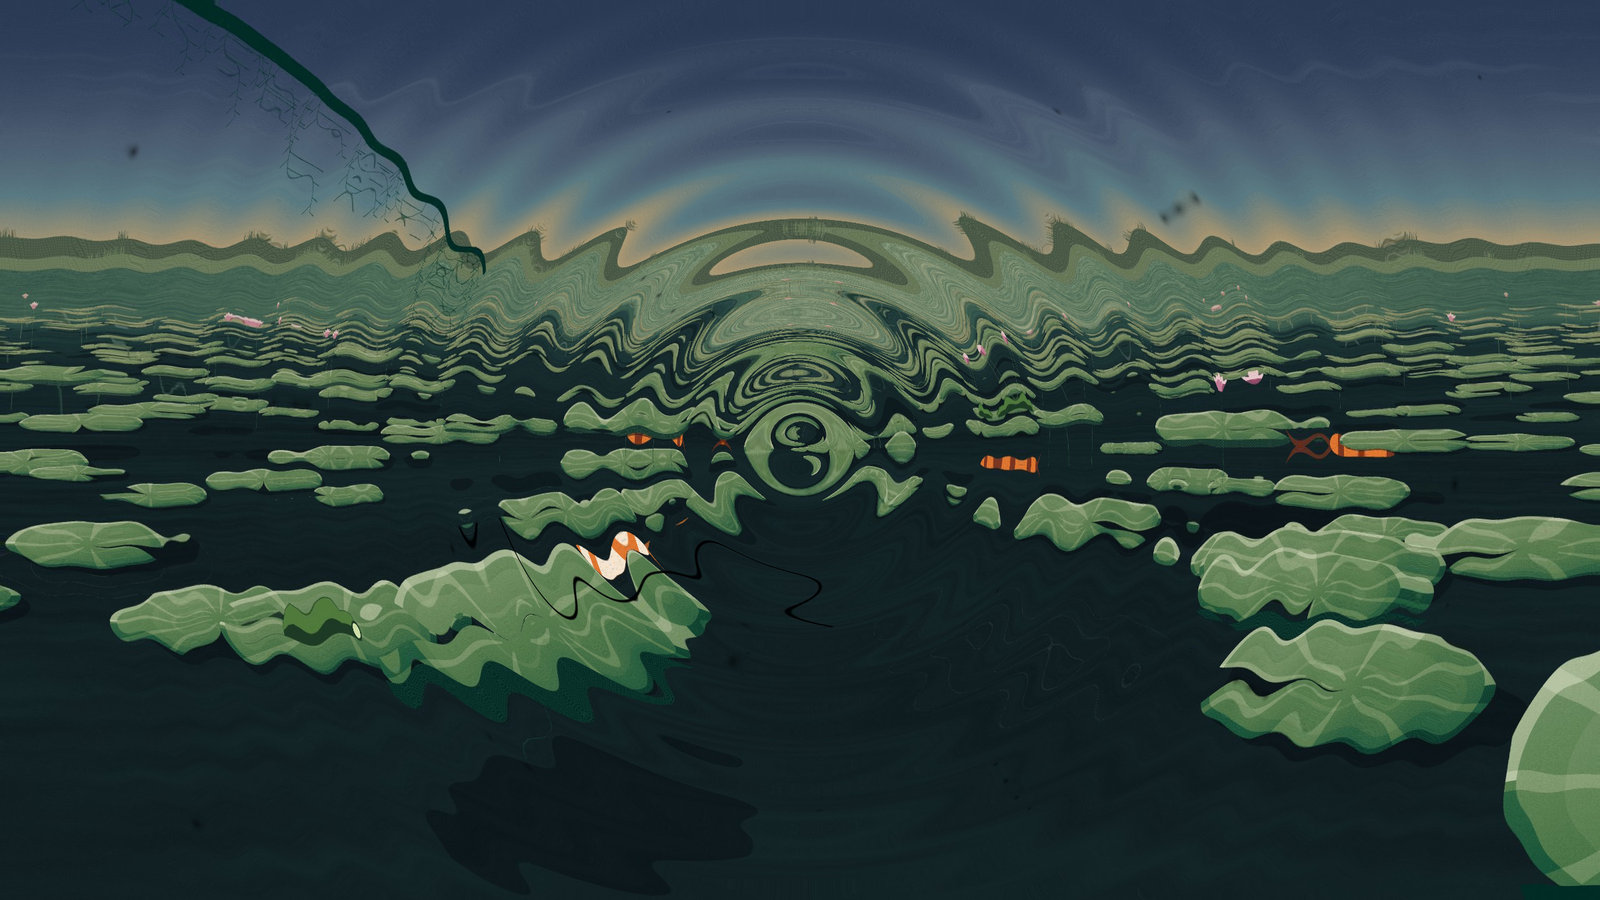 |
The Distort group also holds swirl, pinch, spherize, waves and polar conversion — and, more usefully, Correct existing distortion..., which straightens the barrel curve a wide lens puts into a photograph. That one is a repair rather than an effect.
Edges
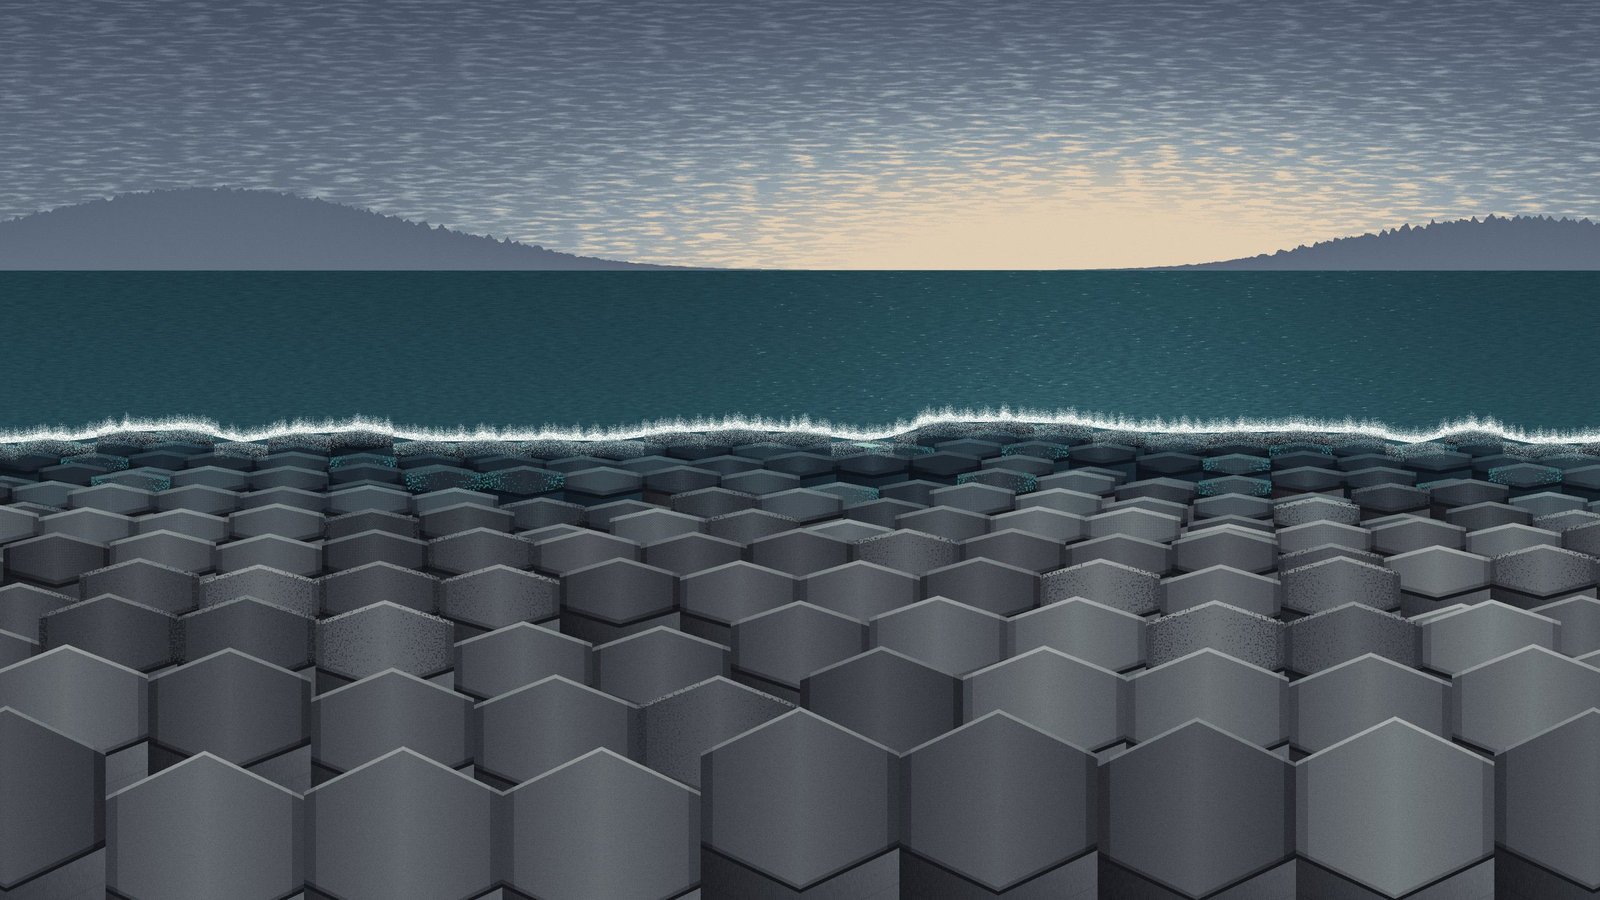
Find edges throws away everything except the boundaries.
| Before | After |
|---|---|
 |
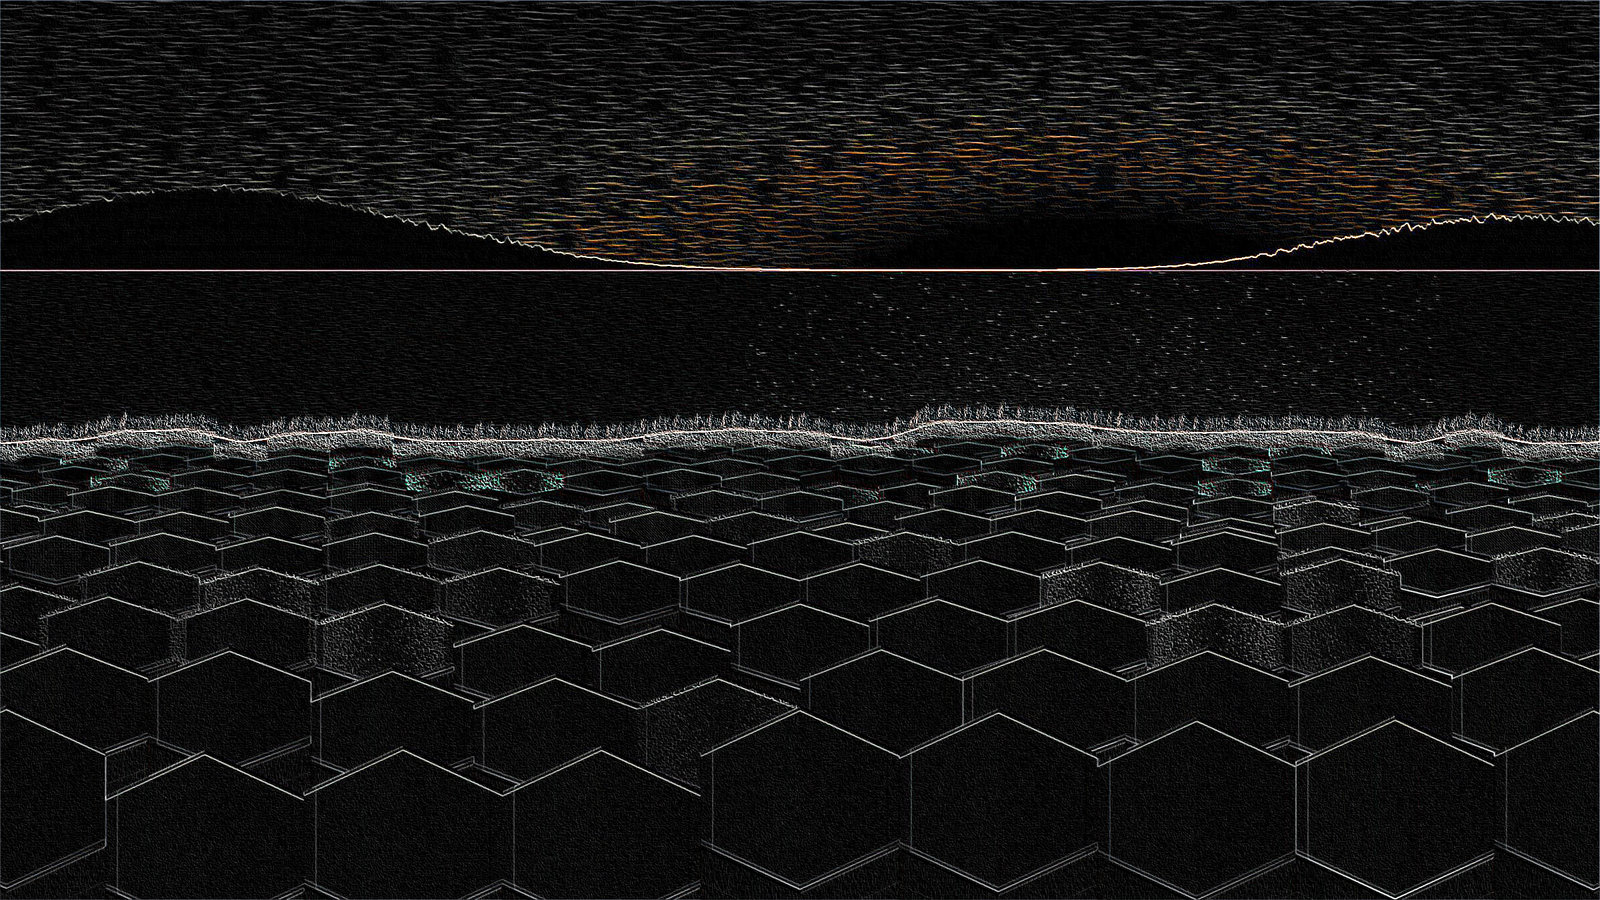 |
On its own it is a graphic effect. Set to Overlay above the original it is a sharpening technique with more control than the sharpen filters give you.
Light
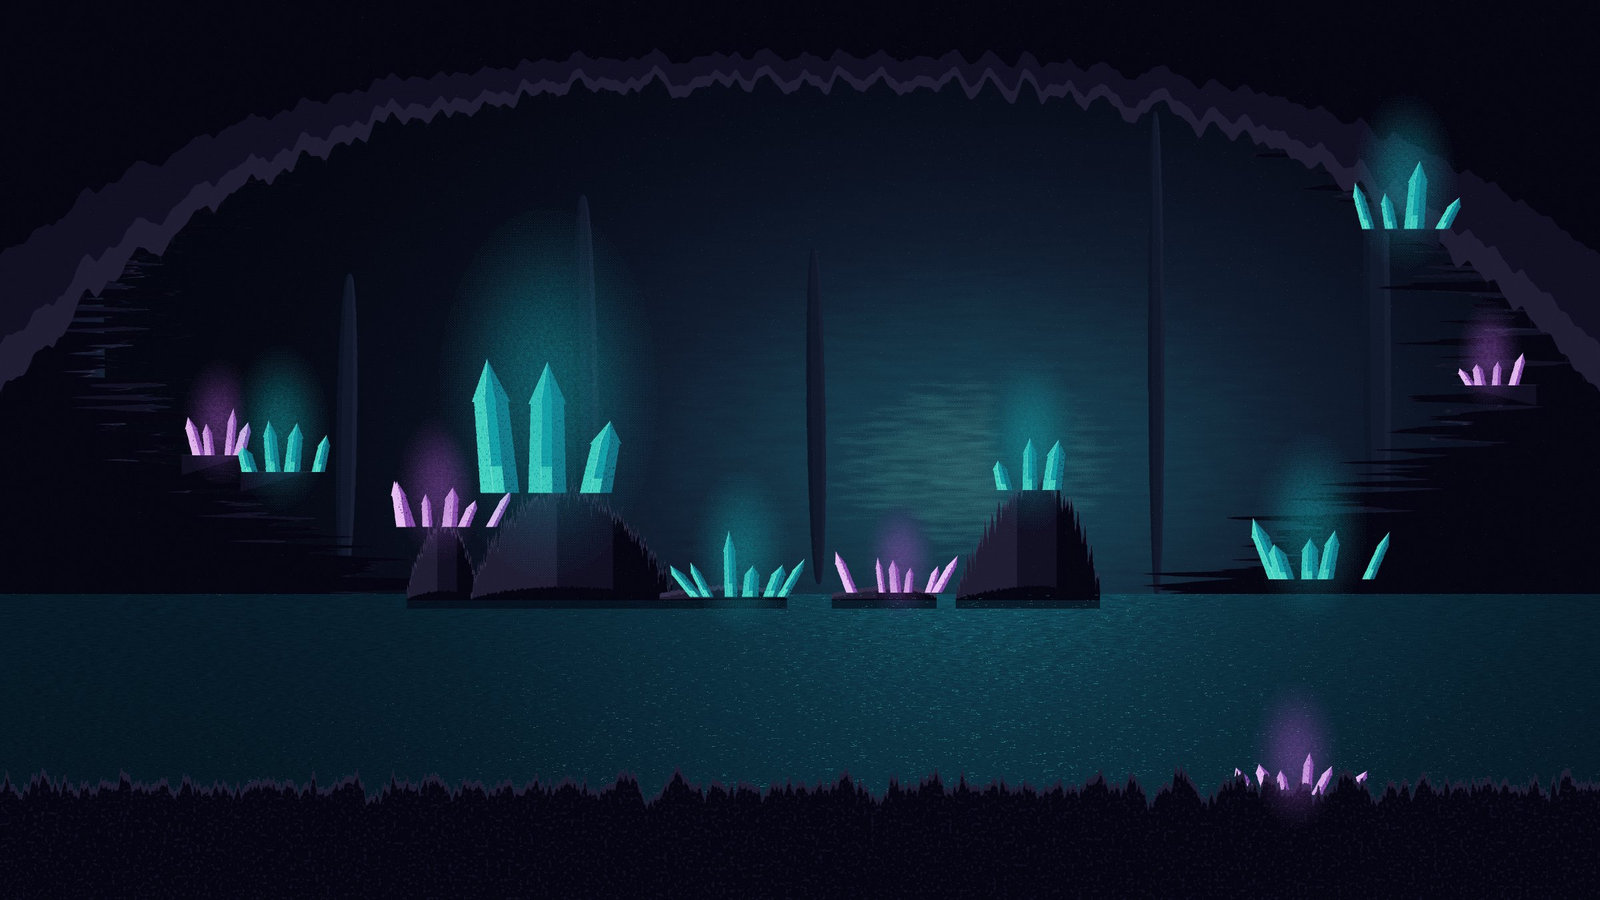
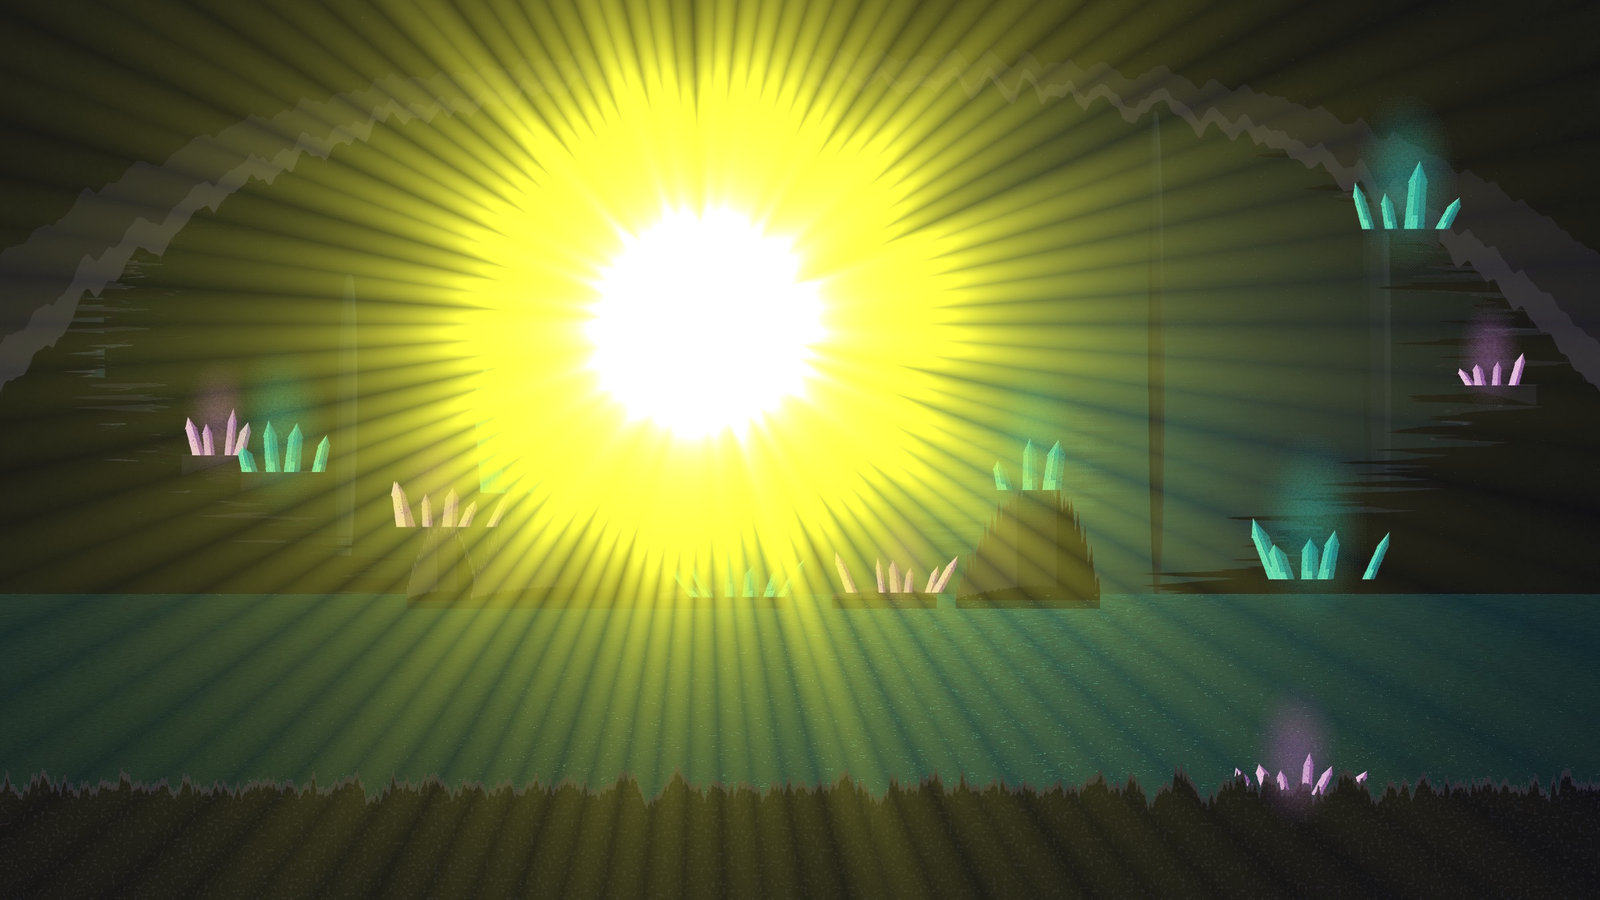
Sunshine adds a light source with rays.
| Before | After |
|---|---|
 |
 |
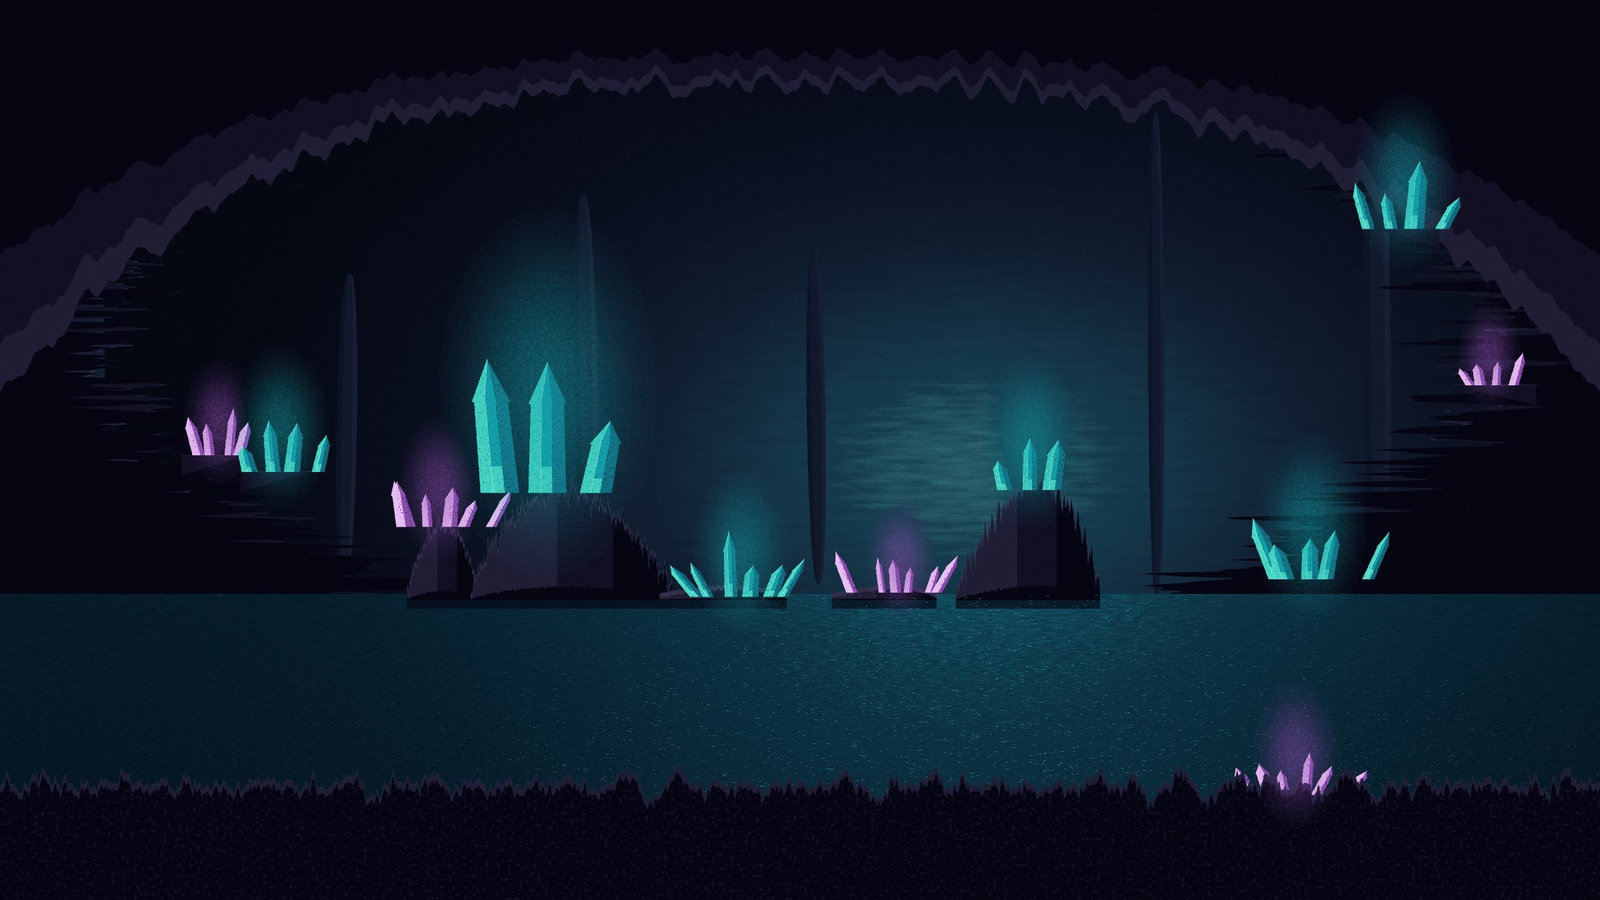
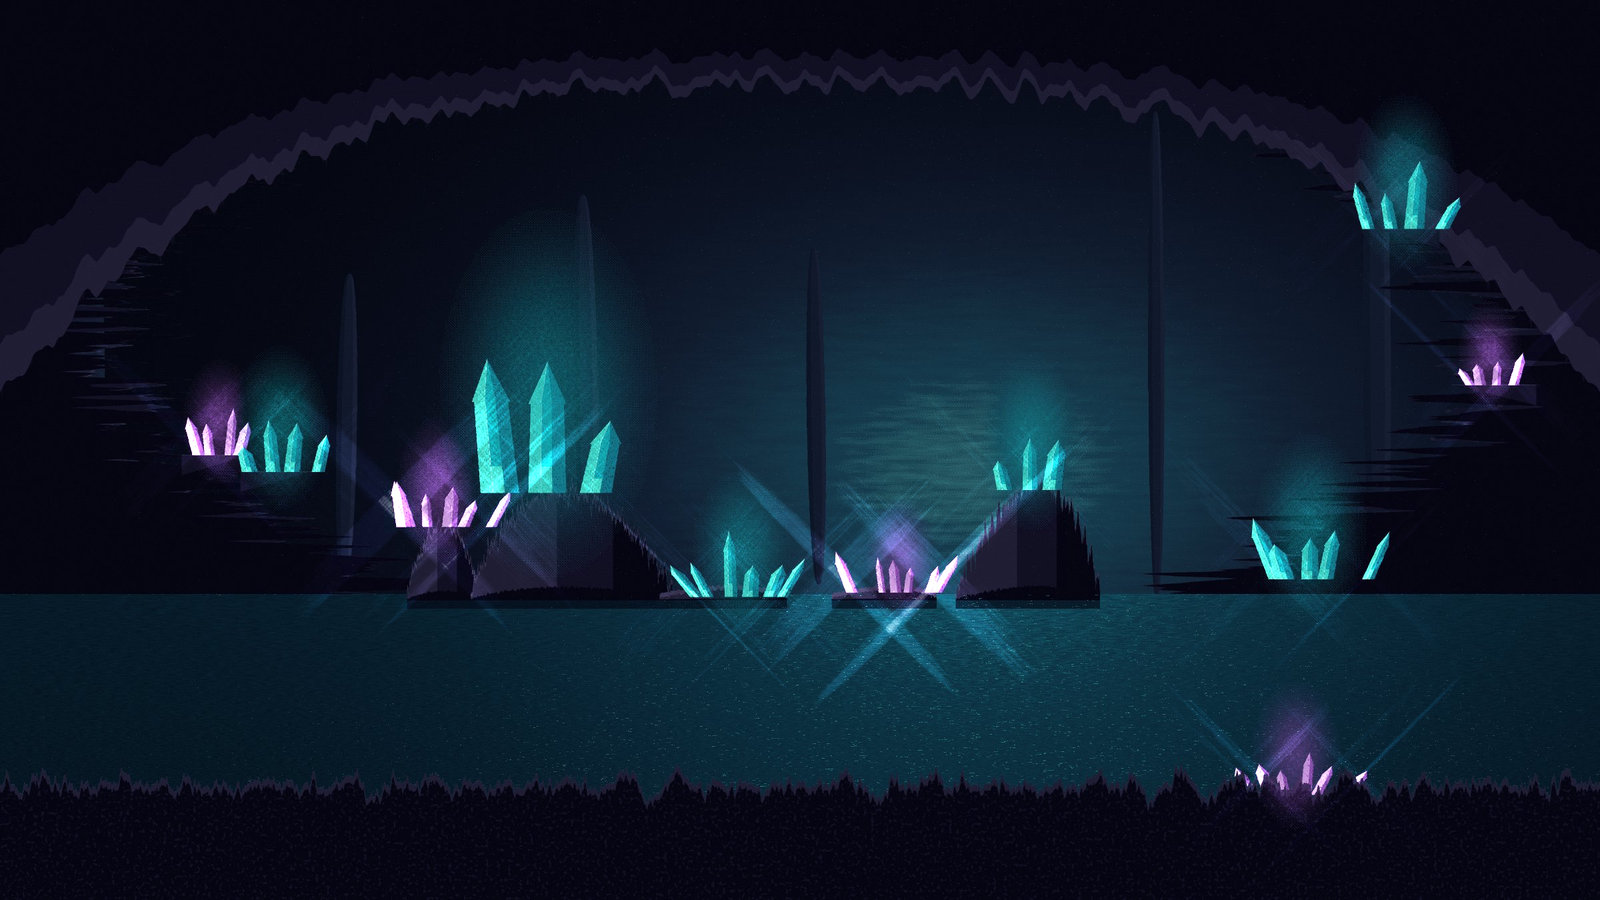
Cross-screen puts a star on every bright point, the way a filter on a lens does.
| Before | After |
|---|---|
 |
 |
Artistic
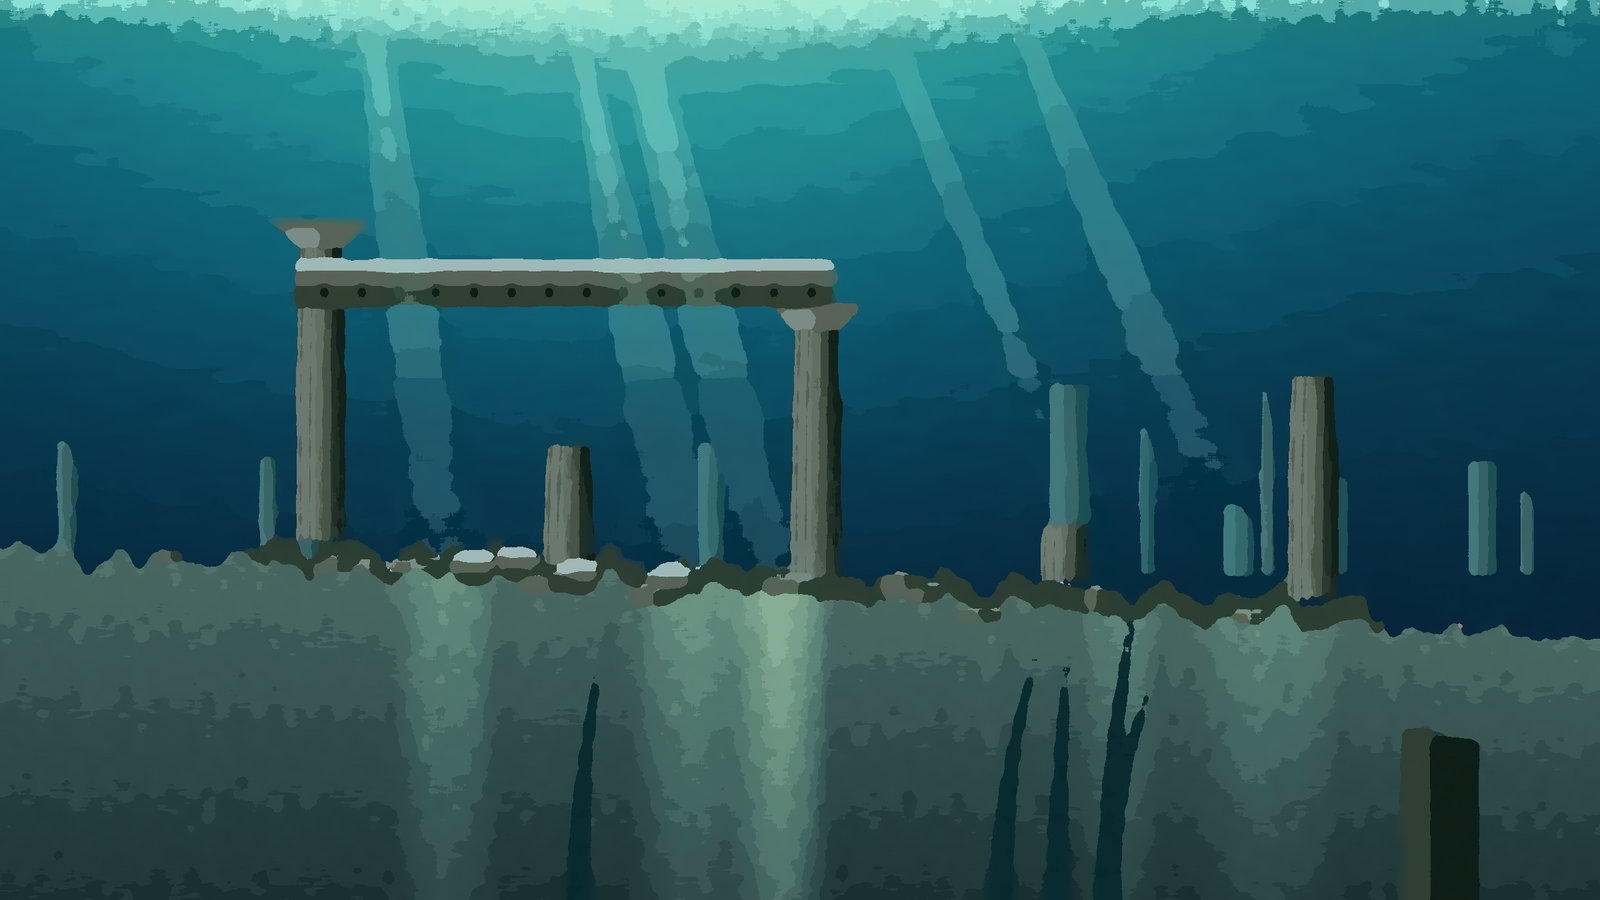
These replace the photograph with an interpretation of it.
| Oil painting | Coloured pencil |
|---|---|
 |
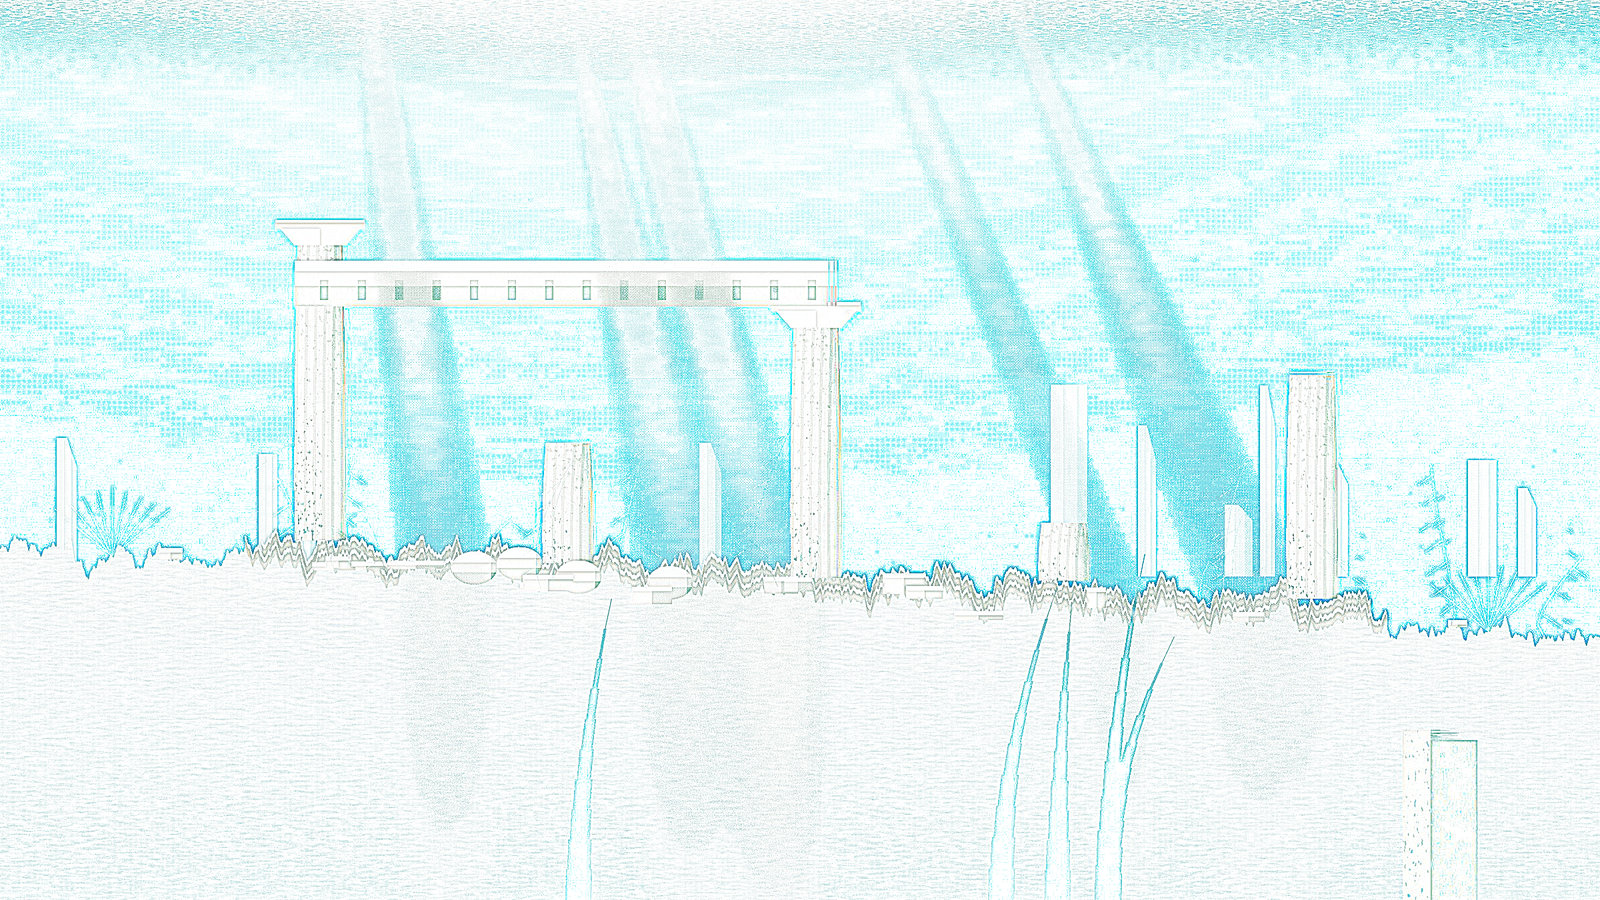 |
| Comic book | Stained glass |
|---|---|
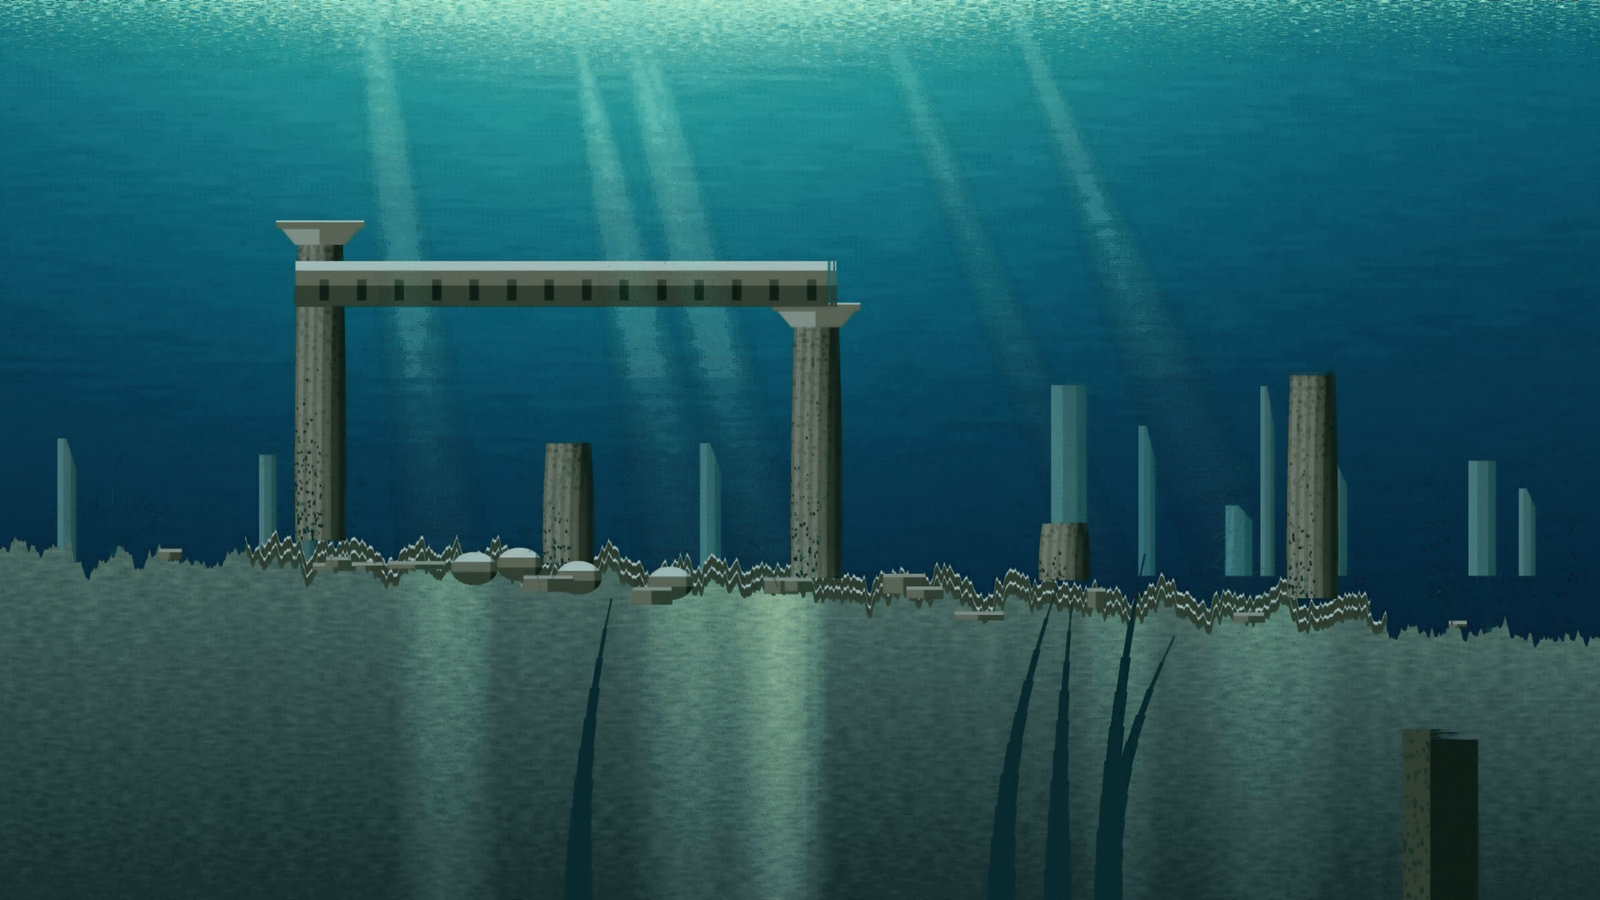 |
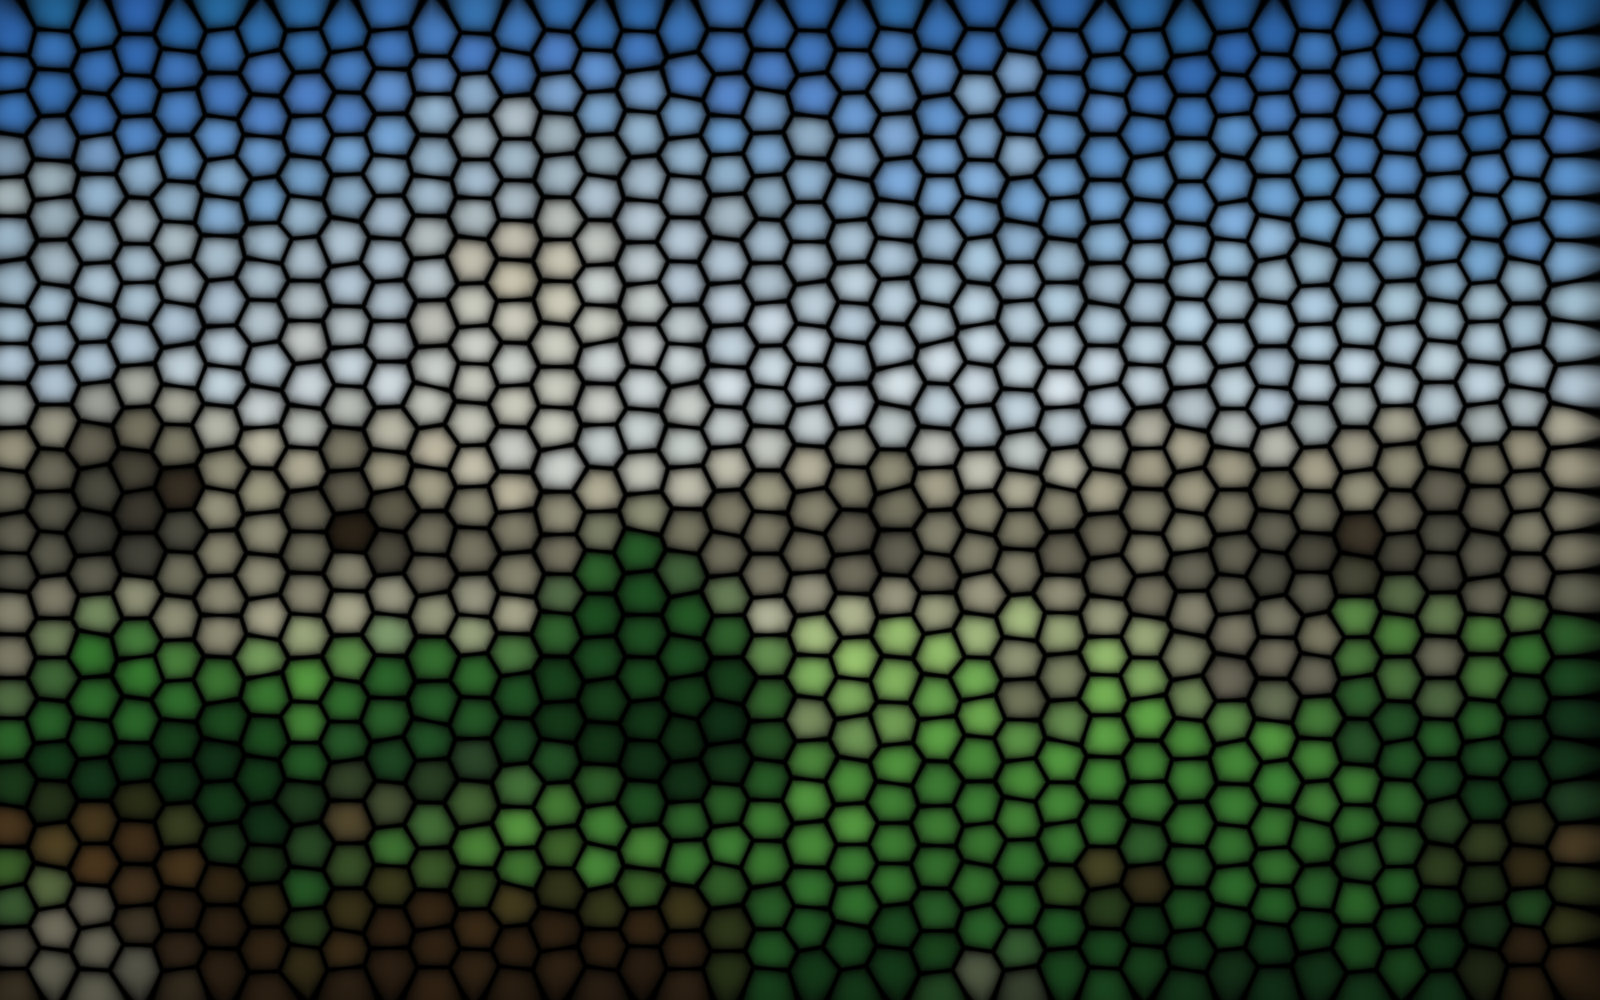 |
They work best on pictures with clear shapes and strong colour, and worst on fine detail, which they simply destroy. Try them at full strength on a duplicate layer, then lower that layer's opacity until some of the photograph shows through — a 30% oil painting over the original is usually better than a 100% one.
Working with effects sensibly
Duplicate the layer first. An effect applied straight to your only copy is undoable now and permanent once the document is closed.
Then you can fade it. Effect on a duplicate, opacity down to taste. This gives you a strength control that the effect's own dialog may not offer.
And mask it. Apply an effect to the whole layer, then mask it back off the parts that should not have it. Blur the background and not the subject; sharpen the eyes and not the skin.
Those three habits turn a fixed catalogue into something adjustable.
Repeating an effect
The Effects menu remembers. Repeat applies the last effect again with the same settings, and Re-show reopens its dialog with your numbers still in it — useful when you want the same treatment on several layers, or almost the same.
Recently used lists what you have reached for lately, which for most people is a much shorter list than the full menu.
To do the same thing to a folder of files, see Automation.
Custom filters
Custom filter... lets you enter a convolution matrix by hand — the arithmetic underneath most blur, sharpen and edge filters. It is there for people who know what they want to write.
Third-party Photoshop 8bf plugins are not supported in this release.
Preview, presets and cancellation
Select the intended pixel layer and clear an unintended selection before opening an effect. Adjust one control at a time, compare the preview, and check small detail at 100% zoom. A radius is measured in image pixels: the same number looks different on a thumbnail and a large original.
Use the dialog's presets for repeatable settings and Reset to return to defaults. Previewing a setting is not accepting it: Cancel closes without applying the effect, while OK commits the chosen result. After accepting, compare against your preserved original layer. A preset stores settings, not the judgement that makes them appropriate for a particular photograph.
Next
- Adjustments — correcting rather than transforming
- Masks — applying an effect to part of a picture
- Automation — the same effect over many files