
Transforming
Changing the size, shape or orientation of a picture. Most of it lives in the Image menu, and
most of it is irreversible once the document is closed — so work on a copy, or keep the .mie.
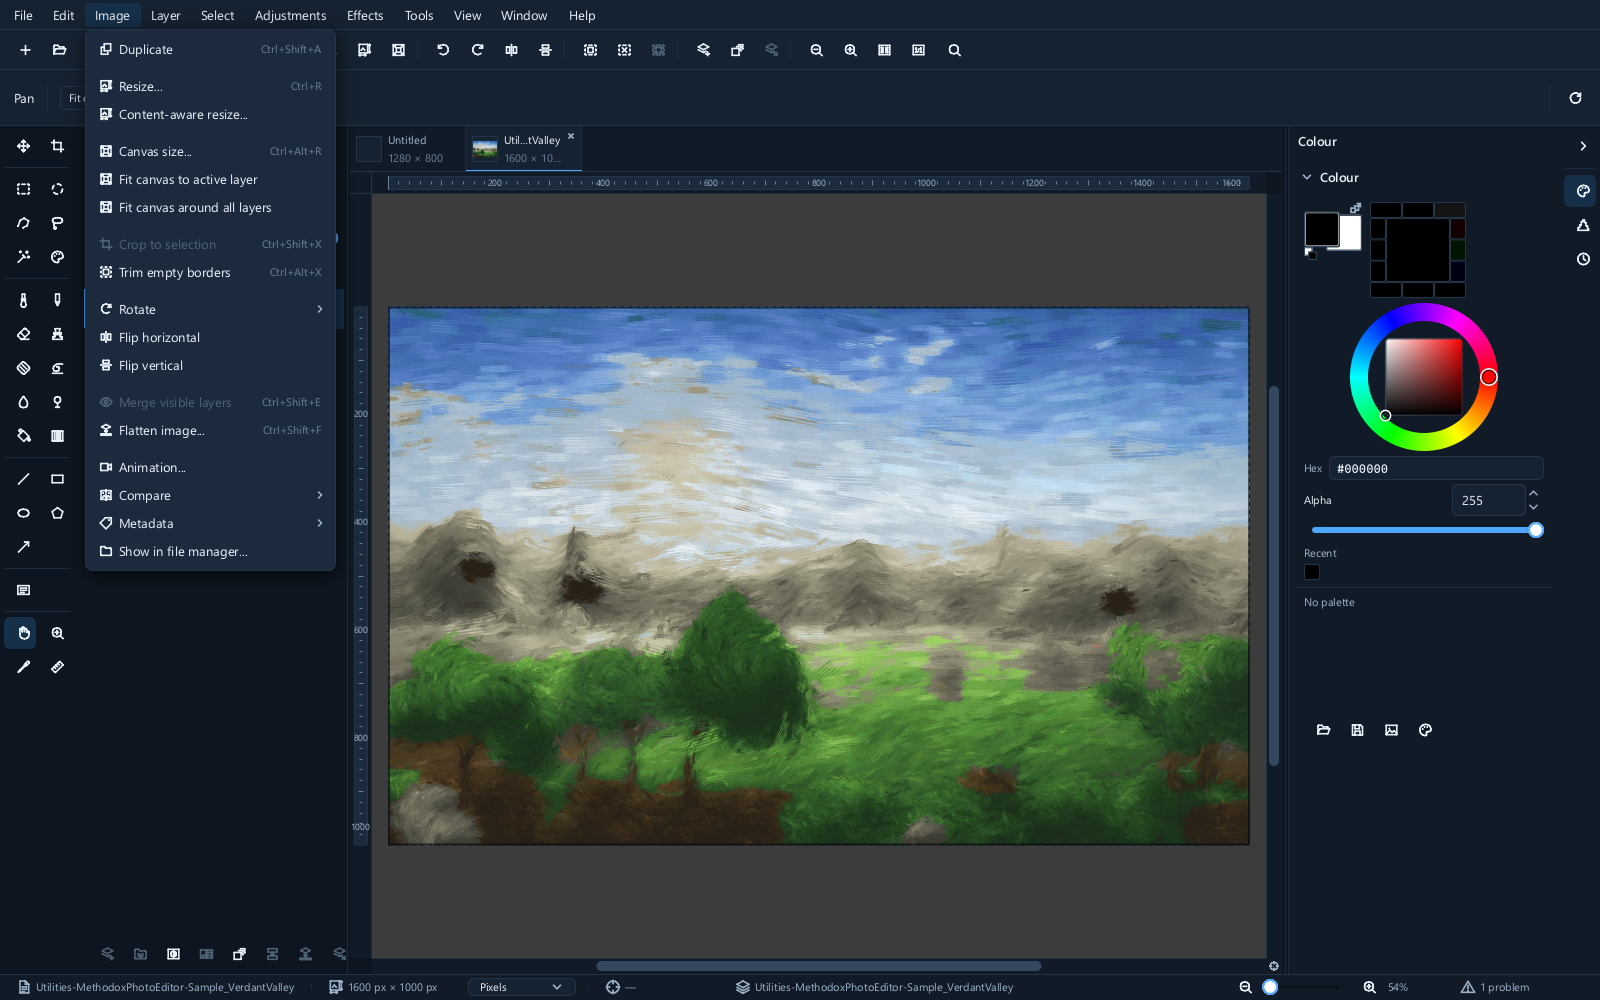
Current dialog limitations
In the reviewed v0.1 build, the Image menu's Resize, Canvas size, Straighten and Rotate arbitrary entries can fail to open their expected parameter dialog. If a click reports a missing argument, read the status-bar details rather than repeatedly clicking it. These entries are documented above by their intended operation; this build does not provide a working dialog route for those steps. For new canvas dimensions, create a document with File ▸ New... and import the picture using Layer ▸ Add ▸ From file.... The Move tool can position and scale an individual layer.
Image size and canvas size
Two different things, and confusing them is the most common mistake on this page.
- Image ▸ Resize... changes how many pixels the picture has. Everything in it gets bigger or smaller.
- Image ▸ Canvas size... changes how much room there is. The picture stays exactly the size it was, and you gain empty space or lose the edges.
Use Resize to make a 4000-pixel photograph into an 800-pixel one for a web page. Use Canvas size to add a border, or to make room to paste something in beside what is already there.
Related, and useful:
| Command | What it does |
|---|---|
| Fit canvas around all layers | Grows the canvas so nothing is cut off |
| Fit canvas to active layer | Sizes the canvas to one layer exactly |
| Trim empty borders | Shrinks the canvas to what is actually there |
Resampling: which method
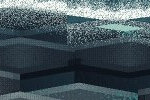
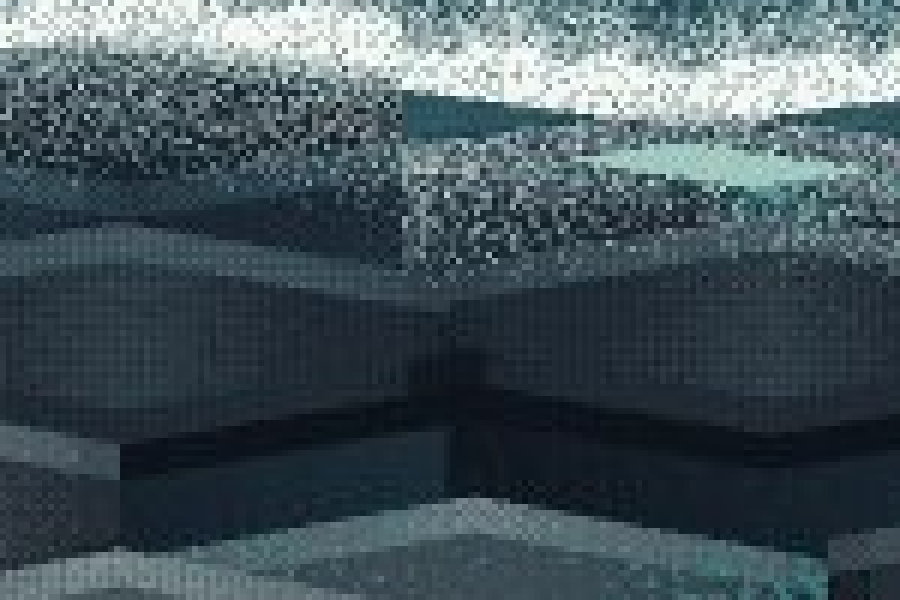
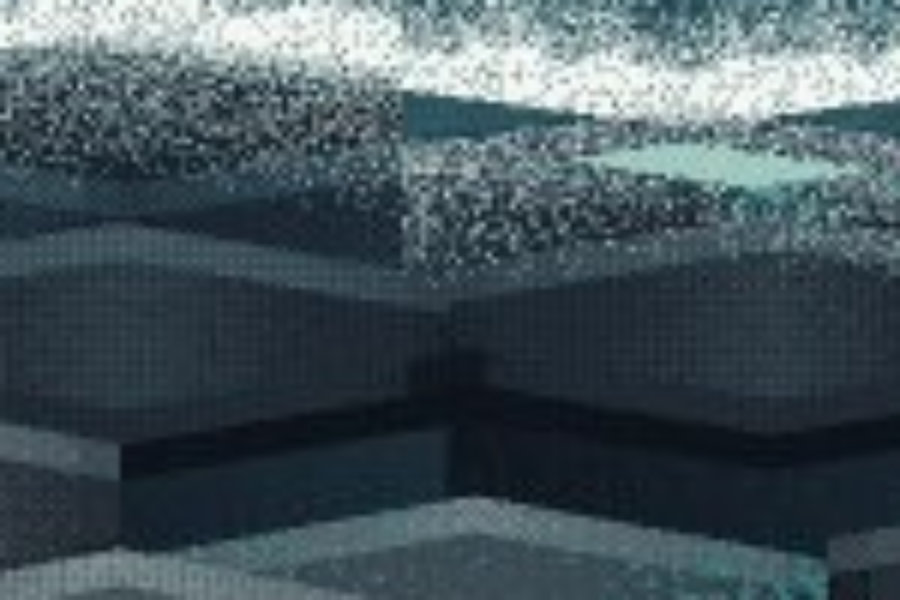
When you resize, the new pixels have to be worked out from the old ones. The method decides how, and the differences are real.
Here is one small picture enlarged by each:
| The original | Nearest neighbour |
|---|---|
 |
 |
| Bilinear | Bicubic | Lanczos |
|---|---|---|
 |
 |
 |
| Method | Use it for |
|---|---|
| Nearest neighbour | Pixel art, and anything where hard pixel edges are the point |
| Bilinear | Fast, soft. Rarely the best choice |
| Bicubic | The general-purpose default for photographs |
| Lanczos | A sharp option for photographs; inspect high-contrast edges for ringing |
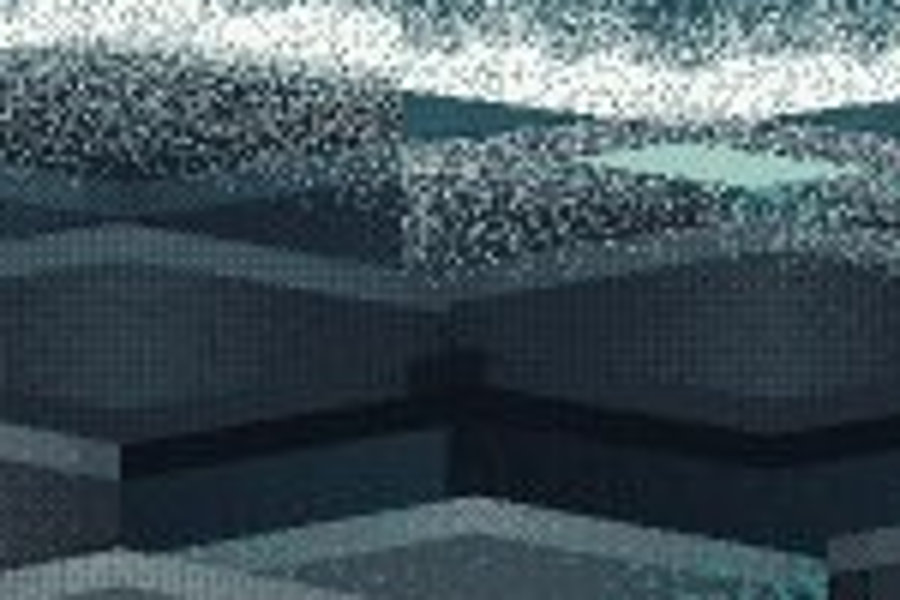
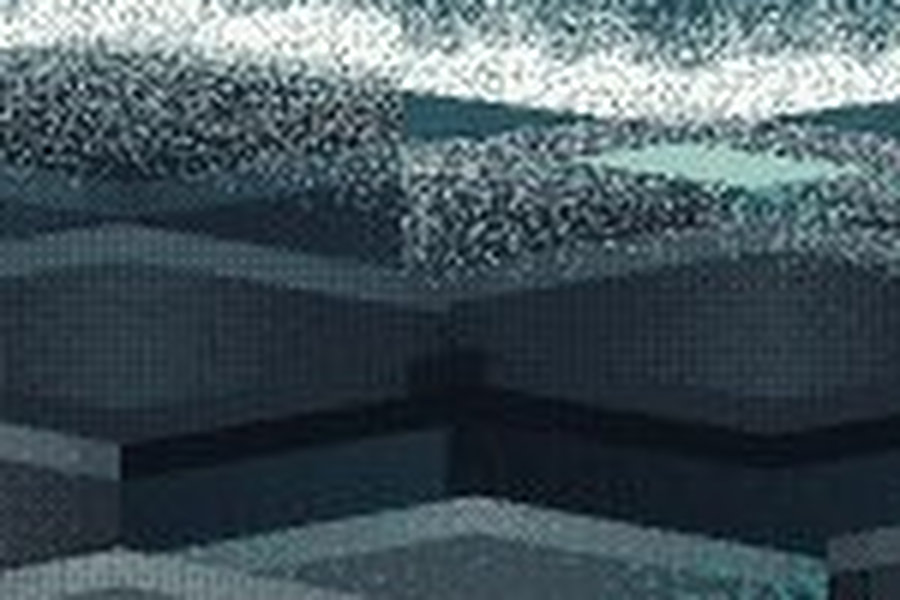
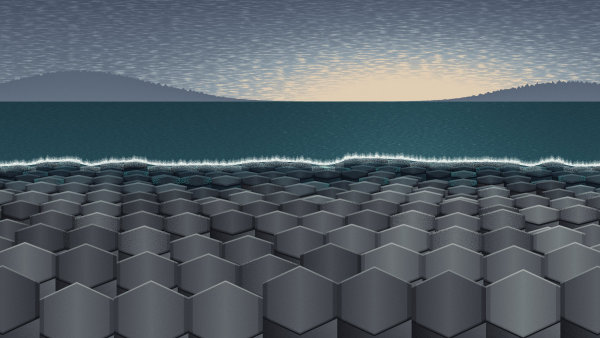
When shrinking, the choice matters differently. An area-averaging method takes account of every pixel being discarded; nearest neighbour throws most of them away and produces aliasing.
| Shrunk by area averaging | Shrunk by nearest neighbour |
|---|---|
 |
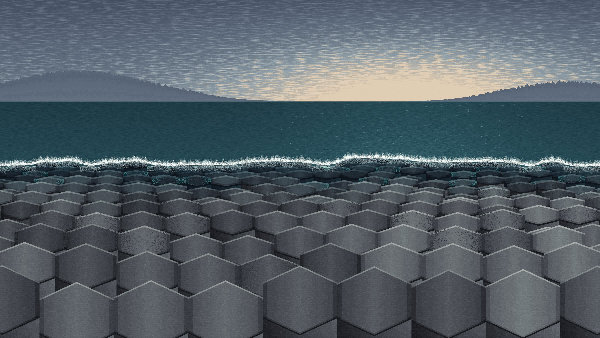 |
The difference on fine texture is not subtle. For anything but pixel art, avoid nearest neighbour when shrinking.
Enlarging invents detail that was never there. Doubling a picture's size makes it bigger, not better. Compare bicubic and Lanczos on your subject, and expect a limit to recoverable detail.
Apply final output sharpening after resizing. Earlier capture or local sharpening may still be useful, but judge the final result at its delivery size.
Content-aware resize
Content-aware resize... changes the proportions of a picture while trying to leave its subjects alone, by removing pixels from the least interesting parts. It works well on pictures with a clear subject and plenty of uniform background, and badly on anything with strong straight lines, which it will bend.
Look at the result before trusting it.
Cropping
Press C, drag a rectangle, adjust the handles, and press Enter.
The options bar can lock the crop to a ratio — 1:1, 16:9, or the ratio the picture already has — which is what you want when the output has to fit a fixed frame.
Image ▸ Crop to selection crops to whatever is selected instead, which is quicker when you have already made a selection.
Cropping throws pixels away. If you may want them later, keep the .mie before you crop.
Rotating
| Command | What it does |
|---|---|
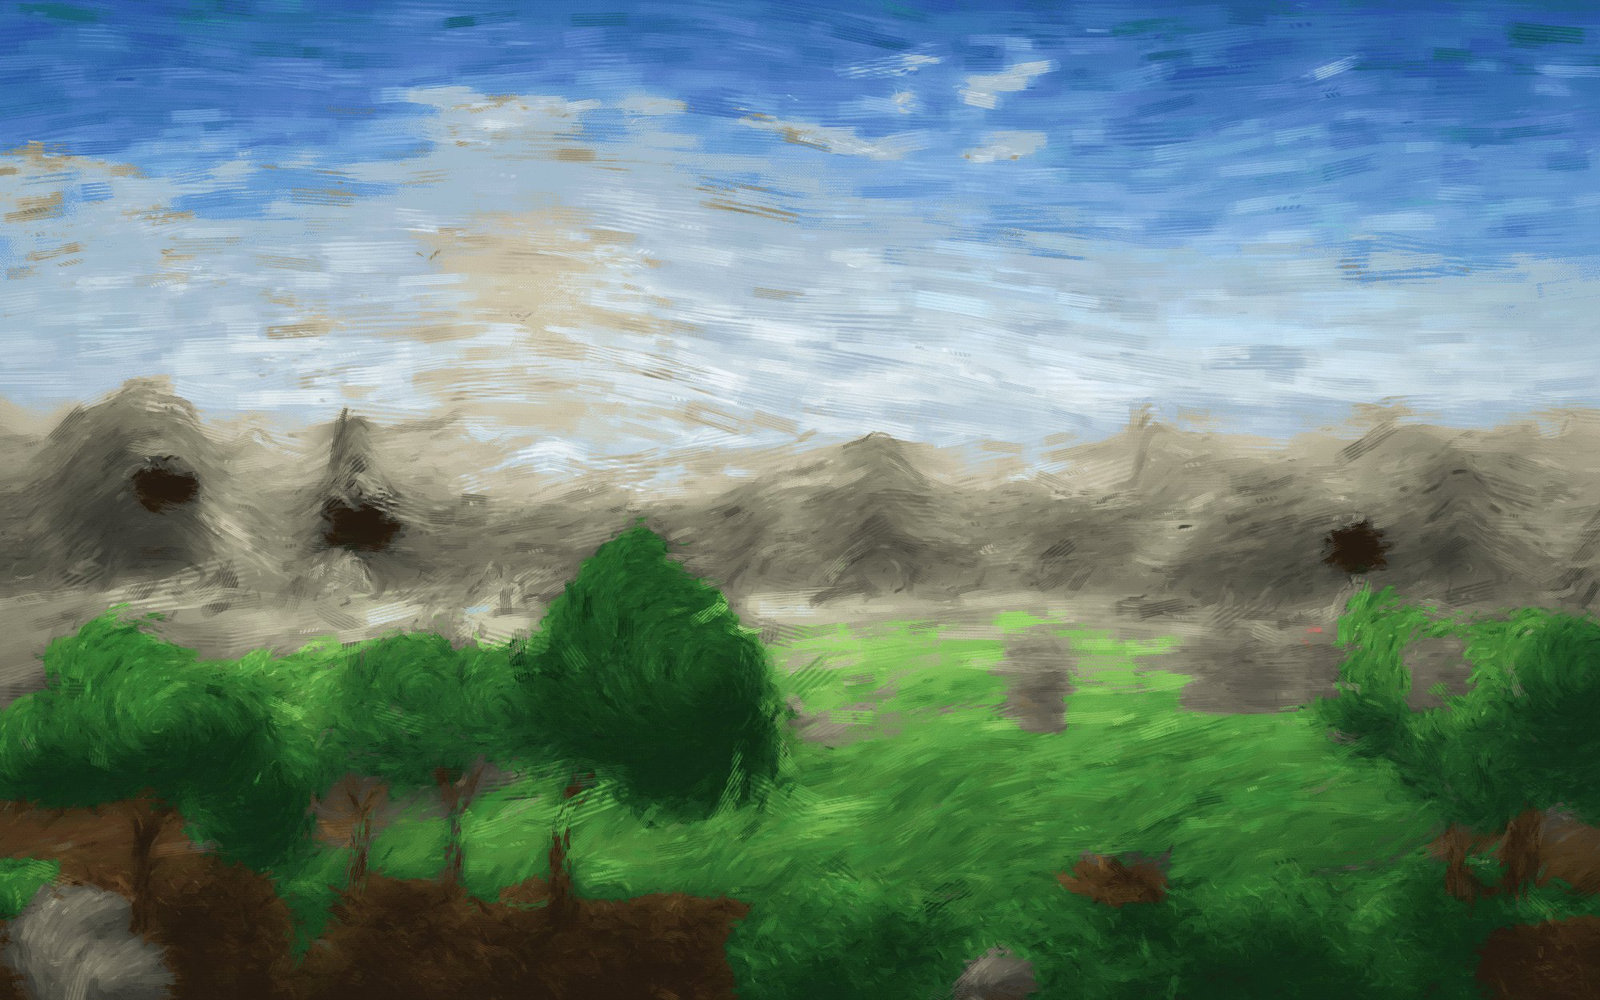
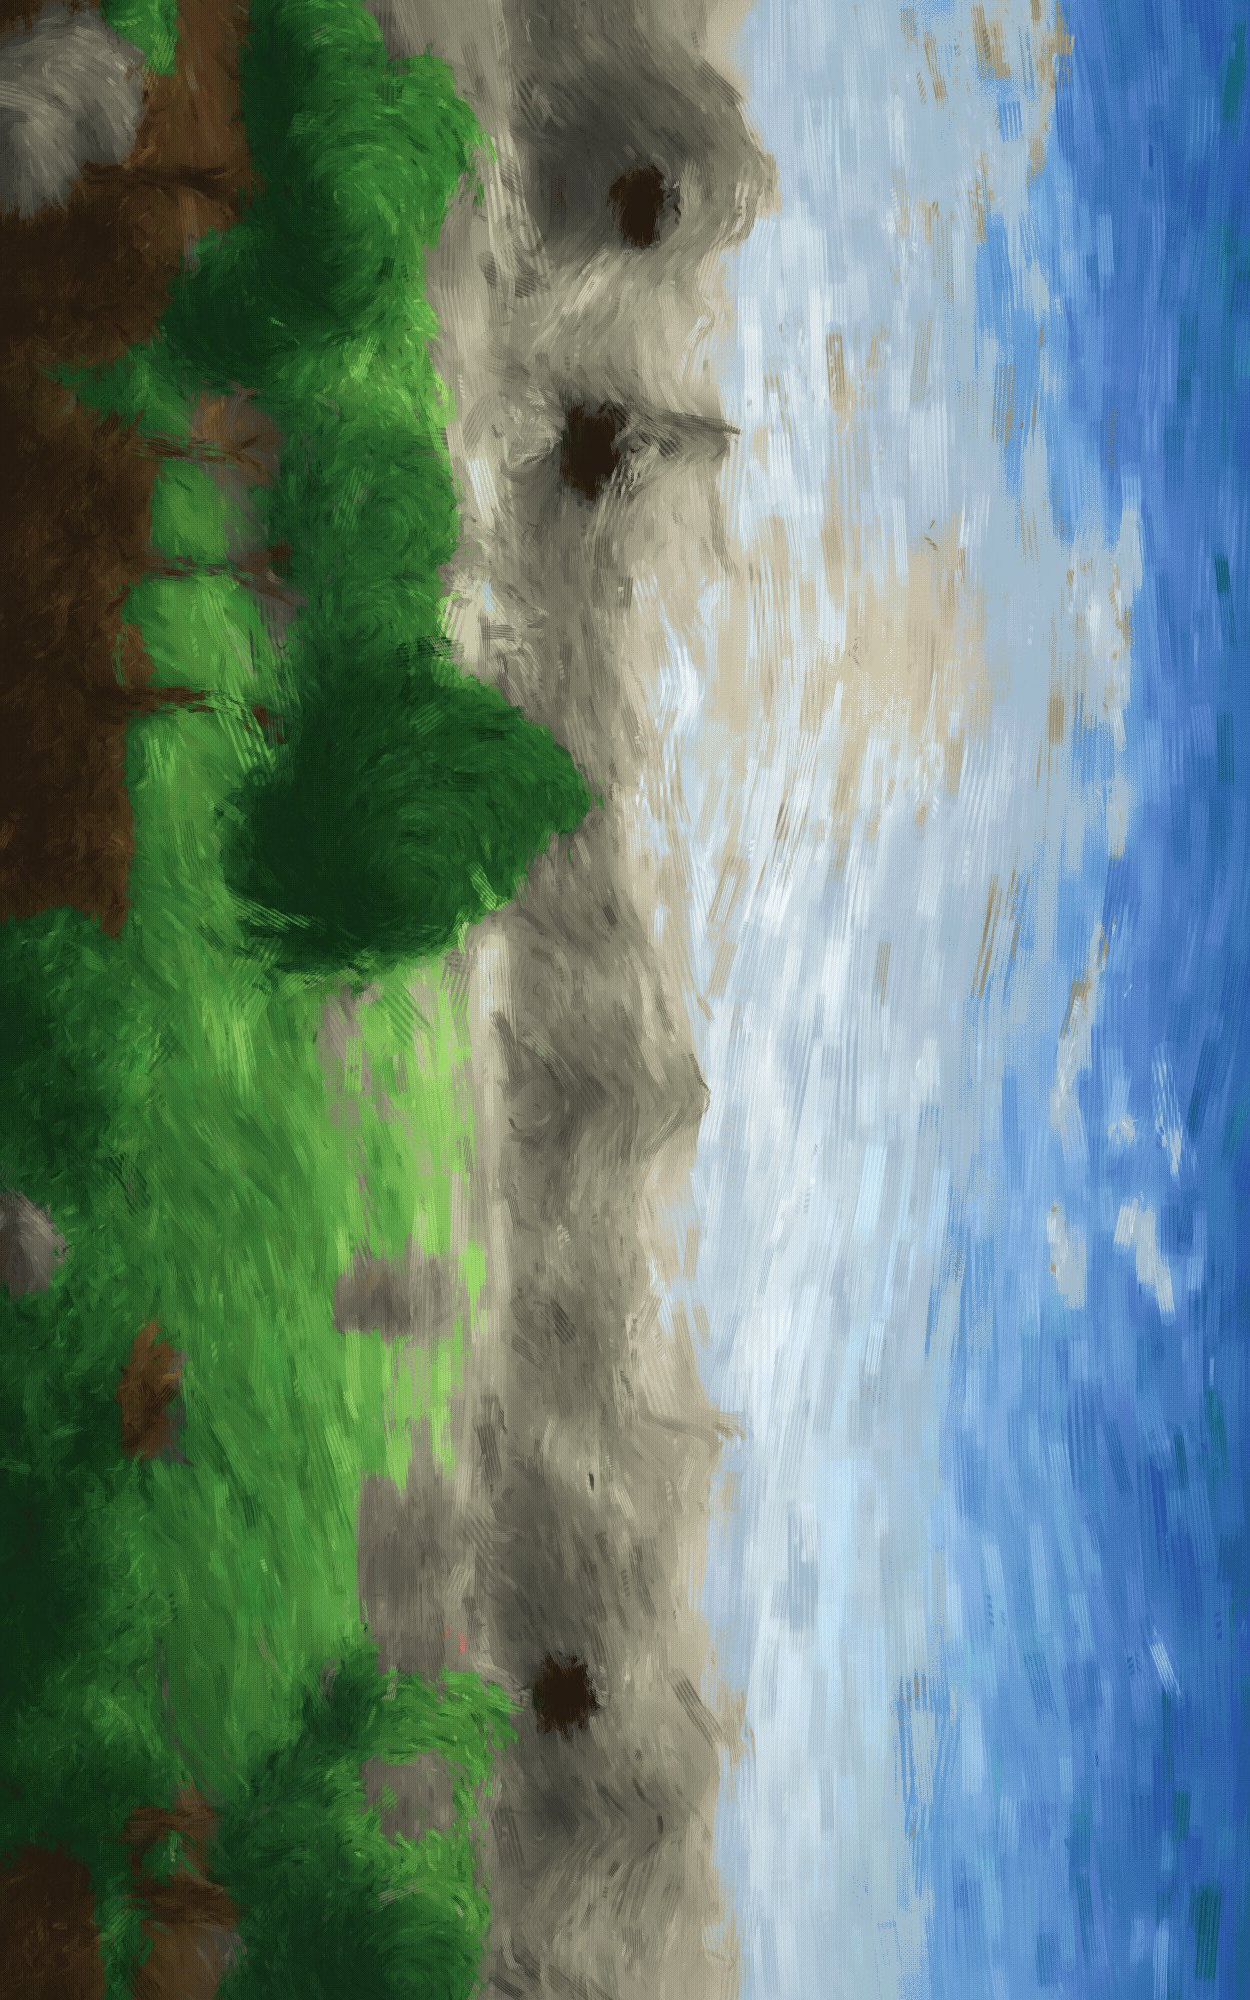
| Rotate 90 clockwise, Rotate 90 counter-clockwise | Quarter turns |
| Rotate 180 | Half turn |
| Rotate arbitrary... | Any angle |
| Flip horizontal, Flip vertical | Mirrors |
| Original | Rotated 90° | Flipped |
|---|---|---|
 |
 |
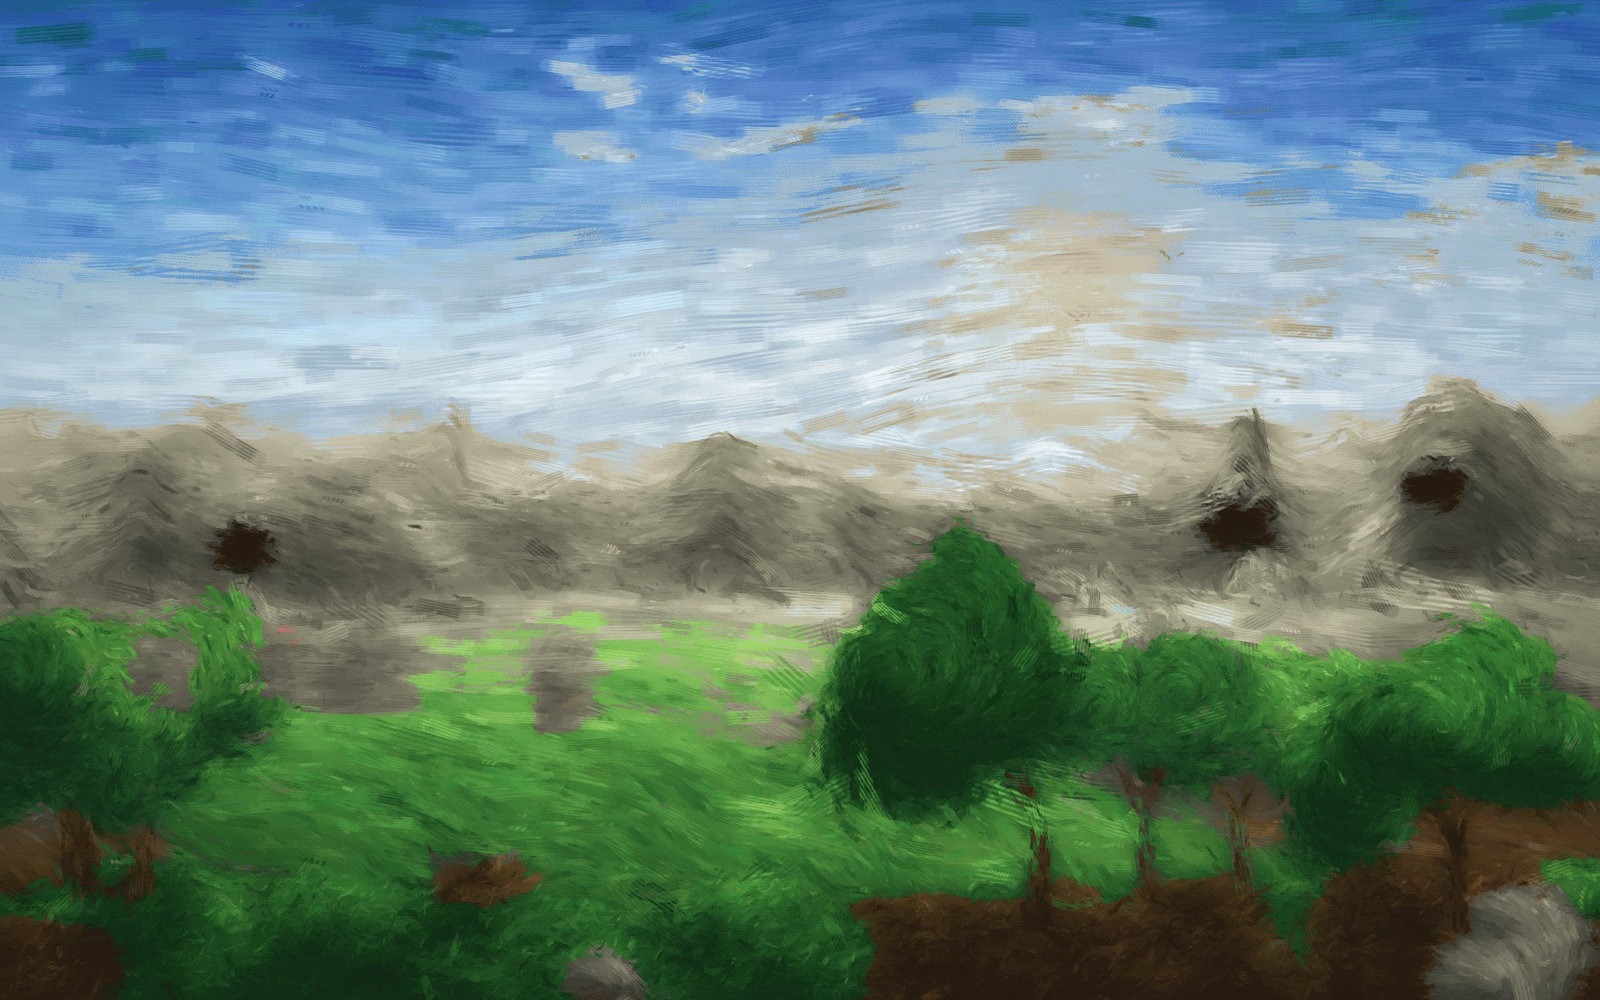 |
The quarter turns and flips are lossless — the pixels are rearranged, not recalculated. Any other angle resamples the whole picture and costs a little sharpness, so do it once rather than nudging repeatedly.
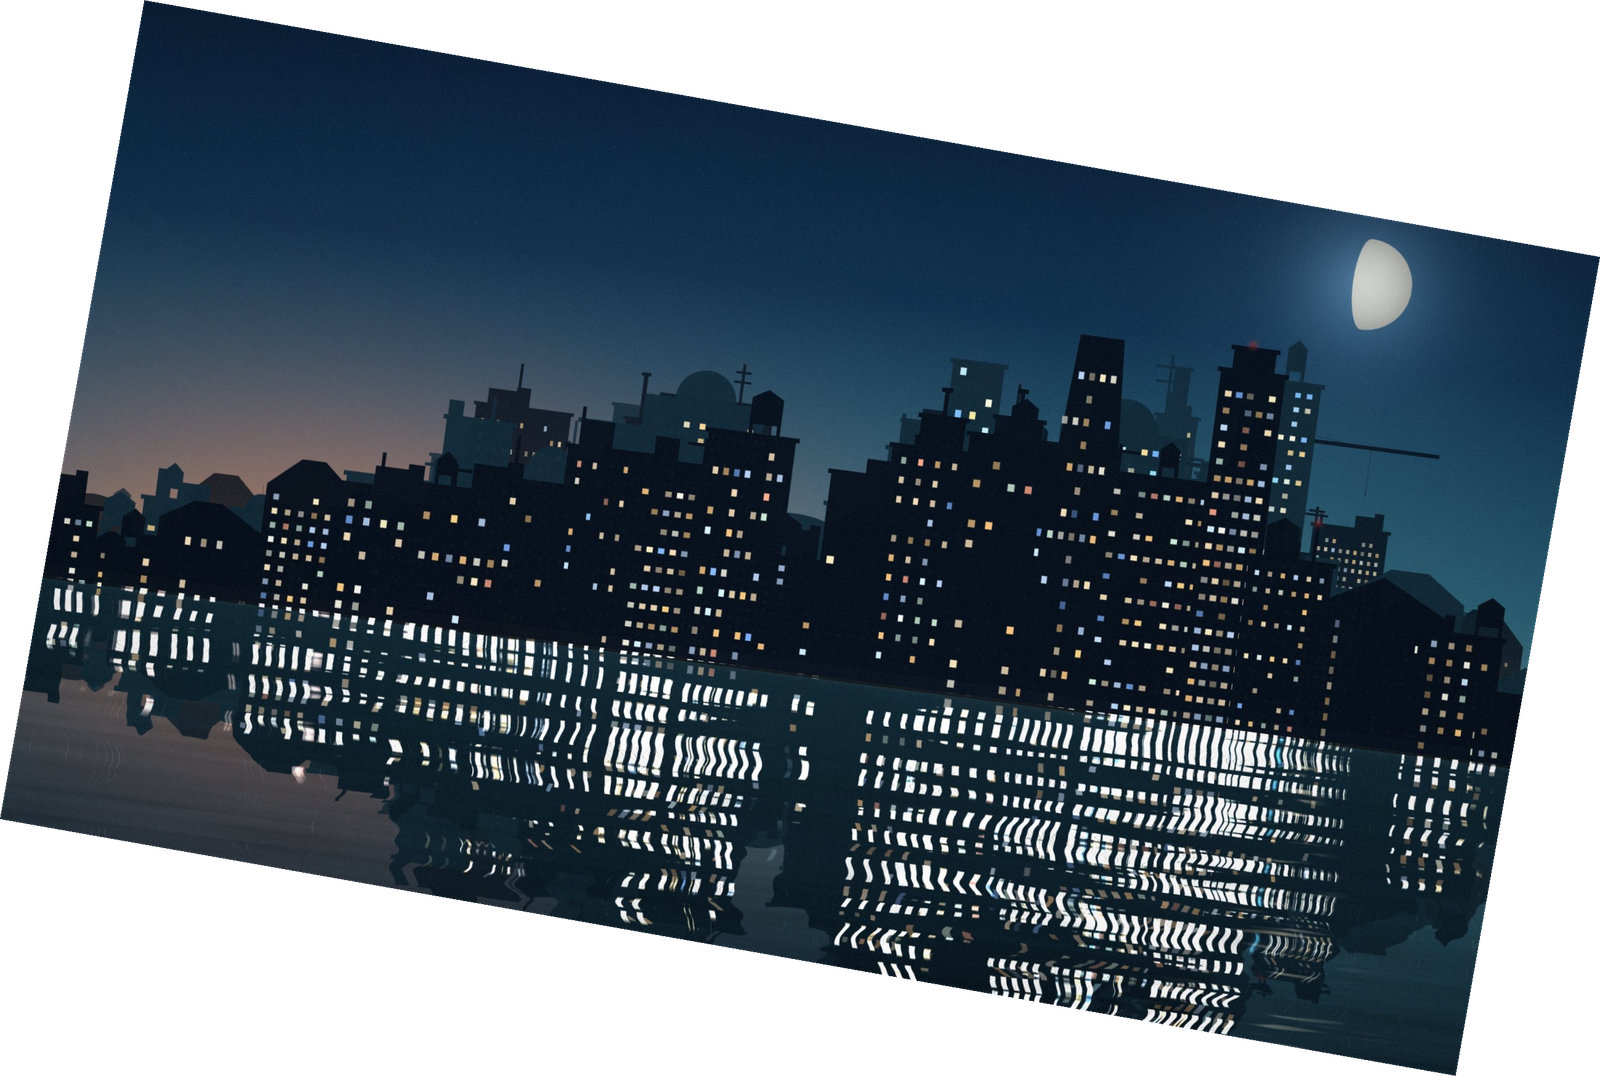
Rotating by an arbitrary angle leaves triangular gaps at the corners. Crop afterwards, or let the straighten tool handle it.
Straightening
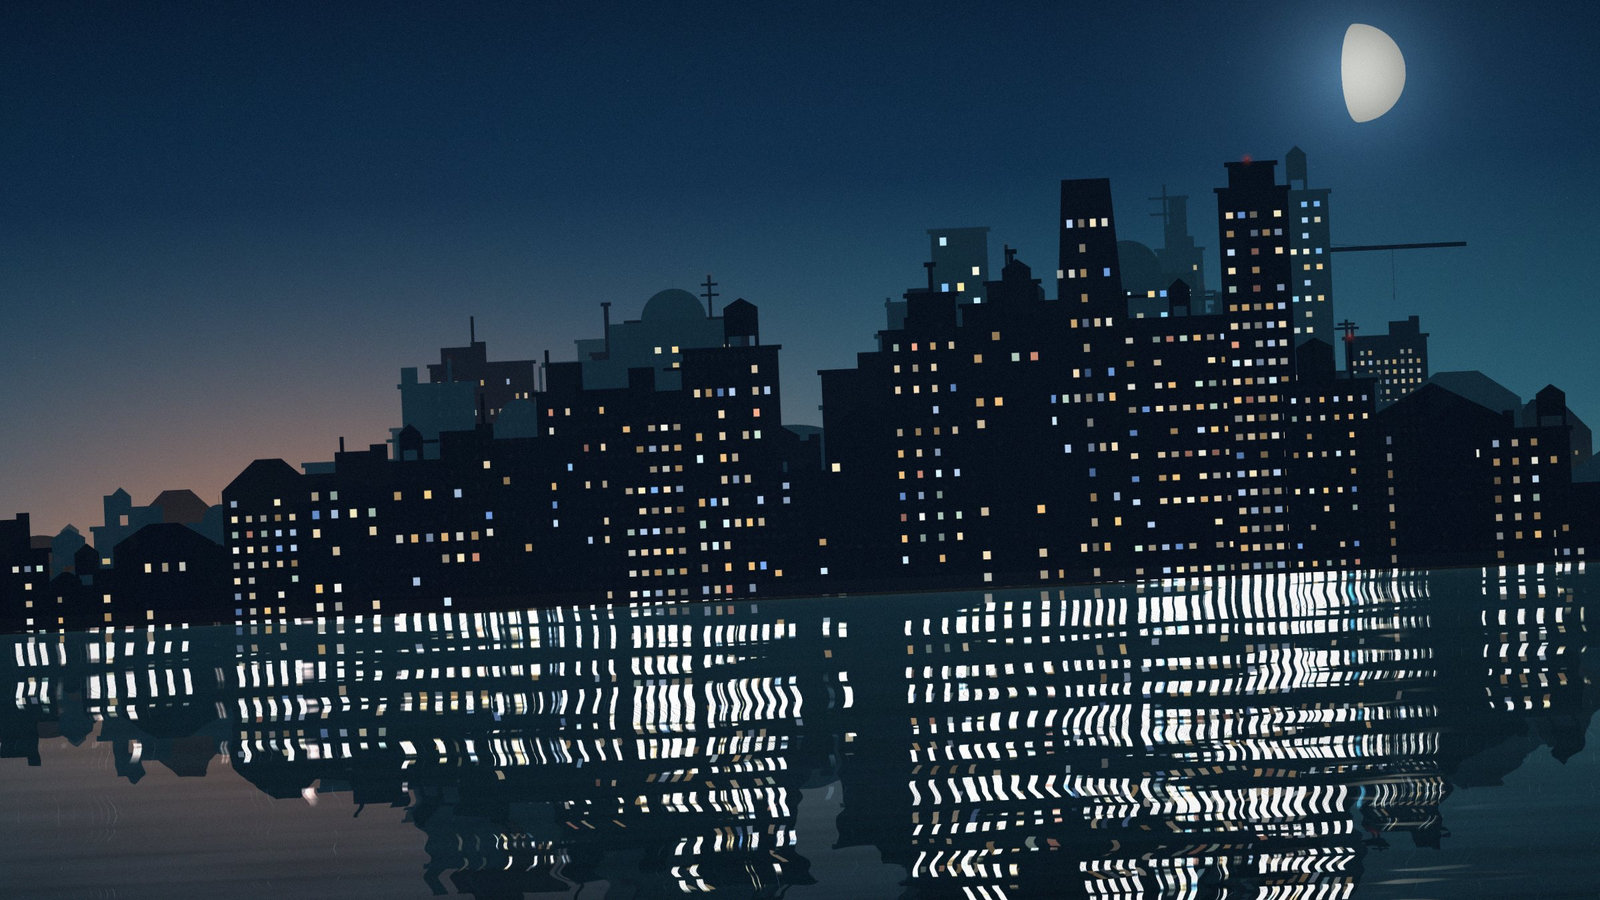
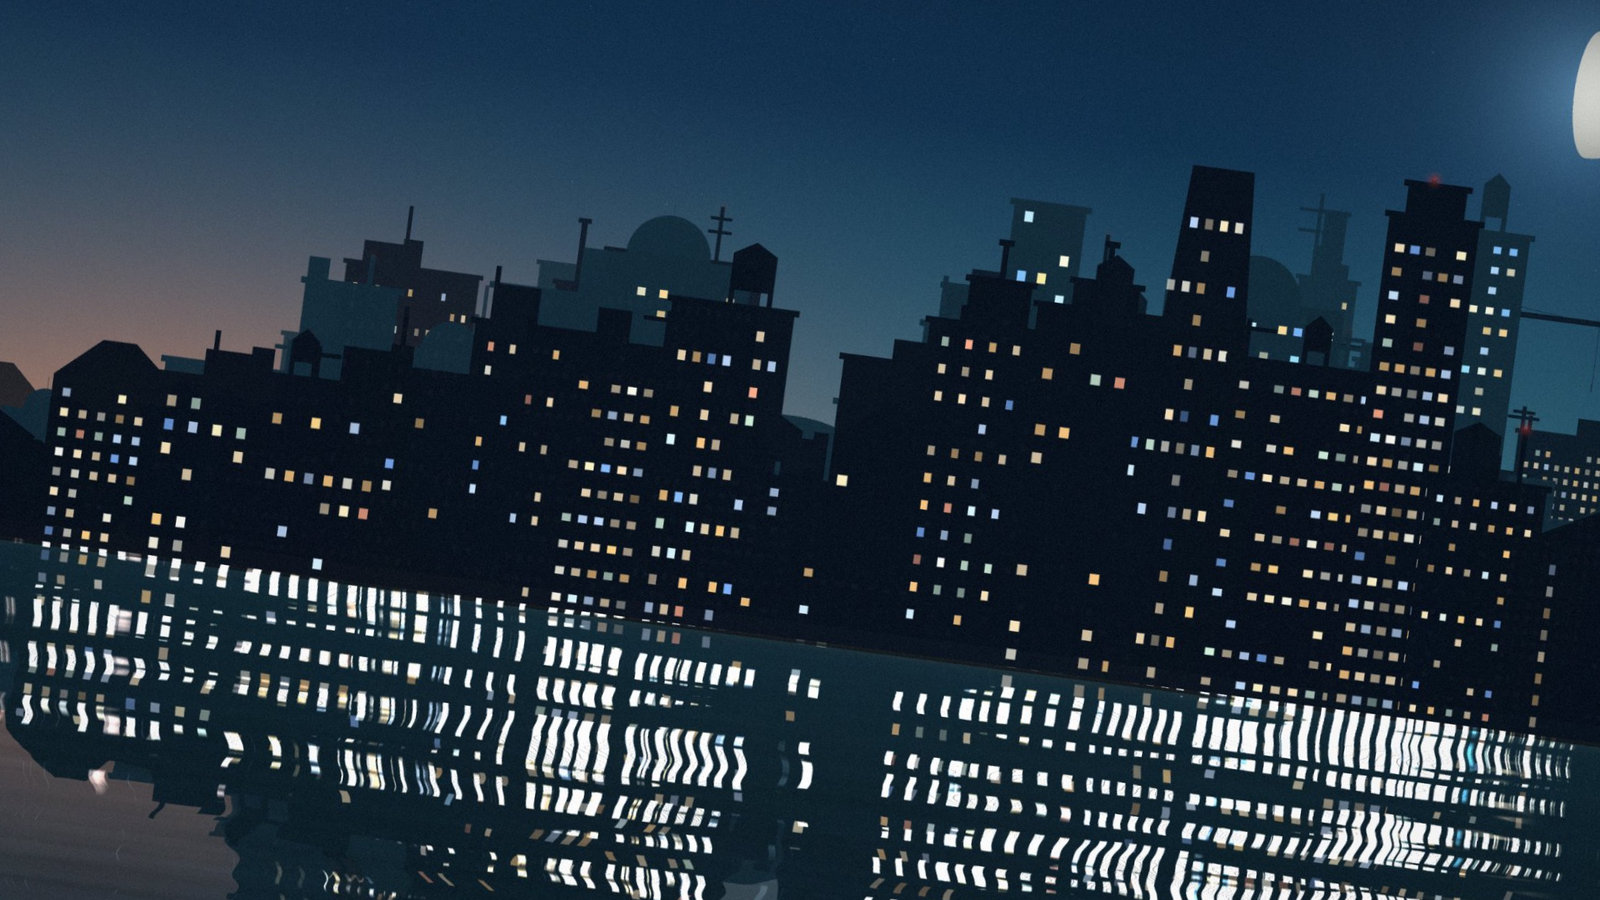
Measure provides a line-based straightening workflow: drag along the horizon, then use Straighten image in its options. Straighten layer targets only the active layer. Straightening rotates and scales to avoid empty corners, so some edge content is lost. The separate Image ▸ Rotate ▸ Straighten... menu entry has the dialog limitation noted below.
| Before | After |
|---|---|
 |
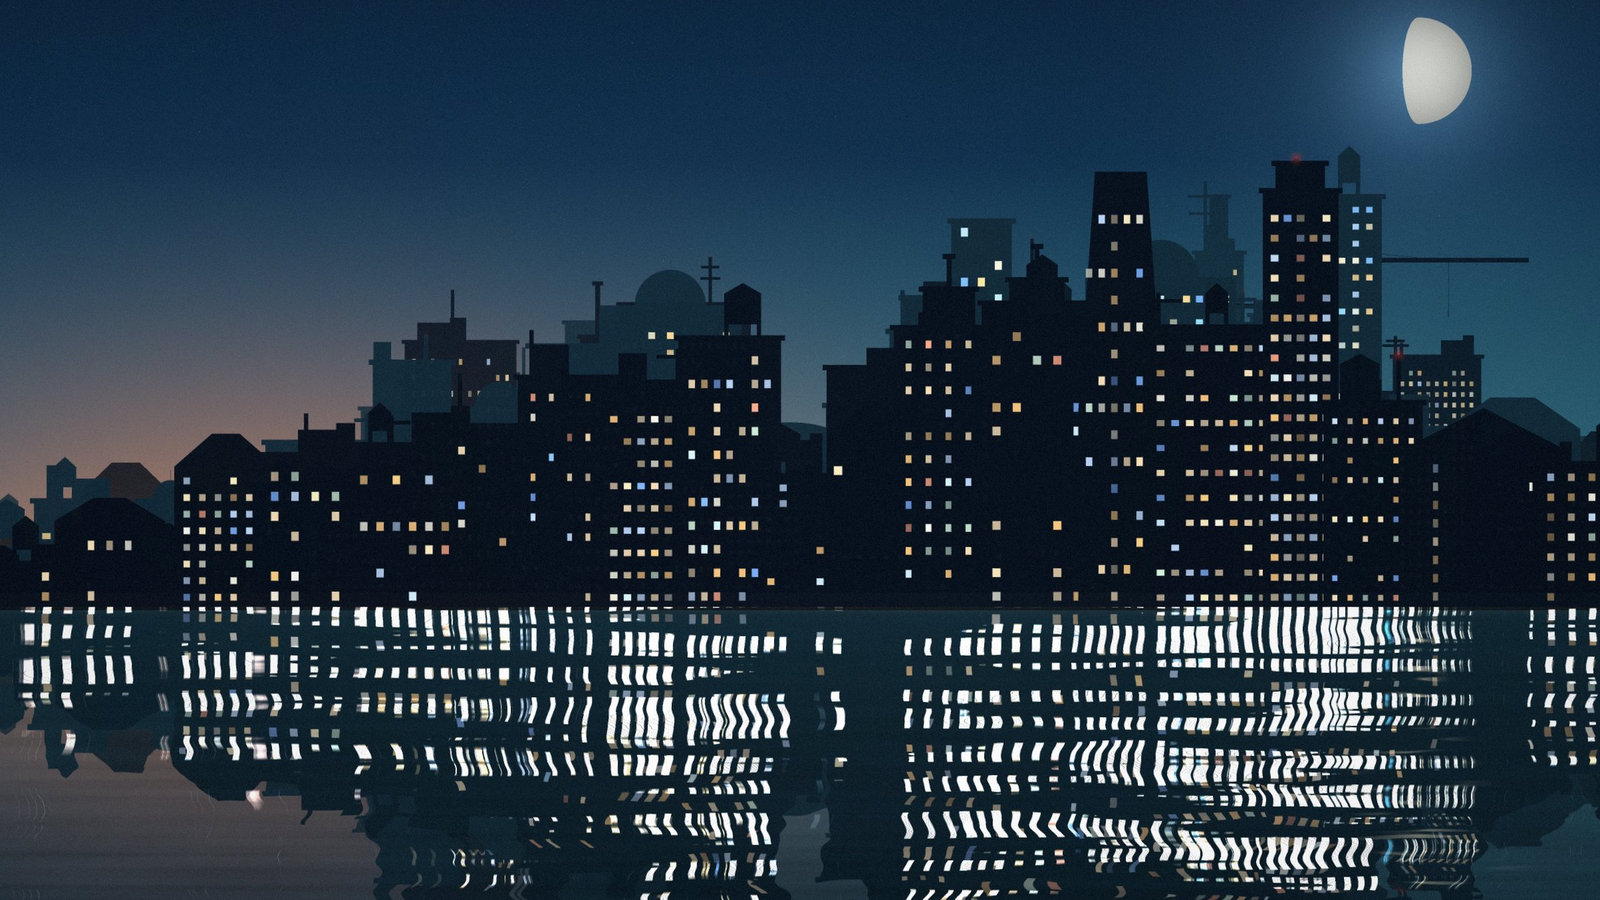 |
A tilted horizon is the single most noticeable fault in a photograph and the easiest to correct. Straighten first, then crop — straightening changes what fits in the frame.
Perspective
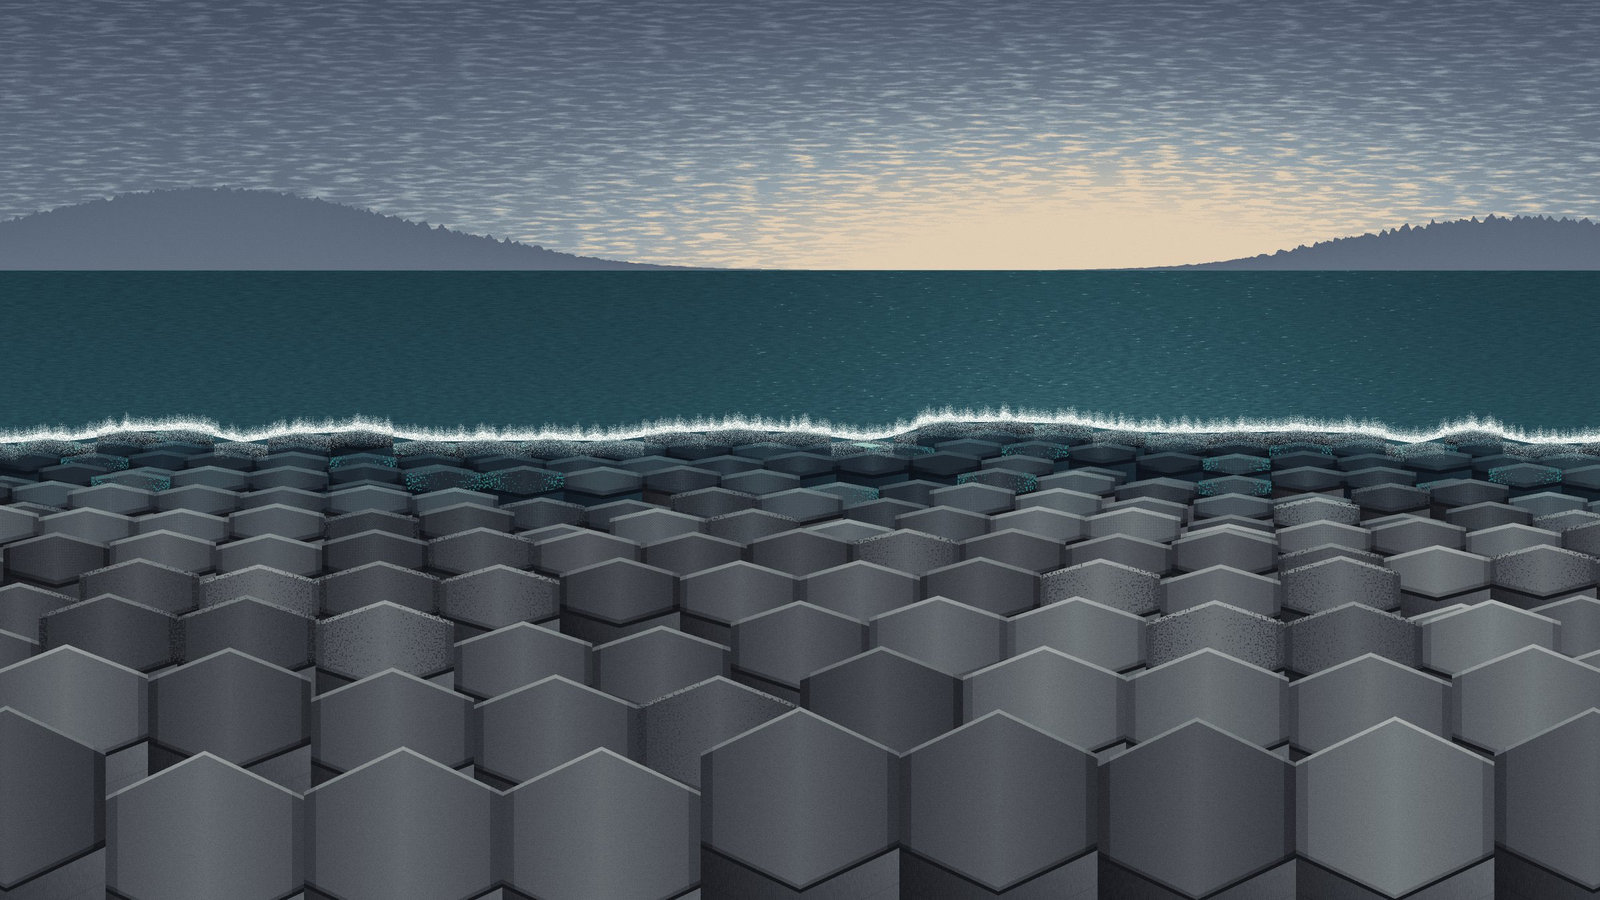
Perspective... corrects converging lines — the way a tall building photographed from the ground leans backwards.
| Before | After |
|---|---|
 |
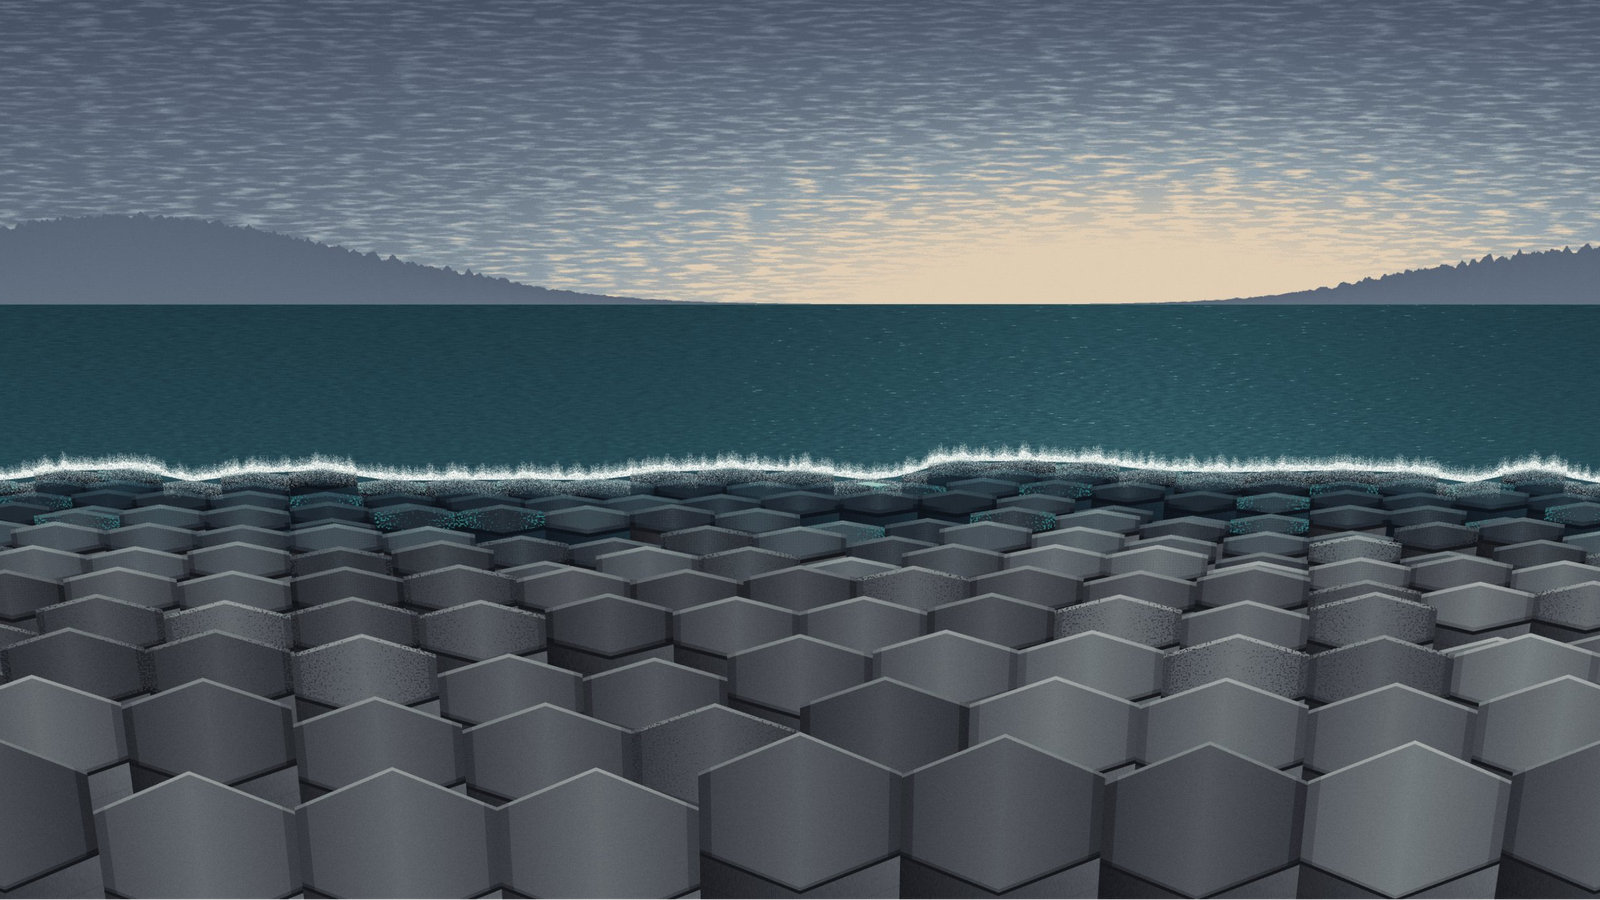 |
Correcting perspective stretches part of the picture and squashes another, so expect to lose some of the frame and some sharpness at the stretched end. Full correction sometimes looks wrong — buildings that lean very slightly back look natural, and buildings with perfectly parallel sides can look like they are falling forwards.
Lens distortion
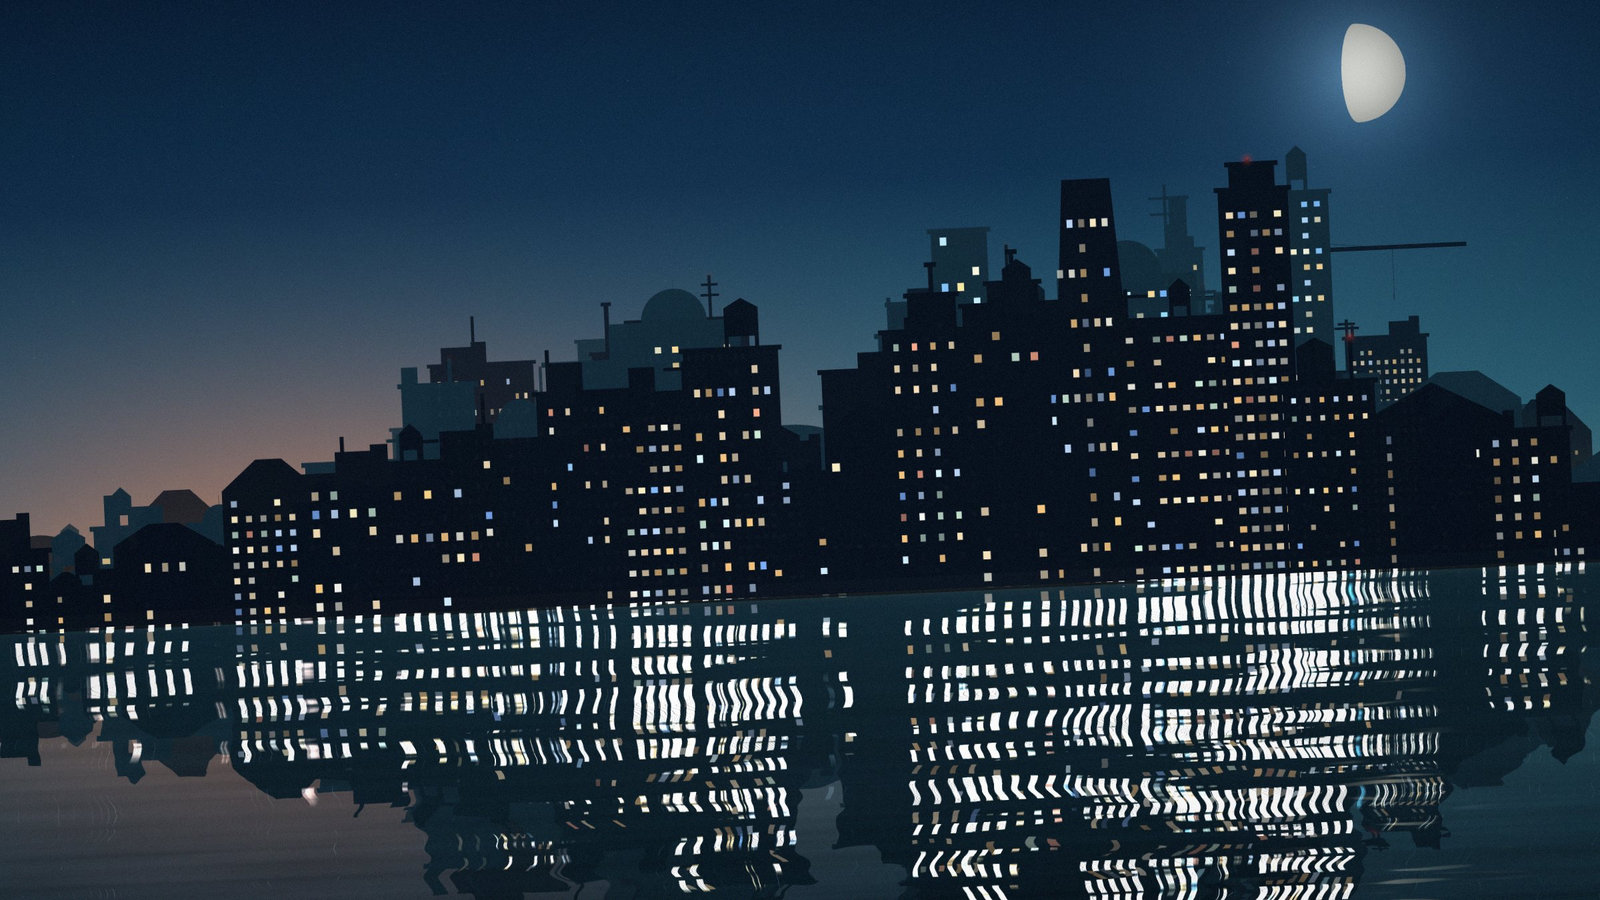
A wide lens bows straight lines outwards. Effects ▸ Distort ▸ Correct existing distortion... bends them back.
| Before | After |
|---|---|
 |
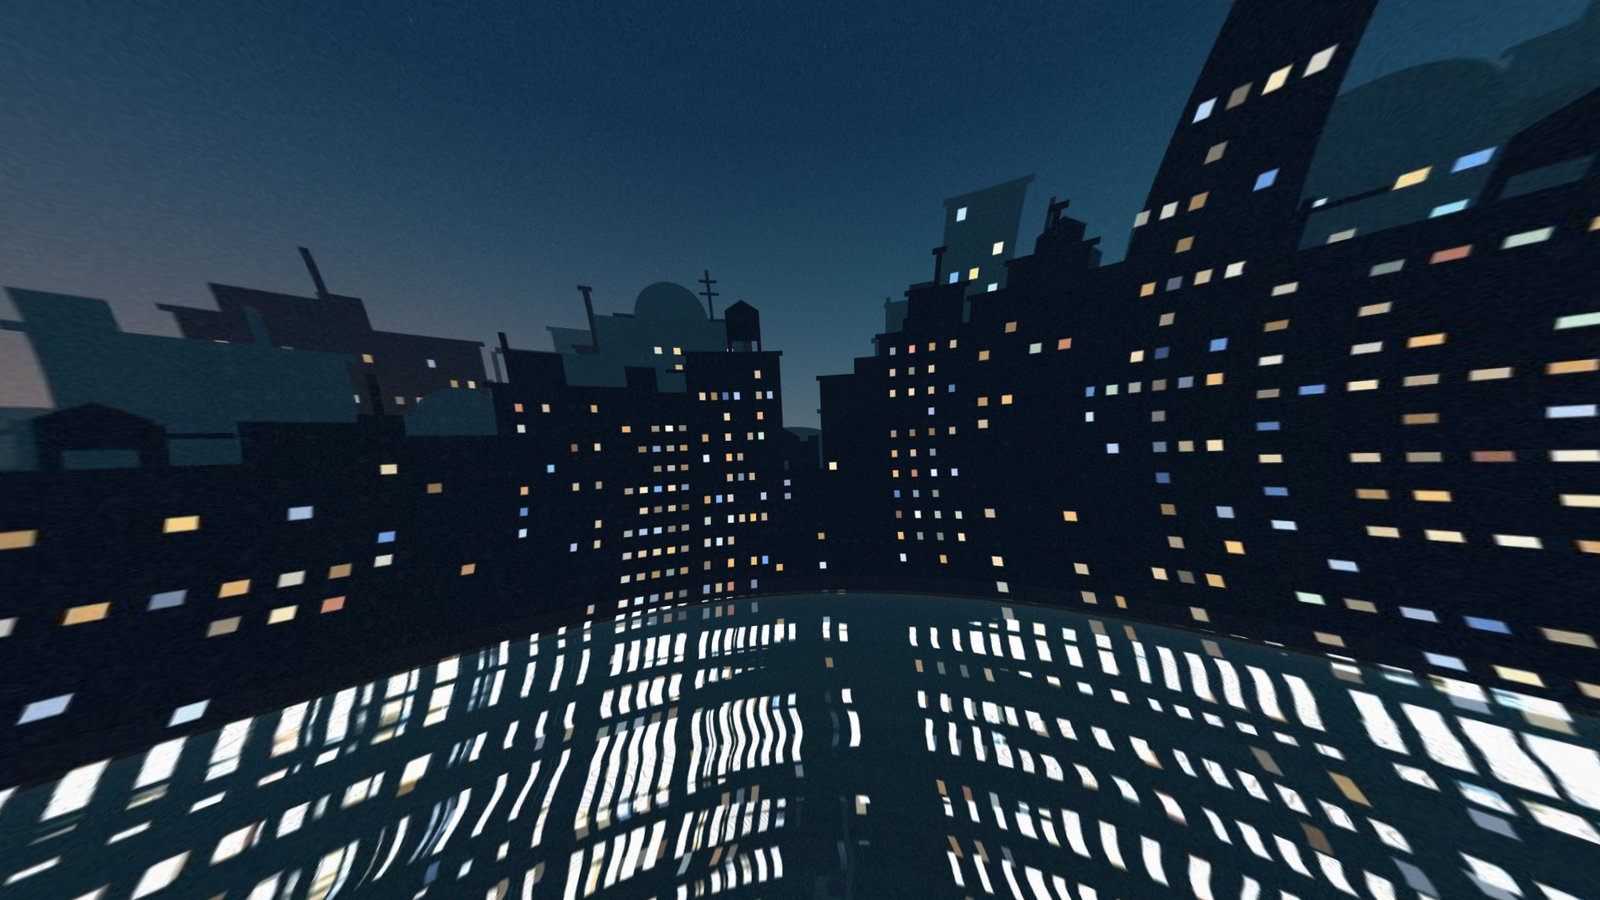 |
The example exaggerates deformation to make it visible. For a correction, aim to restore known straight lines rather than reproduce that effect.
Judge it on the straight lines nearest the edges of the frame, where the distortion is strongest.
Transforming one layer
The commands above act on the whole document. To move, scale, rotate or shear a single layer, use the Move tool — M — and its handles.
Its options bar has the position, size, angle and shear as numbers, so you can be exact rather than approximate, and choose whether dragging an edge resizes or rotates.
Scaling a pixel layer up loses quality exactly as resizing the image does. Scaling a shape or text layer does not, because those are redrawn rather than stretched.
An order that works
- Straighten — before anything is cropped away
- Correct lens distortion and perspective — while the full frame is still there
- Crop — compose what is left
- Resize — to the size you actually need
- Sharpen — last, on the final pixels
Each step but the last throws pixels away, so doing them in this order means each one is working from as much information as possible.
Measurements, rulers and snapping
Select Measure from the toolbox, or cycle I from the colour picker to Measure. Drag between two points to read distance and angle; drag an endpoint to refine the line. Physical units depend on the document's resolution metadata, while pixels do not. A measurement is not a crop or selection.
View ▸ Show rulers adds coordinate references. View ▸ Show extras ▸ Smart guides shows alignment hints. Enable View ▸ Snap, then choose targets under View ▸ Snap to: canvas edges, centerlines, layers or angle increments. If a move jumps to an unwanted target, turn Snap off temporarily and use the Move tool's numerical position controls for precise placement.
Next
- Opening and saving — exporting at the size you resized to
- Effects — sharpening after a resize
- Automation — resizing a folder of pictures at once