
Selections
A selection is a fence around part of the picture. While one exists, almost everything you do happens inside it and nothing happens outside it — painting, adjustments, effects, deleting, copying.
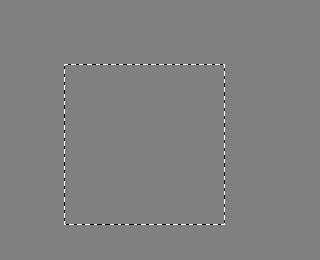
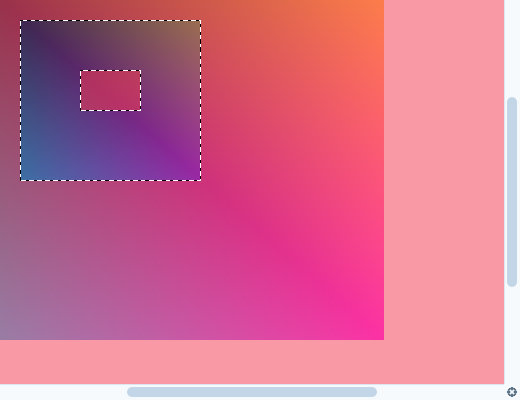
The moving dashed outline is how you know one is active.
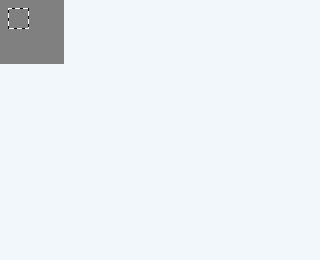
The outline is drawn at a constant width whatever the zoom, so it stays visible when you are working close in.
The tools
| Tool | Key | Use it for |
|---|---|---|
| Marquee rect | S | Rectangles — crops, borders, anything with straight sides |
| Marquee ellipse | S again | Circles and ellipses |
| Polygon | L | Clicking corner to corner around a straight-edged object |
| Lasso | L again | Drawing a freehand outline by dragging |
| Wand | W | Everything touching this point that is a similar colour |
| By color | Q | Every pixel in the picture of a similar colour, touching or not |
Two of those letters carry two tools each, and pressing the letter again moves to the second — so S S gets you the ellipse and L L the lasso.
The first four are about shape, the last two about colour. Which family you reach for depends on whether the thing you want has an edge you could trace, or a colour that distinguishes it.
The wand, and tolerance
Click with the wand and it spreads outwards from that point, taking in everything close enough in colour to where you clicked. Tolerance, in the tool options bar, decides how close is close enough.
- Low tolerance (around 10) — only very similar colours. Several clicks may be needed.
- High tolerance (50 and up) — takes in much more, and will leak into things you did not want.
Start low and raise it. Leaking is harder to notice than falling short, because the extra area is often somewhere you are not looking.
The wand also has a contiguous setting. On, it only takes pixels connected to where you clicked. Off, it behaves like By color and takes matching pixels from the whole picture.
Adding to and subtracting from a selection
Almost no useful selection is made in one gesture. The modifier keys combine them:
| To do this | Hold |
|---|---|
| Add to the selection | Shift |
| Take away from it | Alt |
| Keep only the overlap | Shift+Alt |
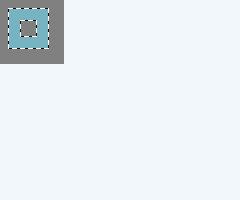
The usual way to select something awkward: take a rough pass with the wand, add the bits it missed with the lasso, and subtract the bits it over-reached into. Three imperfect gestures beat one careful one.
A selection can have holes in it, and the outline shows them.

The Select menu
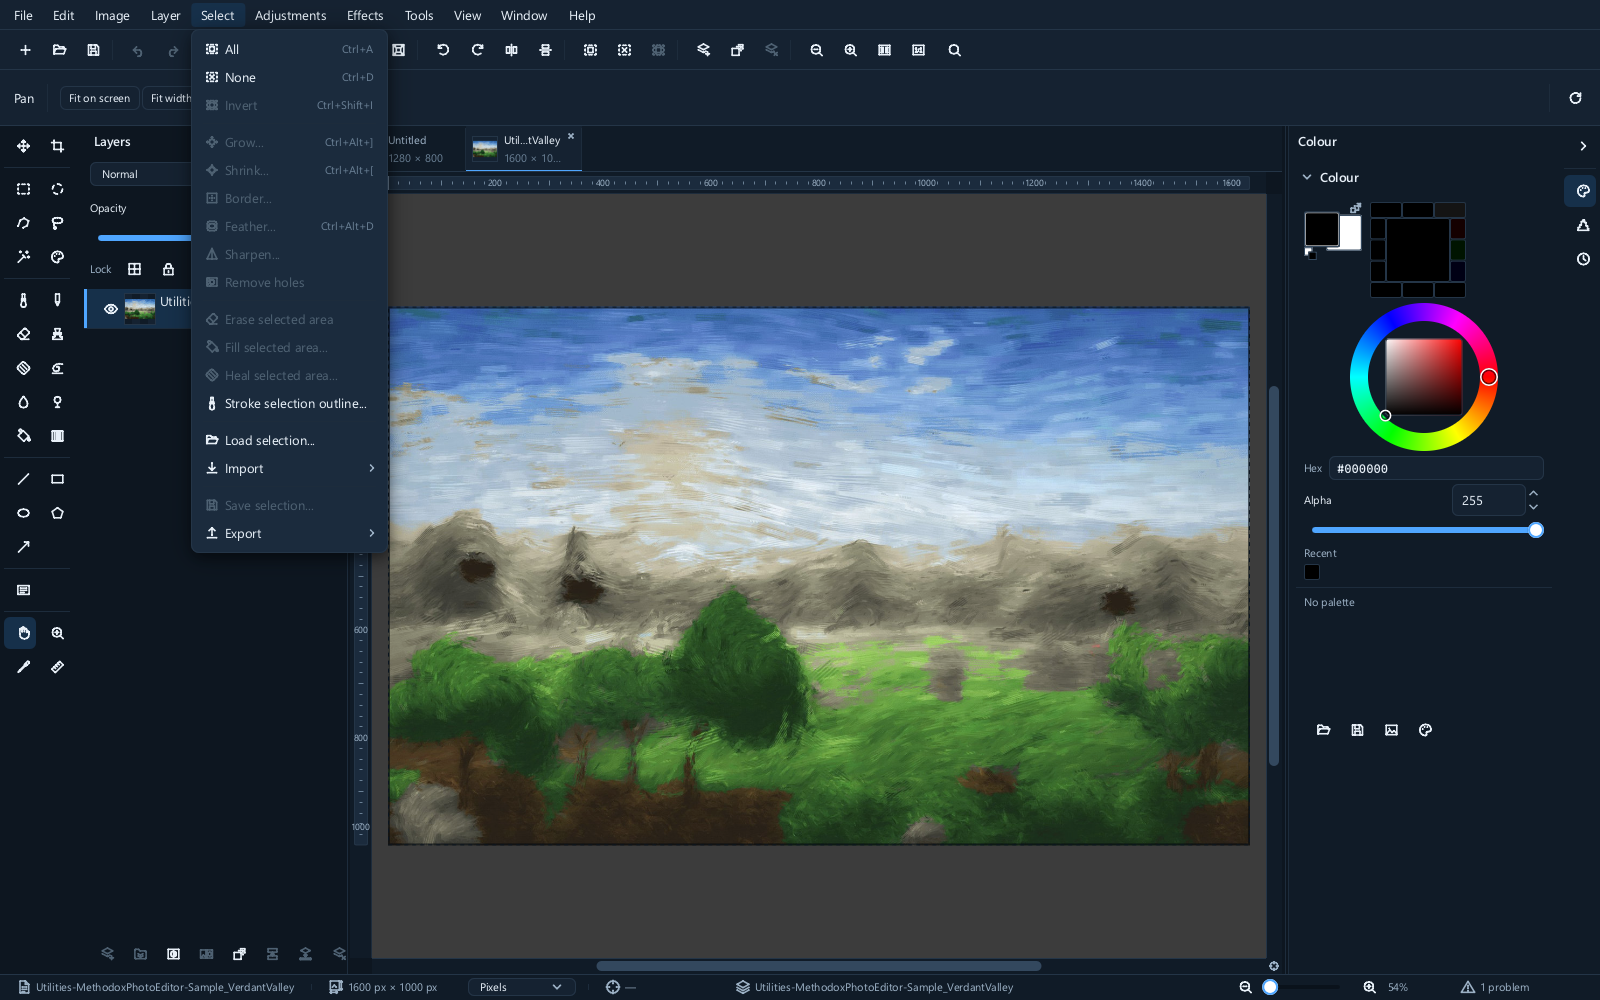
| Command | What it does |
|---|---|
| All | Selects the whole canvas |
| None | Clears the selection |
| Invert | Swaps selected for unselected |
| Grow..., Shrink... | Moves the edge outwards or inwards by a number of pixels |
| Border... | Replaces the selection with a band along its edge |
| Feather... | Softens the edge over a distance you give |
| Sharpen... | Hardens a soft selection edge |
| Remove holes | Fills in gaps the wand left inside the selected area |
Invert is worth learning early. Selecting a subject against a plain background is often hard; selecting the plain background with one wand click and inverting is easy, and gives the same result.
Feather... creates partial selection coverage near the edge. Use it for gradual transitions; keep crisp edges for sharply focused objects. Judge a small radius at 100% zoom and at the final output size before increasing it.
Selections and masks
A selection controls the area affected by the next operation. An attached mask controls a layer’s visibility until you alter or remove it.
- Layer ▸ Mask ▸ Add mask from selection attaches the selection’s coverage to the active layer.
- Select ▸ Export ▸ Selection mask to layer... makes a separate greyscale layer representing the selection; it does not attach a layer mask.
- Select ▸ Import ▸ Selection mask from active layer creates a selection from layer coverage.
- Use Select ▸ Save selection... and Select ▸ Load selection... to keep a selection for later.
The usual pattern for a clean cut-out is: select roughly with the wand, convert to a mask, then refine the mask with a brush matched to the edge. Painting is more forgiving than clicking, and the mask is reversible in a way that deleting pixels is not.
Working through a selection
With a selection active:
- Painting is confined to it, so you can paint boldly right up to the edge
- Adjustments and effects apply only inside it
- Erase selected area clears what is inside
- Fill selected area... fills it with the foreground colour
- Copy takes only the selected pixels
The colour wash over the unselected part, when shown, makes it obvious which side of the fence you are on.
If something seems broken
Nothing happens when you paint. There is probably a selection somewhere else in the picture, possibly scrolled off screen. Press Select ▸ None and try again — this is the commonest confusion in any image editor.
A selection can extend beyond the visible viewport. Fit the whole picture or clear the selection before deciding that a missing outline means no selection is active.
The edge looks jagged. Feather it by a pixel or two, or turn on anti-aliasing in the tool options before making the selection.
The wand takes too much or too little. Adjust tolerance, and check whether contiguous is on.
Next
- Masks — making a selection permanent
- Painting and retouching — working inside a selection
- Transforming — cropping to what you have selected