
Getting started
This page takes one photograph from opening to saving. It is about twenty minutes of reading and doing, and by the end you will have used the layers panel, an adjustment layer, a mask and the export dialog — which is most of what the program is.
Everything here uses the keyboard shortcuts for Windows and Linux. On macOS, read Ctrl as Cmd throughout.
The first screen
Open the program and you get an empty document and three offers.
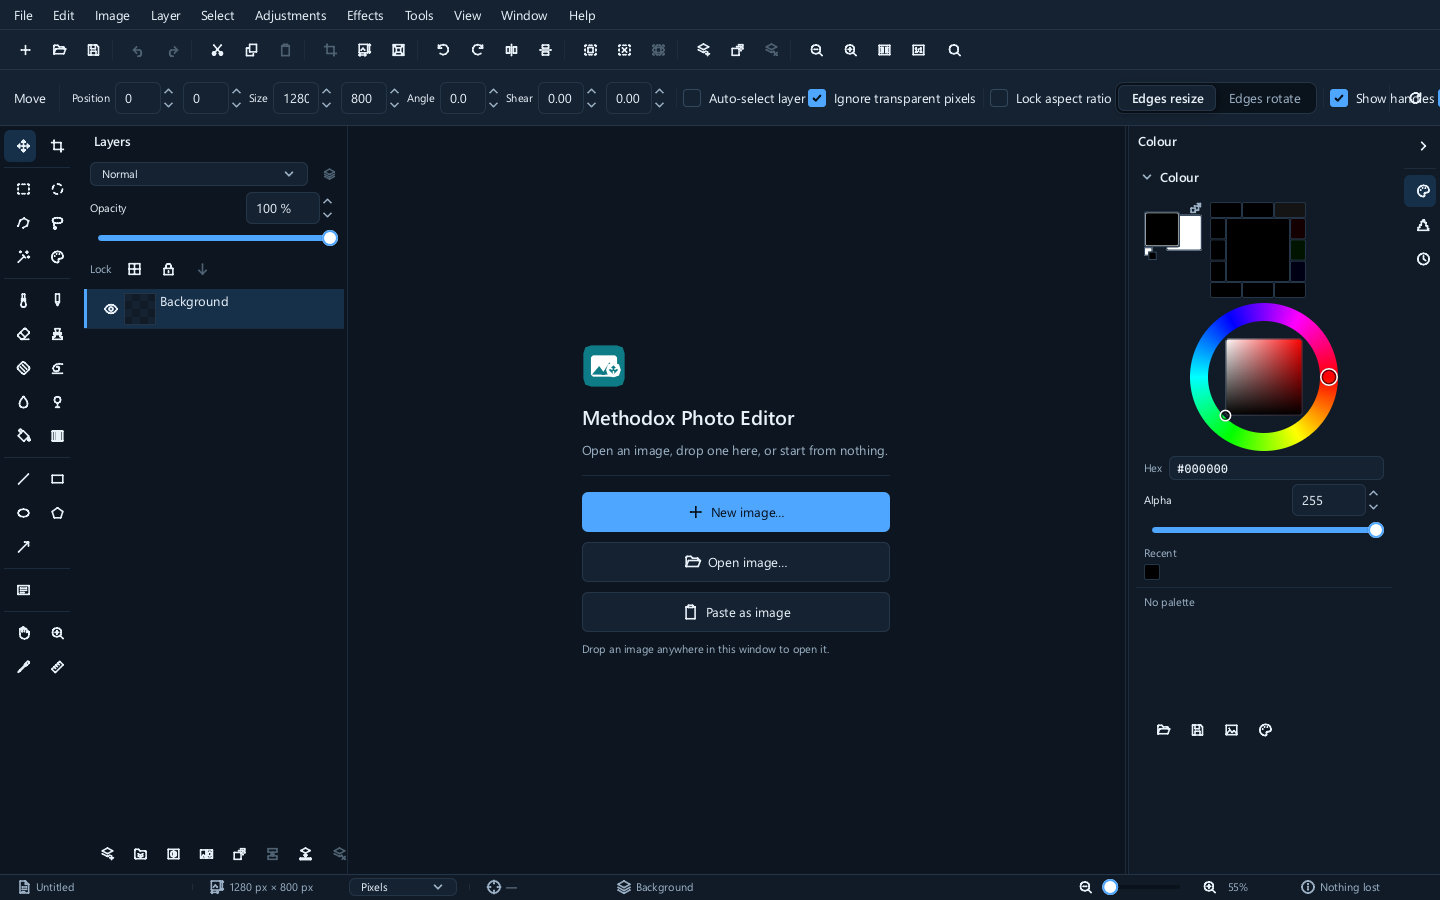
- New image... makes a blank document at a size you choose.
- Open image... opens a file from disk — Ctrl+O.
- Paste as image makes a new document from whatever is on the clipboard.
You can also drop a file anywhere in the window, which is usually quickest.
The offers disappear as soon as there is something to look at. They come back if you close everything.
Creating a blank image
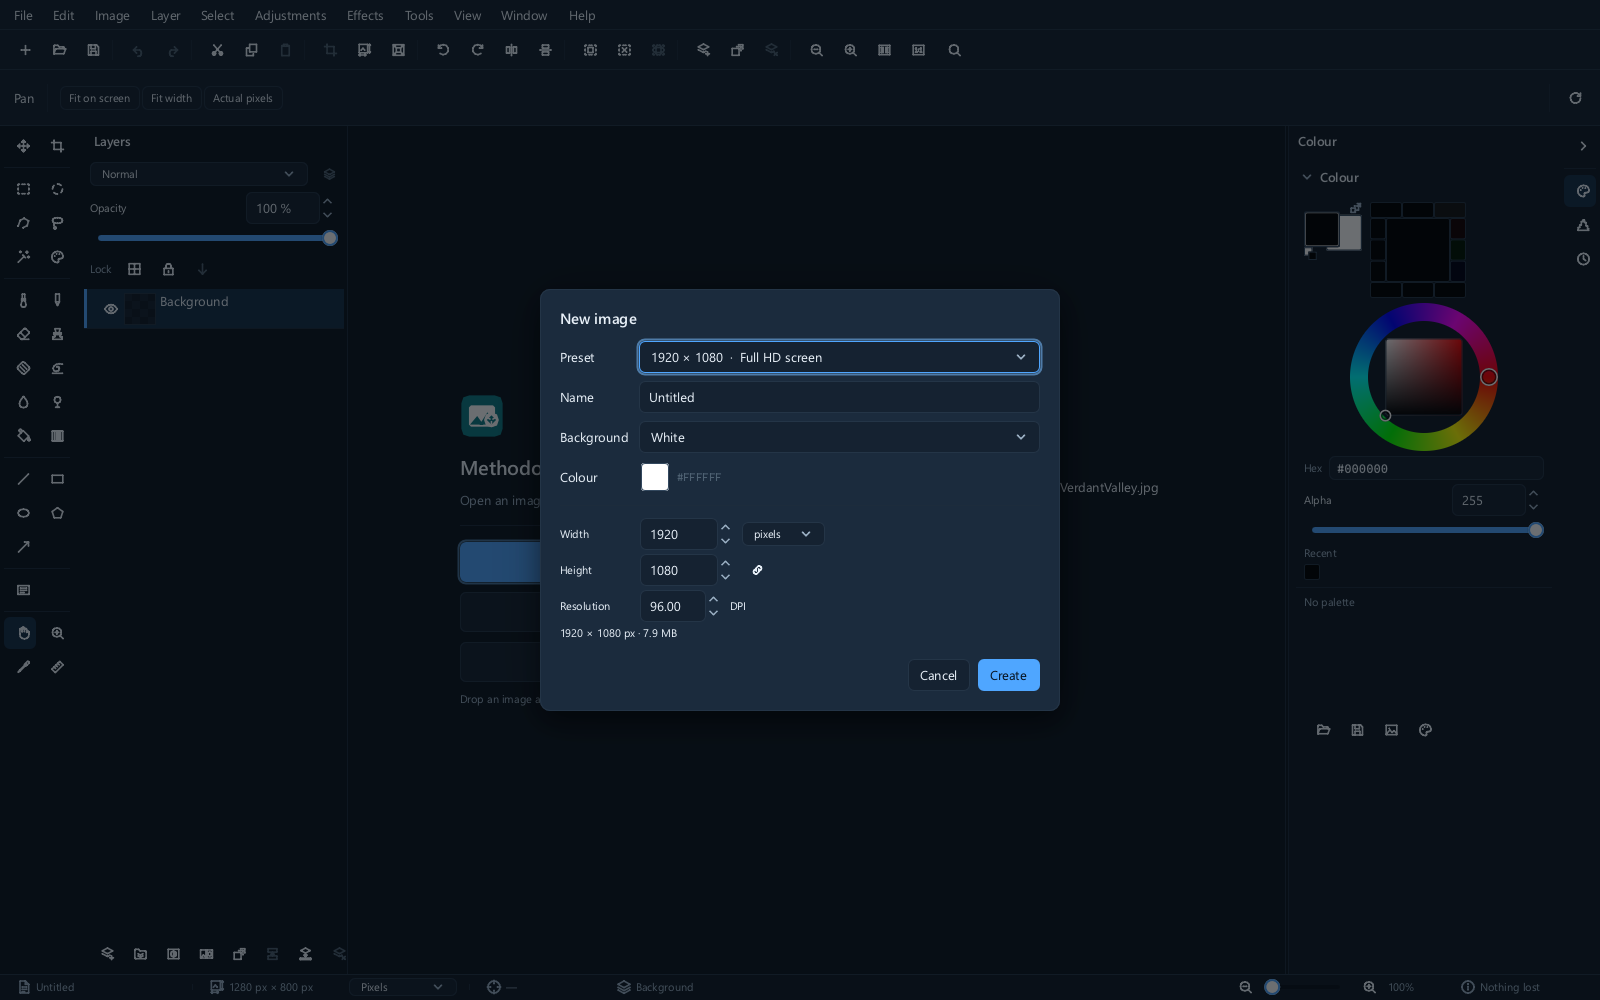
Use File ▸ New... or New image... on the start screen. Choose a preset or enter width and height, then choose a background. Use transparent for an asset that needs a cut-out edge. Resolution relates pixels to print size; see Image basics.
Opening a photograph
Open any JPEG. The window fills in around it.
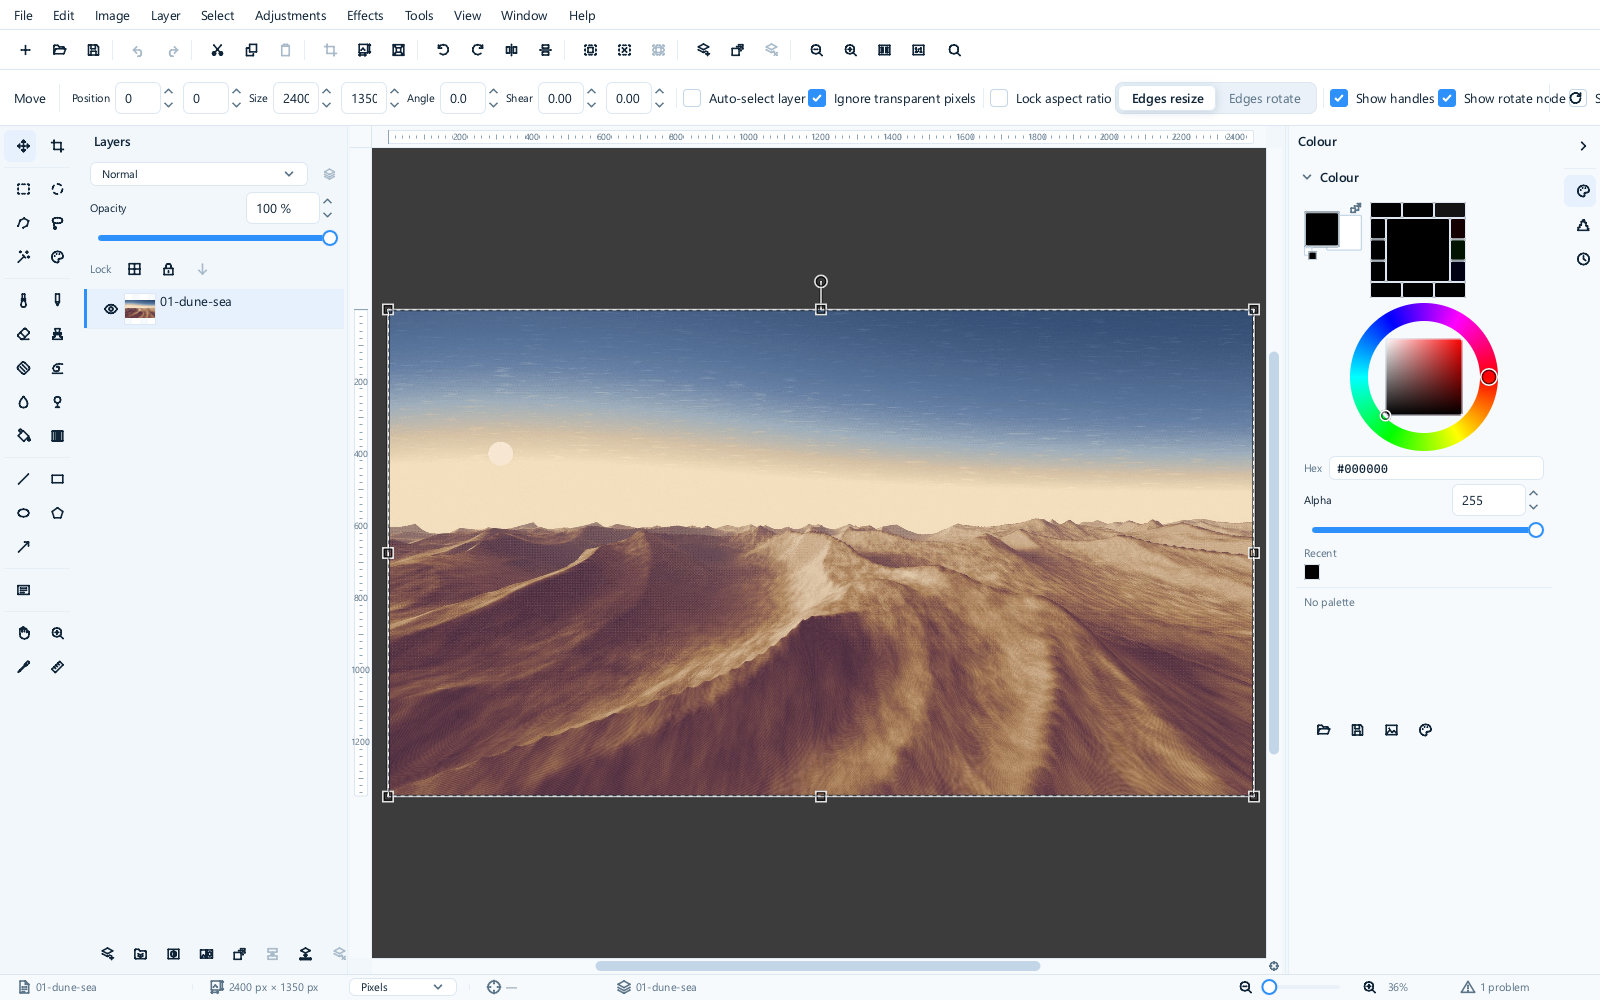
There are five regions, and you will use all of them.
| Region | Where | What it is for |
|---|---|---|
| Menu bar | Across the top | Everything the program can do, grouped by what it acts on |
| Toolbar | Below the menus | The dozen commands worth a single click |
| Tool options | Below the toolbar | The settings for whichever tool is selected — it changes as you switch tools |
| Panels | Left and right | Layers, colour, history, and the image's own properties |
| Status bar | Along the bottom | The document's size, the zoom, and whether anything has been lost |
The status bar is worth a second look. It ends with either Nothing lost or a count of problems, and that is the program telling you whether the file you opened survived intact — a format that could not carry your layers, a colour profile it did not recognise. Click it to read the detail.
Moving around the picture
| To do this | Do this |
|---|---|
| Zoom in or out | Ctrl++ and Ctrl+- on the numeric keypad, or the zoom control at the bottom right |
| Fit the whole picture | Ctrl+0 |
| Actual pixels | Ctrl+1 |
| Zoom to a set level | Ctrl+2 to Ctrl+5 for 2:1 up to 16:1, and Shift with the same digits for the reductions |
| Pan | Hold Space and drag, or press H for the pan tool |
Holding Space is the one to learn. It works while any other tool is selected, so you can pan between strokes without switching away from your painting tool.
Your first correction
Start by deciding what the photograph needs. A misty scene may need soft contrast; a night scene should usually stay dark. Here we will adjust the tones of a photograph that looks unintentionally flat.
Open Adjustments ▸ Levels... and look at the histogram. It shows how many pixels the picture has at each brightness, from black on the left to white on the right.
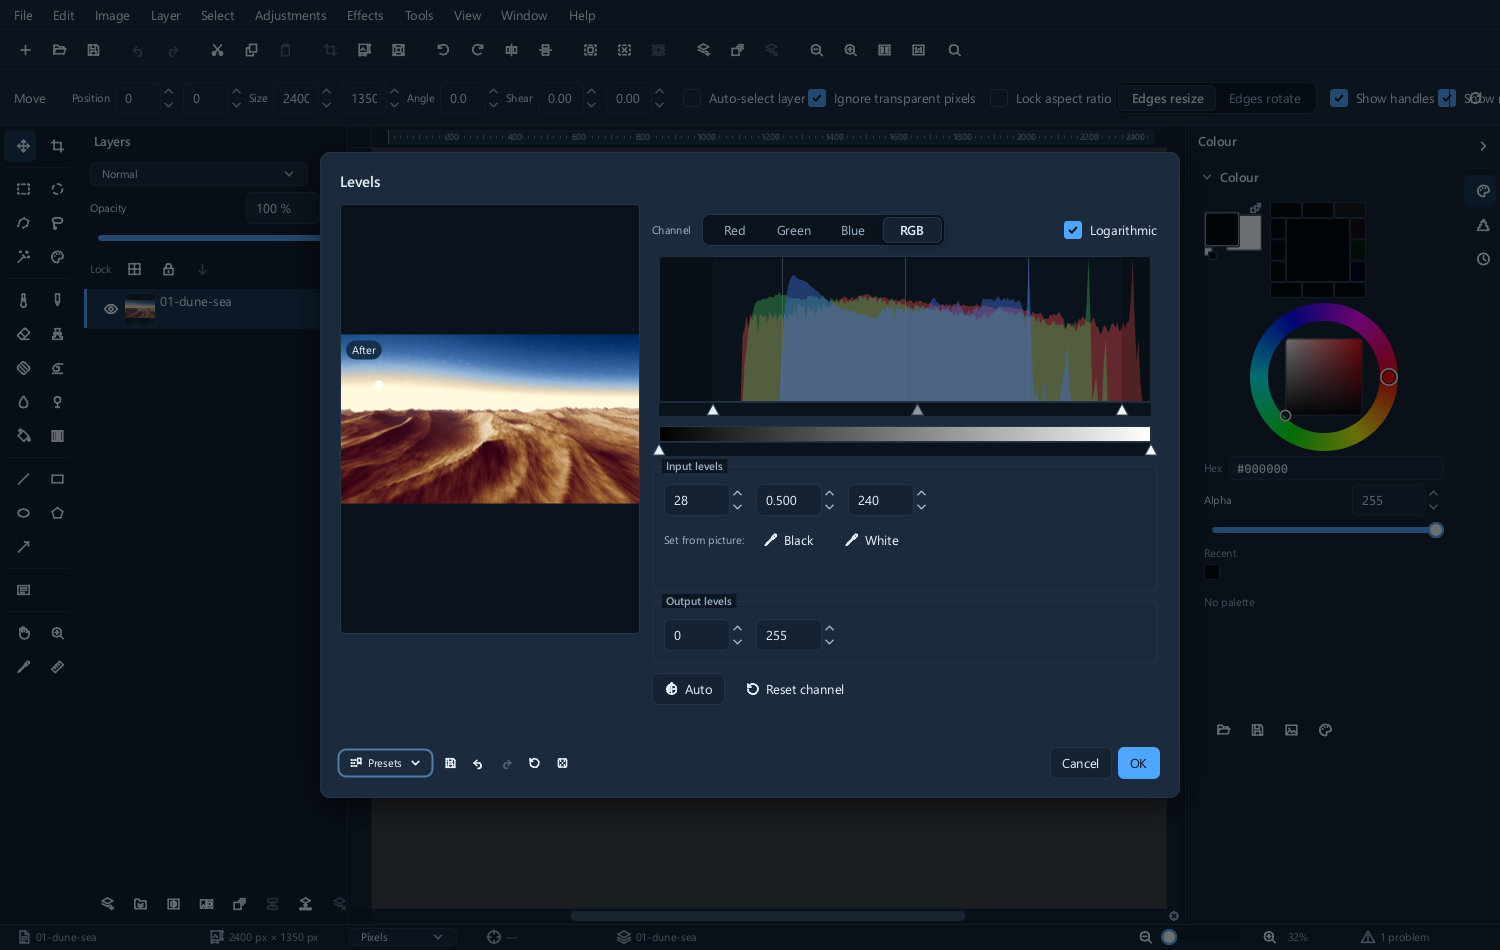
If the photograph needs more contrast, move the black and white points inward a little while watching the subject. Moving them to the ends of the data uses more of the available tonal range, but is a choice, not a correction every photograph needs.
Watch the ends. Moving a point into the data clips values to black or white in the result. Check important shadow and highlight detail. Undo can reverse this edit now; a live adjustment can be changed later. Neither can recover detail missing from the original file.
The middle slider is the grey point, and it changes the brightness of the mid-tones without touching either end. Drag it left to lighten the picture, right to darken it.
Doing it non-destructively instead
The correction you just made is baked into the pixels. Undo it — Ctrl+Z — and do it a better way.
Choose Layer ▸ New adjustment layer ▸ Levels to add an adjustment layer. It sits above the picture, changes how everything beneath it looks, and changes nothing in the picture itself.
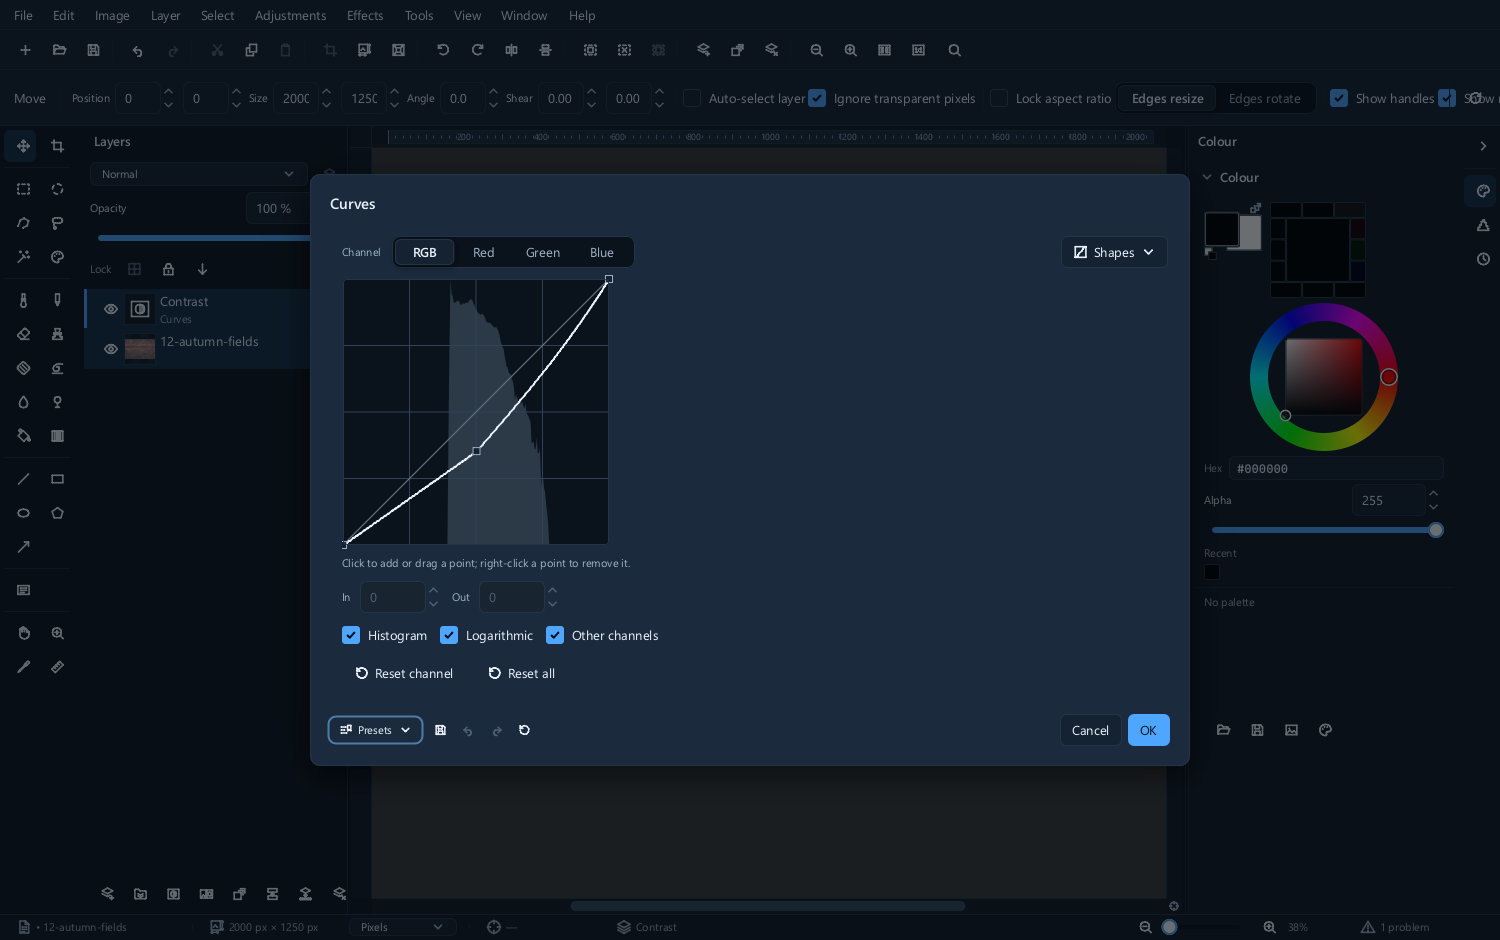
This matters more than it sounds. An adjustment layer can be:
- switched off, with the eye beside it, to compare against the original;
- reopened a week later and given different numbers;
- faded, by lowering its opacity, if it turned out too strong;
- masked, so that it applies to only part of the picture;
- deleted, leaving the photograph exactly as it was.
None of that is true of a correction applied straight to the pixels. Once you are used to it, there is very little reason to work the other way.
Adjustment layers covers the rest.
Applying it to only part of the picture
Say the sky wants darkening and the ground does not.
Select the adjustment layer and choose Layer ▸ Mask ▸ Add mask. Click its mask thumbnail before painting. A mask is a greyscale image attached to the layer: white shows, black hides, grey is partial. Paint on it with black and the adjustment stops applying wherever you paint.
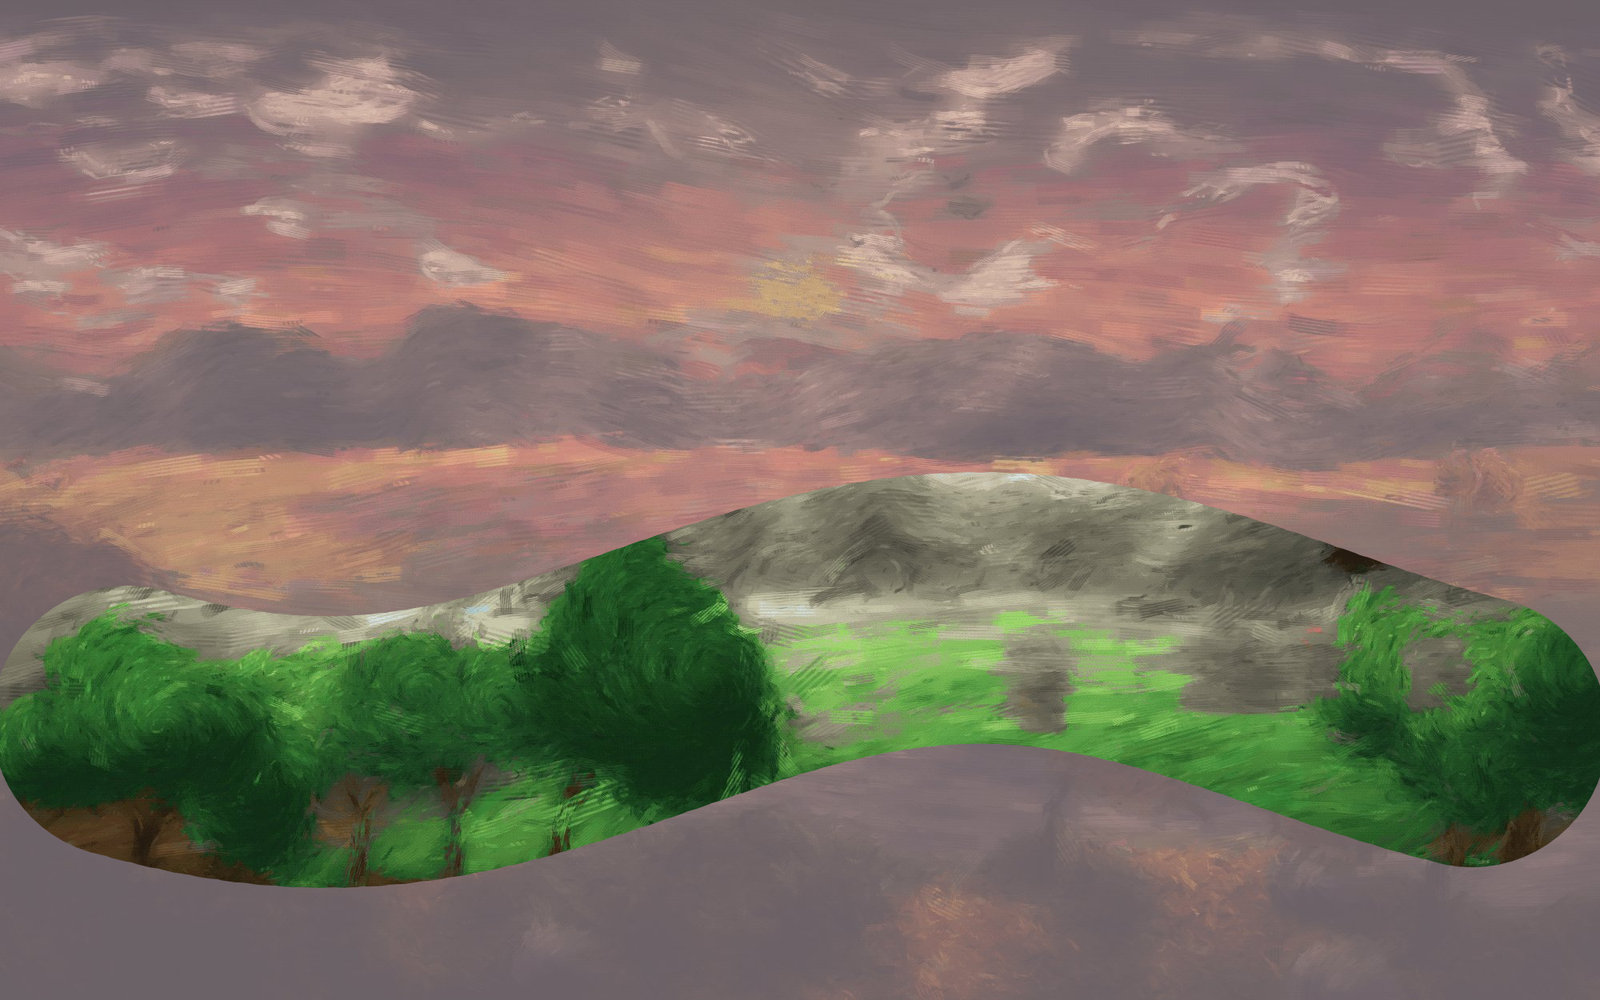
Press B for the brush, set the colour to black, and paint over the ground. Paint with white to bring it back. Nothing is destroyed either way — you are painting on the mask, not on the photograph.
Masks are the single most useful idea in the program, and Masks is worth reading next.
Saving
There are two different things you might mean by saving, and the difference matters.
Keep your work with File ▸ Save as... and the .mie format. That is the editor's own
format, and it keeps everything: every layer, every mask, the adjustment layers still adjustable,
editable text still editable, your selection and the metadata. Reopen it later to continue editing
those objects. The undo history belongs to the current session and is not restored from the file.
Produce a picture to send someone with File ▸ Export ▸ Image to file..., and choose JPEG or PNG. This
flattens the layers into one image. The file you export is finished; the .mie is the copy you go
back to.
The rule that saves people grief: export last, save always. If you only ever write JPEGs, every edit is permanent and every re-save loses a little more quality.
Opening and saving explains the thirty formats and which to choose.
Undo
Ctrl+Z undoes, Ctrl+Y redoes, and the history panel
shows the available steps so you can jump back several at once. Reopening a saved .mie starts
with an empty undo history. Save a separate version before an irreversible change you may revisit.
For the vocabulary behind these steps, read Image basics. For another guided edit, try Practical recipes.
Where to go next
| If you want to | Read |
|---|---|
| Understand the file formats before you commit to one | Opening and saving |
| Build a picture out of several | Layers |
| Work on part of a picture | Selections and Masks |
| Correct colour properly | Adjustments |
| Make the program fit your hands | Customising |