
Masks
A mask hides part of a layer without deleting it. It is a greyscale image attached to the layer, and it works by one rule:
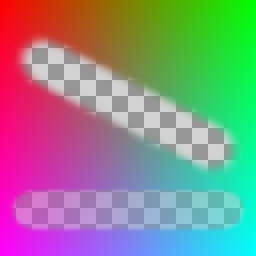
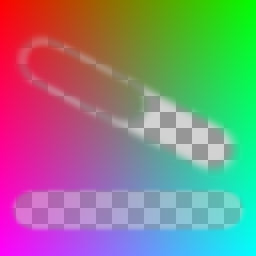
White shows. Black hides. Grey shows partly.
That is the whole idea. Everything below is a consequence of it.
Masks matter because the alternative — erasing the parts you do not want — throws the pixels away. A mask can be repainted, inverted, softened or removed entirely at any point, and the layer underneath it never changed.
Adding one
Select a layer and choose Layer ▸ Mask ▸ Add mask. The mask appears as a second thumbnail beside the layer's own.
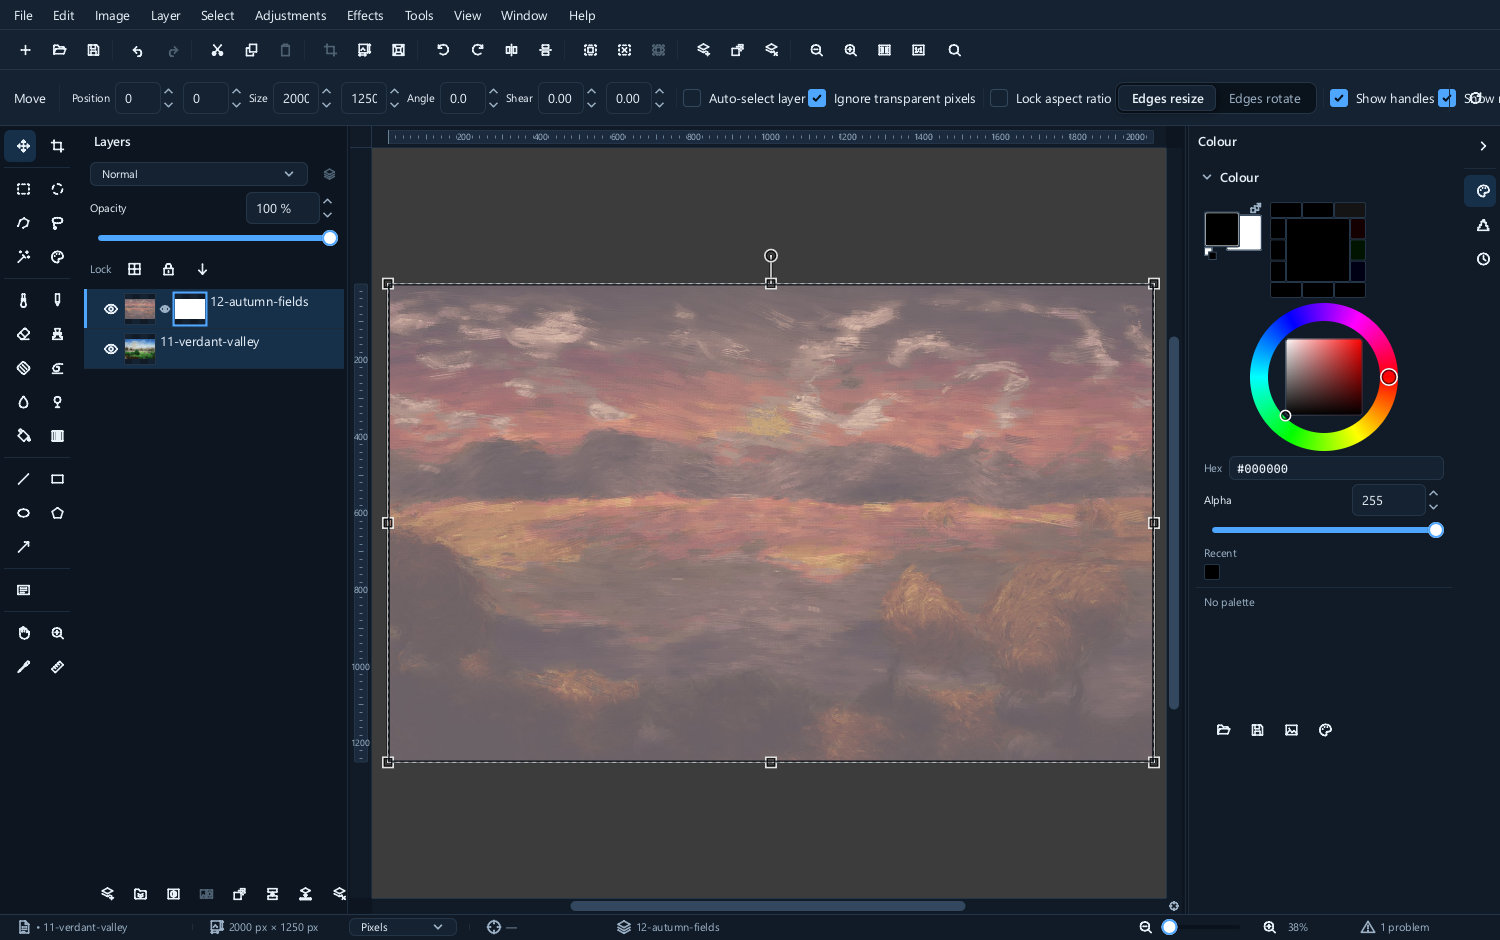
A new mask is white, so nothing is hidden yet.
Which thumbnail is selected decides what you paint on. Click the layer's thumbnail and you paint the picture. Click the mask's thumbnail and you paint the mask. This is the single most common source of confusion with masks, and the panel shows you which is active with a highlight.
| Layer selected | Mask selected |
|---|---|
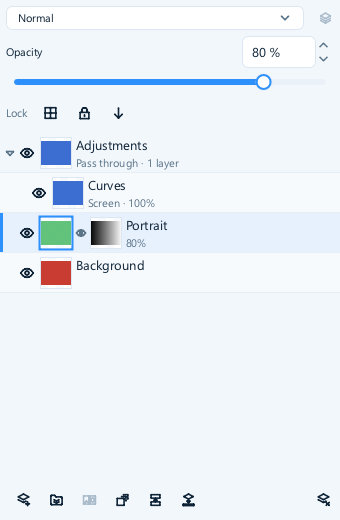 |
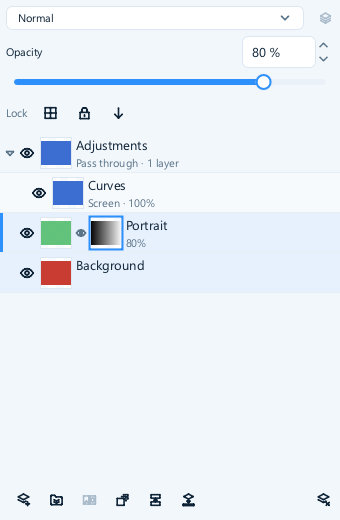 |
If painting seems to do nothing, or turns the picture grey when you expected it to hide something, check which thumbnail is highlighted first.
Painting on it
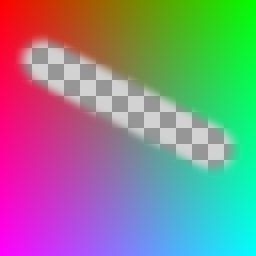
With the mask selected, press B for the brush and paint in black. Wherever you paint, the layer disappears and whatever is beneath shows through.
| Before | After painting black over one part |
|---|---|
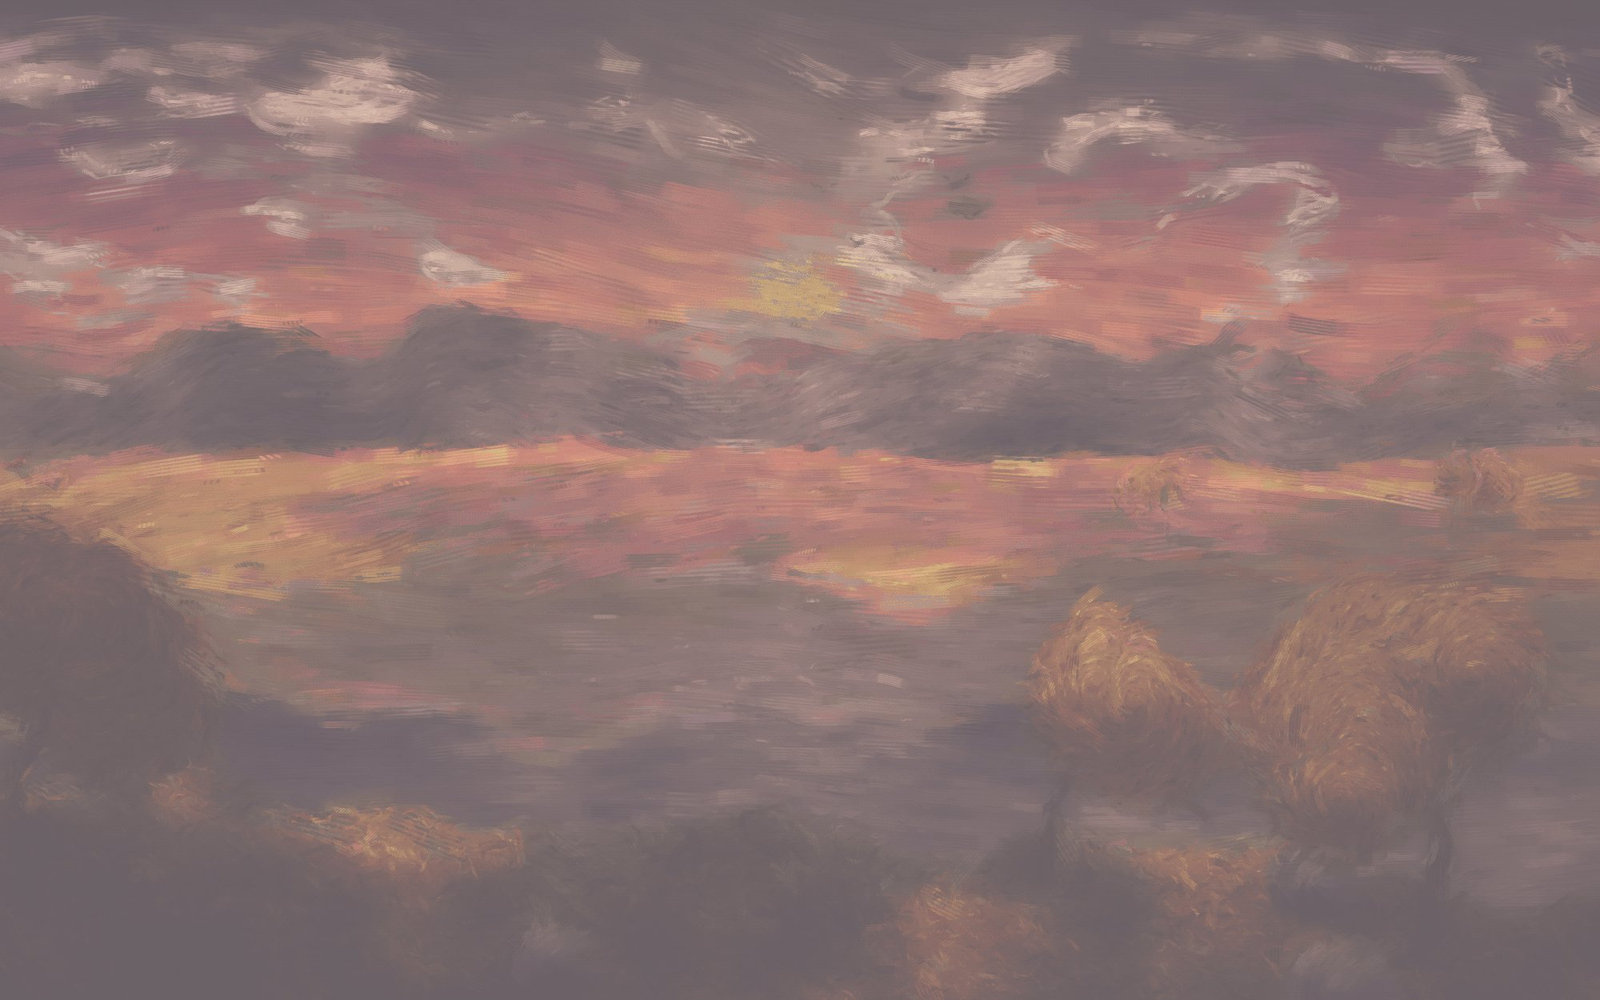 |
 |
Paint white to bring it back. Nothing is lost either way — you are painting on the mask, and the layer is untouched underneath.
The three values in one picture:
| Black conceals | Grey is partial | White reveals |
|---|---|---|
 |
 |
 |
Soft edges
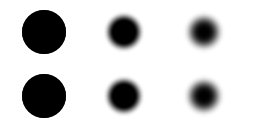
Match the mask edge to the subject. A sharply focused solid object needs a fairly crisp edge; a blurred background needs a gradual transition. Lower Hardness in the brush options to soften a painted edge. Hair needs fine detail, not simply a large feather radius.
There is a real difference between softening the brush and softening the layer: a soft brush gives you a gradual edge exactly where you paint, without blurring the image’s own texture.
Looking at the mask itself
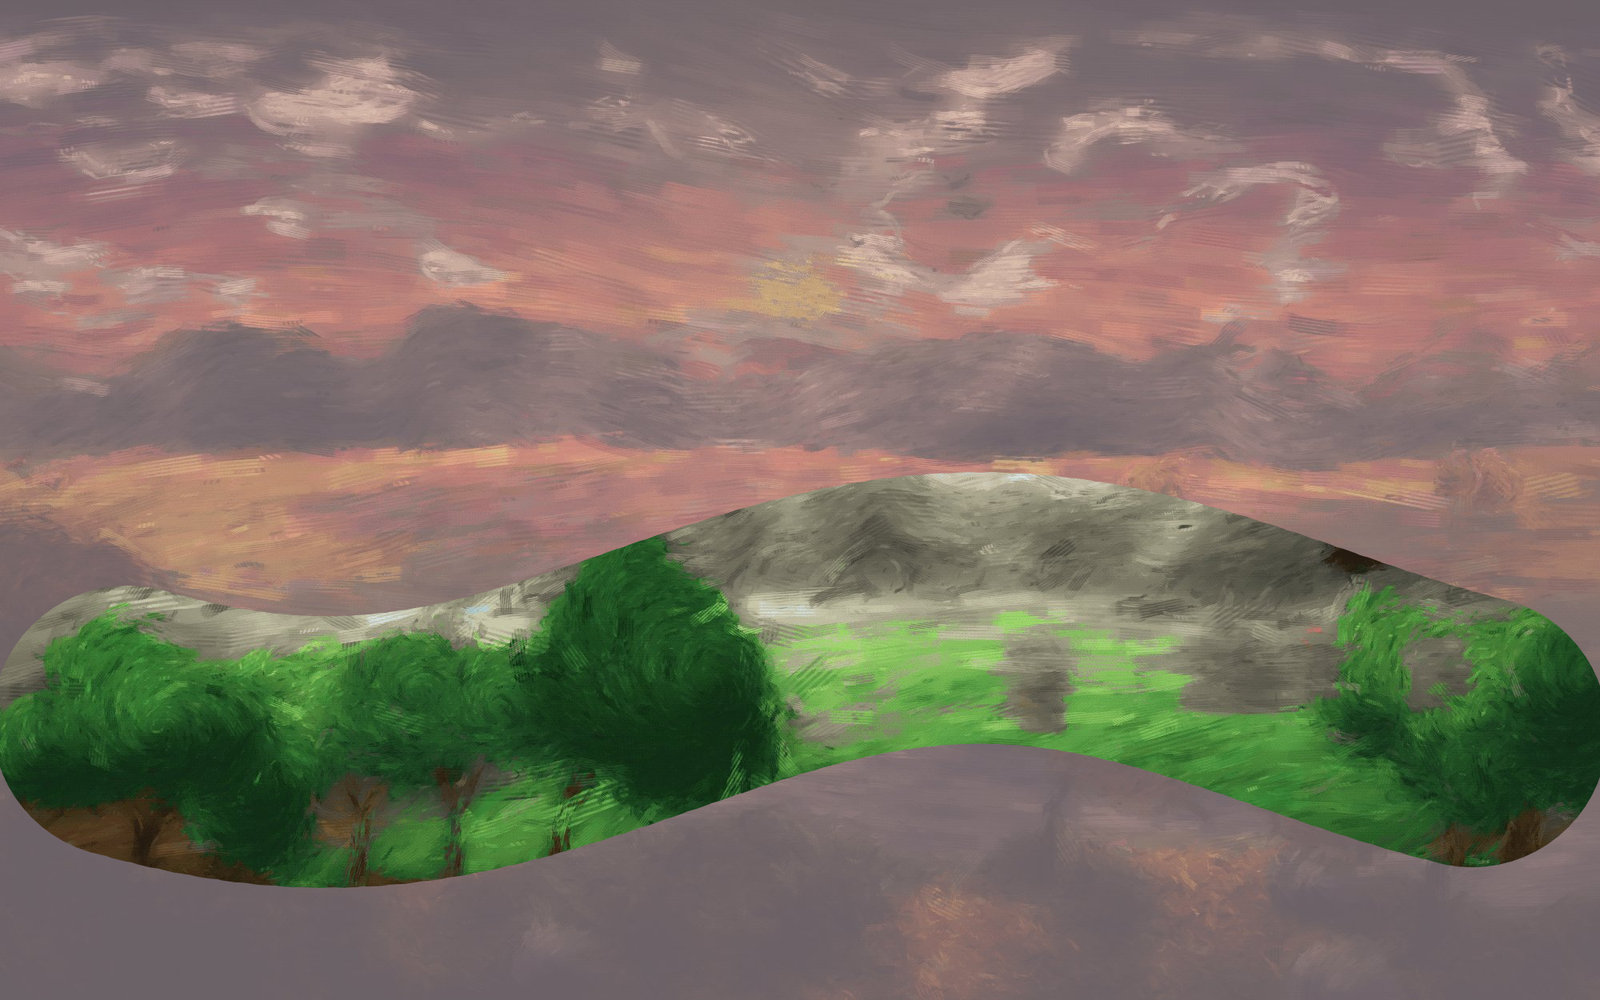
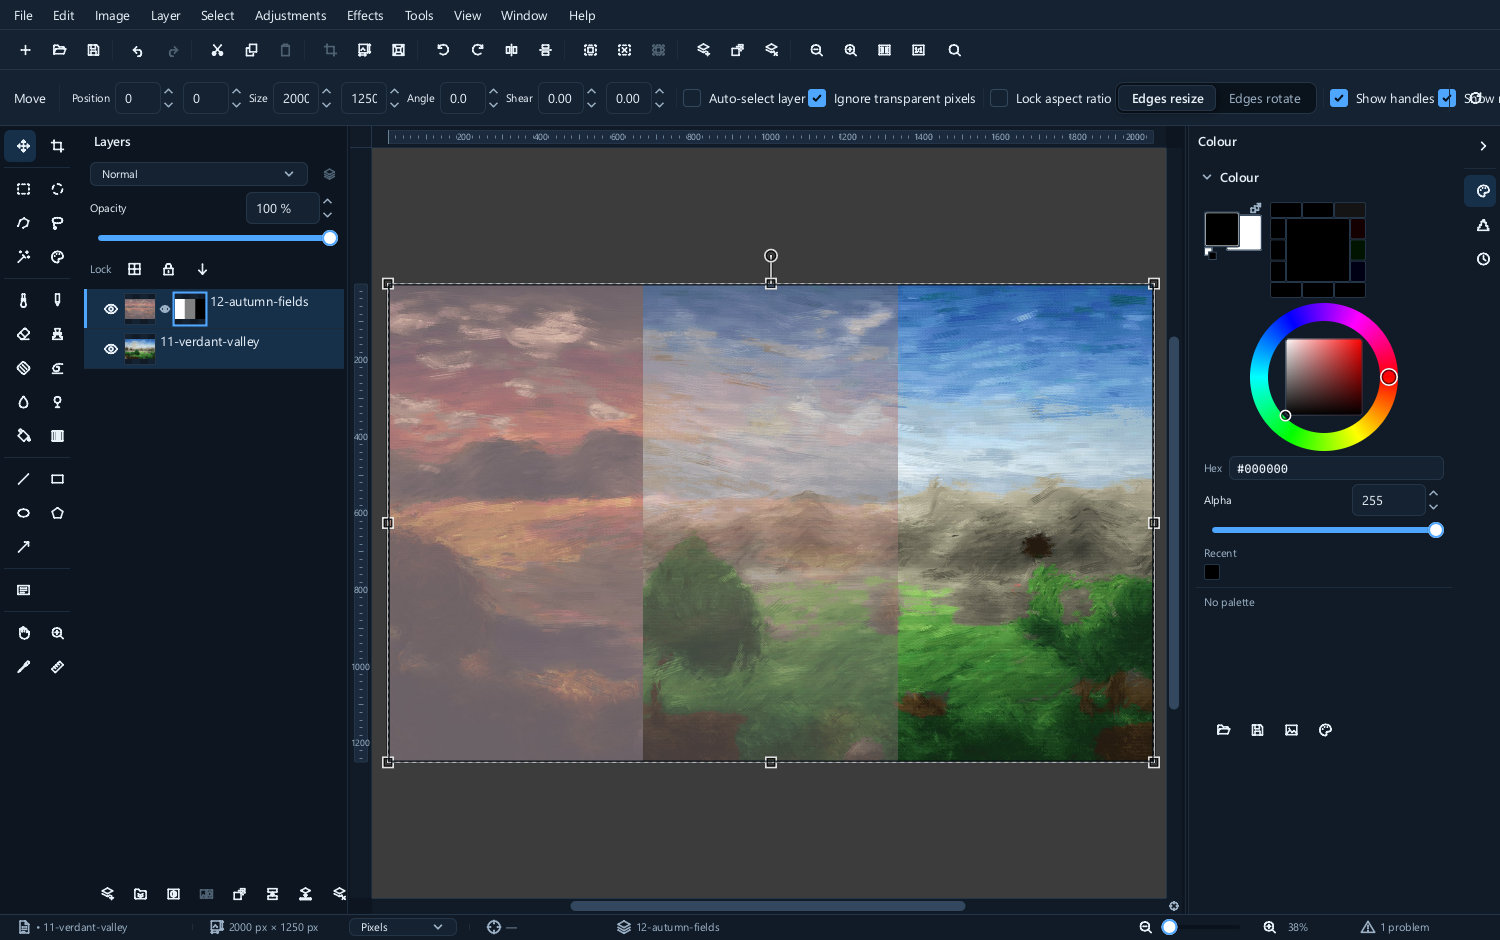
It is often easier to judge a mask by looking at it directly rather than at its effect. Switch to Layer ▸ Mask ▸ View mask and the canvas shows the mask as a greyscale picture. Use the same command again to return to the composite.
| The picture | The mask behind it |
|---|---|
 |
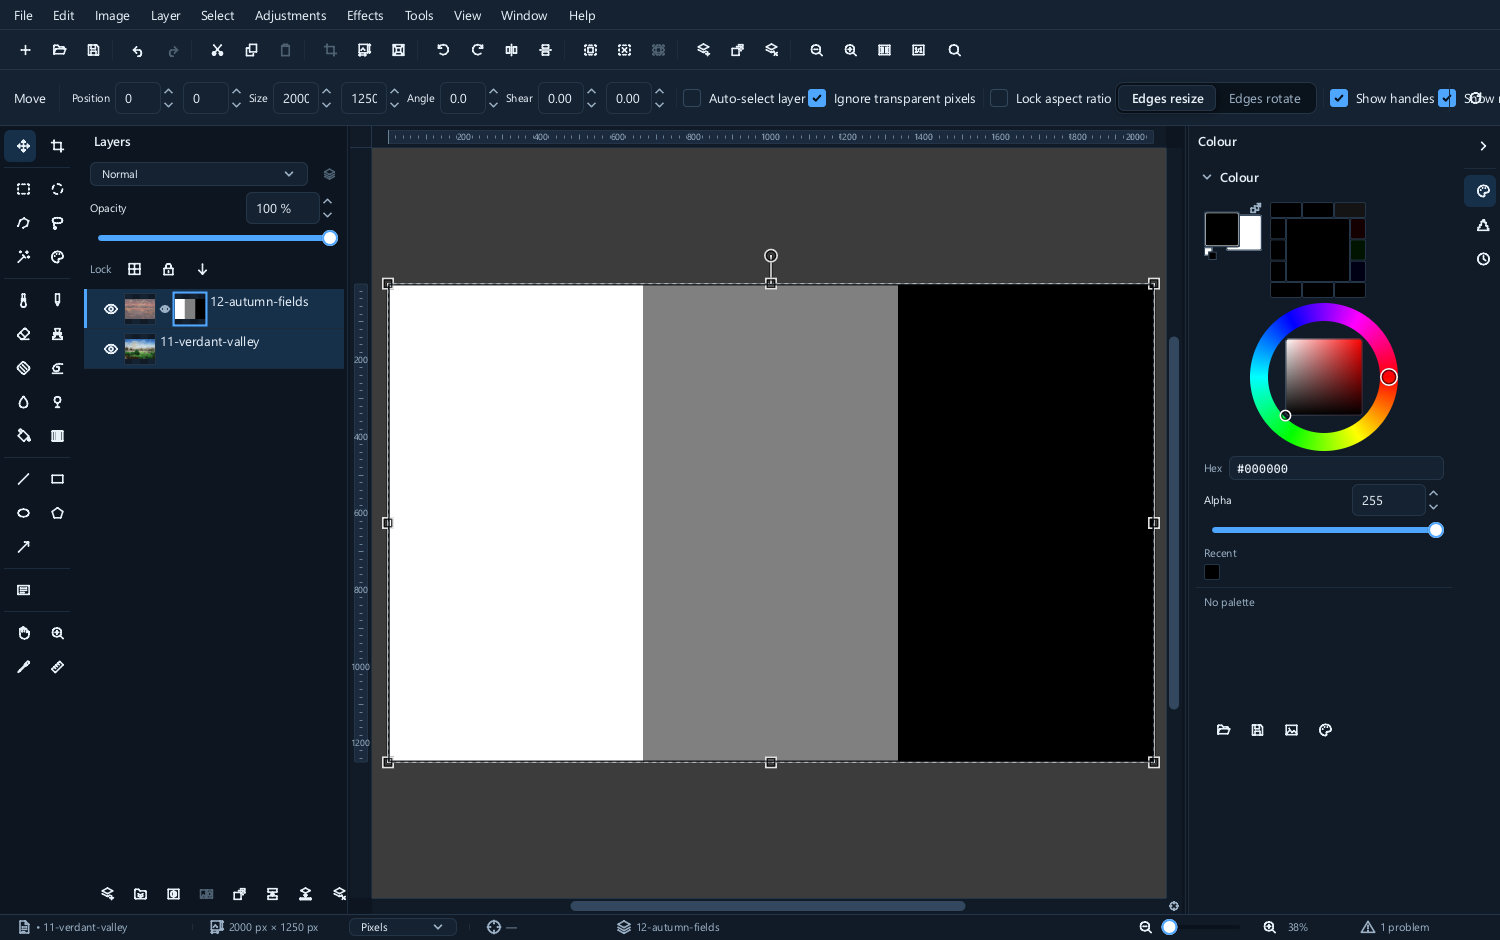 |
Gaps, stray brush marks and edges that are harder than you meant them to be are obvious here and almost invisible in the composed picture.
Inverting
Layer ▸ Mask ▸ Invert mask swaps what is hidden for what is shown.
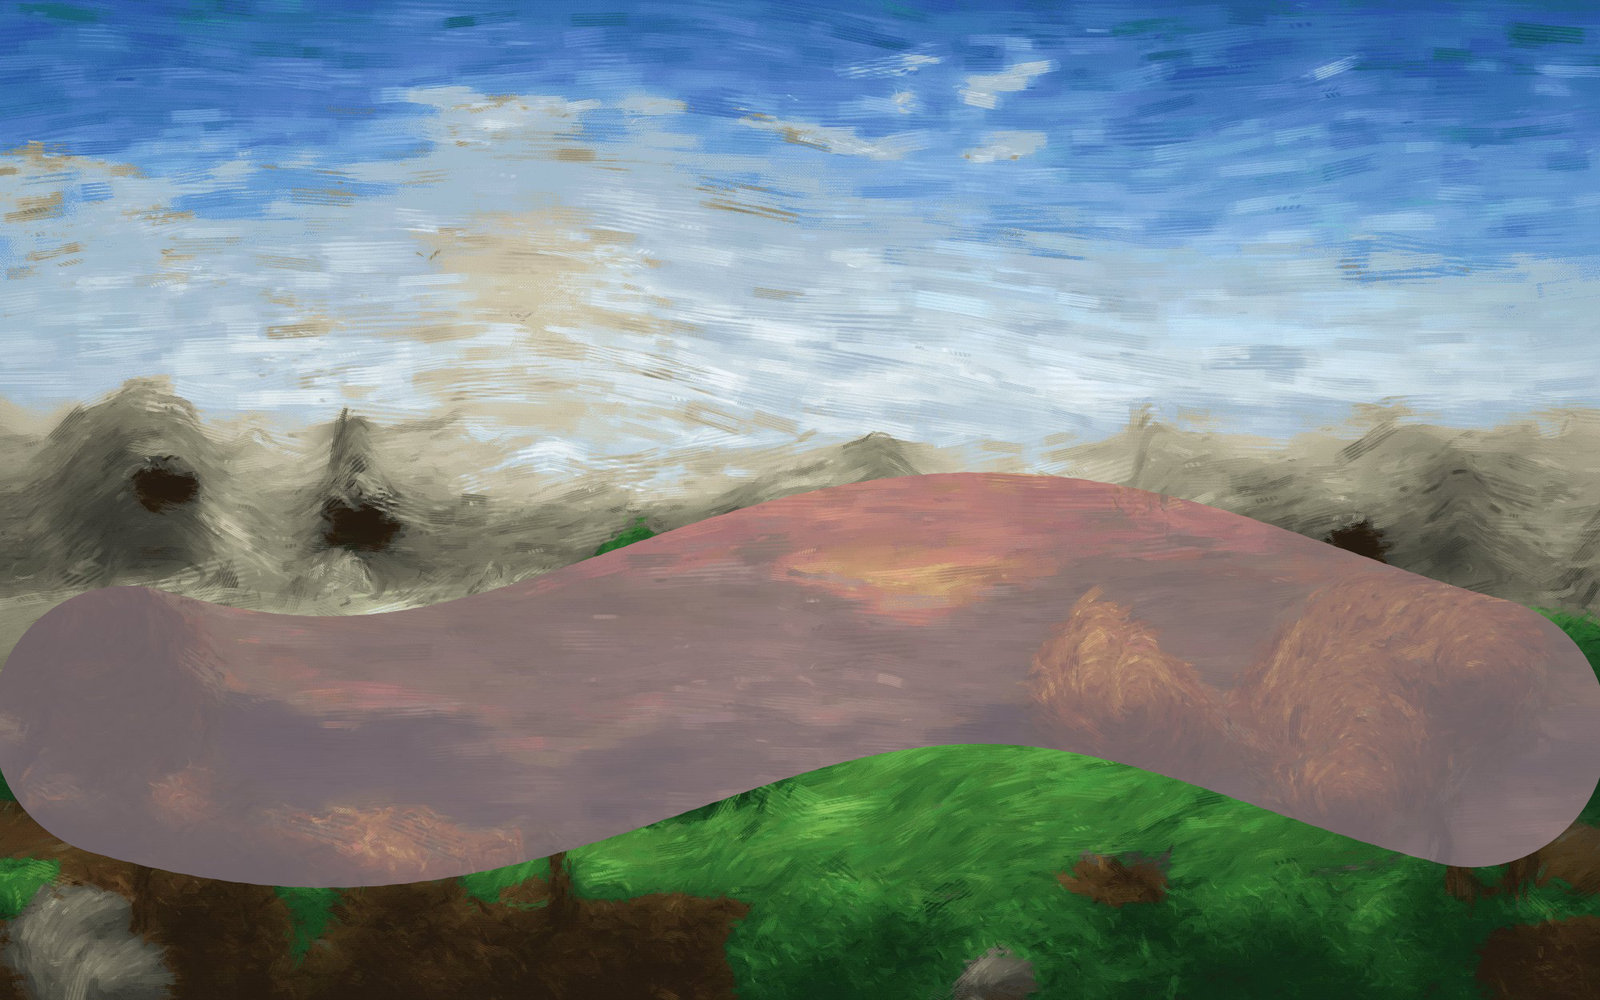
This is the shortcut for "mask everything except a small part". Fill the mask with black so the layer is entirely hidden, then paint white only where you want it — or paint the small part in black and invert.
Switching a mask off
A mask can be disabled without being deleted, which shows the layer as it would be with no mask at all. Toggle Layer ▸ Mask ▸ Enable mask to compare with and without it.
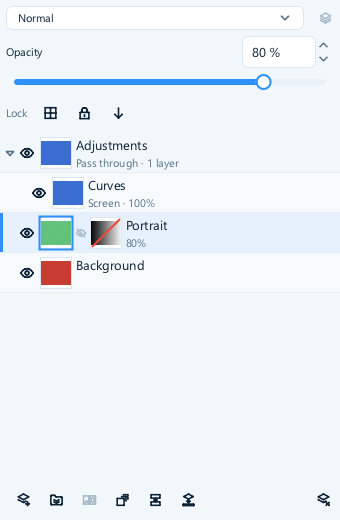
Masking an adjustment layer
This is where masks earn their keep. An adjustment layer with a mask applies its correction to only part of the picture — darkening a sky without touching the ground, warming a face without warming the wall behind it.
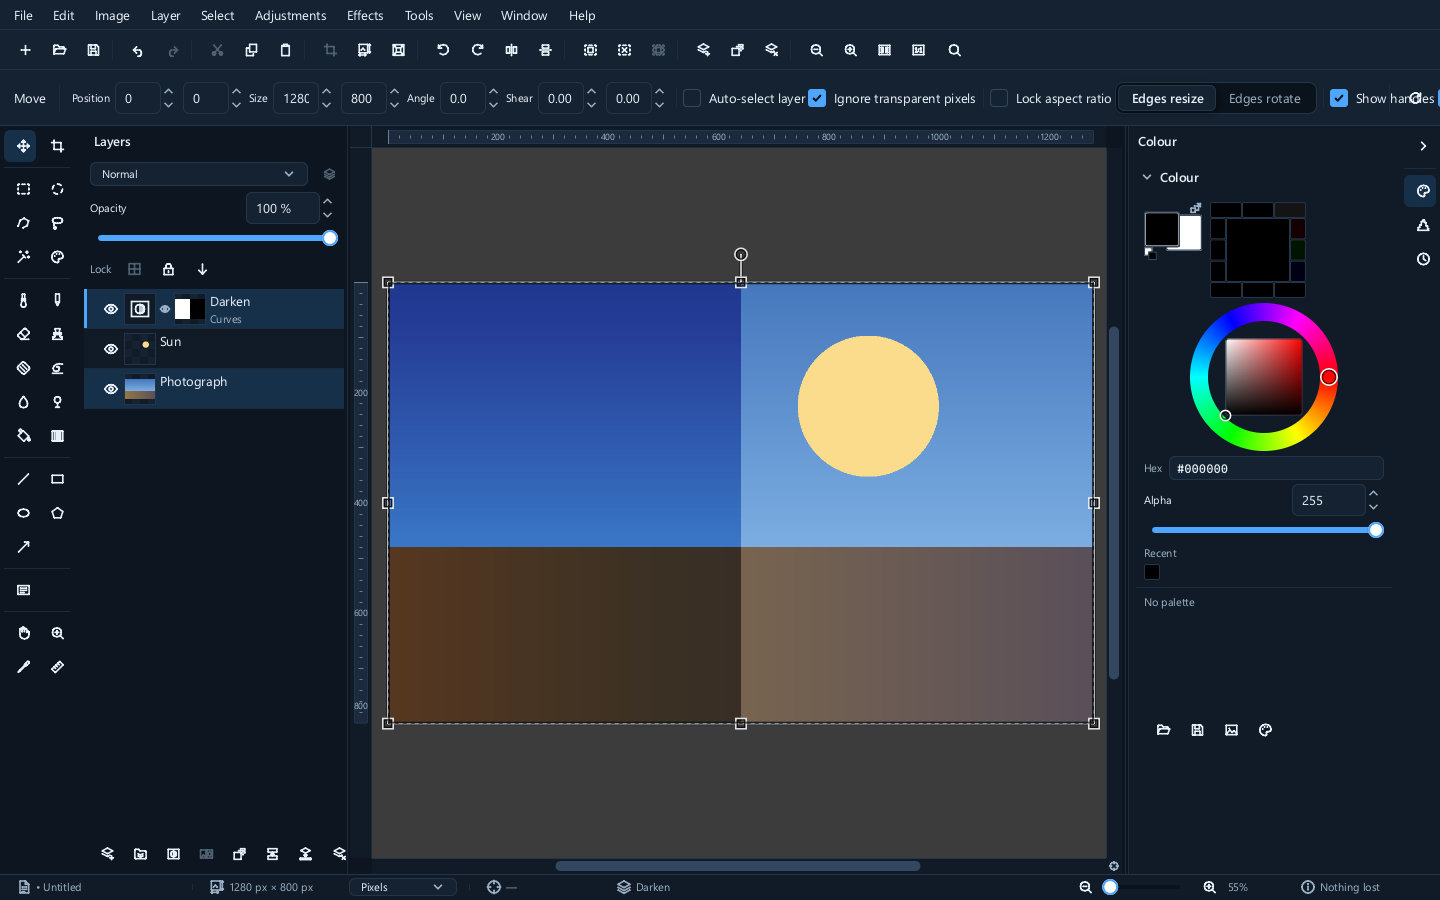
Because both the adjustment and the mask stay editable, you can change the correction and the area it applies to independently, for as long as the document exists.
Making a mask from a selection
Painting a mask by hand is fine for soft, broad areas. For something with a definite edge, make a selection first — with the magic wand, by colour, or with the lasso — then choose Layer ▸ Mask ▸ Add mask from selection. Fully selected areas become white, unselected areas black, and partially selected edges grey. Clear the selection with Select ▸ None before refining parts outside that area.
This is usually the fastest route to a clean cut-out: select roughly, convert to a mask, then tidy the mask with an appropriately sized brush where the automatic edge went wrong.
Undo
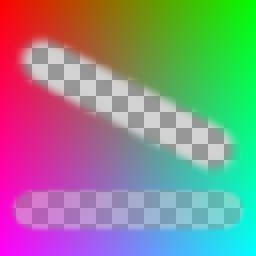
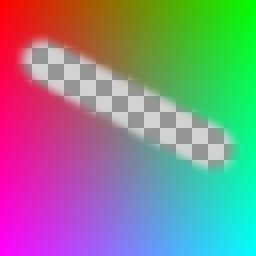
Mask painting participates in undo like everything else, stroke by stroke.
| One undo | All undone | Redone |
|---|---|---|
 |
 |
 |
Keeping masks when you save
Masks survive in .mie; PSD/PSB also preserve attached masks. Other formats can bake the
mask into transparency or the flattened result. Exporting a JPEG does this to the copy without
removing masks from the open document.
Layer ▸ Mask ▸ Apply mask commits its coverage to the layer and removes the separate mask. Delete mask removes the mask without applying its hiding effect. Save a working copy before applying a mask you may want to repaint later.
Next
- Adjustment layers — the thing masks are most useful for
- Selections — making a mask from a shape instead of a brush
- Layers — clipping, which does a related job more simply